

Arca
Connect Arca (ArcaPay) to PayLexer to accept local and international card payments in Nigeria, with settlement in NGN, USD, EUR and more.
Arca is a Nigerian payment technology company, founded in 2016 and headquartered in Lagos, trading its payment gateway as ArcaPay. It processes local and international debit and credit cards (Mastercard, Visa and Verve) for merchants registered as Nigerian businesses, and settles in a wide range of currencies beyond the naira.
Shoppers enter their card details directly in your checkout rather than on an Arca-hosted page, then confirm the payment with their own bank using a one-time code.
- Supported Regions (Merchant Accounts): Nigeria
- Supported Currencies: NGN, USD, EUR, GHS, CAD, AED, CHF, NOK, TRY, BRL, SGD, HKD, NZD, CZK, HUF, PHP, MAD, TND, ZMW, PKR, LKR, BDT, PEN, UYU, BOB, DOP, TWD, MZN, AMD, AZN, BGN, CRC, JMD, MDL, SCR, GMD, SLL, CVE
Several widely used currencies are not accepted by Arca, including GBP, ZAR, KES, AUD, JPY, INR, EGP and SEK. If your store prices in one of these, Arca will not appear as a payment option at checkout, even once you have enabled it. Check the supported list above before setting it up.
Supported Features
- Card payments from local and international Mastercard, Visa and Verve cards
- Bank verification (3D Secure) handled on the shopper's own bank page
- Automatic retry after a declined card, without the shopper starting a new order
- Separate Test and Live credentials on a single Arca account
- Real-time payment notifications through webhooks
- Every payment verified directly with Arca before an order is marked paid
Arca does not support subscriptions or recurring billing through PayLexer, and refunds cannot be issued from PayLexer. Refunds are made in the Arca dashboard instead. See the FAQs below.
Before You Start
Make sure you have:
- Arca Account – Don't have one? Sign up for Arca →
- PayLexer Account – Required to configure the integration. Create your account →
- A website where you want to integrate
Looking for a different payment processor? View all supported gateways →
Configuring Arca
You need a Public Key, Secret Key and Encryption Key from Arca for this integration.
All three keys are required and each does a different job. The Public Key and Secret Key look similar and are easy to mix up, so copy them one at a time and check the prefix: the Public Key starts with ARC-PUBKEY- and the Secret Key starts with ARC-SECKEY-.
Getting API Credentials
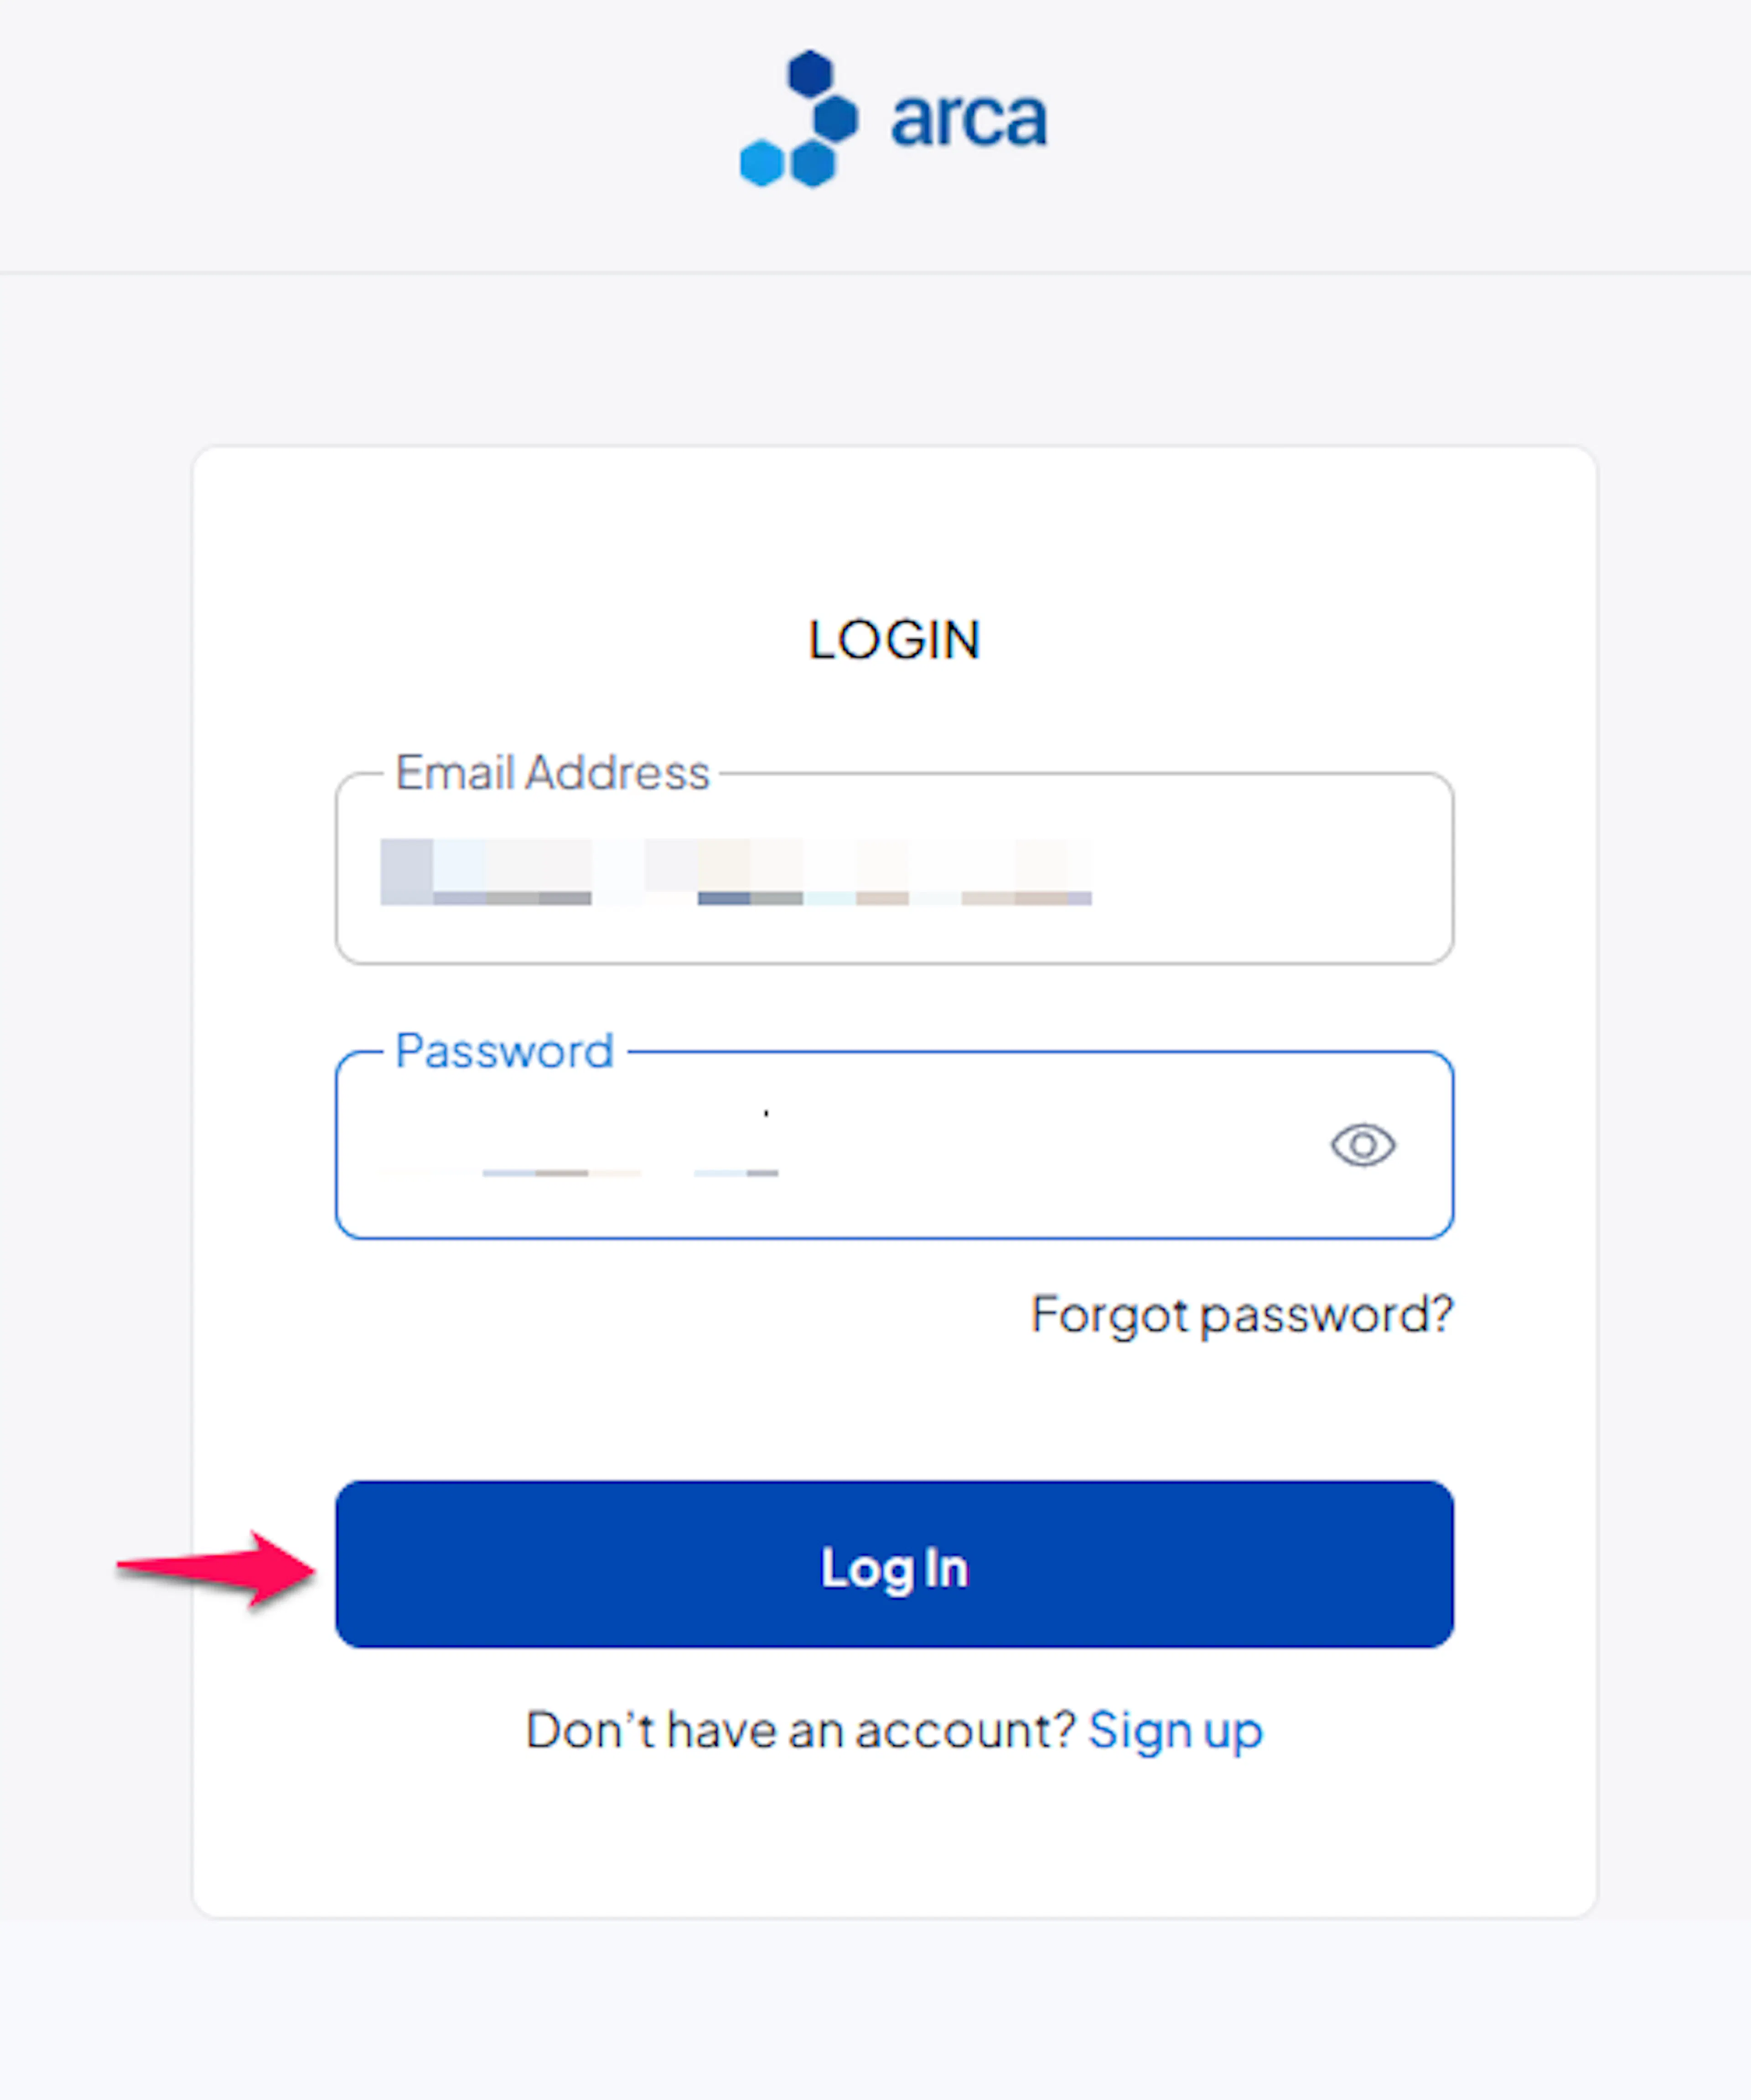
Log in to your Arca dashboard
Sign in at the Arca merchant dashboard.
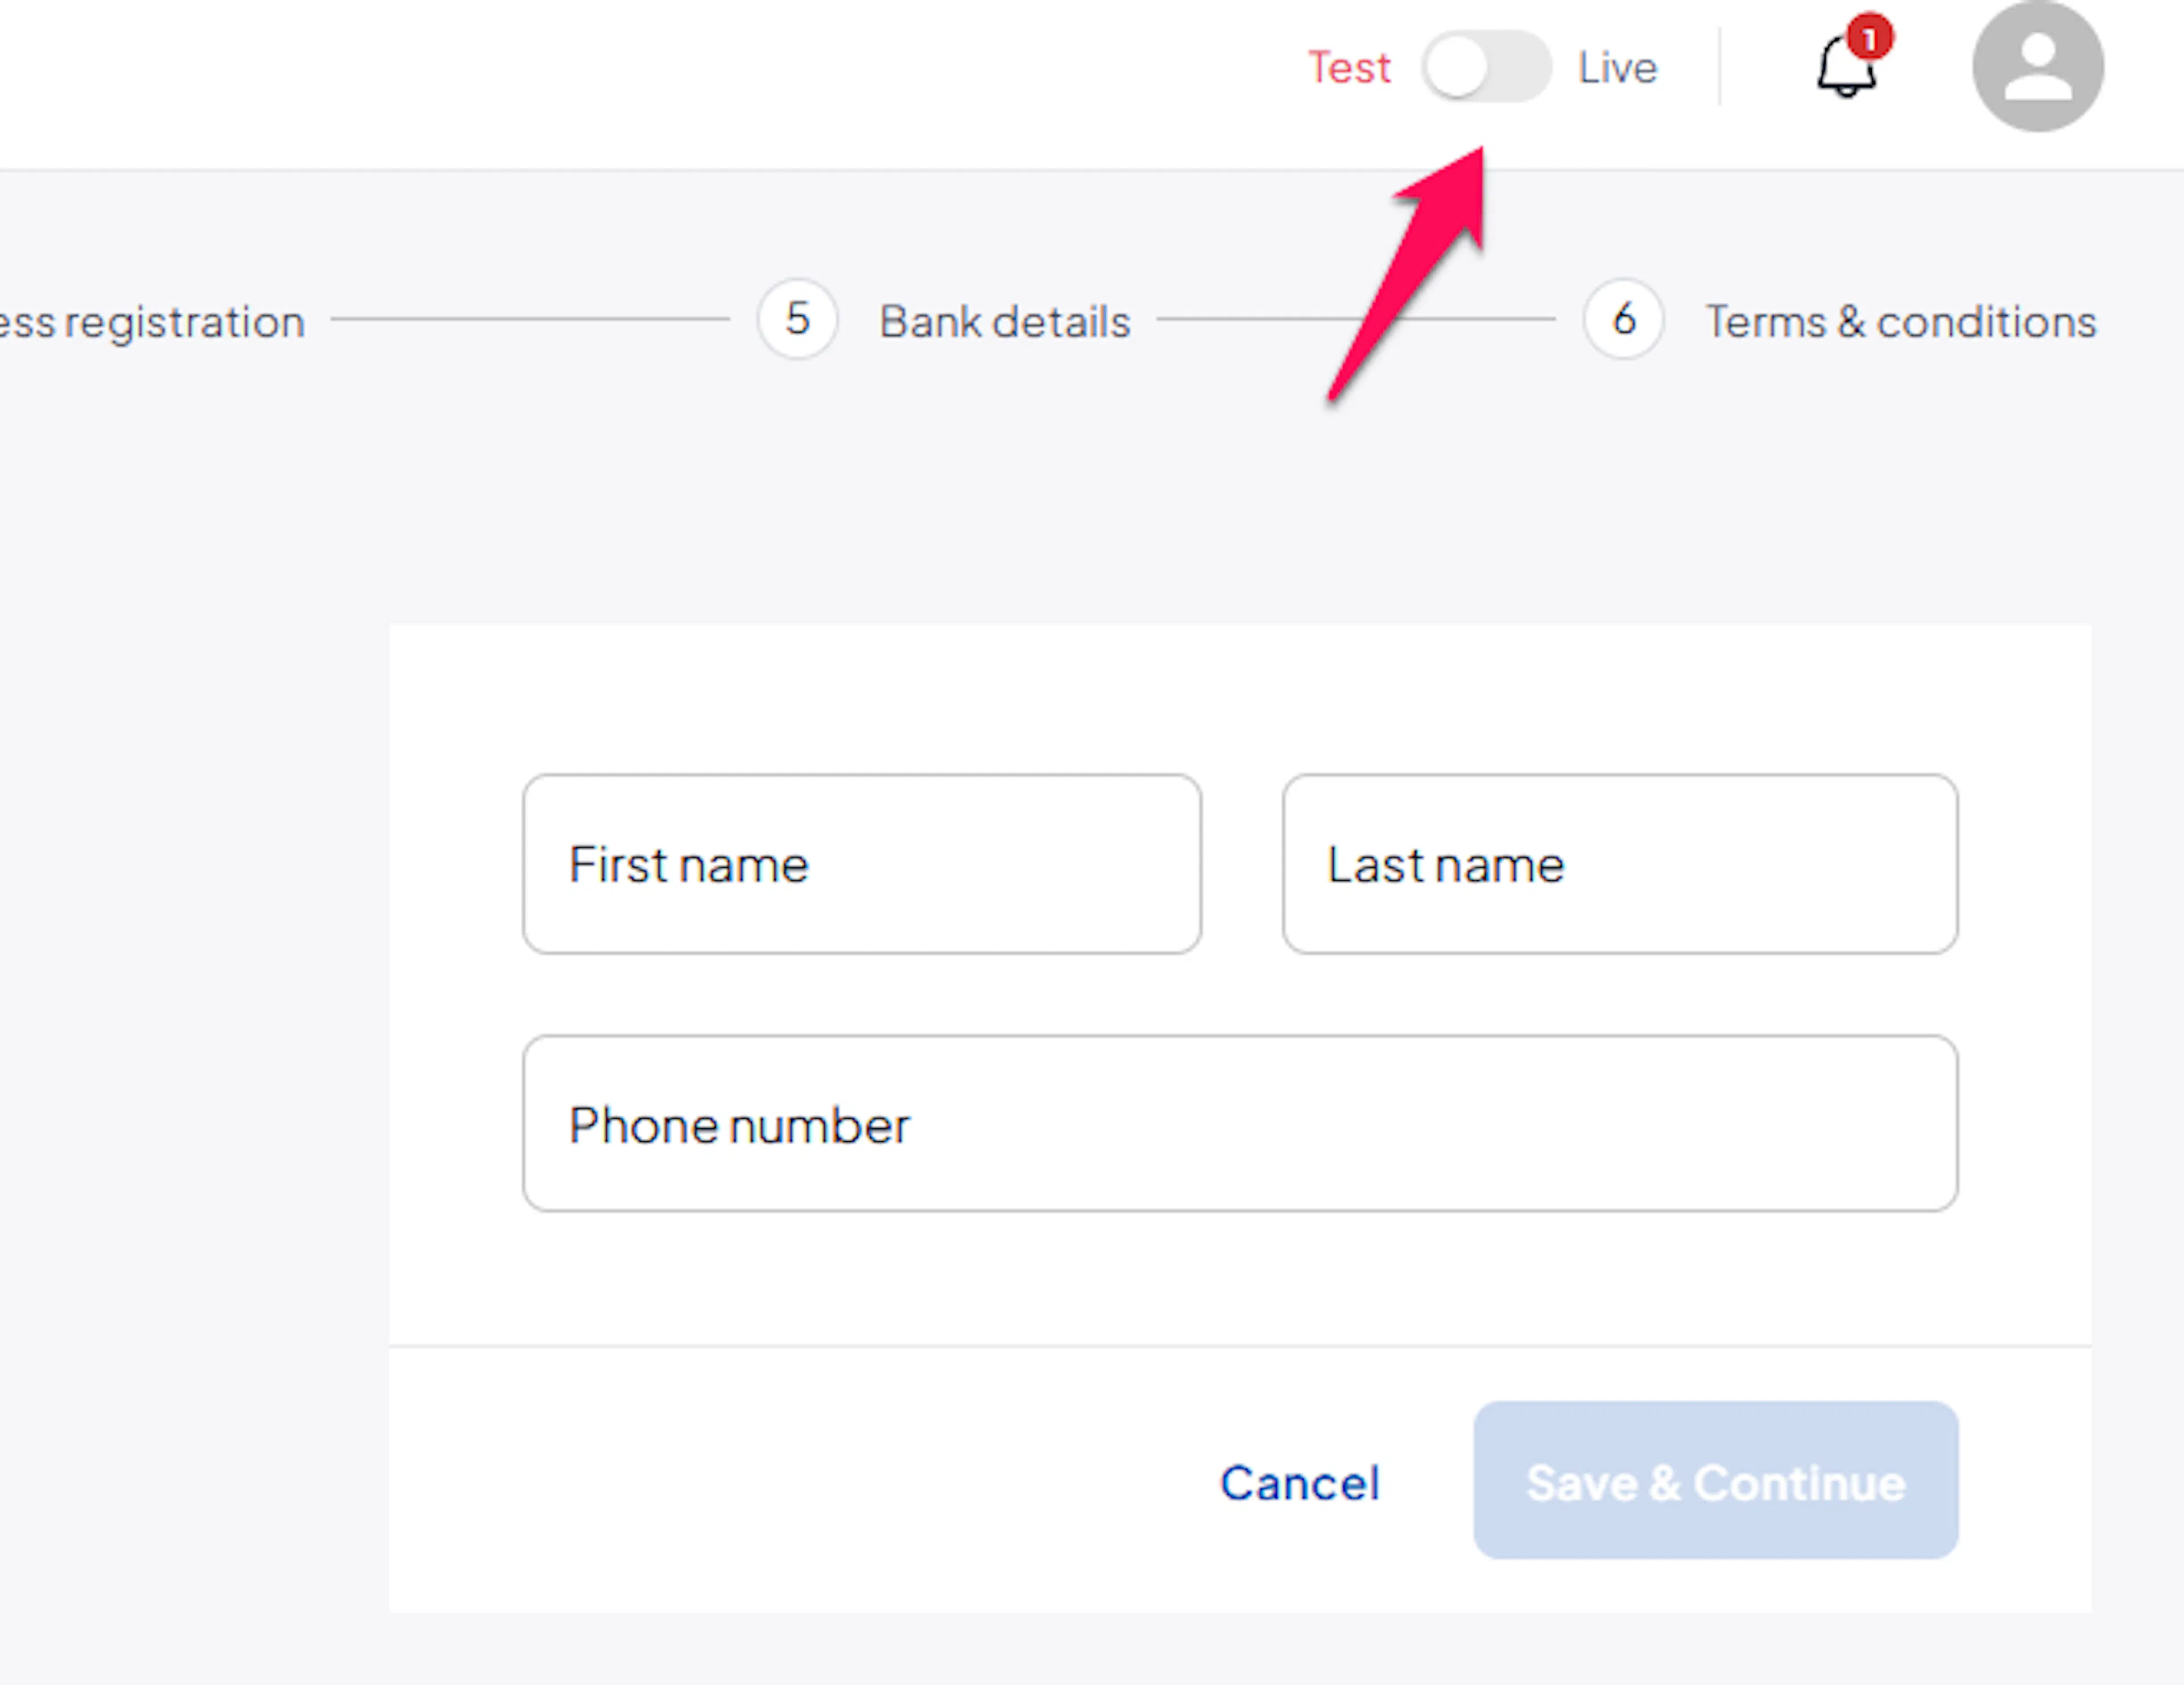
Choose Test or Live mode
Use the Test / Live toggle at the top right of the dashboard. Each mode has its own set of keys, so make sure you are in the mode you want to configure before copying anything.
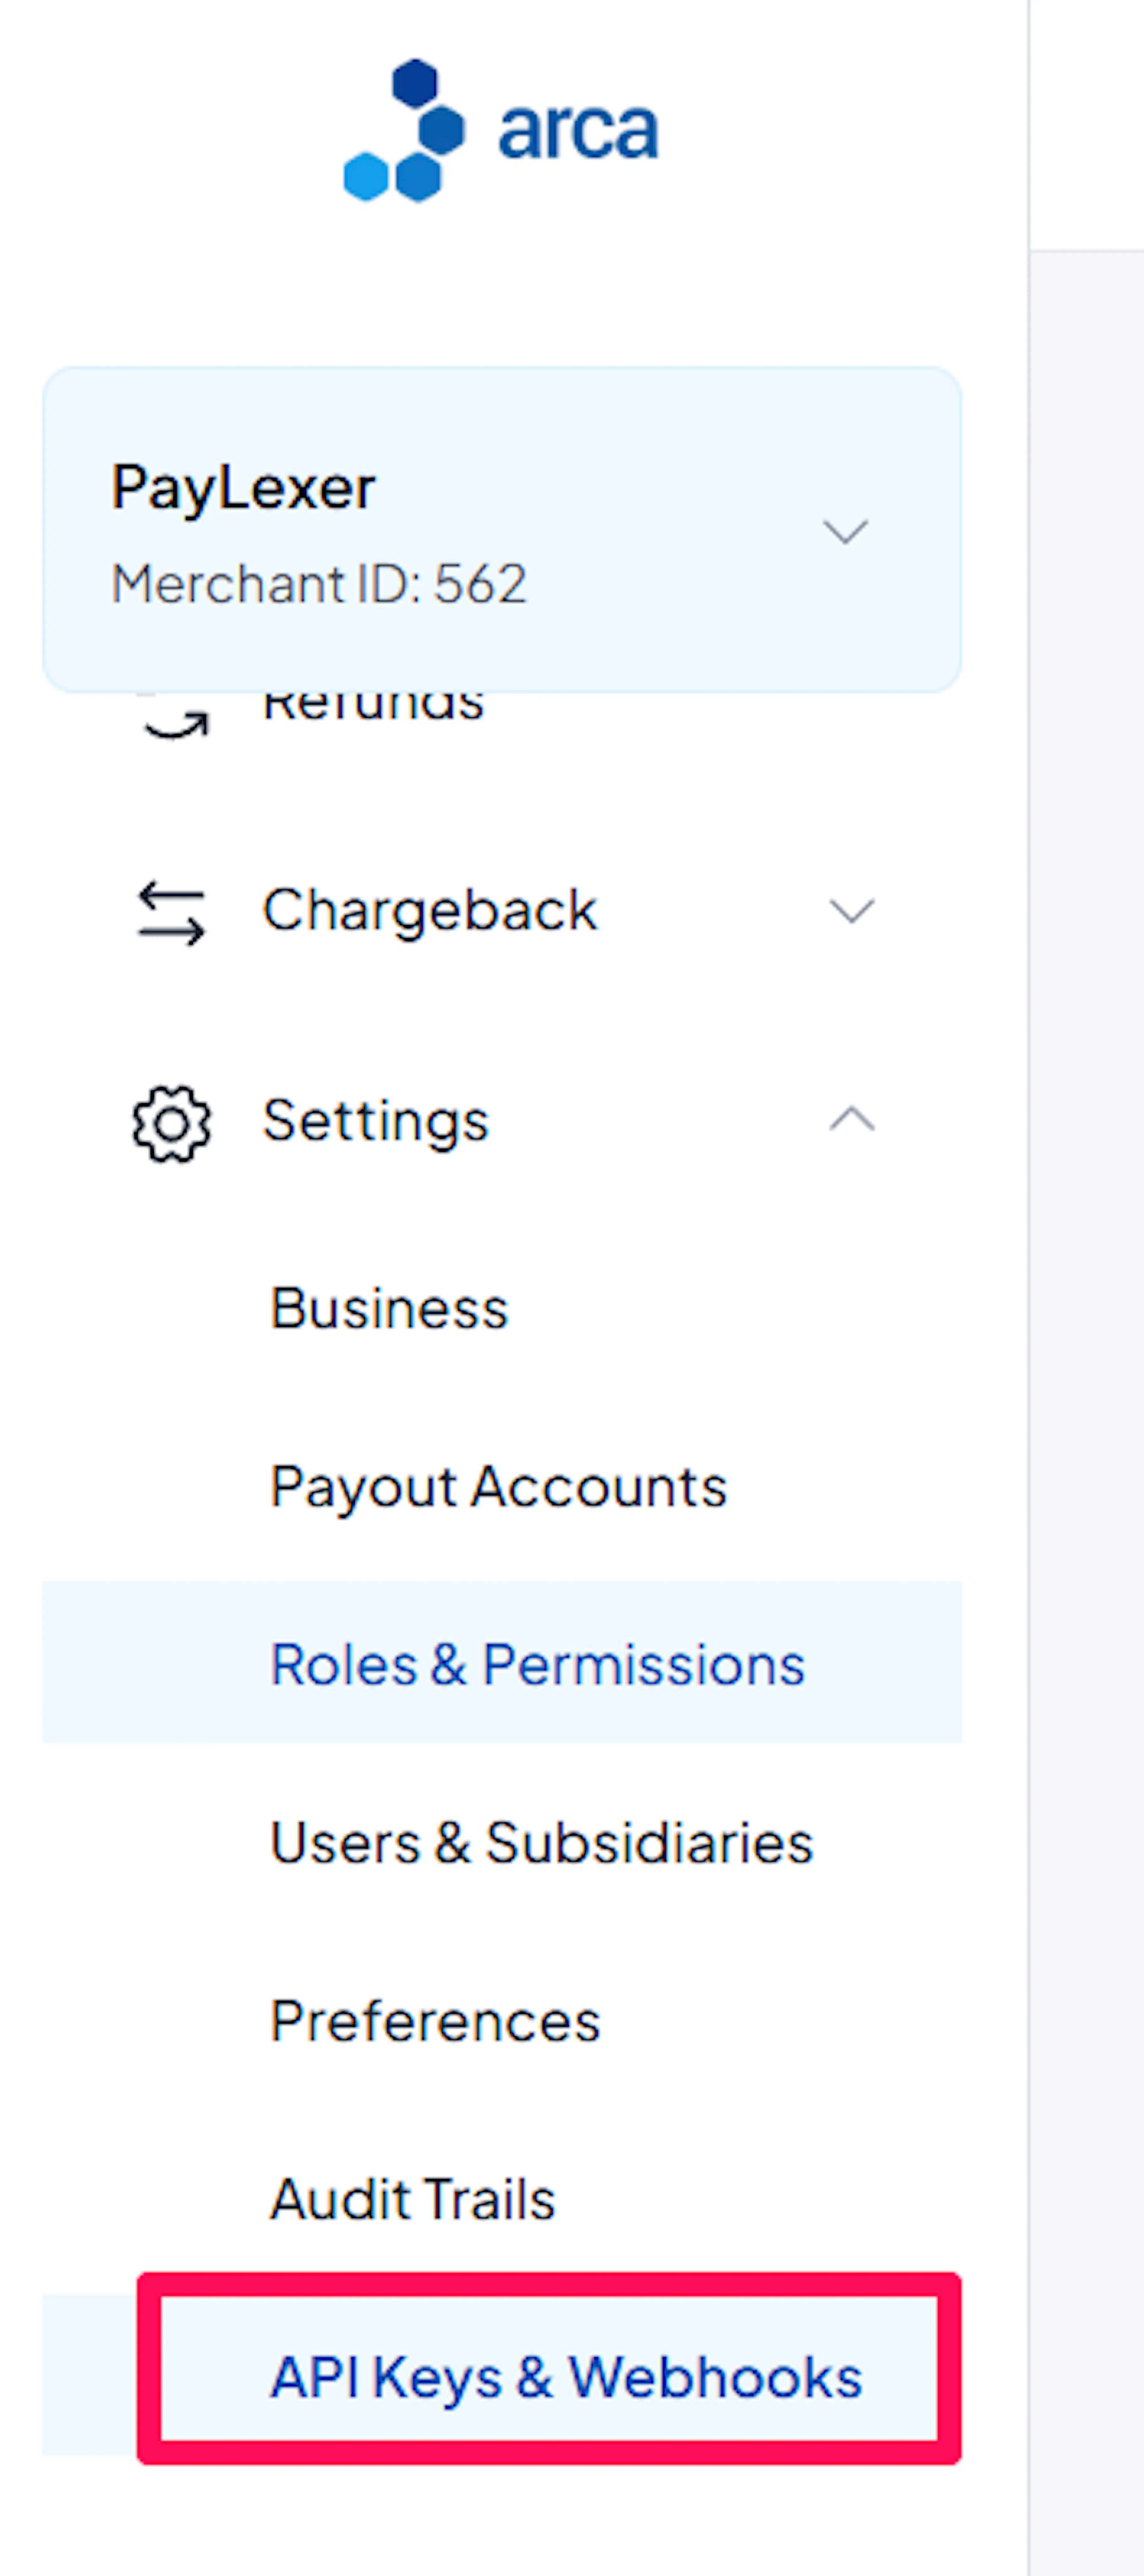
Open API keys and webhooks
Go to Settings → API keys & Webhooks.
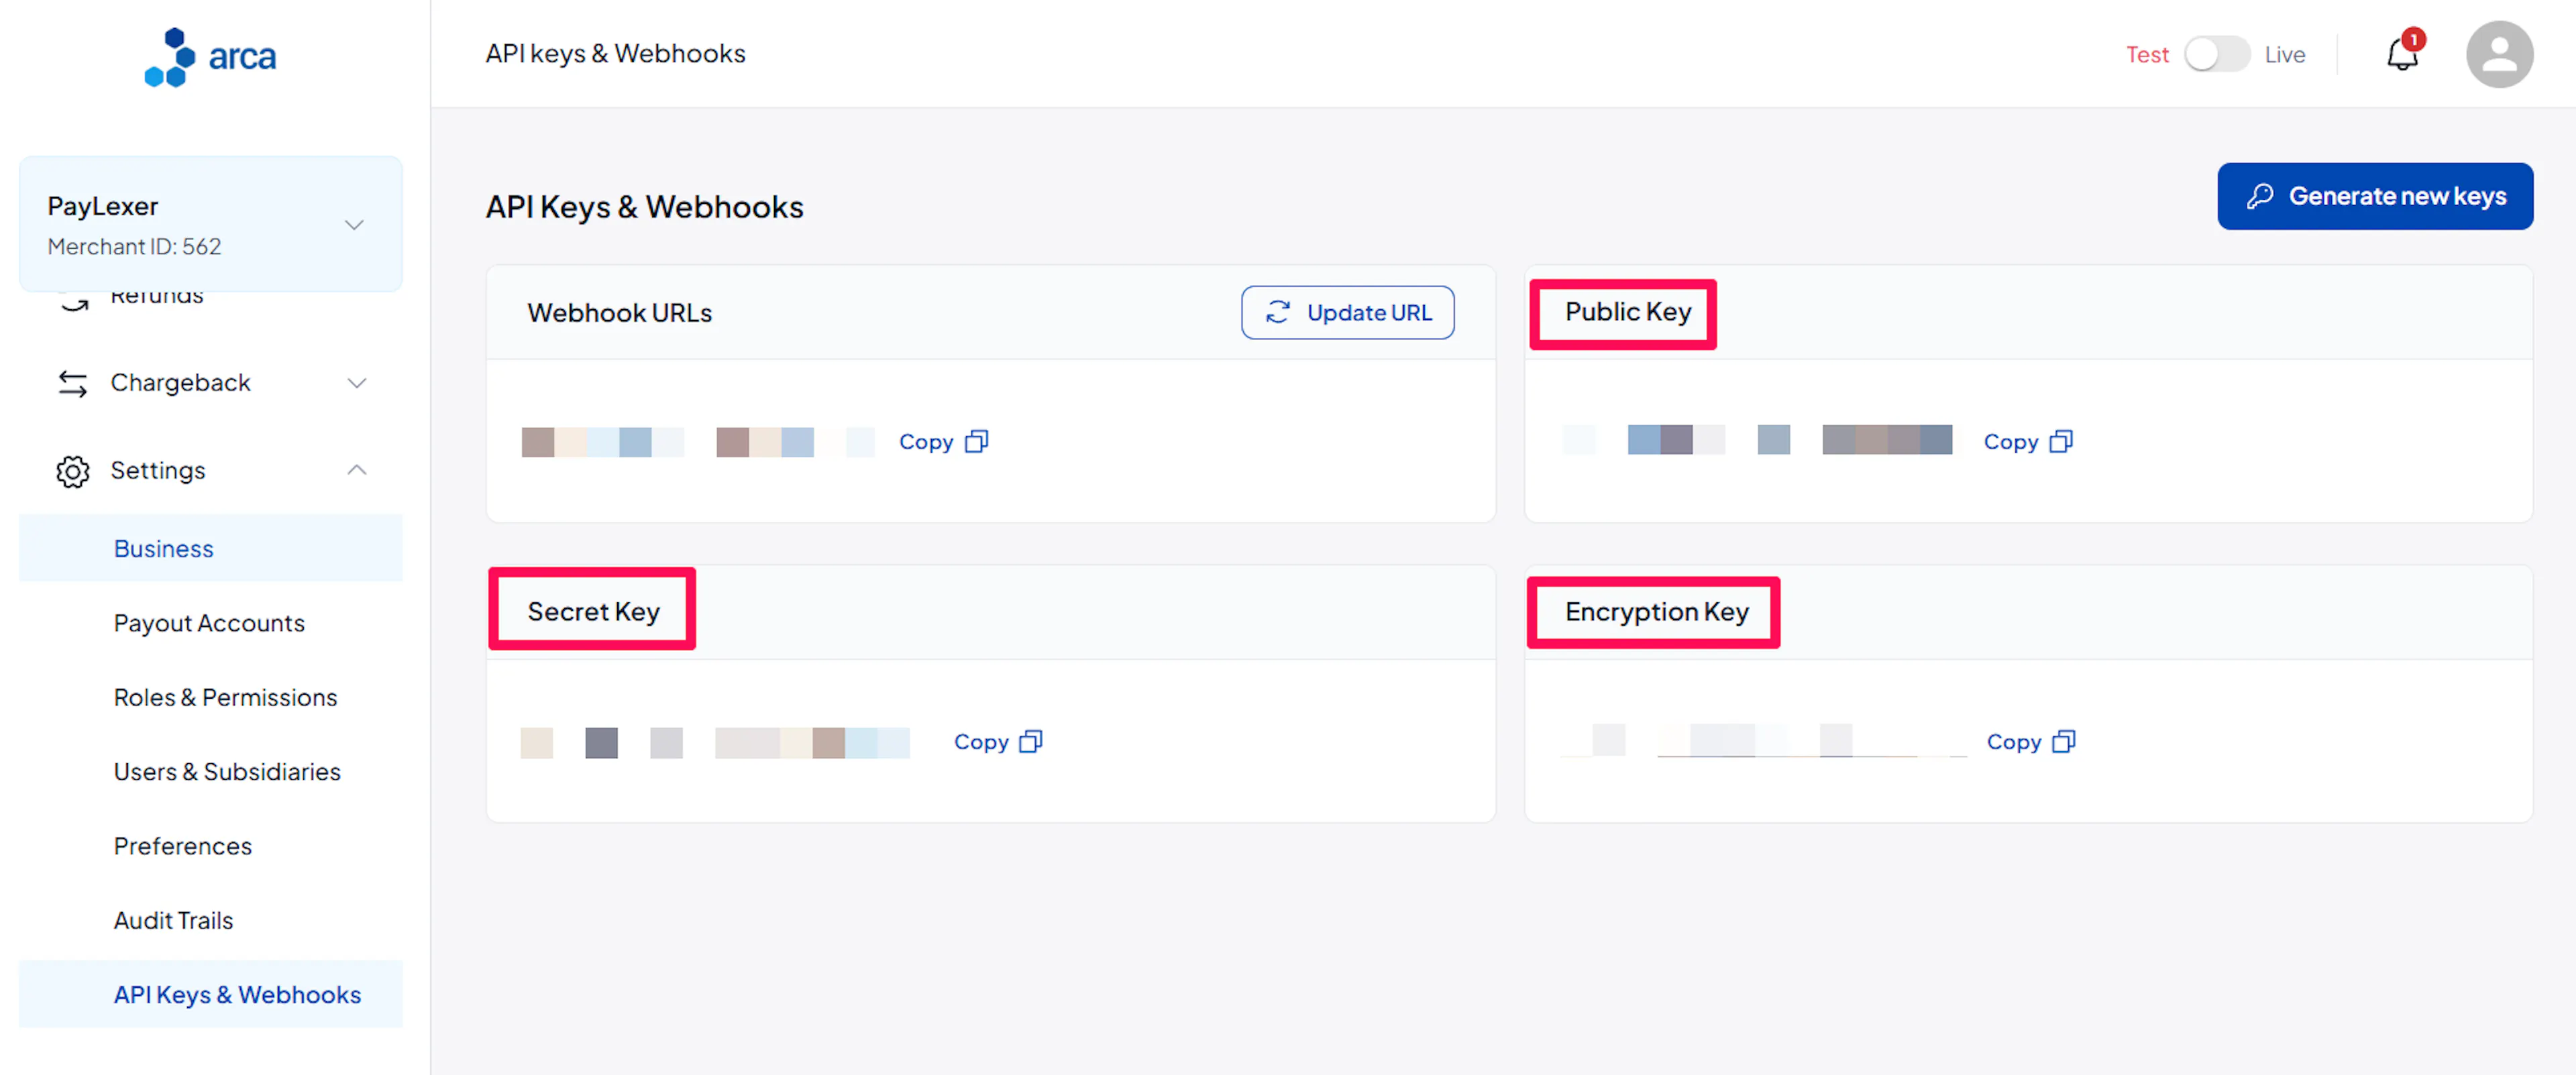
Copy your three keys
Use the Copy button next to each of the Public Key, Secret Key and Encryption Key. The values shown on screen are shortened, so always use the Copy button rather than selecting the visible text.
Adding Credentials to PayLexer
Open PayLexer Dashboard
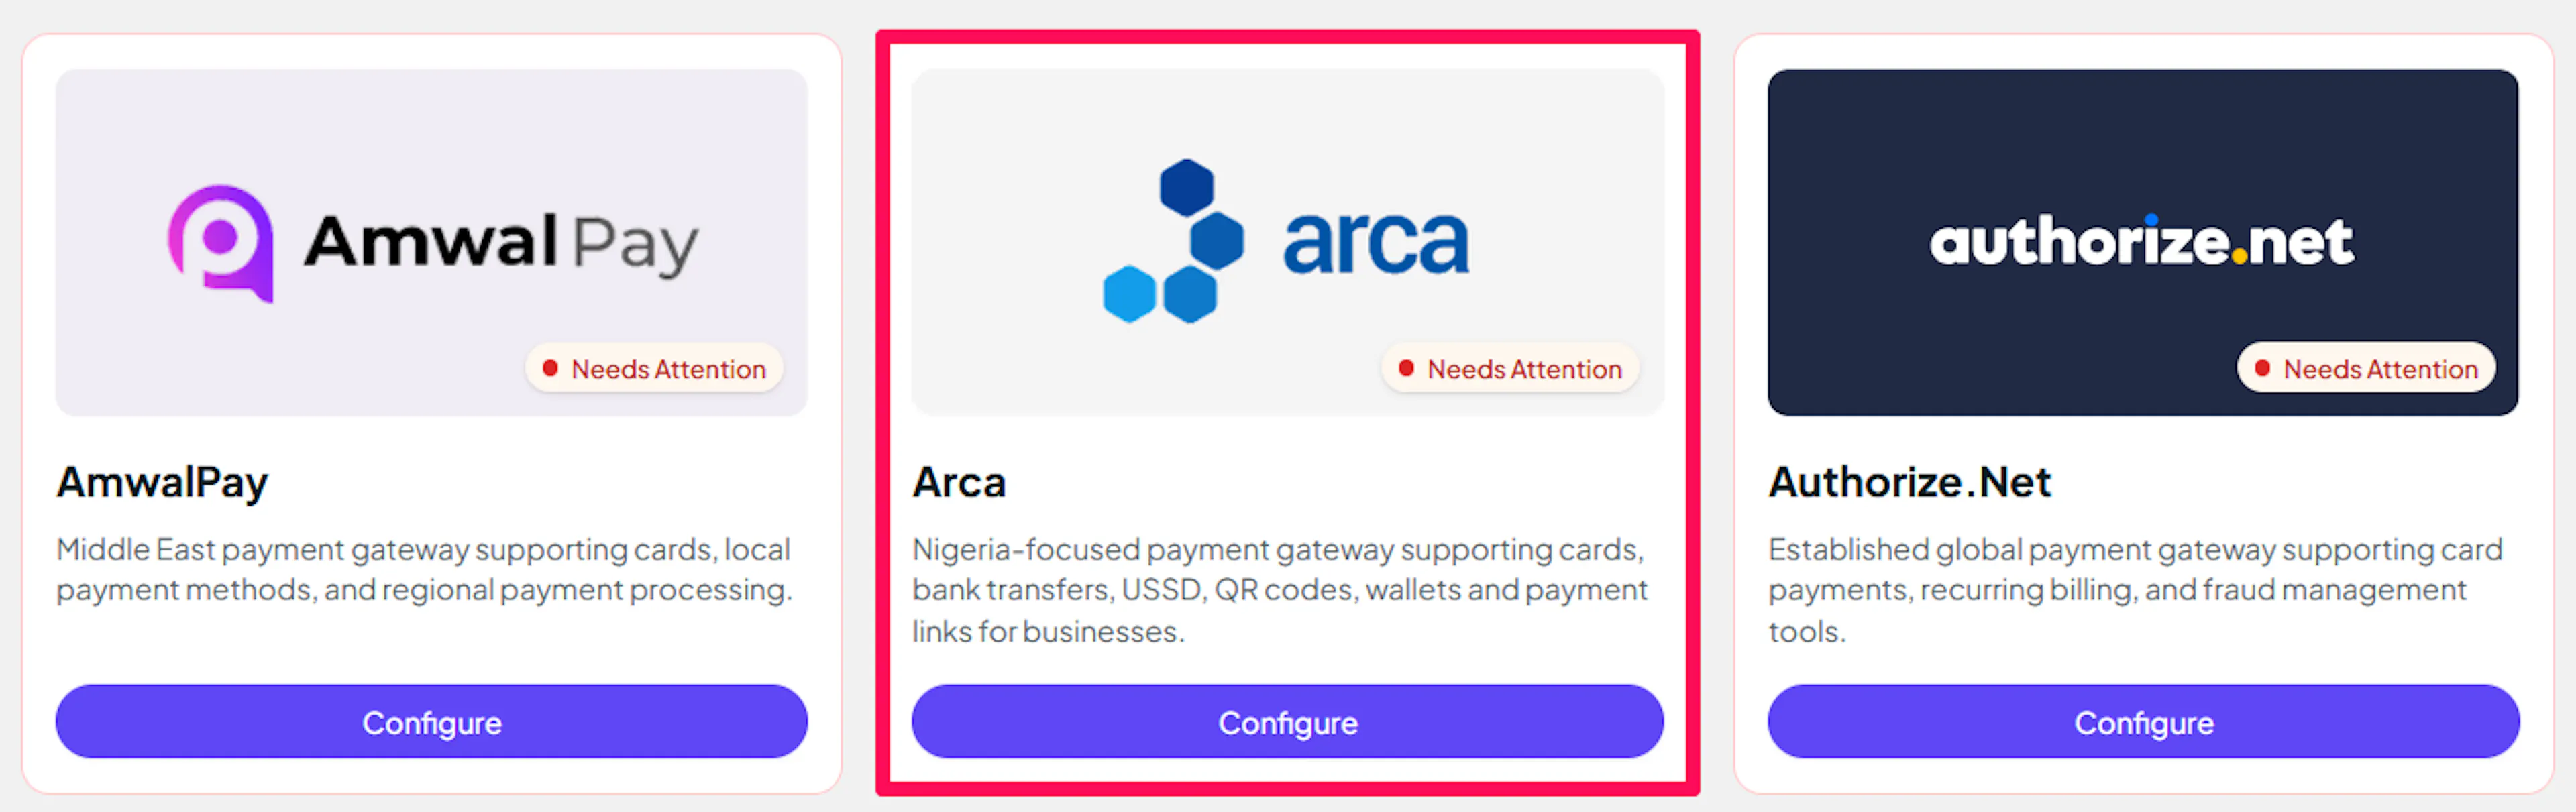
Log in to your PayLexer dashboard and navigate to Payment Gateways → Arca.
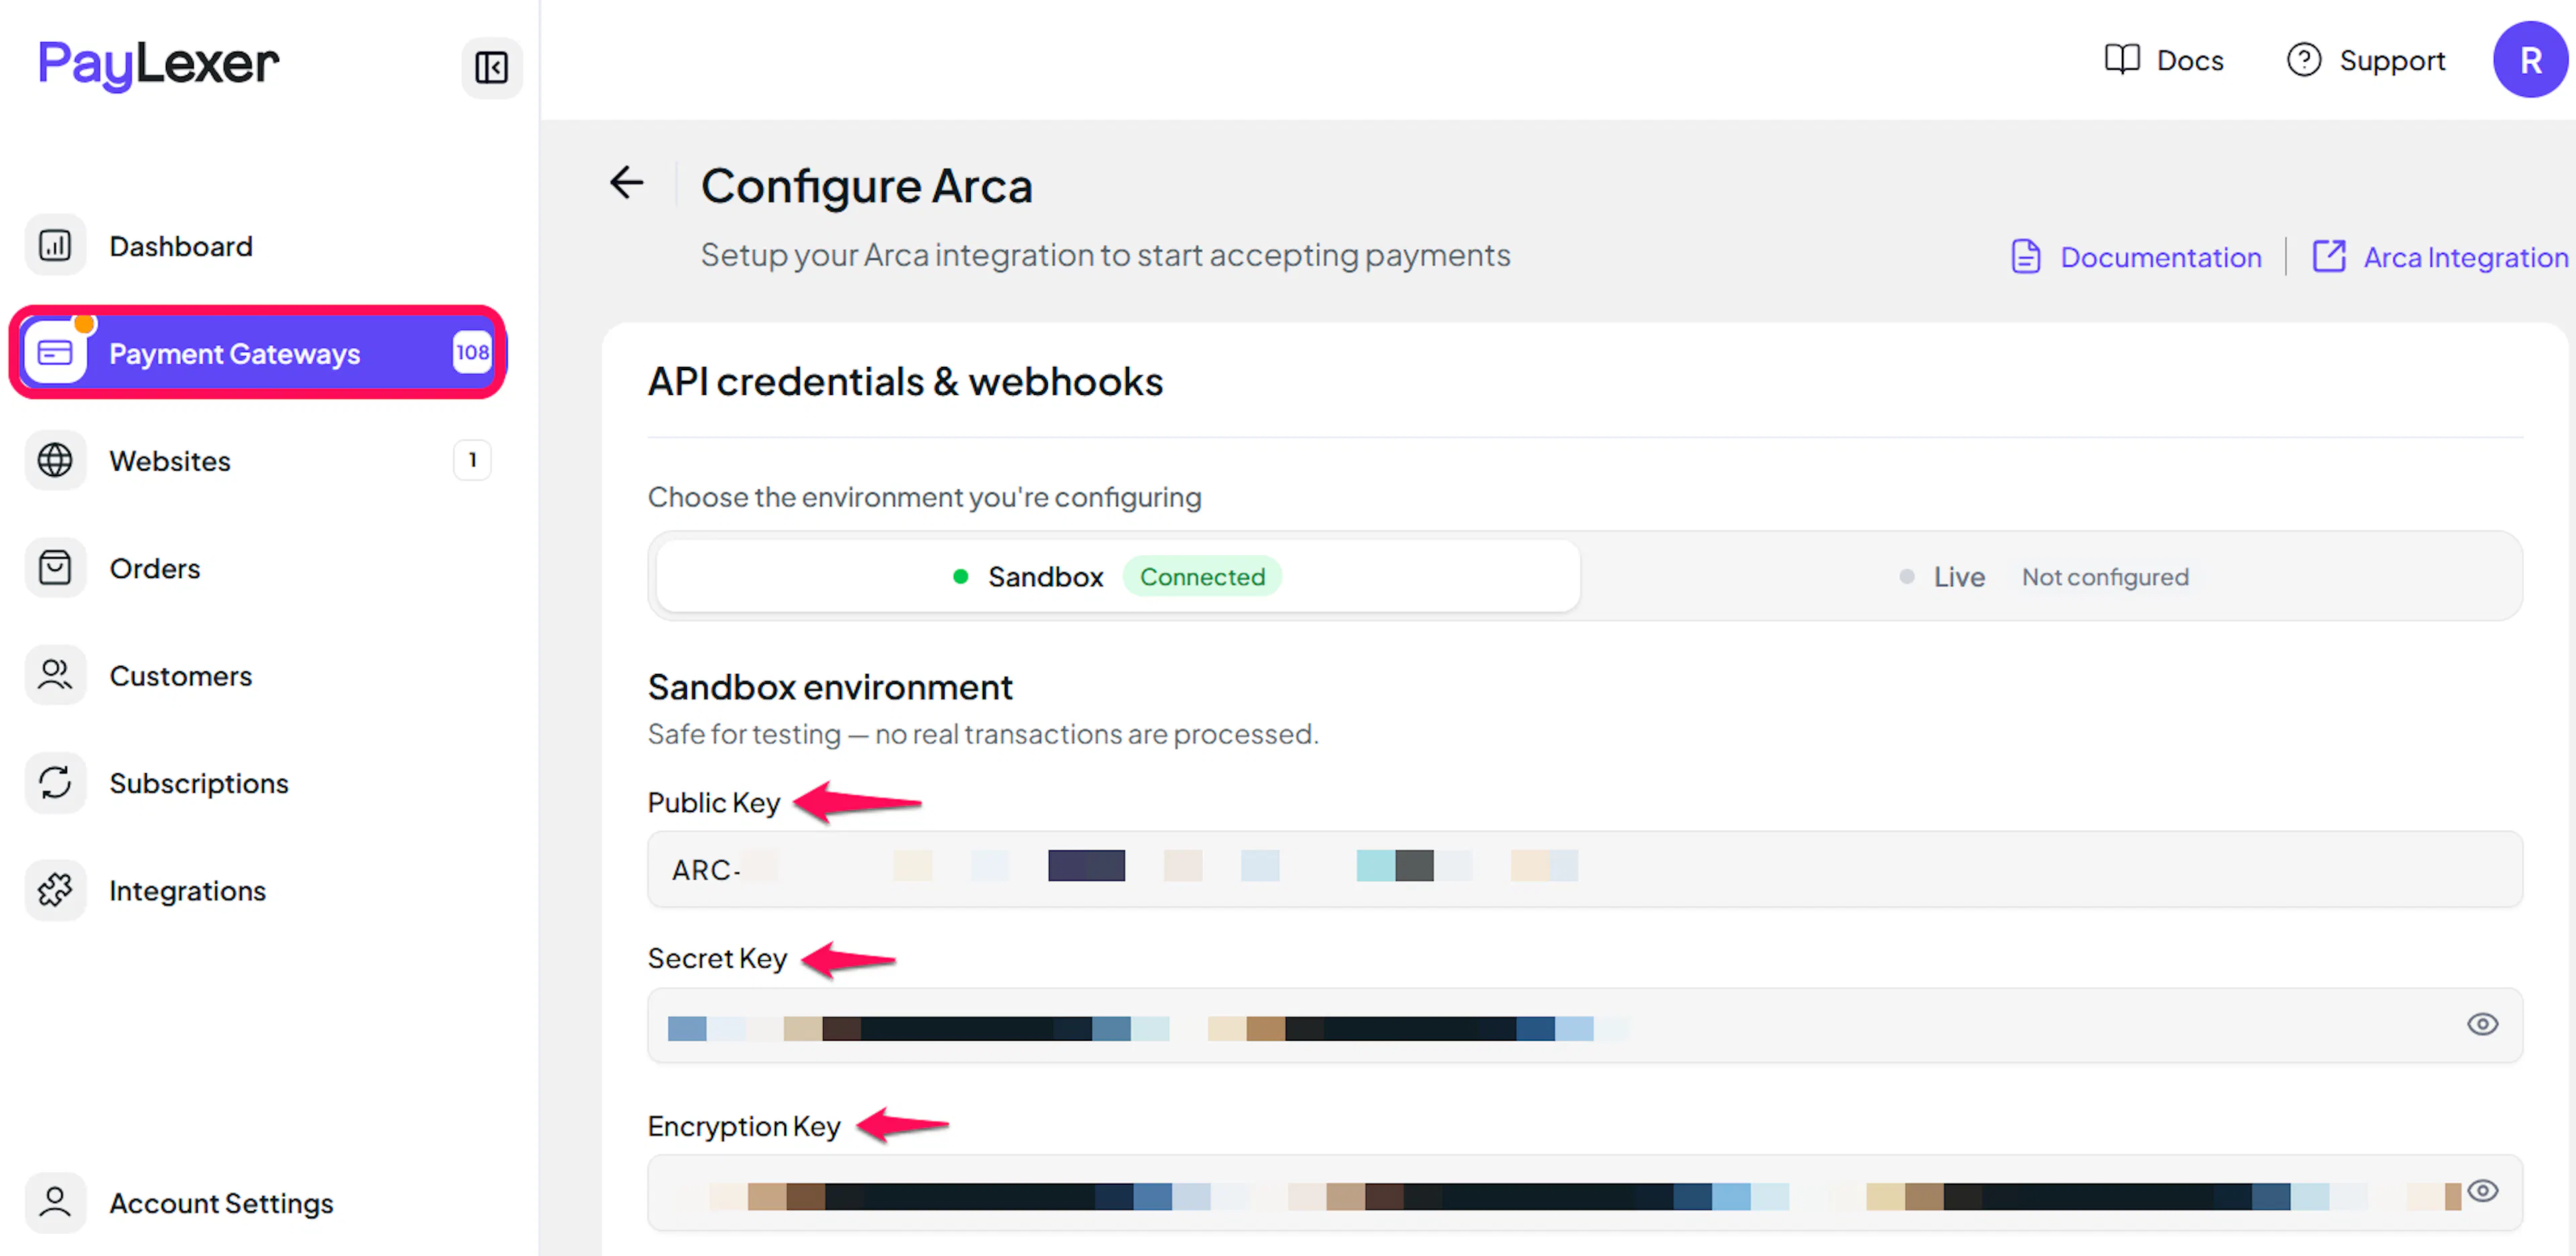
Enter your credentials
Paste the Public Key, Secret Key and Encryption Key you copied from Arca into the corresponding fields.
Understanding Live/Production and Sandbox Settings:
| Environment | Purpose |
|---|---|
| Live / Production | Used for real transactions. |
| Test / Sandbox | Used for testing only. No real money is processed. |
How PayLexer selects credentials:
- Debug/Test mode ON → Test credentials are used
- Debug/Test mode OFF → Live credentials are used
Test and save
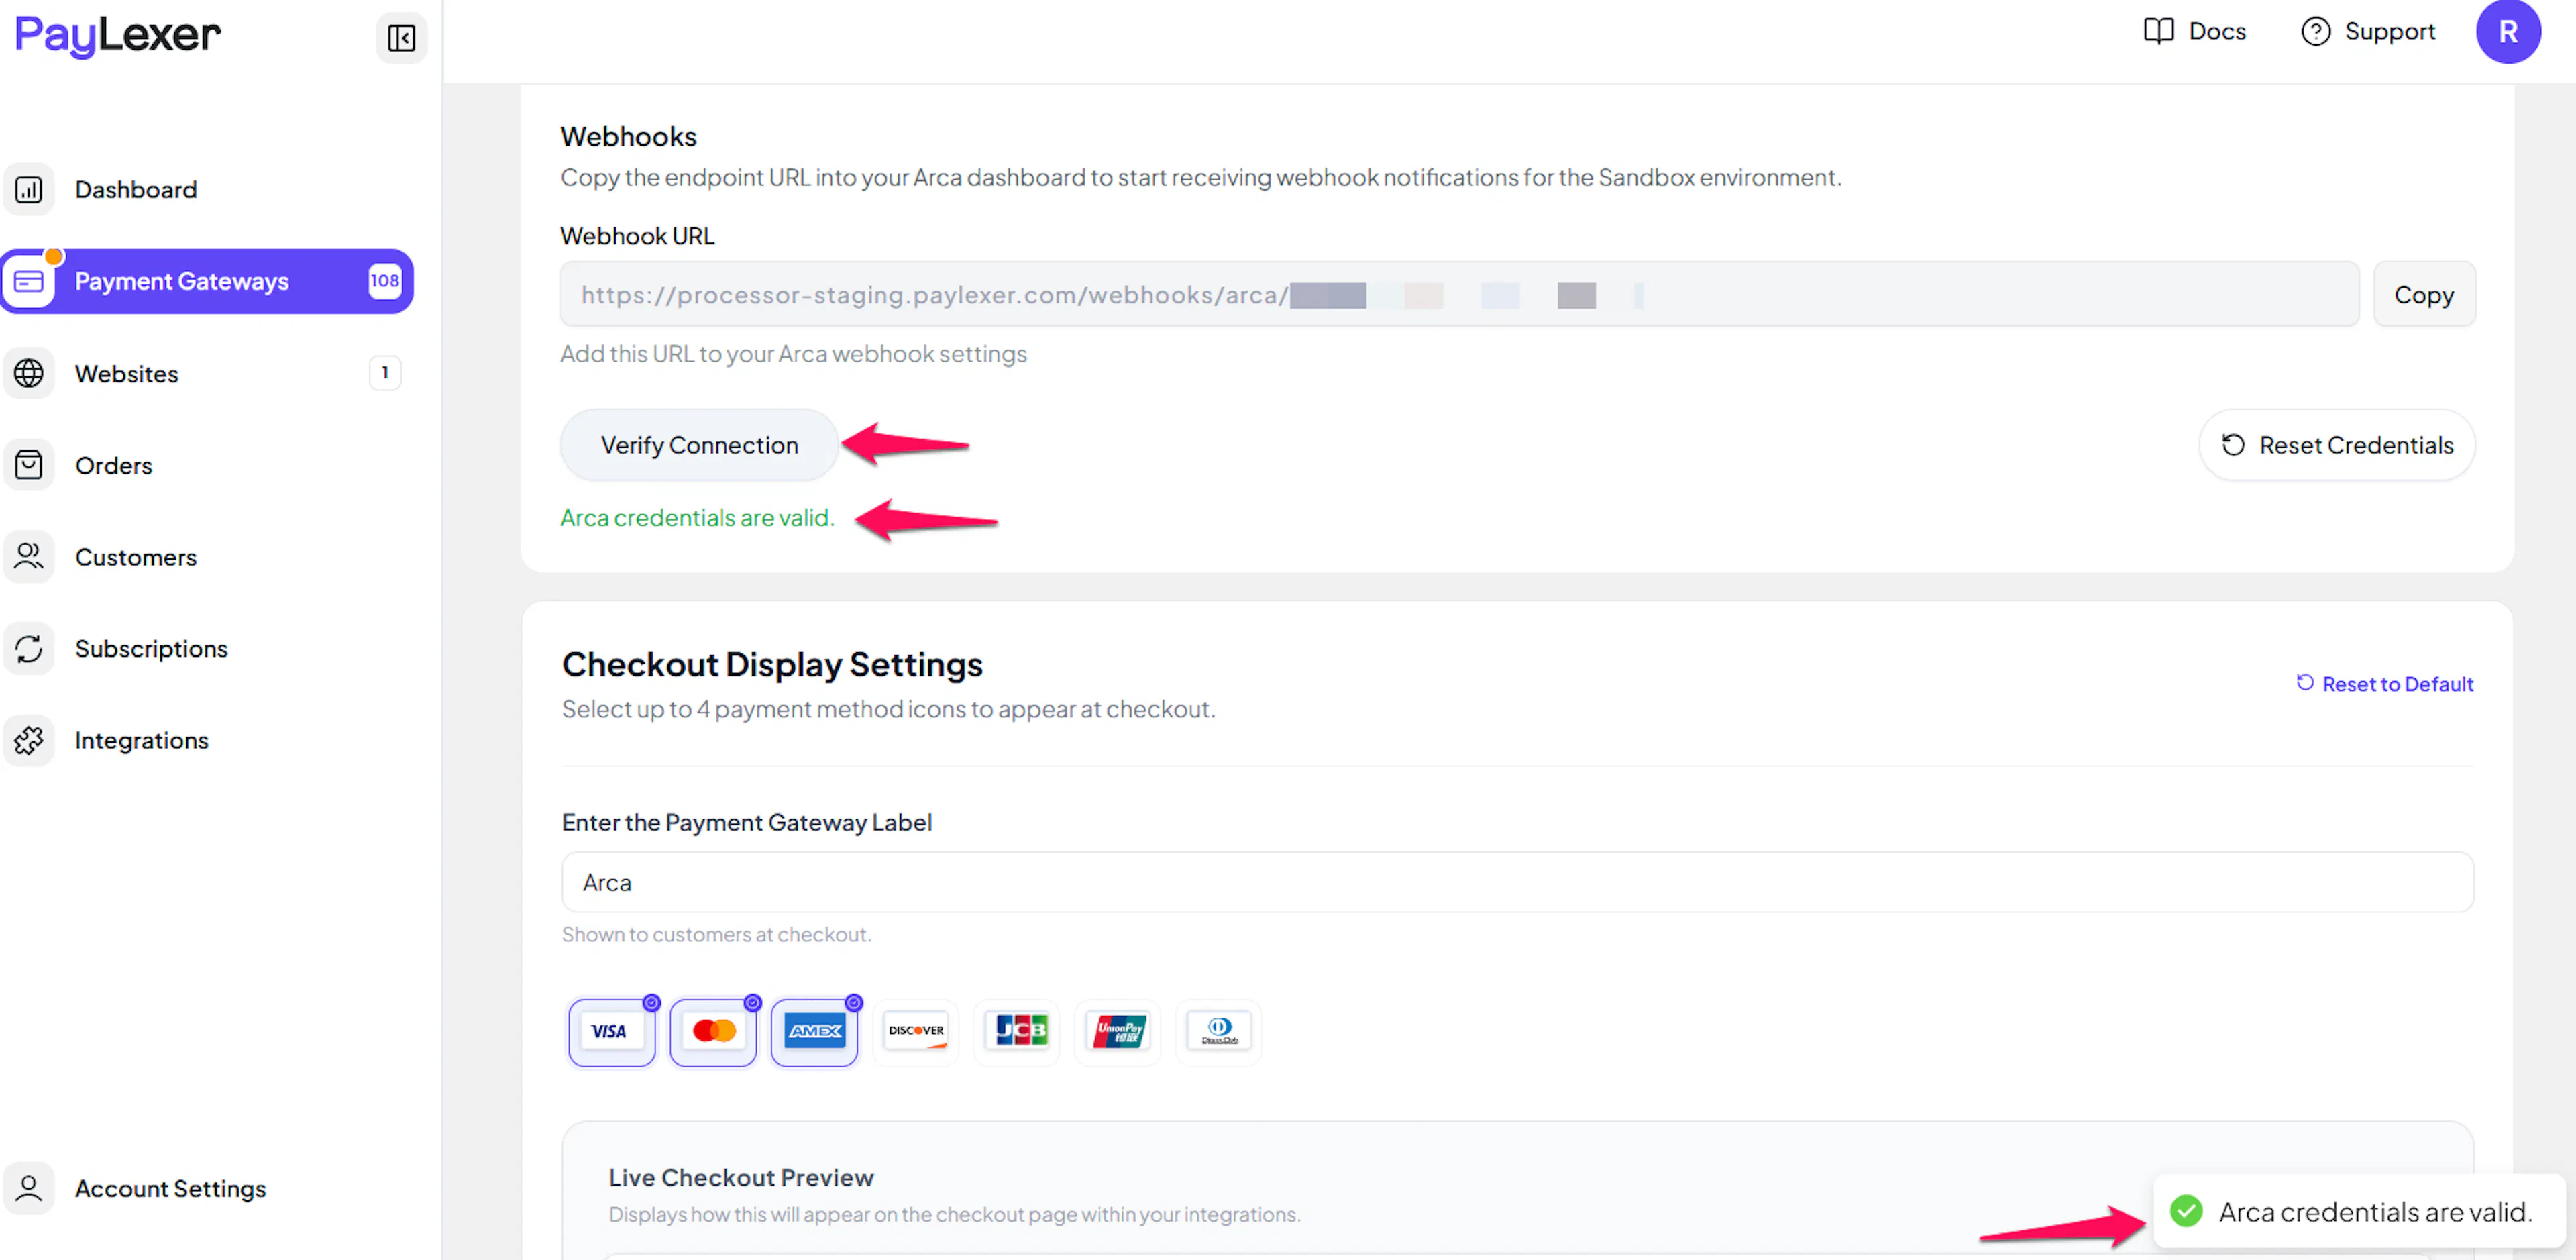
Click Save to save your configuration and verify your credentials. Click Verify Connection to test the connection.
PayLexer checks each key separately, so if one is wrong the error message tells you which one to fix.
Configuring Webhooks (Mandatory)
Webhooks enable real-time payment updates and significantly improve reliability.
Benefits of Webhooks:
- Instant payment status updates
Card payments are confirmed when the shopper returns from their bank, so they work even without a webhook. Bank transfers settle later and will only update your store if a webhook URL is set, so add one before accepting bank transfers.
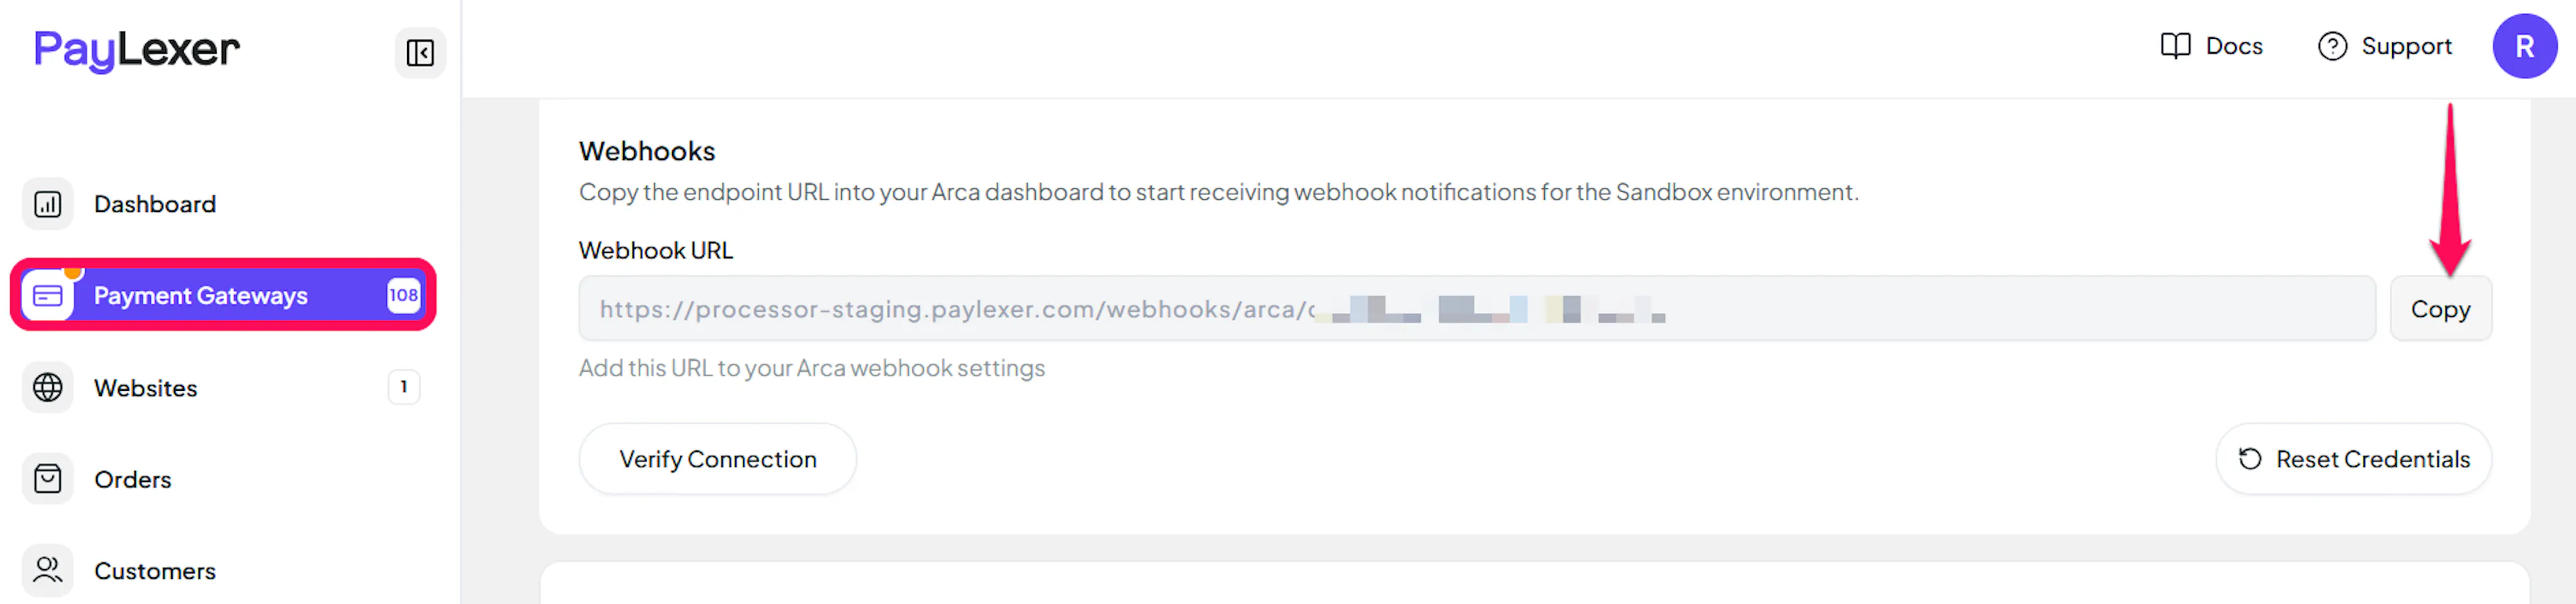
Copy your webhook URL from PayLexer
On the Payment Gateways → Arca page in PayLexer, copy the Webhook URL shown in the configuration.
Open API keys and webhooks in Arca
In your Arca dashboard, go to Settings → API keys & Webhooks and find the Webhook URLs section.
Add the URL
Click Update URL (or Add URL if no webhook has been saved yet), paste the webhook URL into the Webhook URL field and click Update to confirm.
Repeat this in both Test and Live mode if you use both, since each mode stores its own webhook URL.
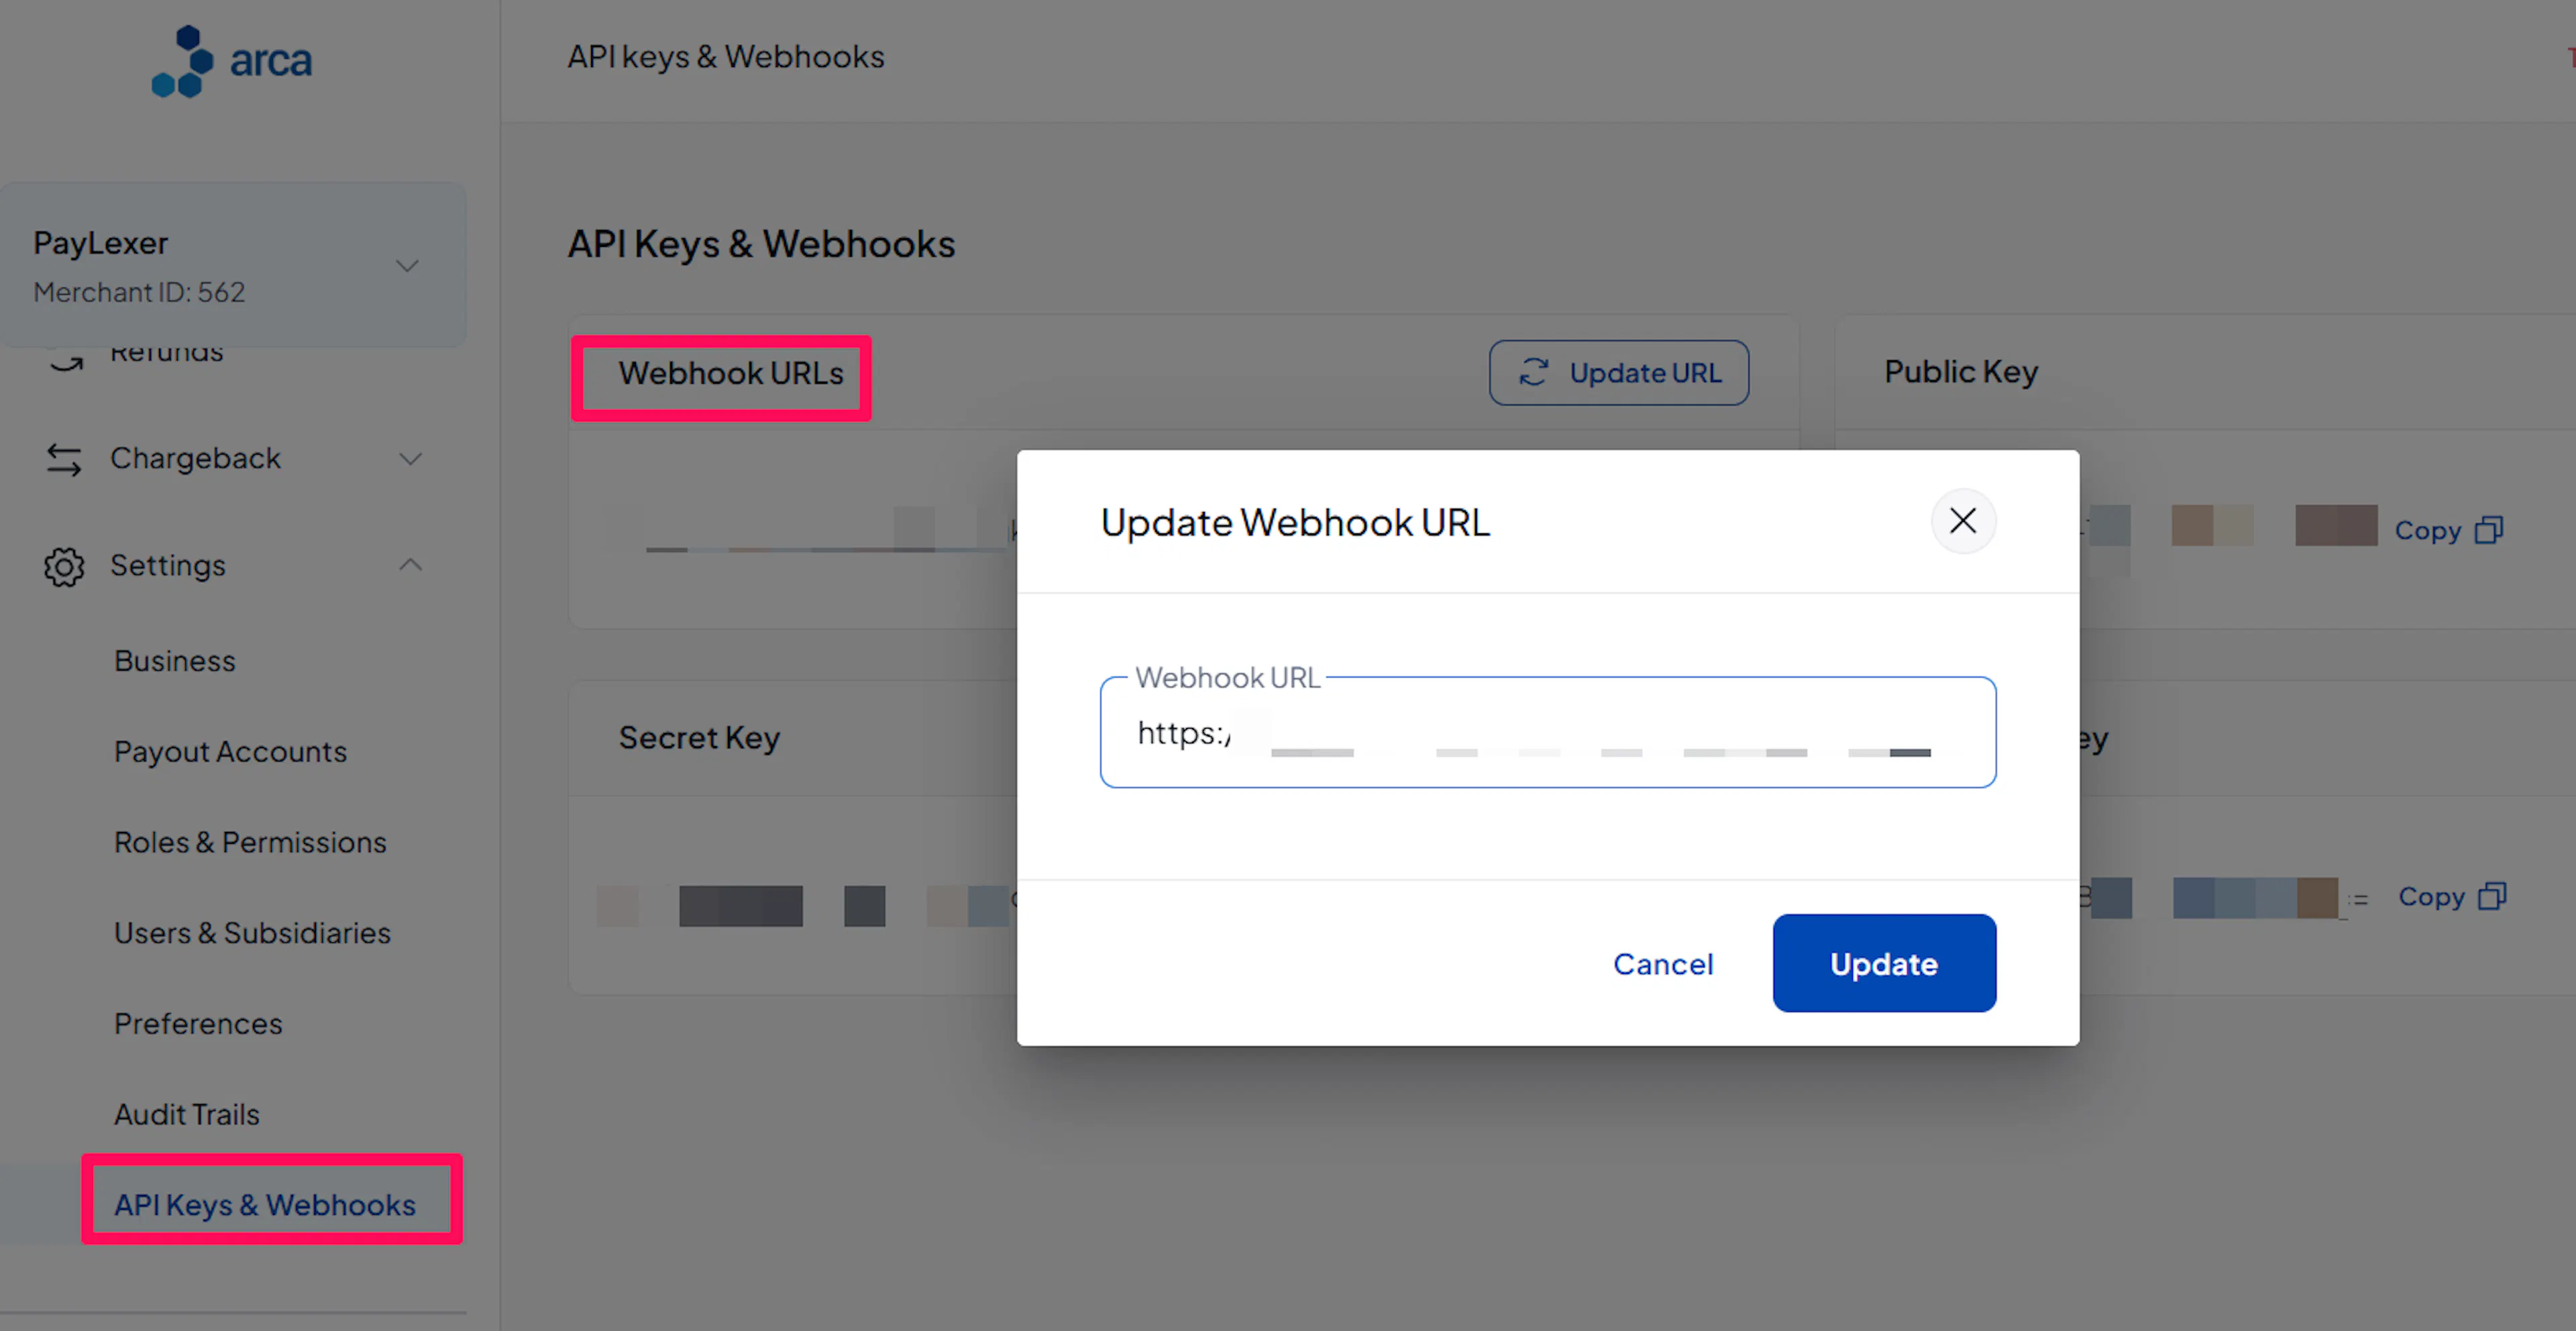
Arca does not sign its webhook notifications, so PayLexer never treats one as proof of payment on its own. Every notification is checked against Arca's own records before your order is updated. No webhook secret or signing key is needed.
Integrate Arca to Your Website
If you have already added and configured your site, you can enable Arca in your existing setup.
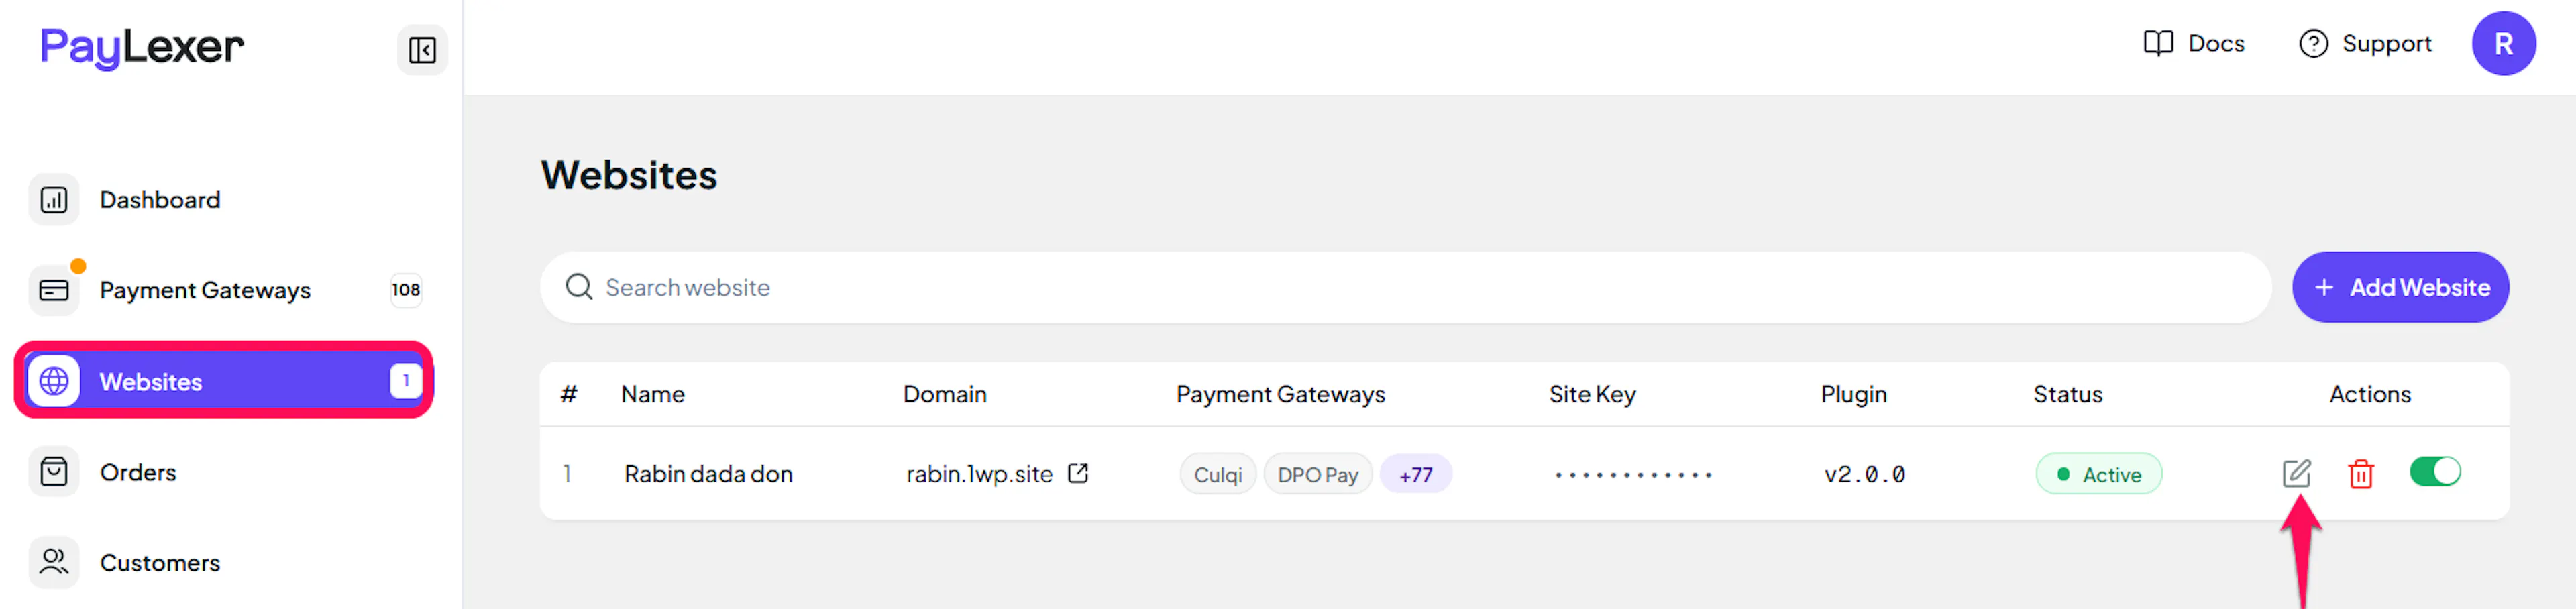
Go to Websites
Navigate to Websites in your PayLexer dashboard.
Edit your website
Click the Edit Icon of your added website.
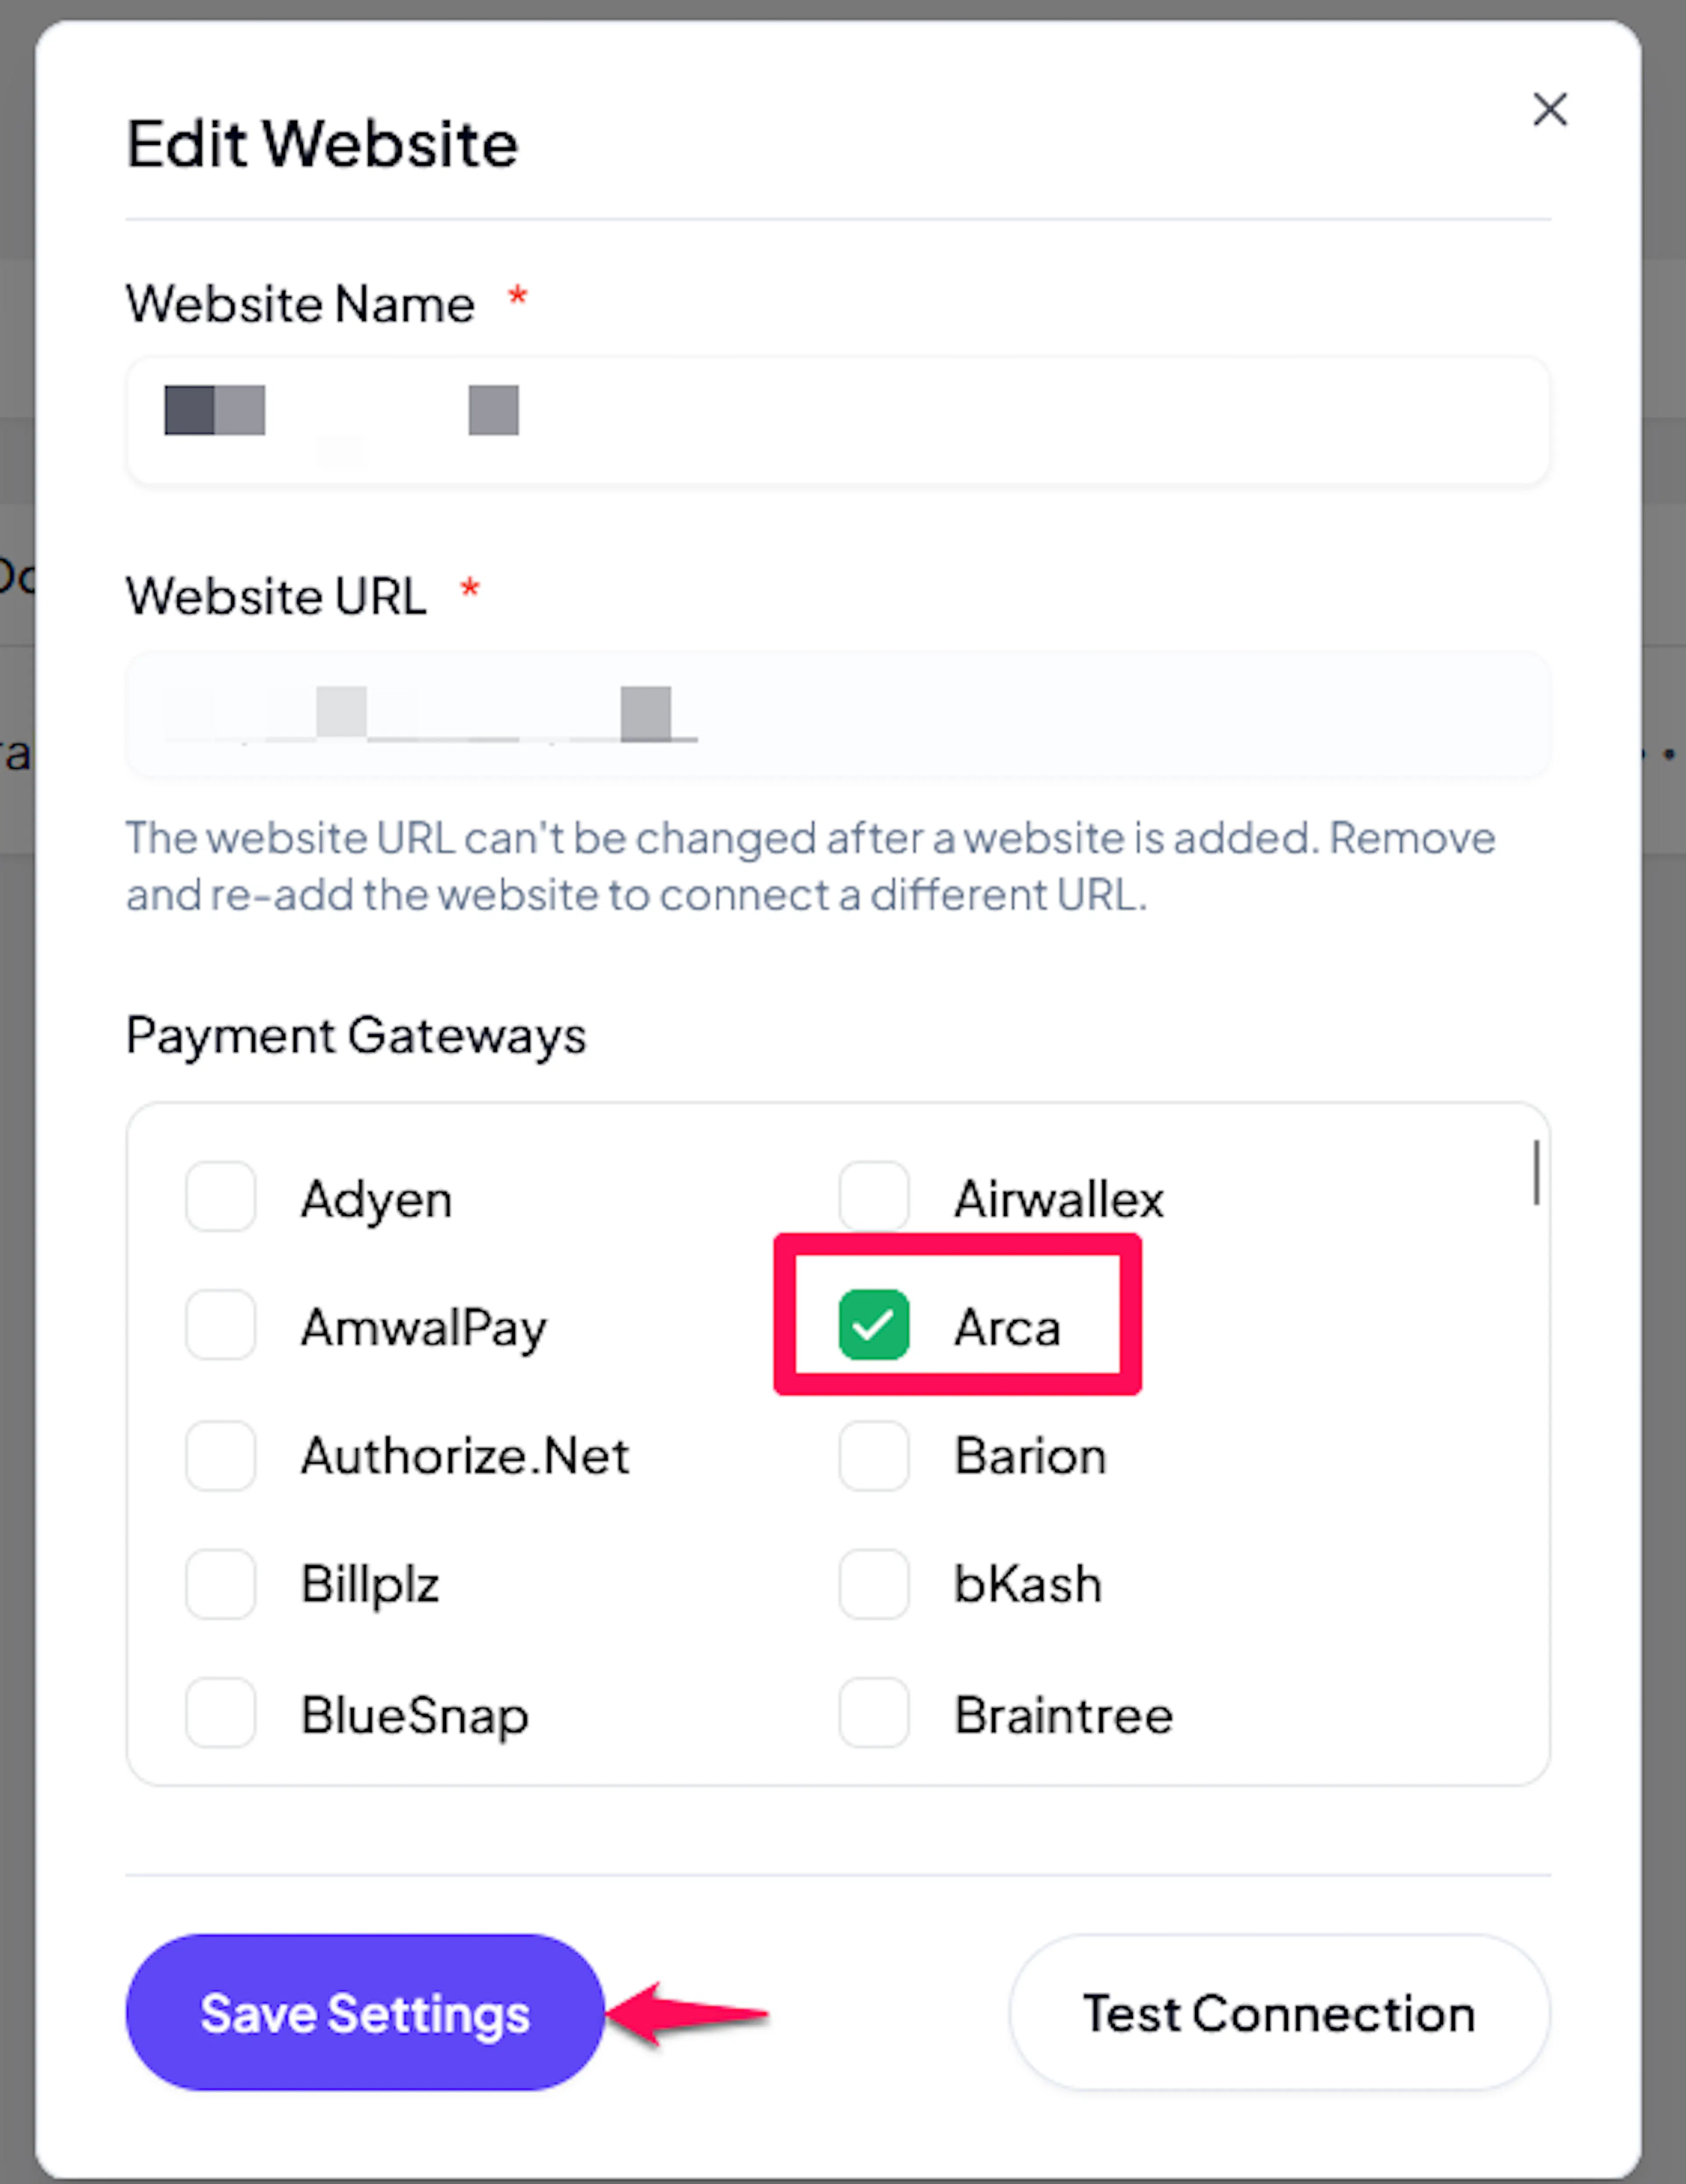
Enable Arca
Click the checkbox to enable Arca for the website.
If you haven't added a website yet, Continue to Add Your Website →
Troubleshooting
Best Practices
- Test in sandbox before enabling production. Use Arca's test cards, such as Mastercard 5123450000000008 with CVV 100 and expiry 01/39.
- Add your webhook URL in both Test and Live mode, so bank transfer payments update your store in both.
- Confirm your store currency is on Arca's supported list before you go live.
- Keep your Secret Key and Encryption Key private. Only the Public Key is safe to expose.
- Record any refund you issue in the Arca dashboard against the order in your store, since PayLexer cannot see it.
- Complete your Arca KYC early. Test mode works immediately, but live payments need Arca to approve your business documents.
FAQs
Still Have Questions?
- Arca Support:
- Support: Contact Support
- Support Phone: 0700 272 2729
- Developer Documentation: Arca Payment APIs
- PayLexer Support: Contact Support