

Barion
Connect Barion to PayLexer to accept card and e-wallet payments across the European Economic Area through a Barion-hosted checkout page.
Barion is a Hungarian payment gateway regulated as an electronic money institution, built for merchants selling across the European Economic Area. It lets you accept Visa, Mastercard, and payments from a shopper's own Barion e-wallet balance, settling in the shopper's local currency without a conversion detour. Barion currently only opens merchant accounts for businesses based in the EEA.
- Supported Regions (Merchant Accounts): European Economic Area (EEA)
- Supported Currencies: Hungarian Forint (HUF), Euro (EUR), Czech Koruna (CZK), US Dollar (USD), Romanian Leu (RON), Polish Złoty (PLN) - view full list
Your Barion Wallet needs a subsidiary account in every currency you want to accept. If your wallet only holds HUF, EUR payment can't be created at all. Open the matching currency account under My currencies in your Barion Wallet before enabling those orders.
Supported Features
- Hosted checkout page for one-time card and Barion e-wallet payments
- Full and partial refunds on completed payments
- Automatic real-time payment updates, with no webhook setup required on your part
- Separate sandbox and live credentials, so test payments never touch real money
Before You Start
Make sure you have:
- Barion Account – Don't have one? Sign up for Barion →
- PayLexer Account – Required to configure the integration. Create your account →
- A website where you want to integrate
Looking for a different payment processor? View all supported gateways →
Configuring Barion
You need a POSKey and a Registered Shop Email (Payee) from Barion for this integration.
Getting API Credentials
Barion issues a POSKey to each Barion Shop you open under your wallet - it's how PayLexer authenticates every request on your behalf. PayLexer also needs the exact email address your Barion wallet is registered with, since every payment must be marked as paying that account by name.
Sandbox and live are separate Barion environments with separate wallets, shops, and POSKeys. Register a sandbox wallet at test.barion.com to get sandbox credentials, and use your regular wallet at barion.com for live credentials.
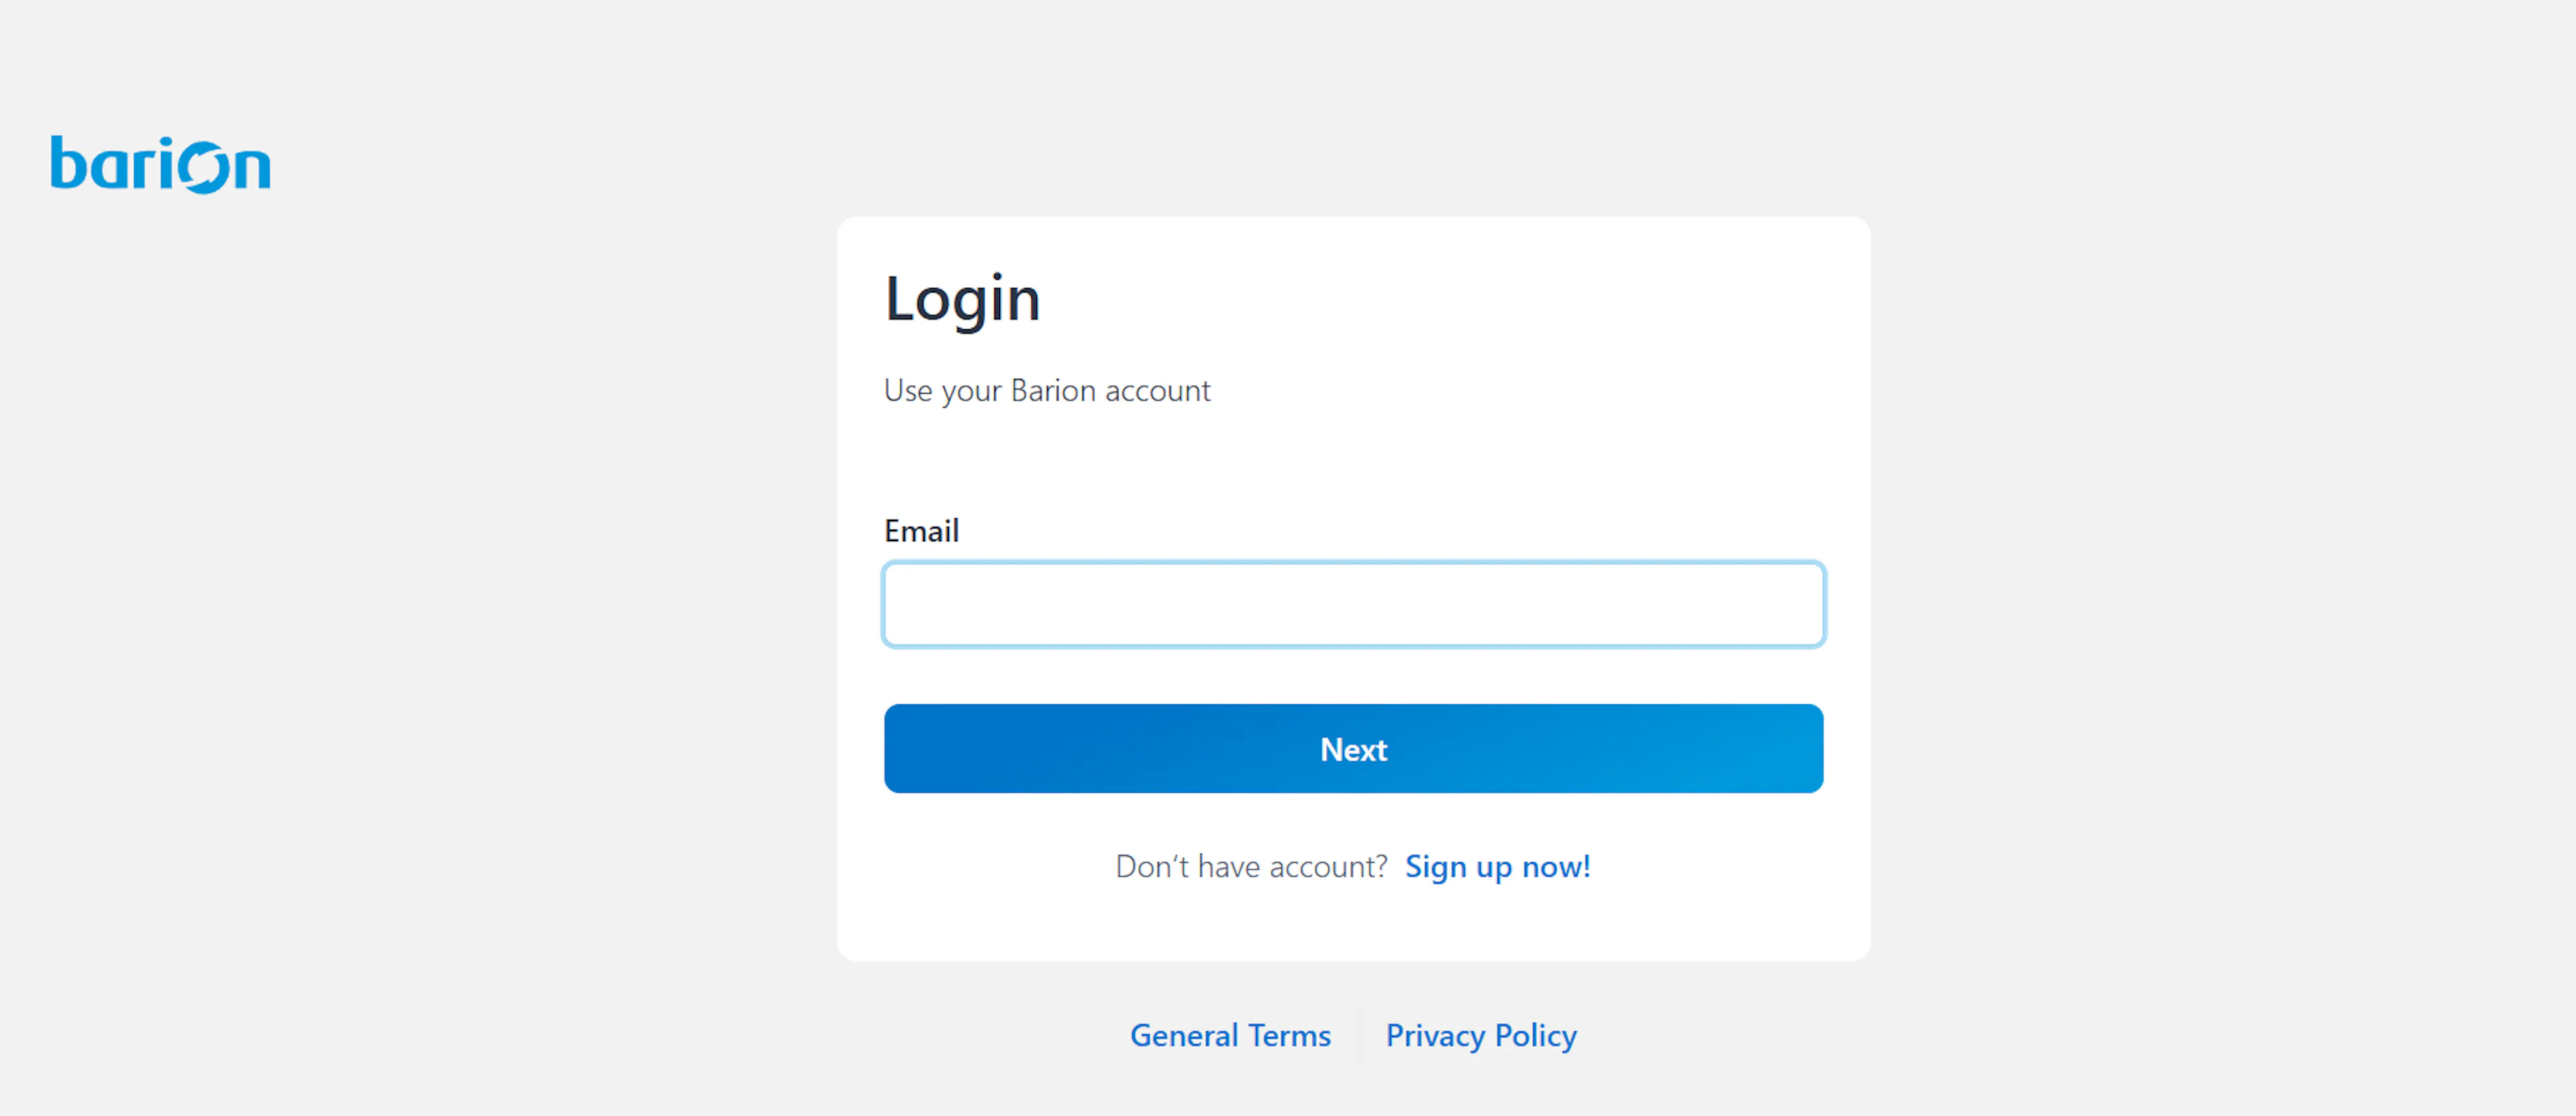
Log in to your Barion Wallet
Go to your Barion Wallet (secure.barion.com for live, secure.test.barion.com for sandbox) and sign in.
Open your shop's details
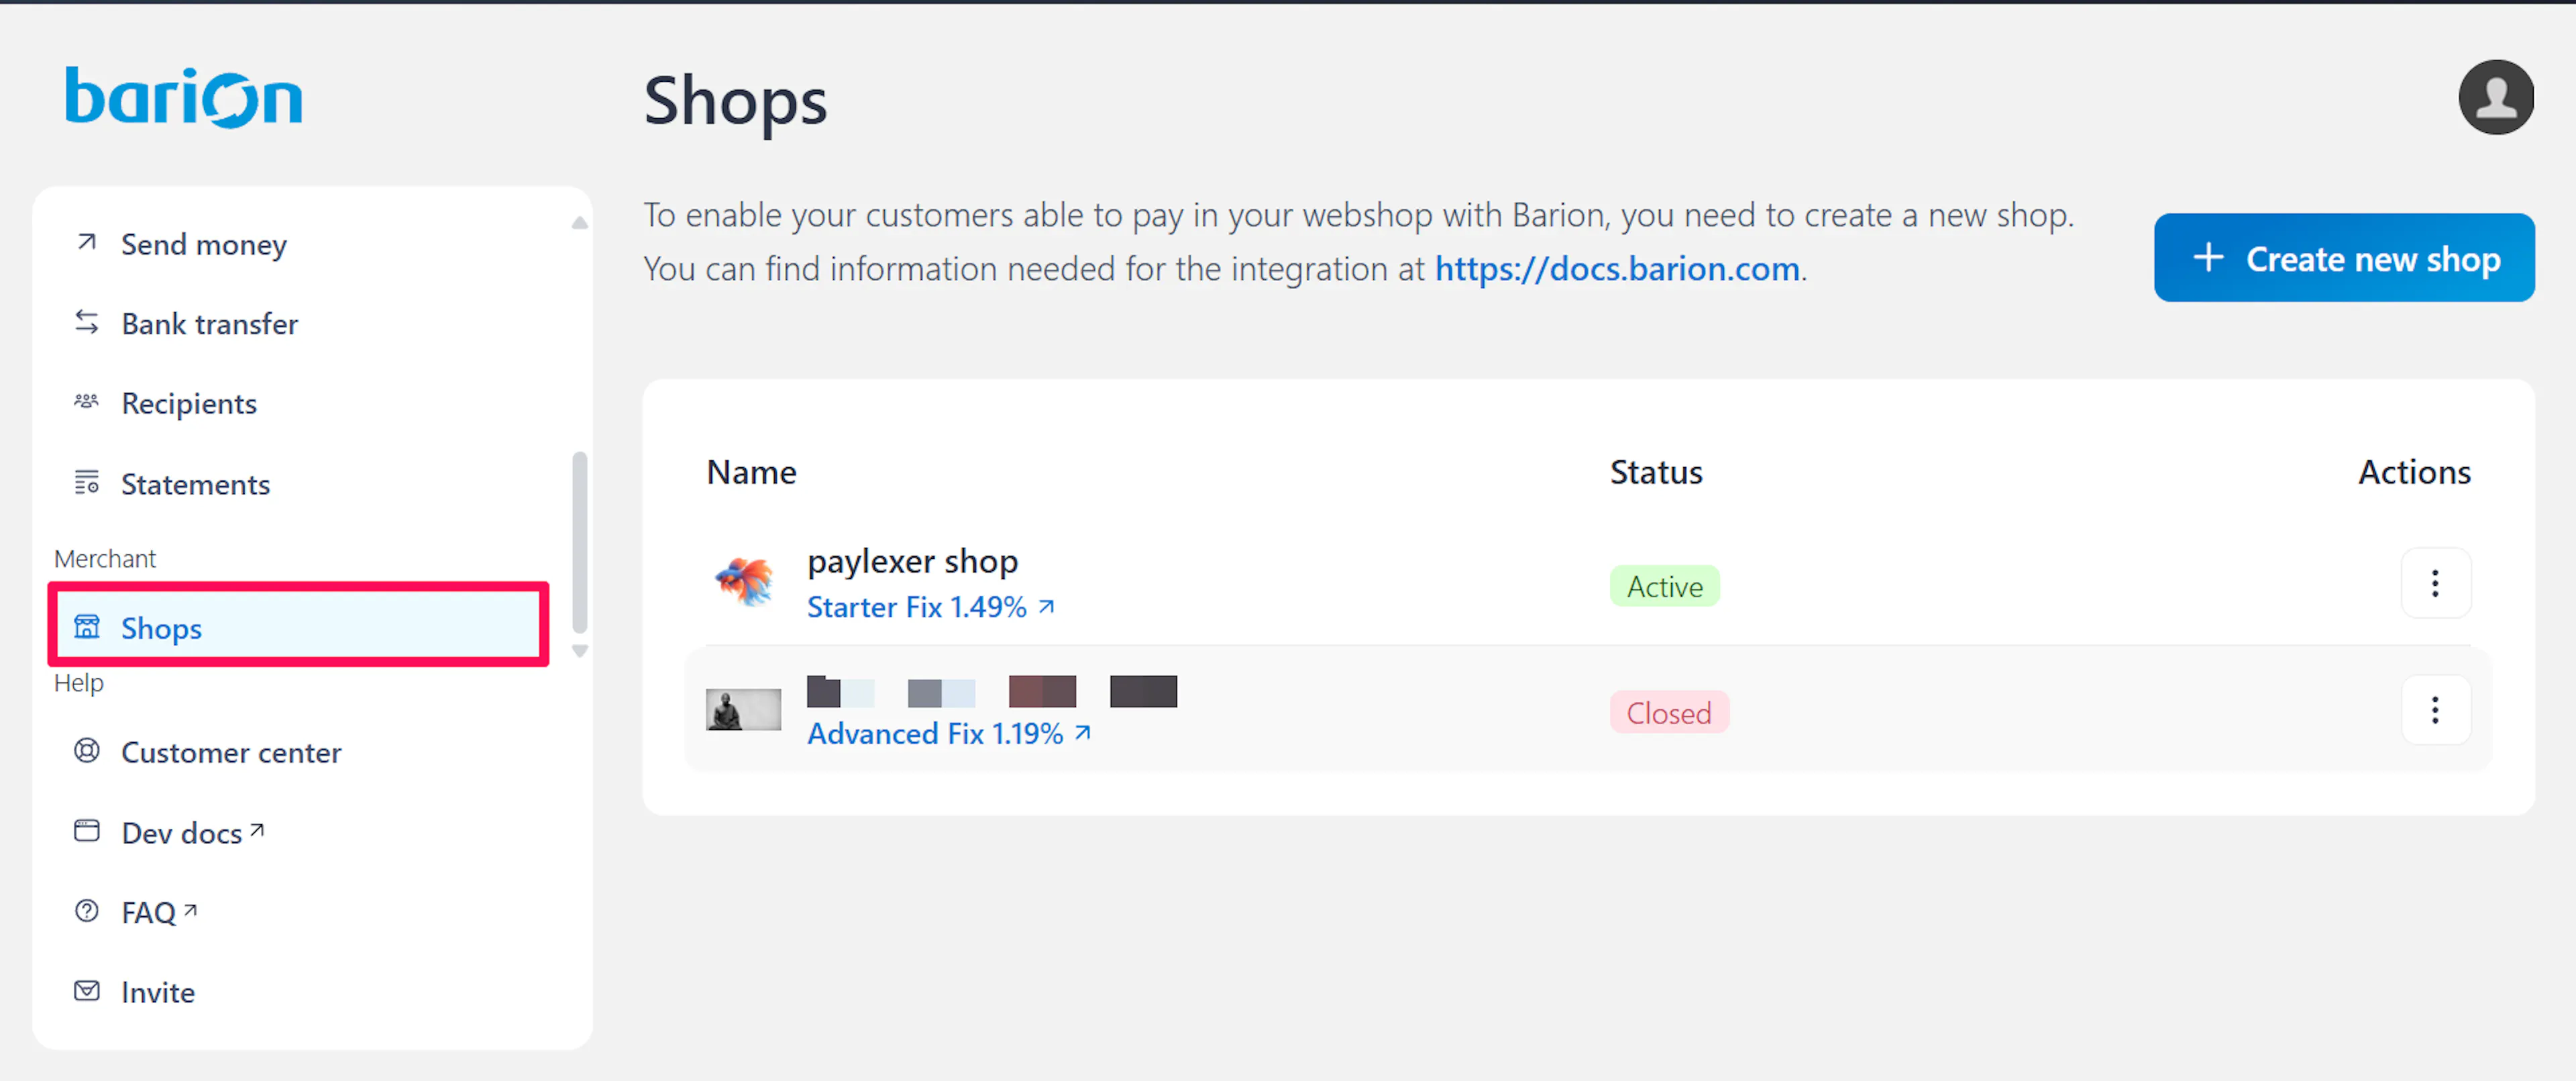
In the left sidebar, under Merchant, click Shops. If you haven't opened a shop yet, click + Create new shop and complete the shop registration form first.
Copy your POSKey
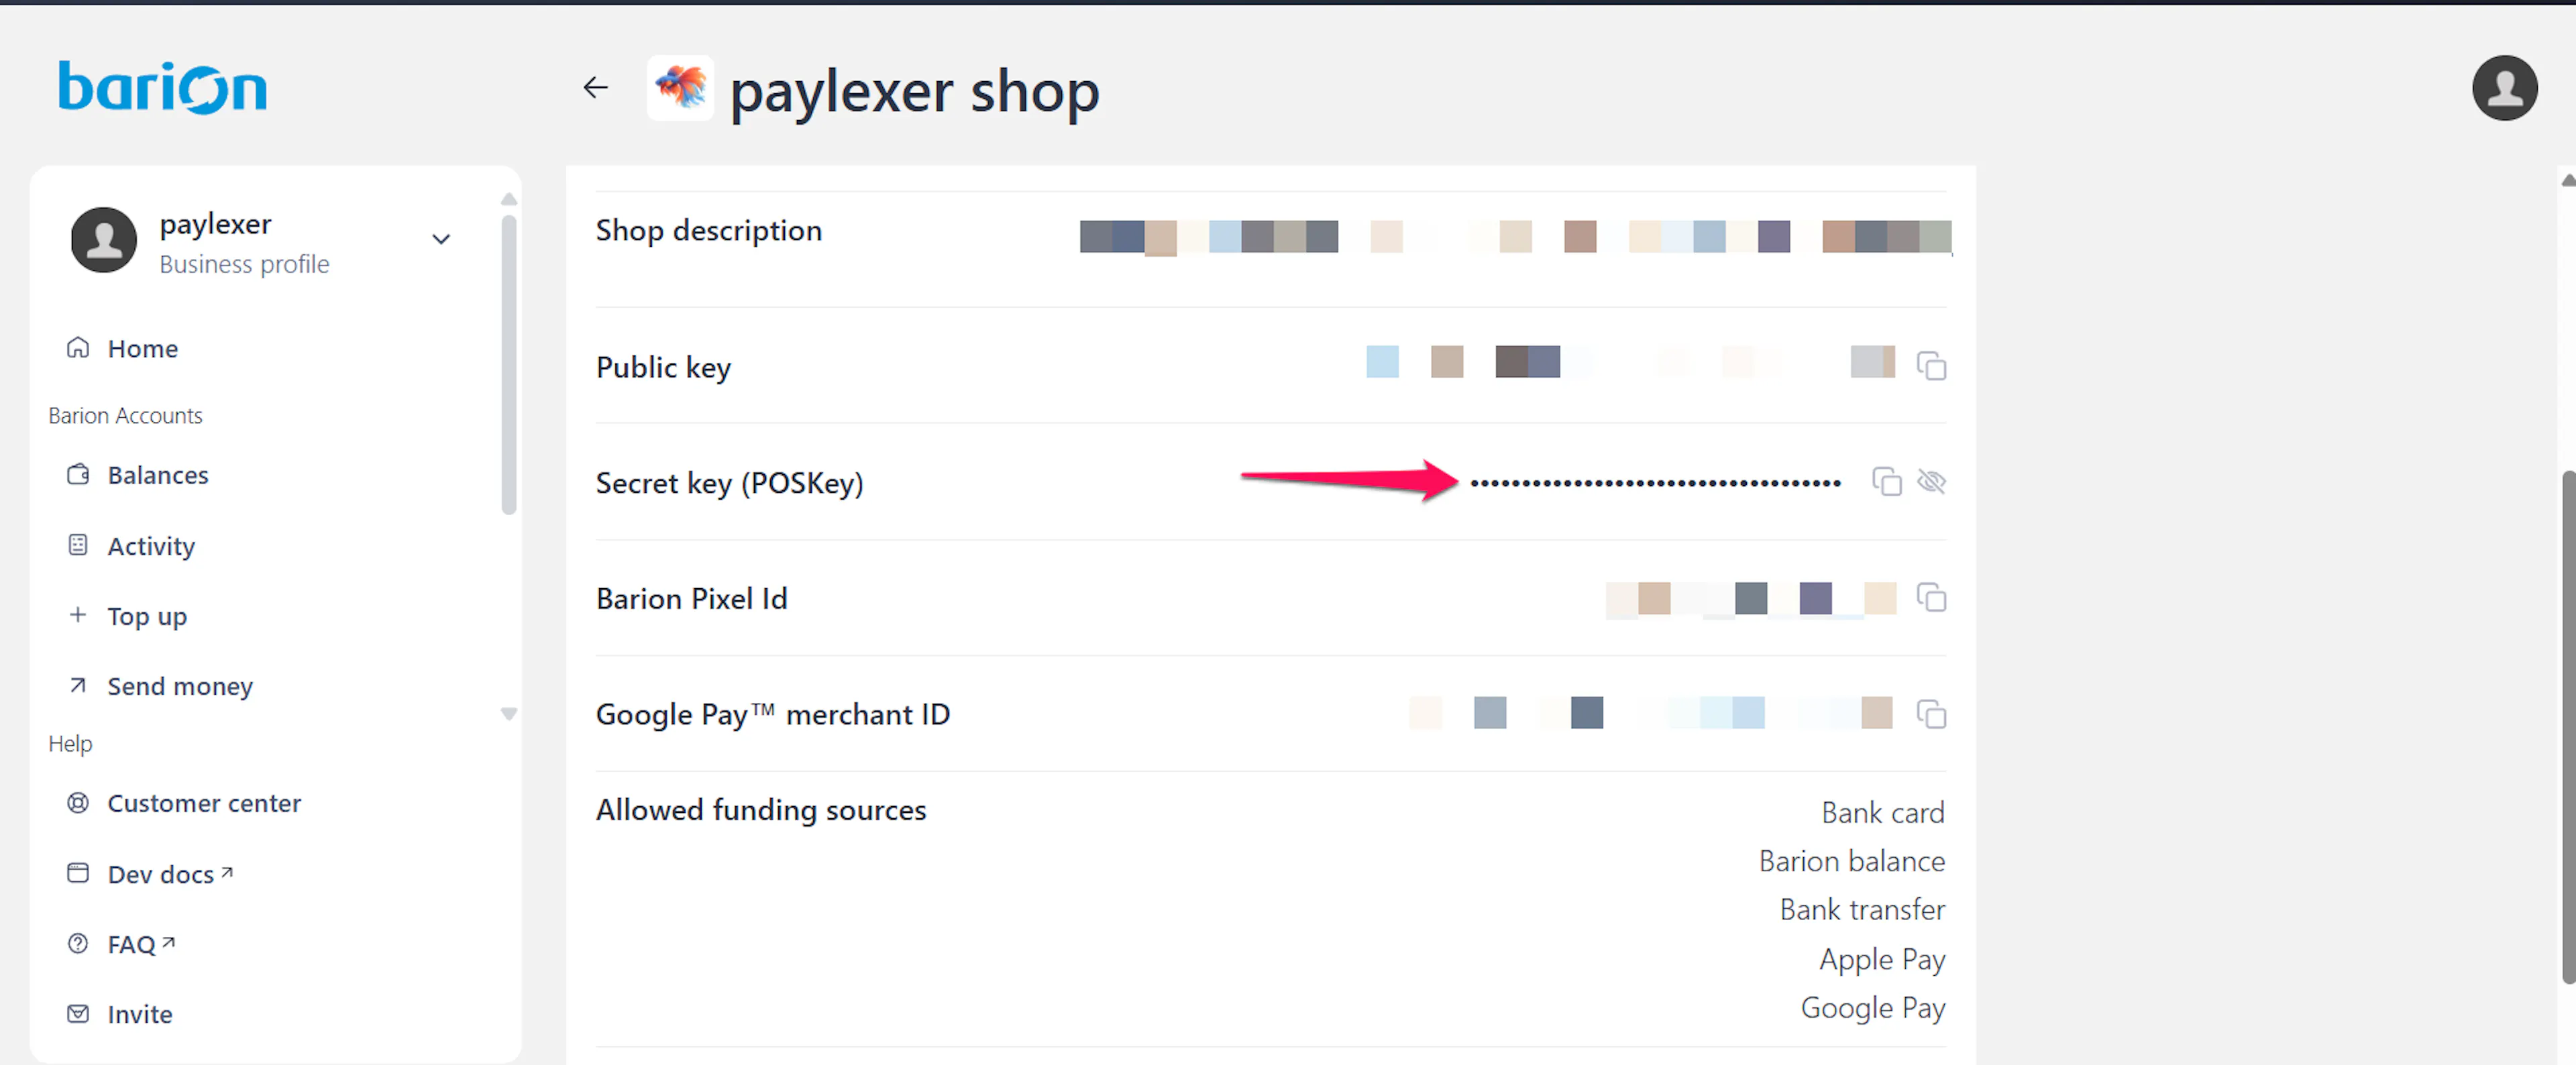
In the Actions column for your shop, click the ⋮ menu and select Details. Copy the value next to Secret key (POSKey) - not the Public key field above it.
Note your registered email
Note the exact email address this wallet is registered with - it's the same email you use to log in, and it has to be the wallet that owns the shop whose POSKey you just copied. You'll enter this alongside your POSKey in PayLexer.
Adding Credentials to PayLexer
Open PayLexer Dashboard
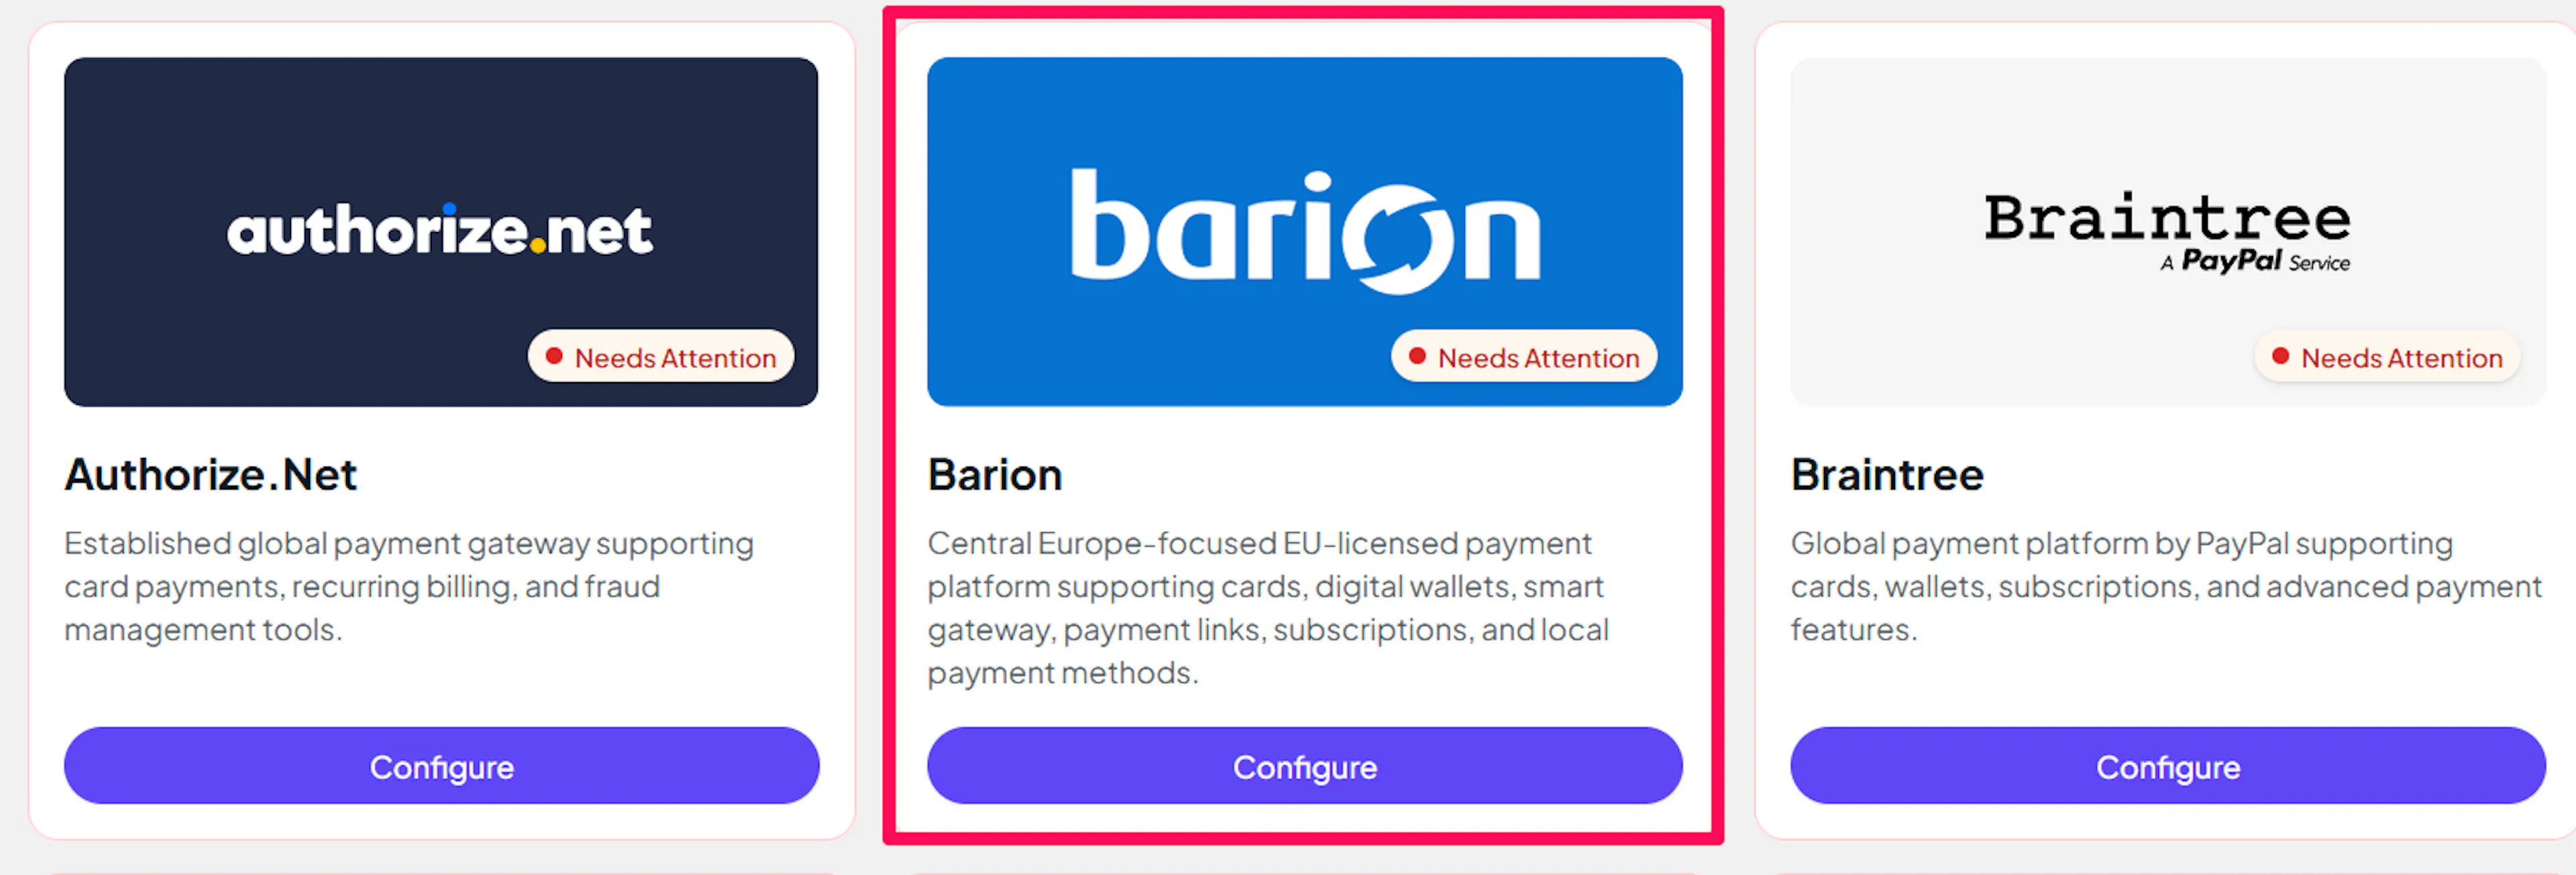
Log in to your PayLexer dashboard, go to Payment Gateways, and click Configure on the Barion card.
Enter your credentials
Under the Live tab, paste your Live POSKey and fill in Registered Shop Email (Payee) with your live wallet's email. Under the Sandbox tab, paste your Sandbox POSKey and fill in Registered Shop Email (Payee) with your sandbox wallet's email.
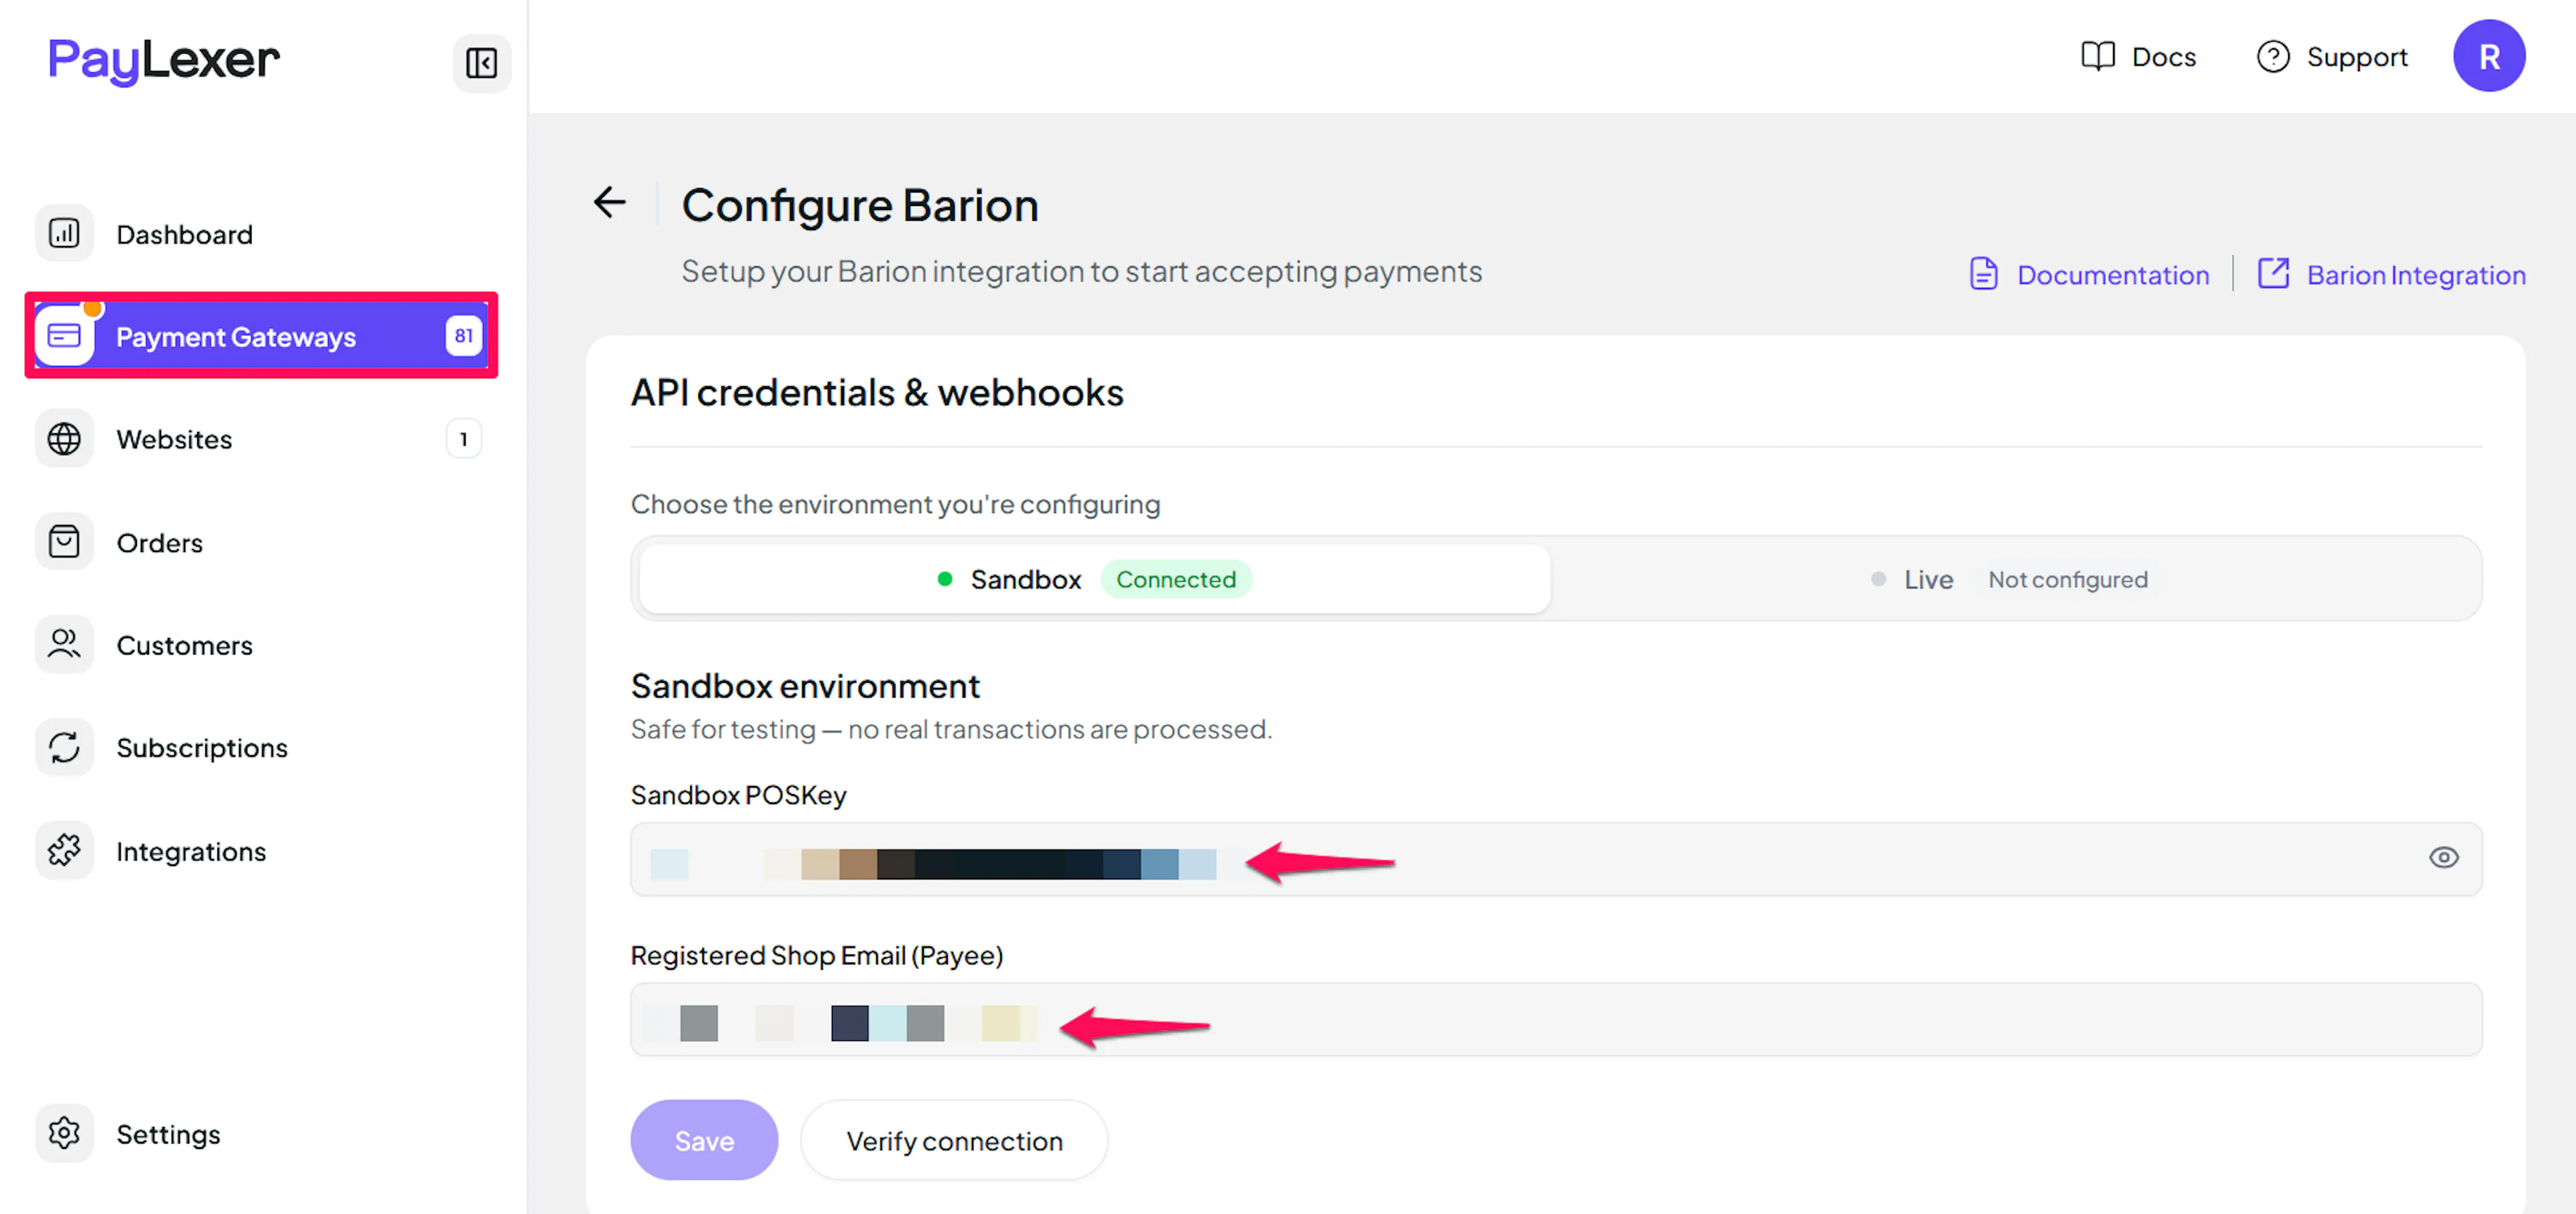
Understanding Live/Production and Sandbox Settings:
| Environment | Purpose |
|---|---|
| Live / Production (Mandatory) | Used for real transactions. Cannot be empty, even when testing. |
| Test / Sandbox (Optional) | Used for testing only. No real money is processed. |
How PayLexer selects credentials:
- Debug/Test mode ON → Test credentials are used
- Debug/Test mode OFF → Live credentials are used
Test and save
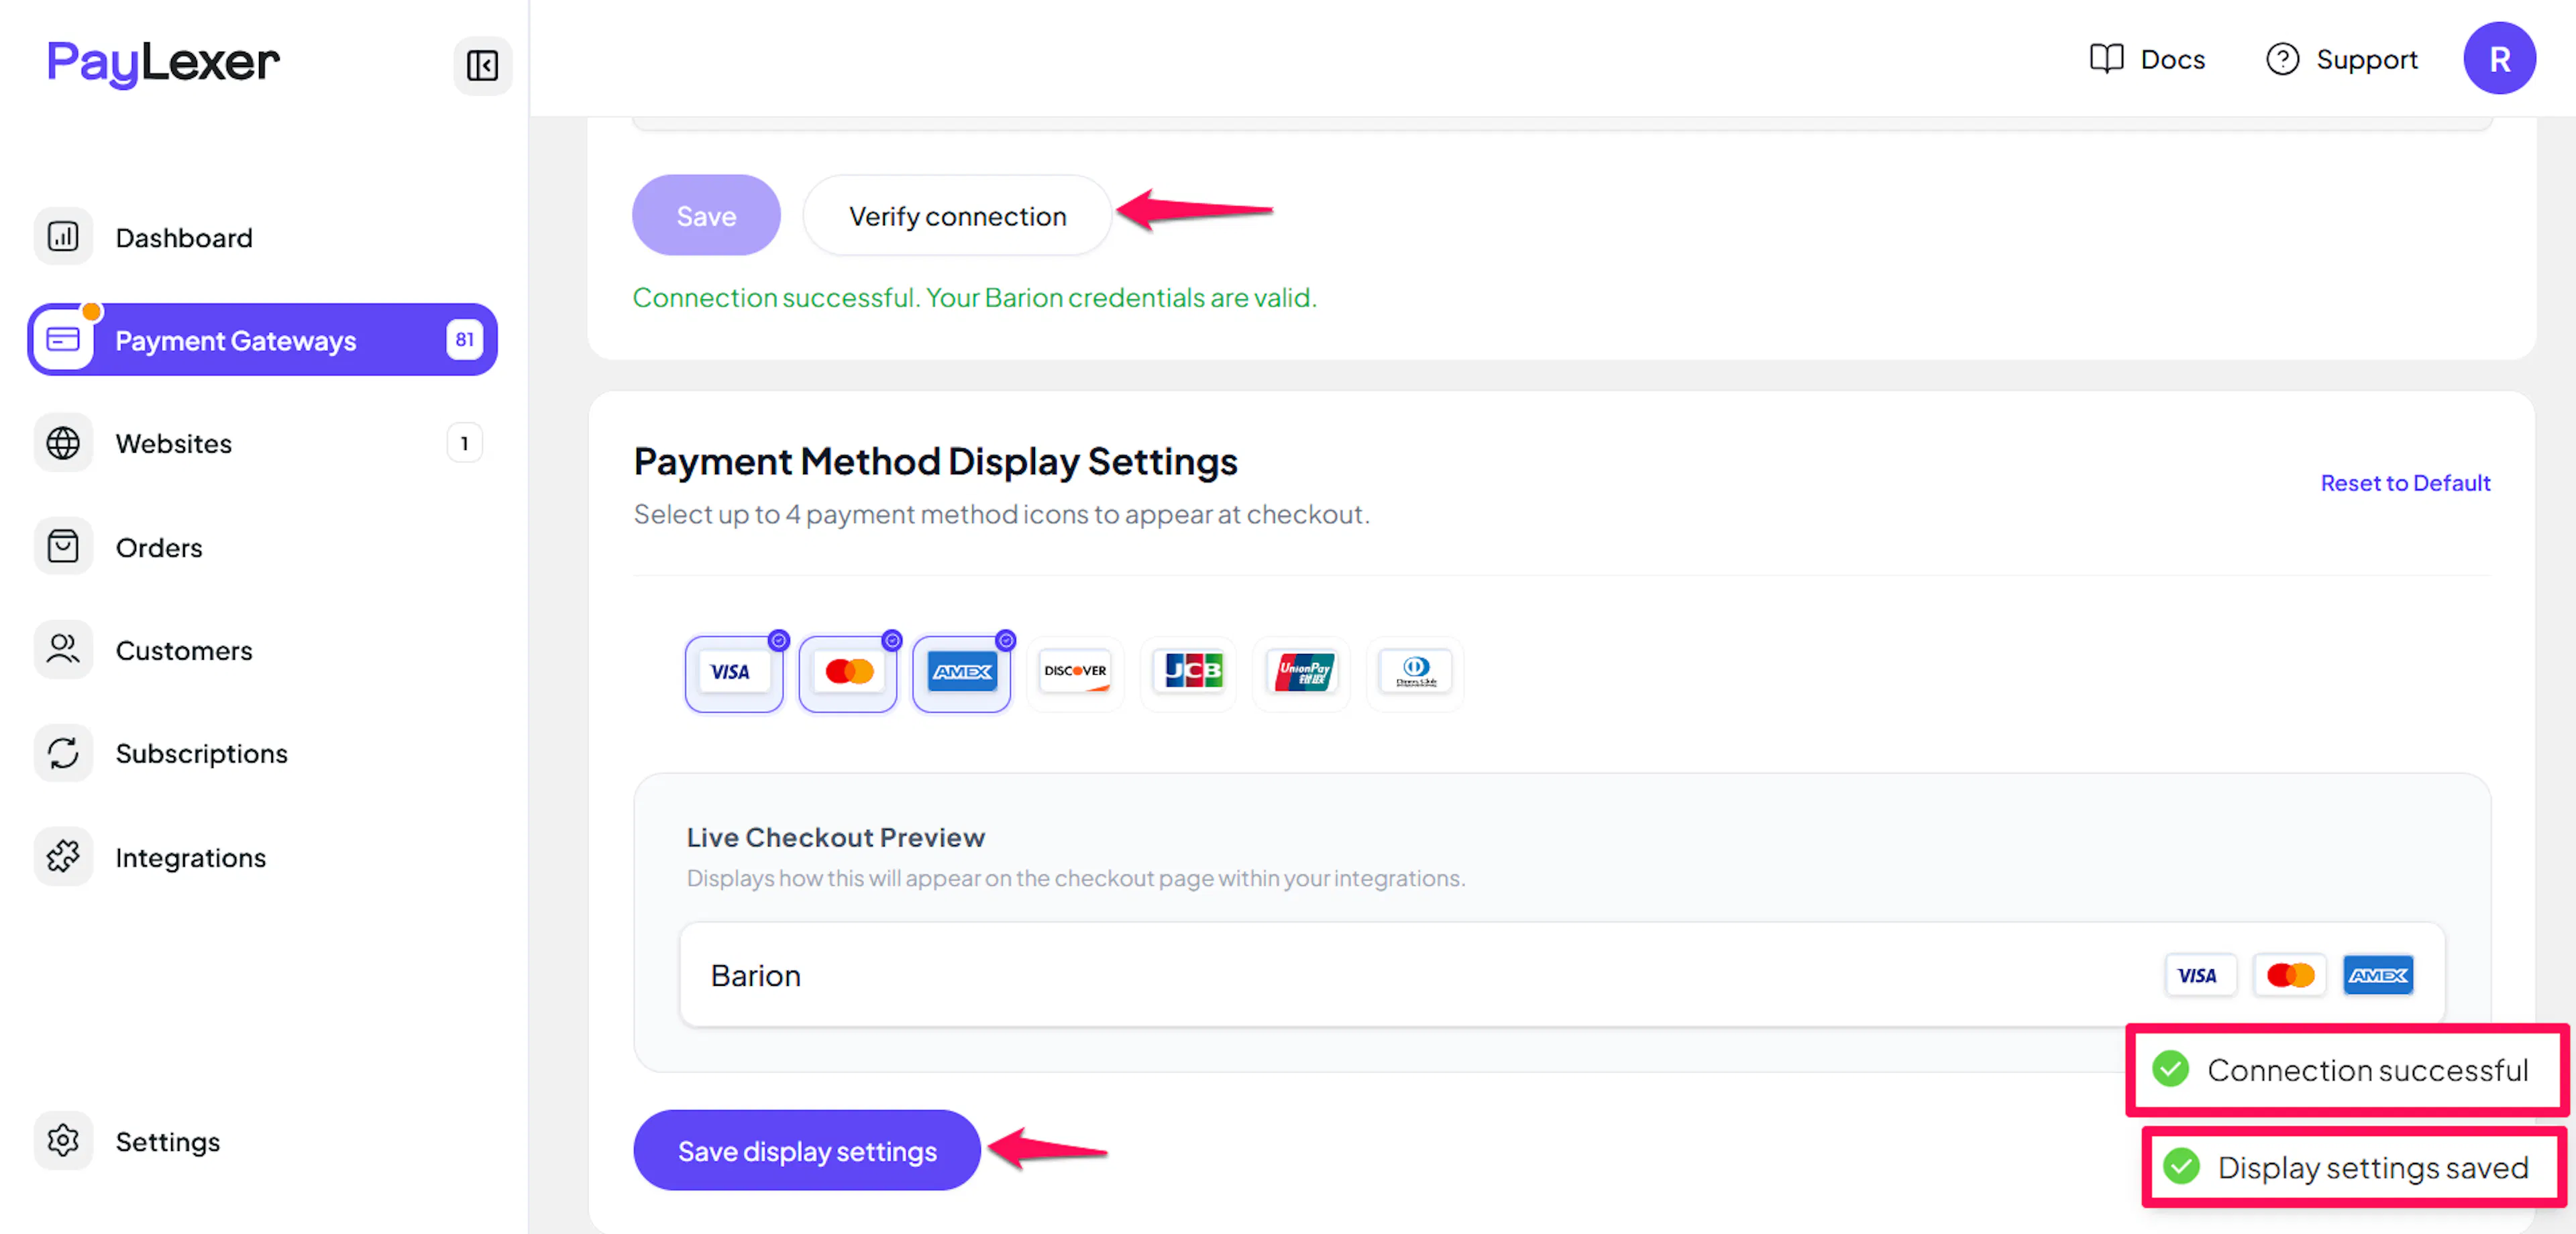
Click Save to save your configuration and verify your credentials. Once saved, click Verify connection if you want to re-test later without re-saving.
Webhooks (Automatic - No Setup Required)
Barion doesn't use a webhook secret or signature you need to configure. PayLexer automatically registers a callback address with Barion on every payment, and confirms the real outcome directly with Barion's own records the moment it's notified - there's nothing for you to copy, paste, or generate.
- No webhook URL to add in Barion's dashboard
- No signing secret or token to manage
- Payment status updates still arrive in near real time
Integrate Barion to Your Website
If you have already added and configured your site, you can enable Barion in your existing setup.
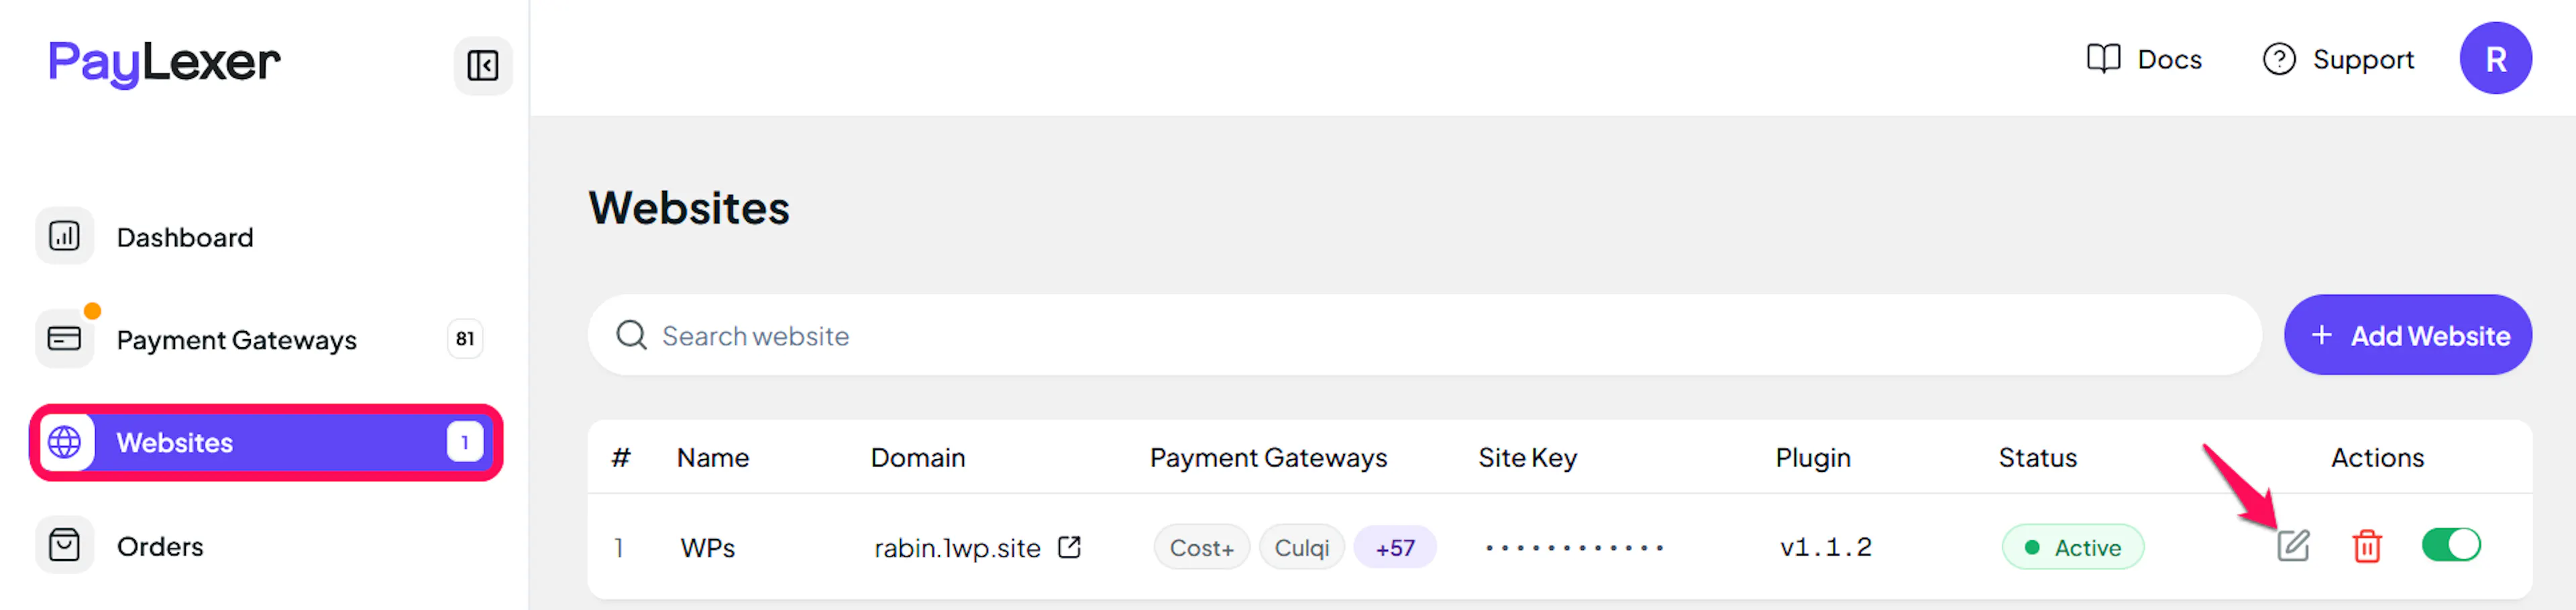
Go to Websites
Navigate to Websites in your PayLexer dashboard.
Edit your website
Click the Edit Icon of your added website.
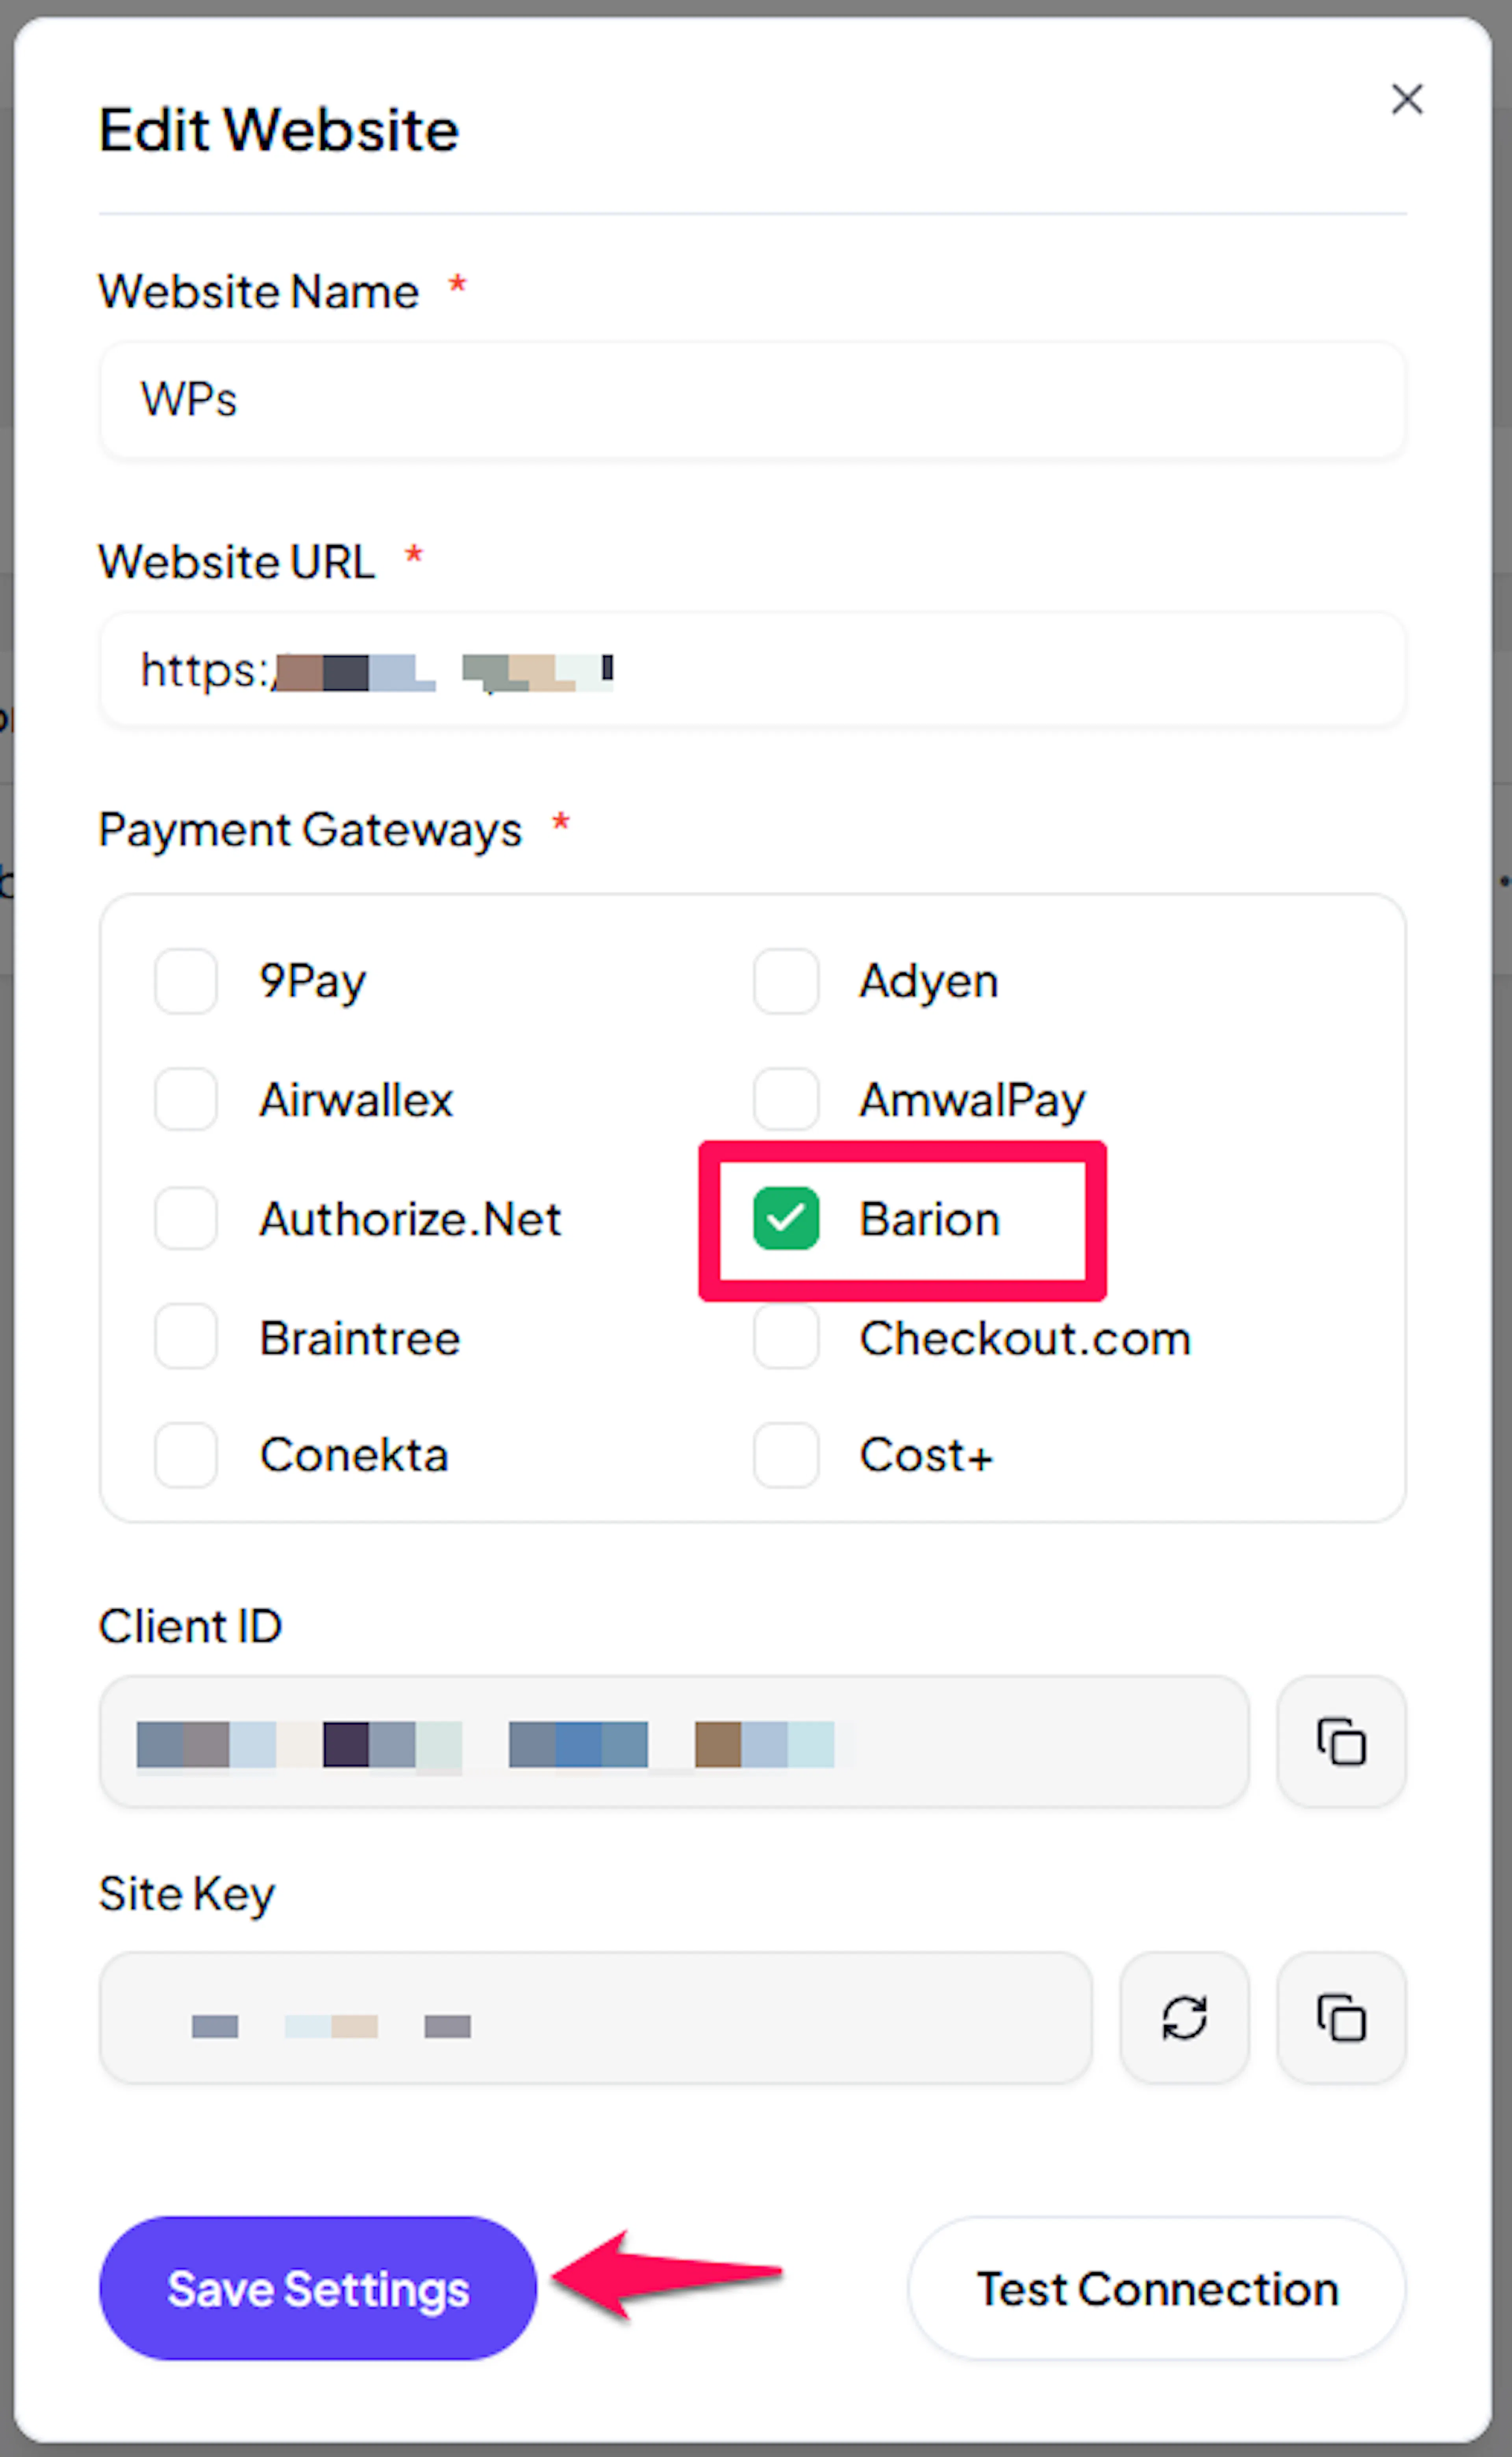
Enable Barion
Click the checkbox to enable Barion for the website.
If you haven't added a website yet, Continue to Add Your Website →
Troubleshooting
Best Practices
- Test in sandbox before enabling production
- Double-check your Registered Shop Email matches your Barion wallet exactly - this is the single most common setup mistake
- Open a currency account in your Barion Wallet for every currency you plan to sell in
- Store both Live and Sandbox POSKeys so you can safely test before going live
- Confirm your Barion shop is fully approved (not still pending review) before enabling live payments
FAQs
Still Have Questions?
- Barion Support: Barion Help Center
- PayLexer Support: Contact Support
For API details and advanced configuration, see the Barion developer documentation.