

PayFabric Payment Gateway Integration
Connect PayFabric to PayLexer to accept hosted card payments and process full or partial refunds through your existing payment processor.
PayFabric is a payment platform from Global Payments, operated by EVO Merchant Services, LLC. It is widely used by North American businesses running Microsoft Dynamics and similar ERP systems, and it provides hosted payment pages, card tokenization and a card vault on top of a merchant's existing processor relationship.
- Supported Regions (Merchant Accounts): United States and Canada
- Supported Currencies: USD, CAD, AUD, EUR, GBP, NZD
Supported Features
- Hosted payment page - shoppers enter card details on PayFabric, never on your site
- Full and Partial refunds
Before You Start
Make sure you have:
- PayFabric Account – Don't have one? Sign up for PayFabric Sandbox →
- A gateway profile – Connected to your processor account inside PayFabric, for example
EVO US_CC - PayLexer Account – Required to configure the integration. Create your account →
- A website where you want to integrate
Looking for a different payment processor? View all supported gateways →
A sandbox account is self-service and available immediately. Live credentials and a live gateway profile require merchant onboarding with Global Payments or EVO, which happens outside PayLexer.
Configuring PayFabric
You need a Device ID, Device Password and Gateway Profile (Setup ID) from PayFabric for this integration.
Getting API Credentials
Log in to the PayFabric portal
Open the sandbox portal for testing, or the live portal for production.
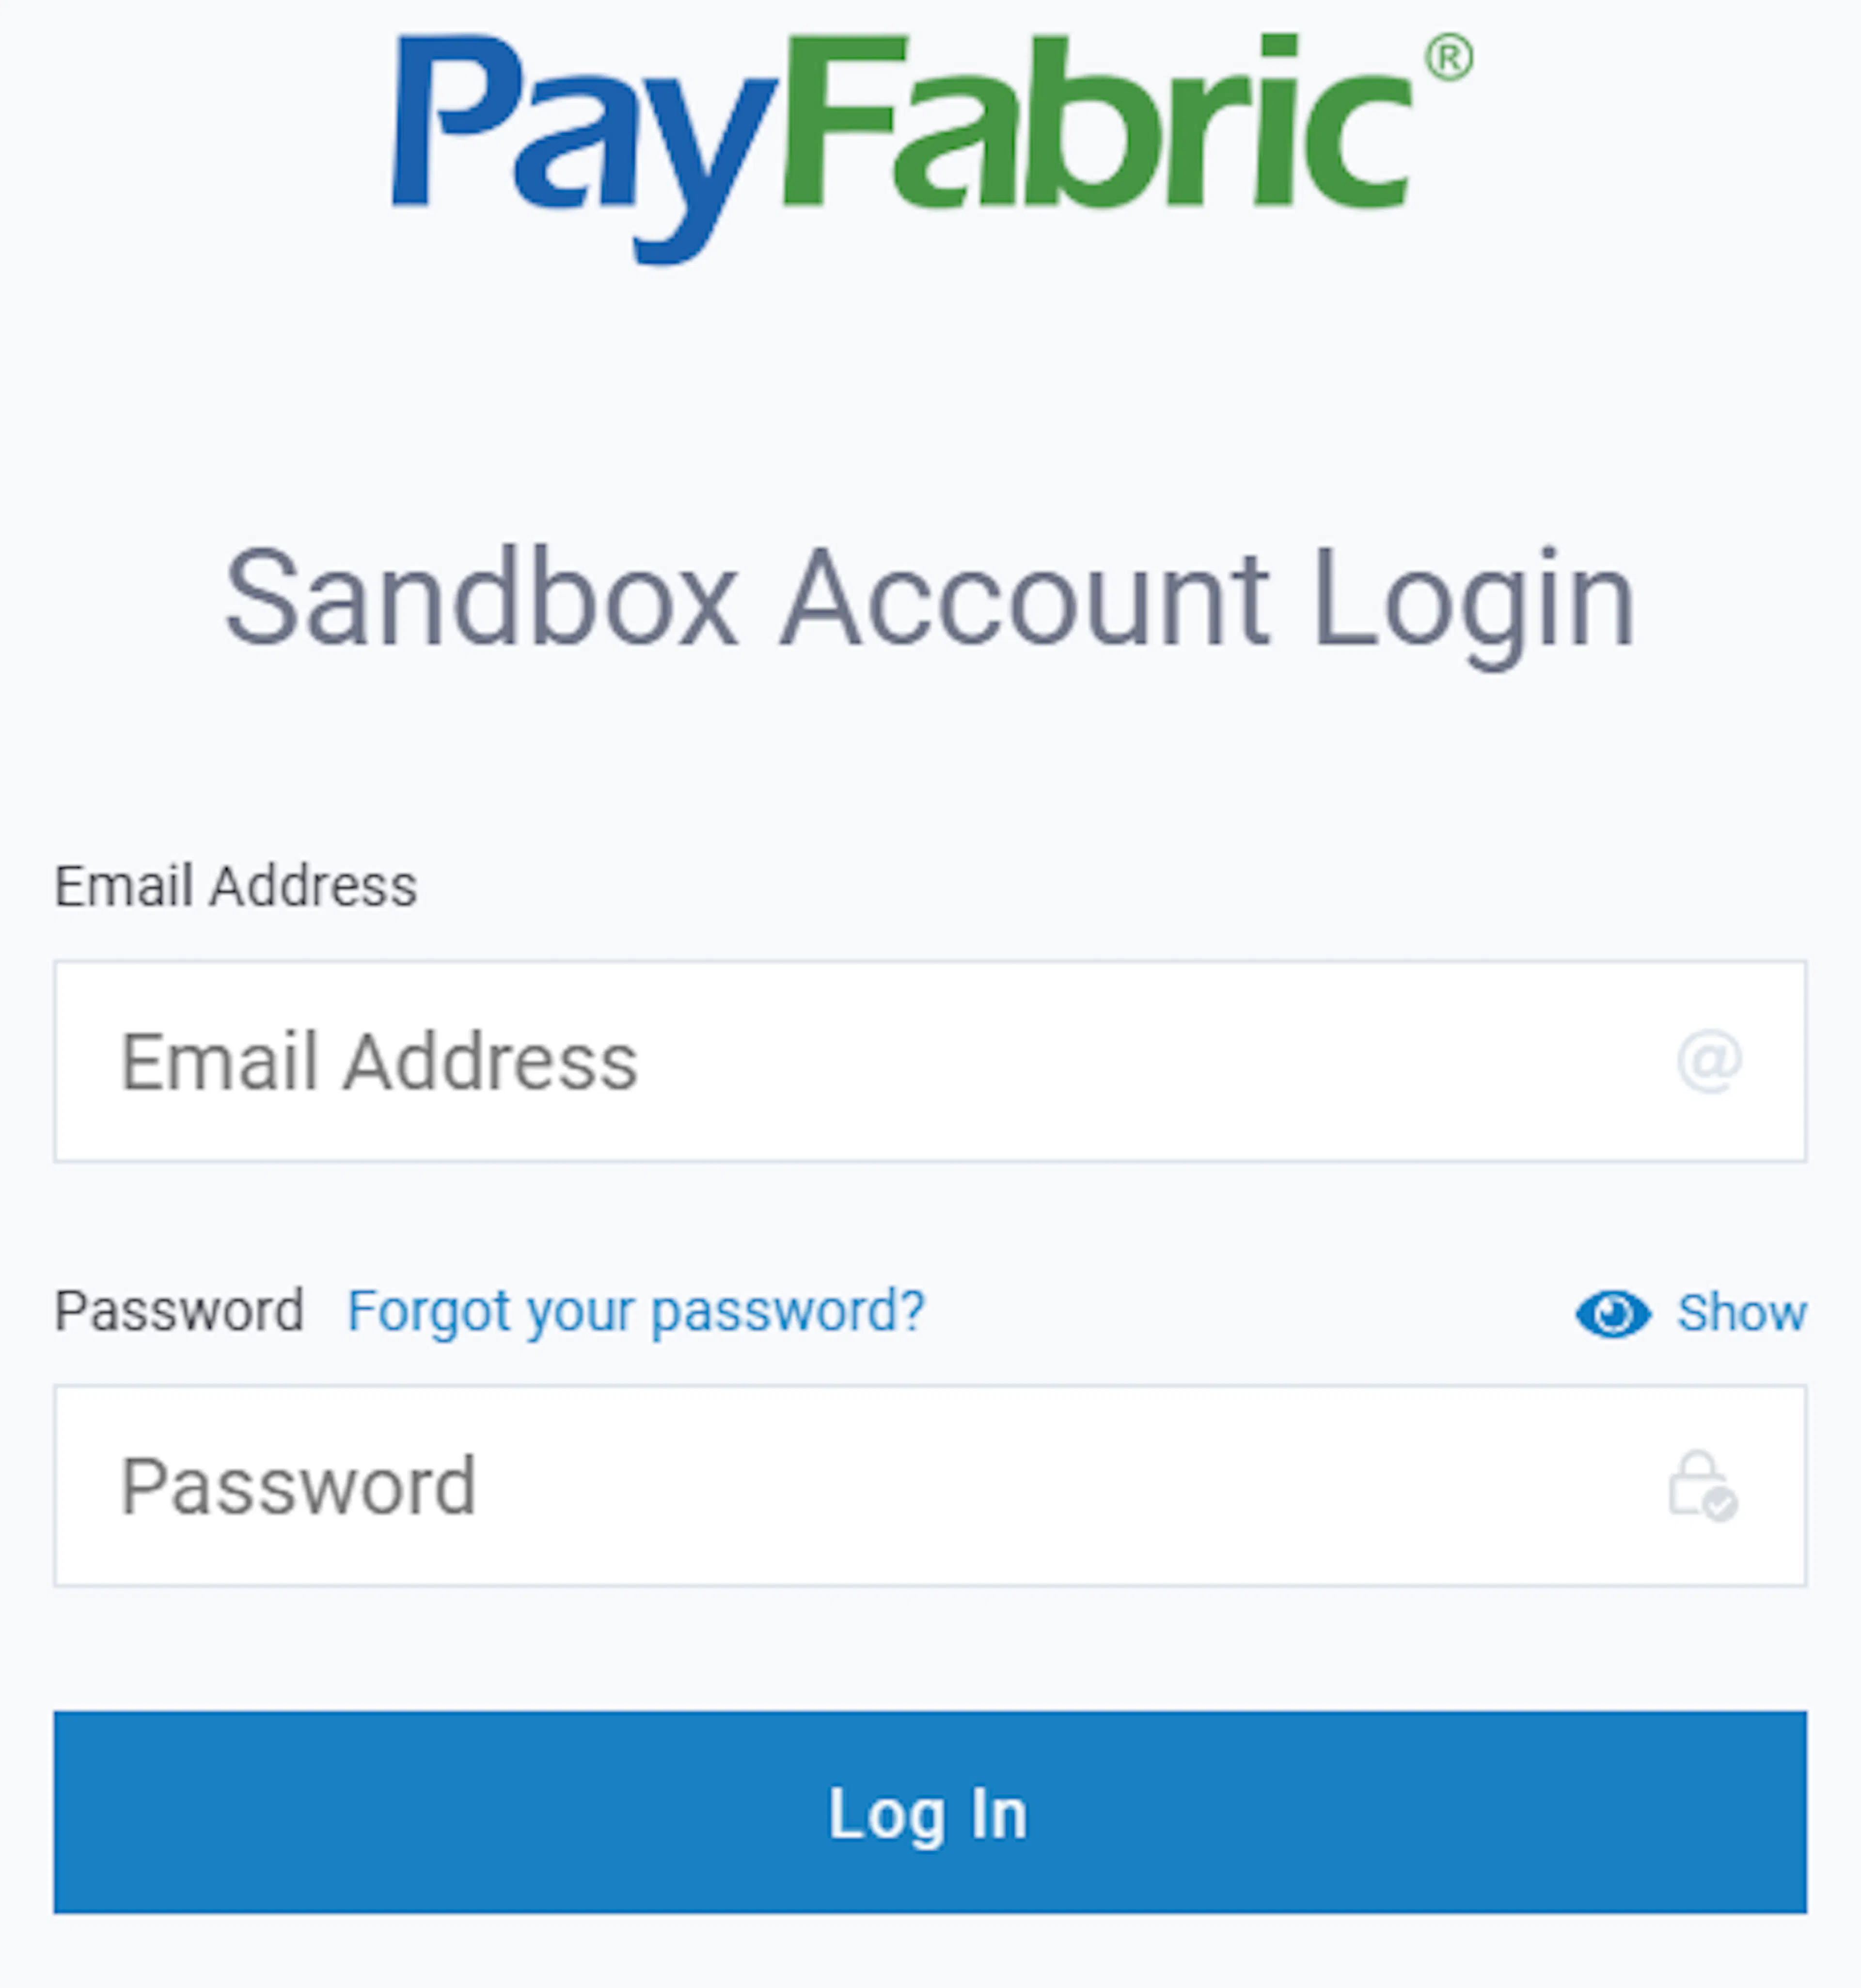
Sandbox and live are separate accounts with separate portals. Credentials from one never work on the other.
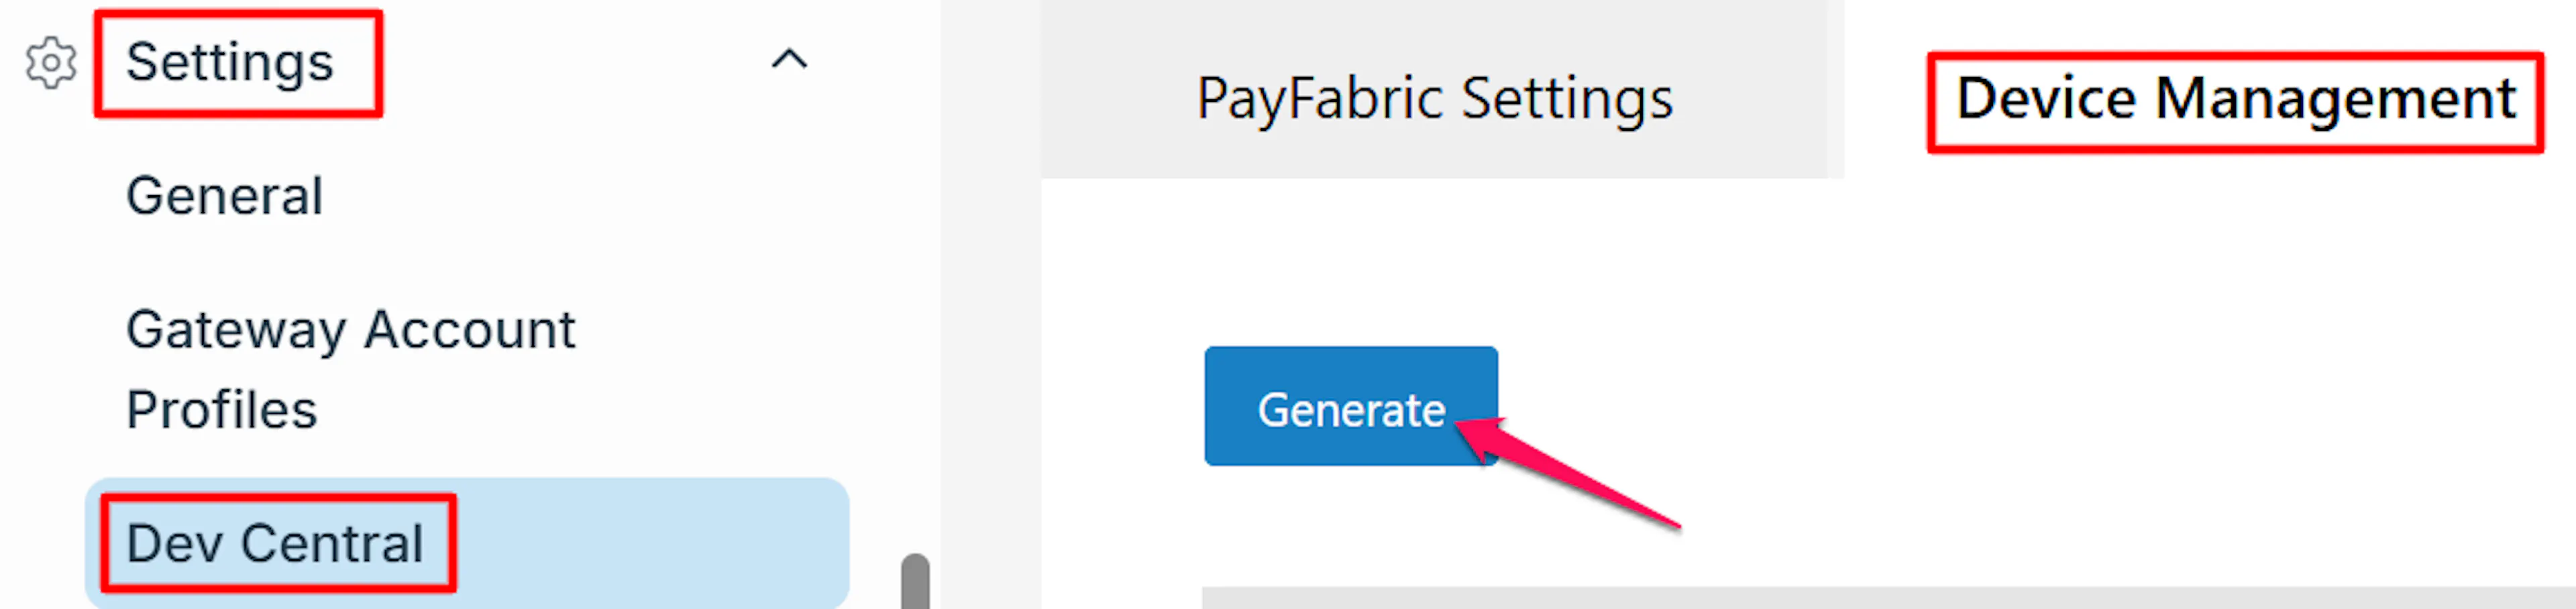
Create a device
Go to Settings → Dev Central → Device Management and create a device for PayLexer. Give it a name you will recognise later.
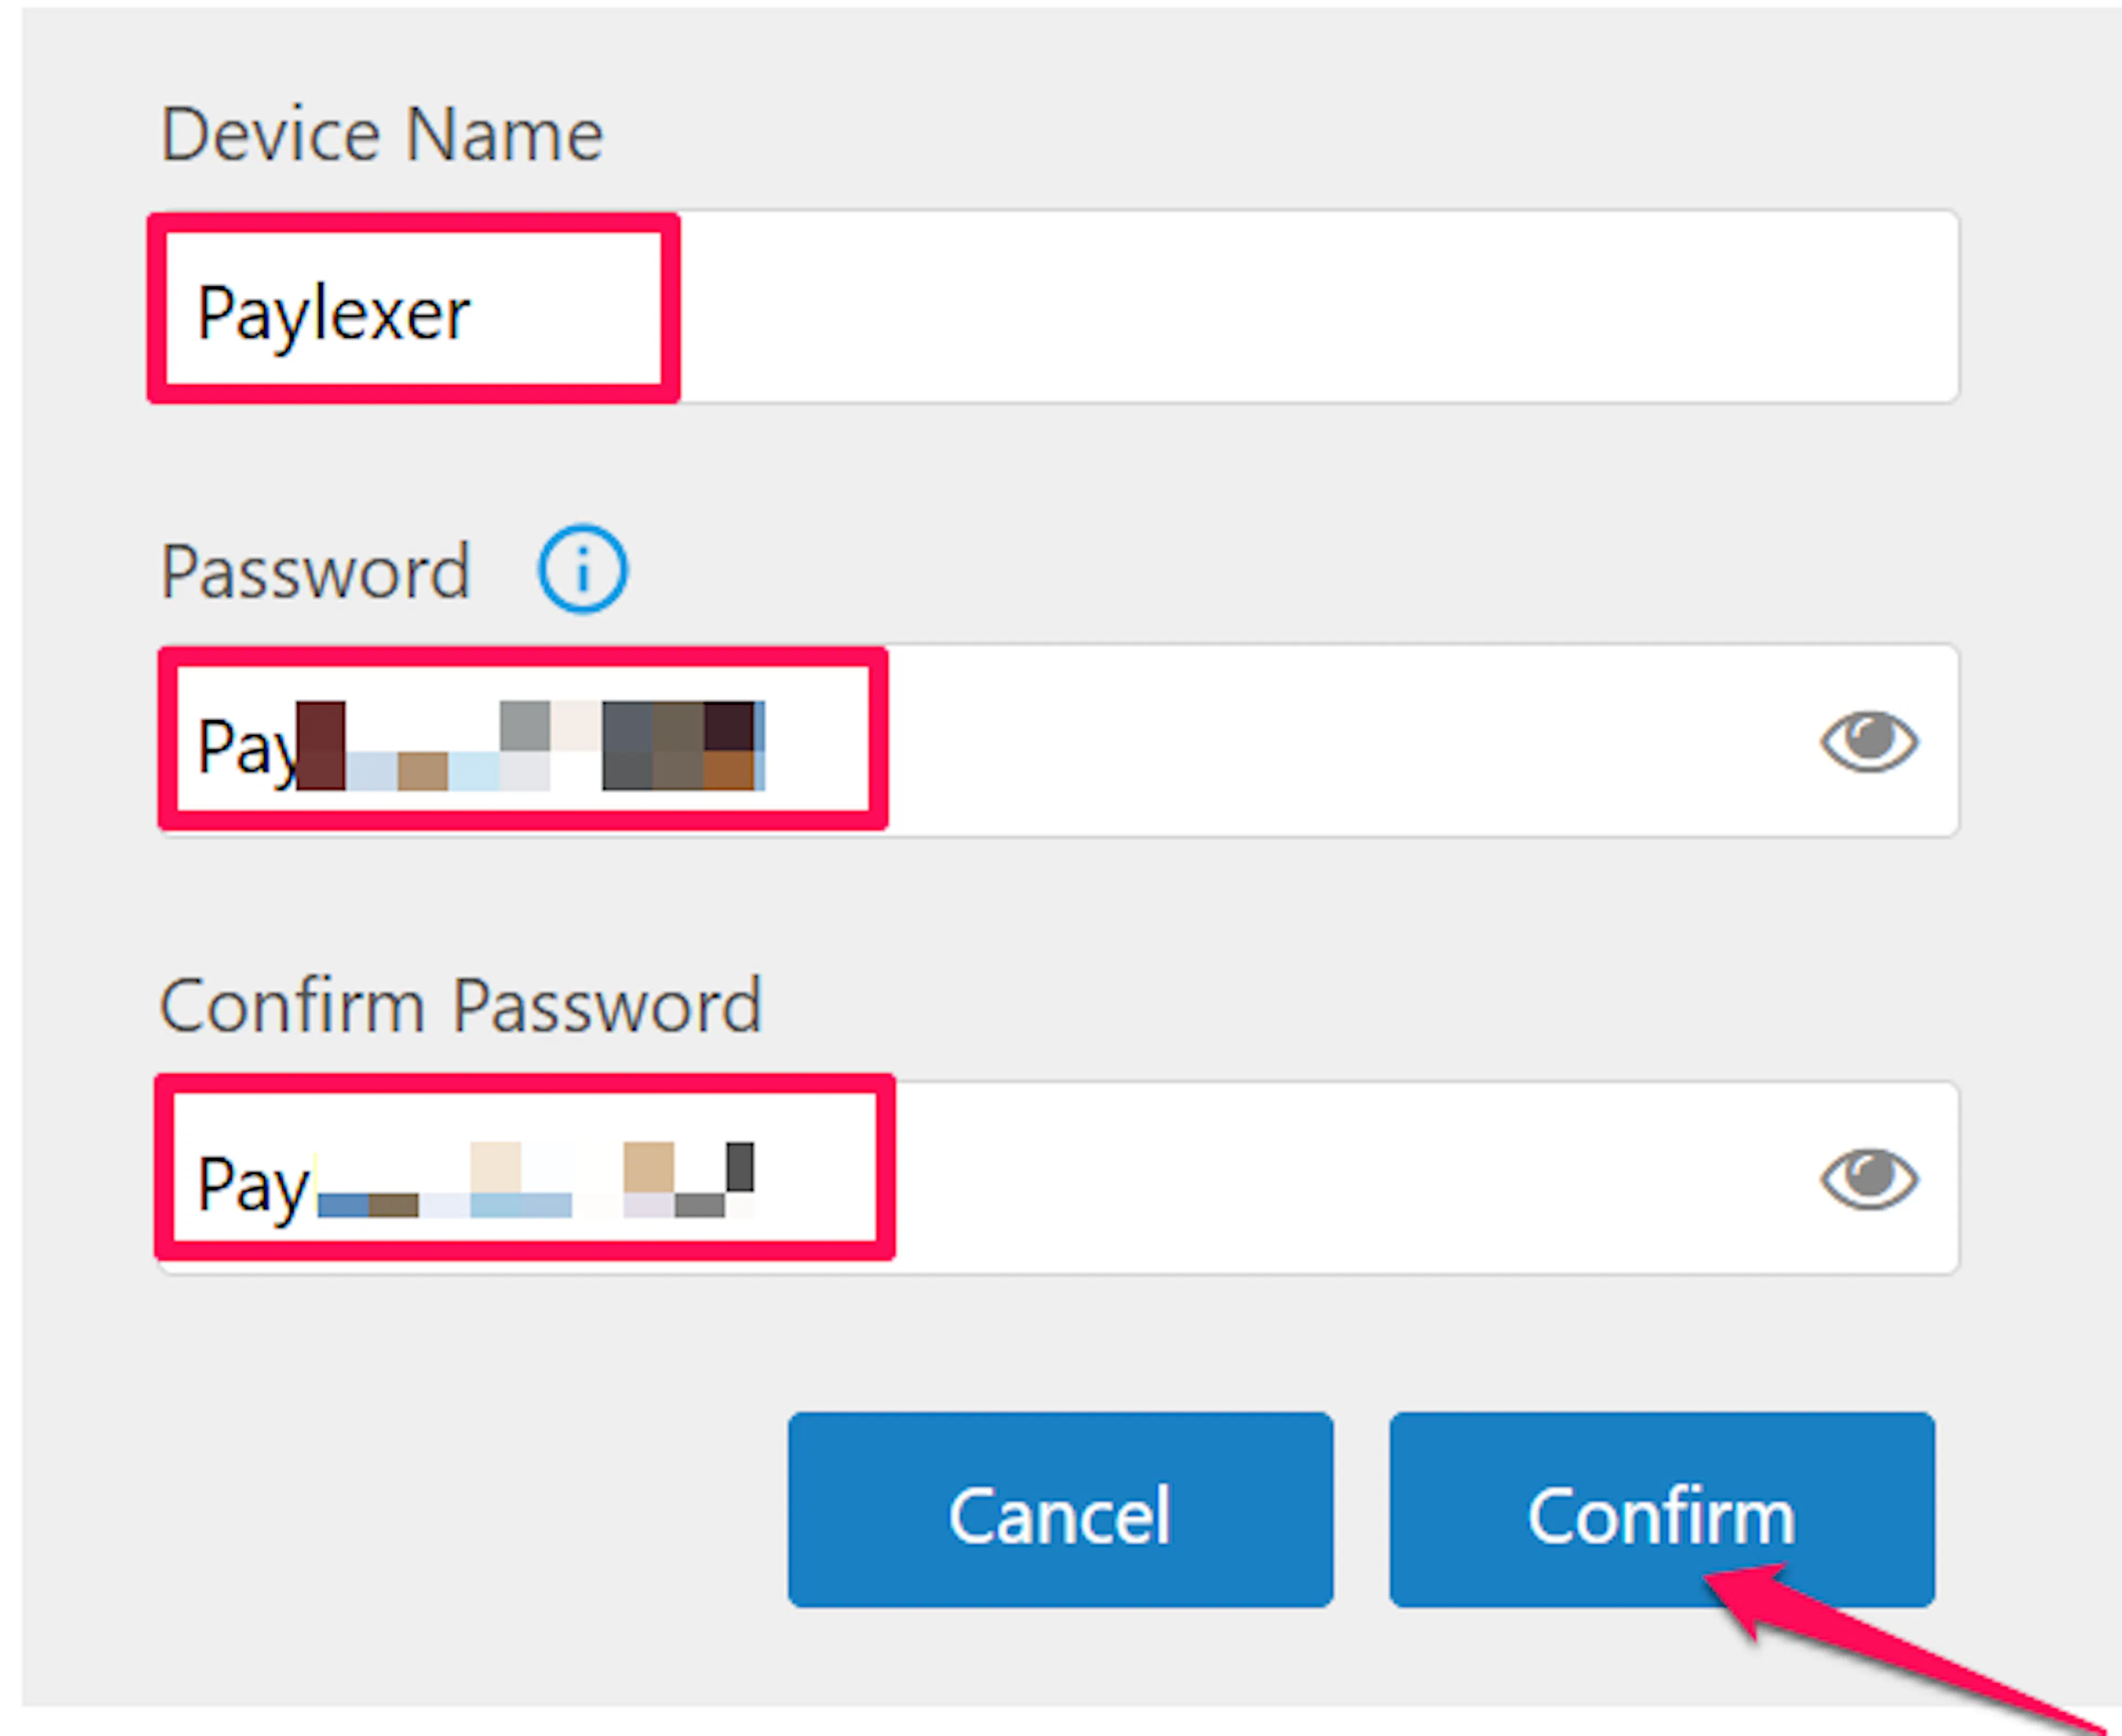
Copy the Device ID and Device Password
Copy the Device ID exactly as shown, including the number and colon before the long identifier. It looks like 2:00000000-0000-0000-0000-000000000000, and all of it is part of the credential.

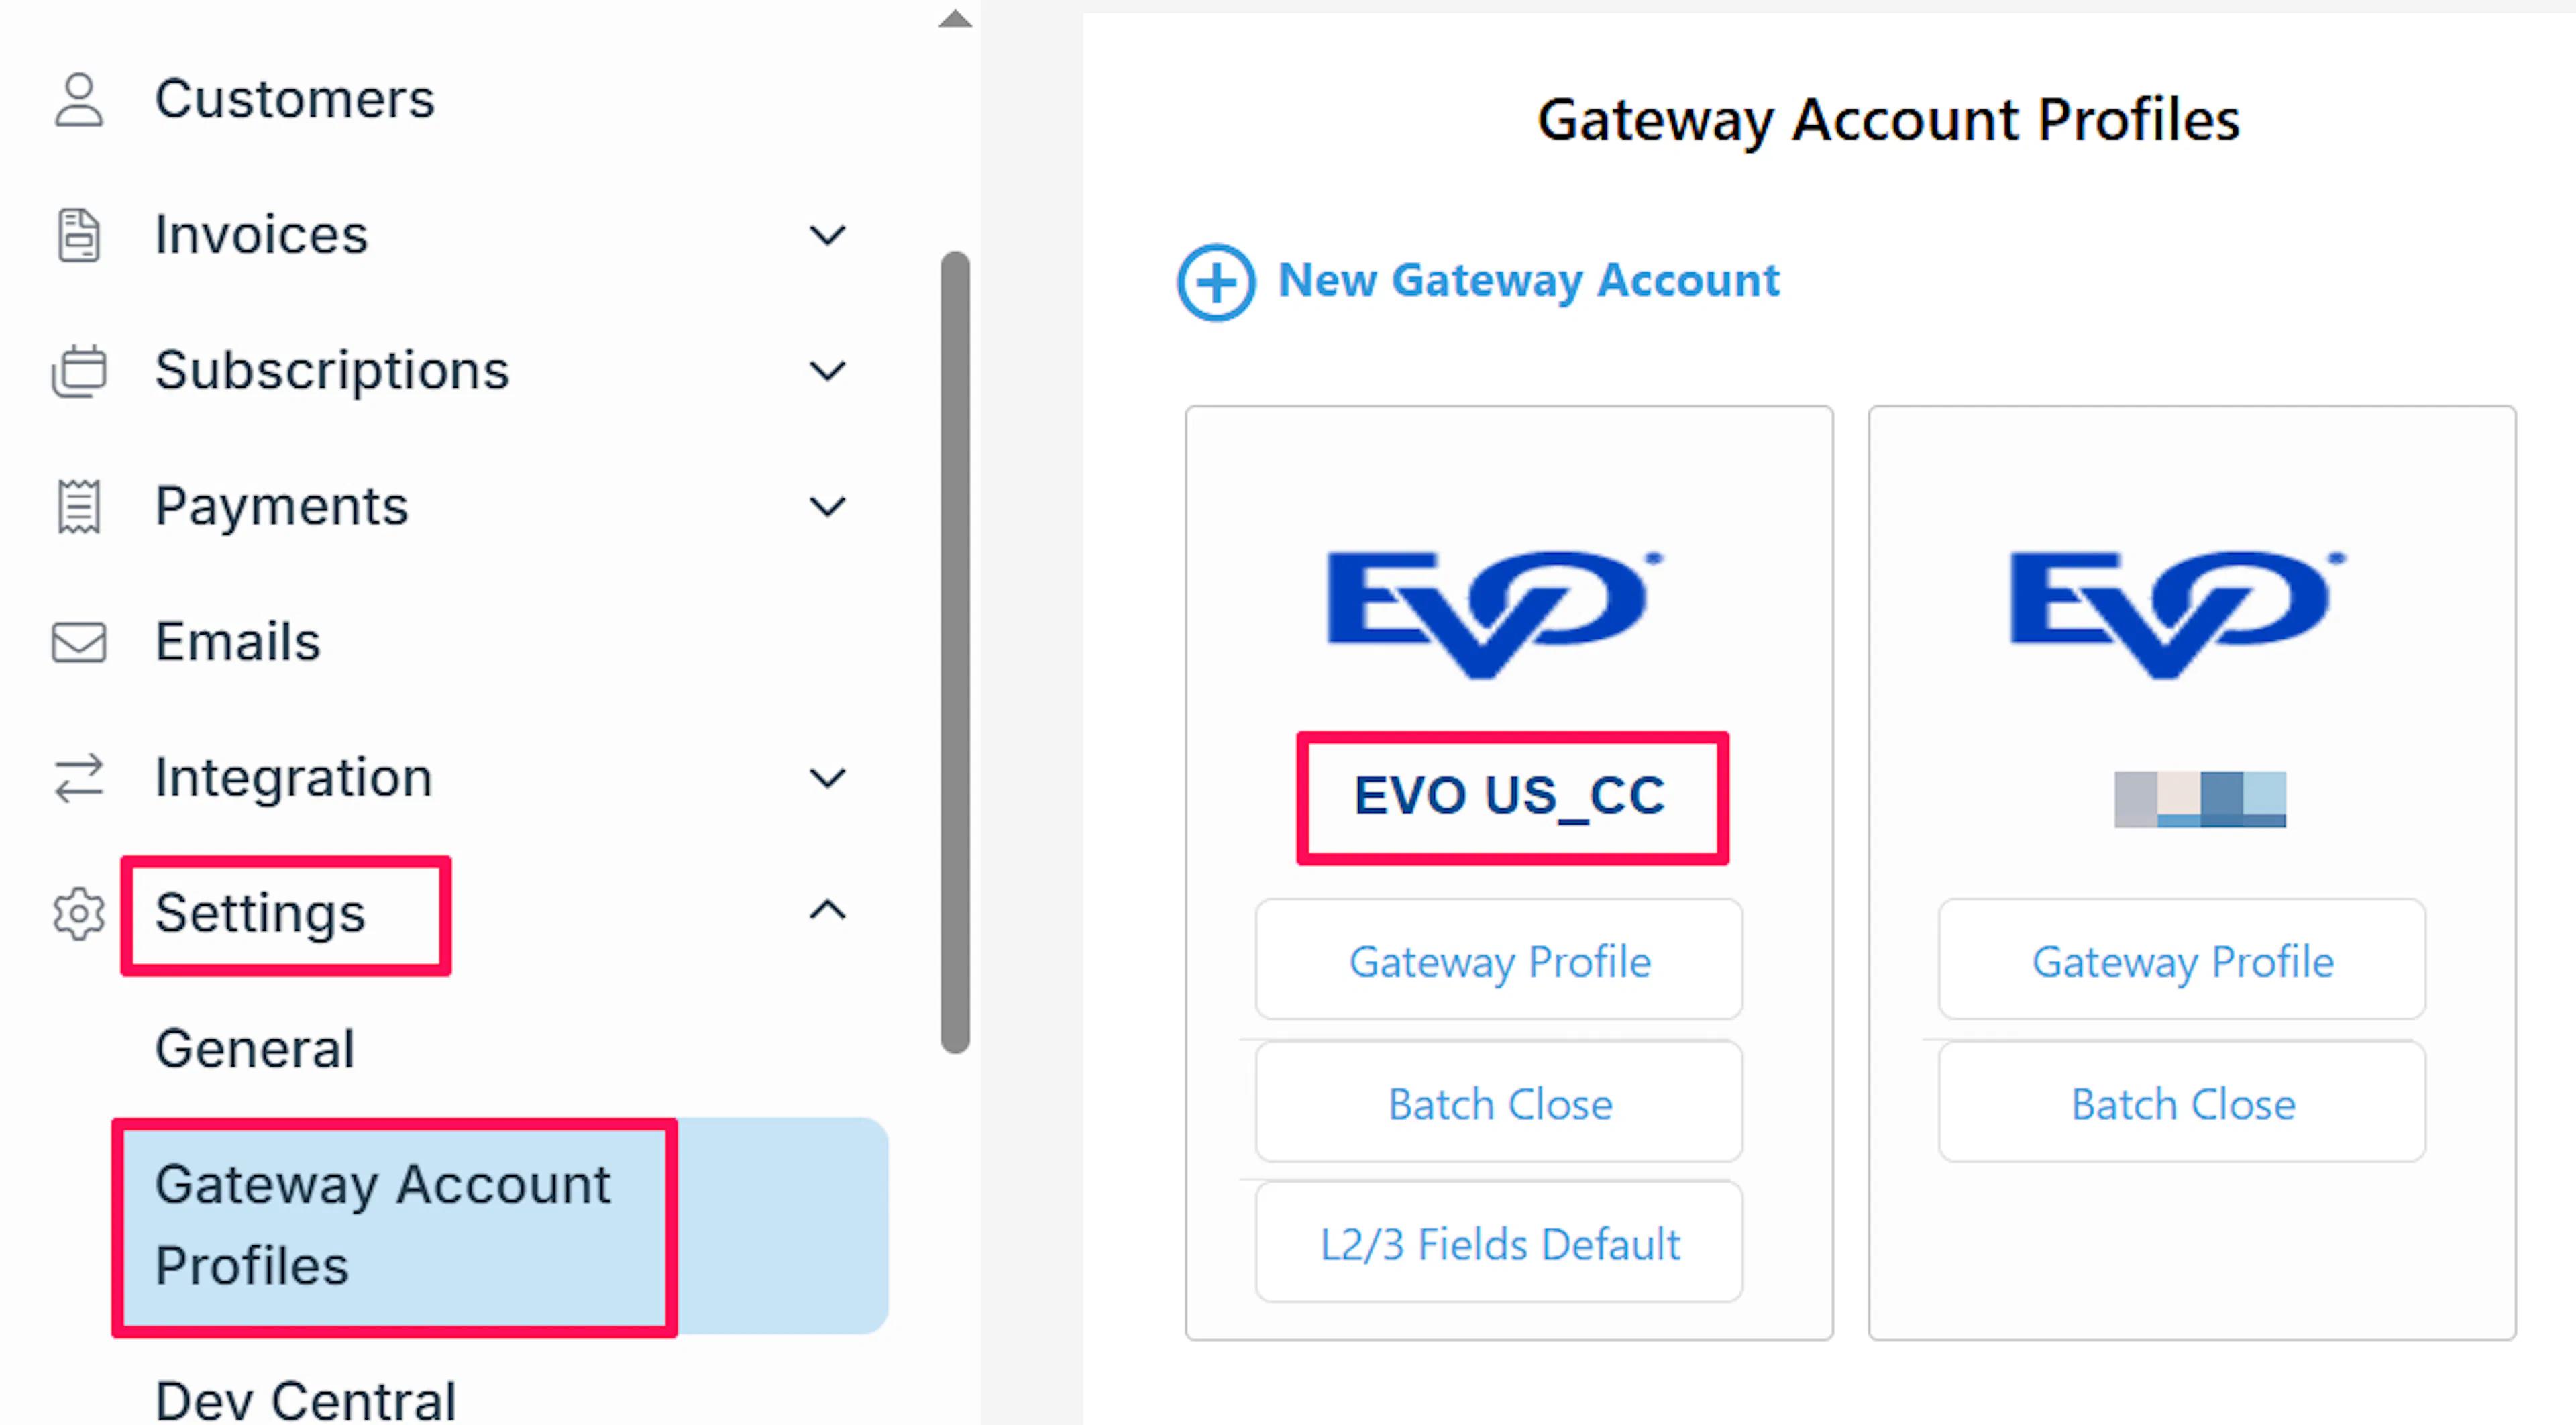
Copy the gateway profile name
Go to Settings → Gateway Account Profiles and copy the Name of the profile you want to charge through, for example EVO US_CC.
Choose the card profile, not an ACH or eCheck profile. The name must match exactly, including spaces and underscores.
Adding Credentials to PayLexer
Open PayLexer Dashboard
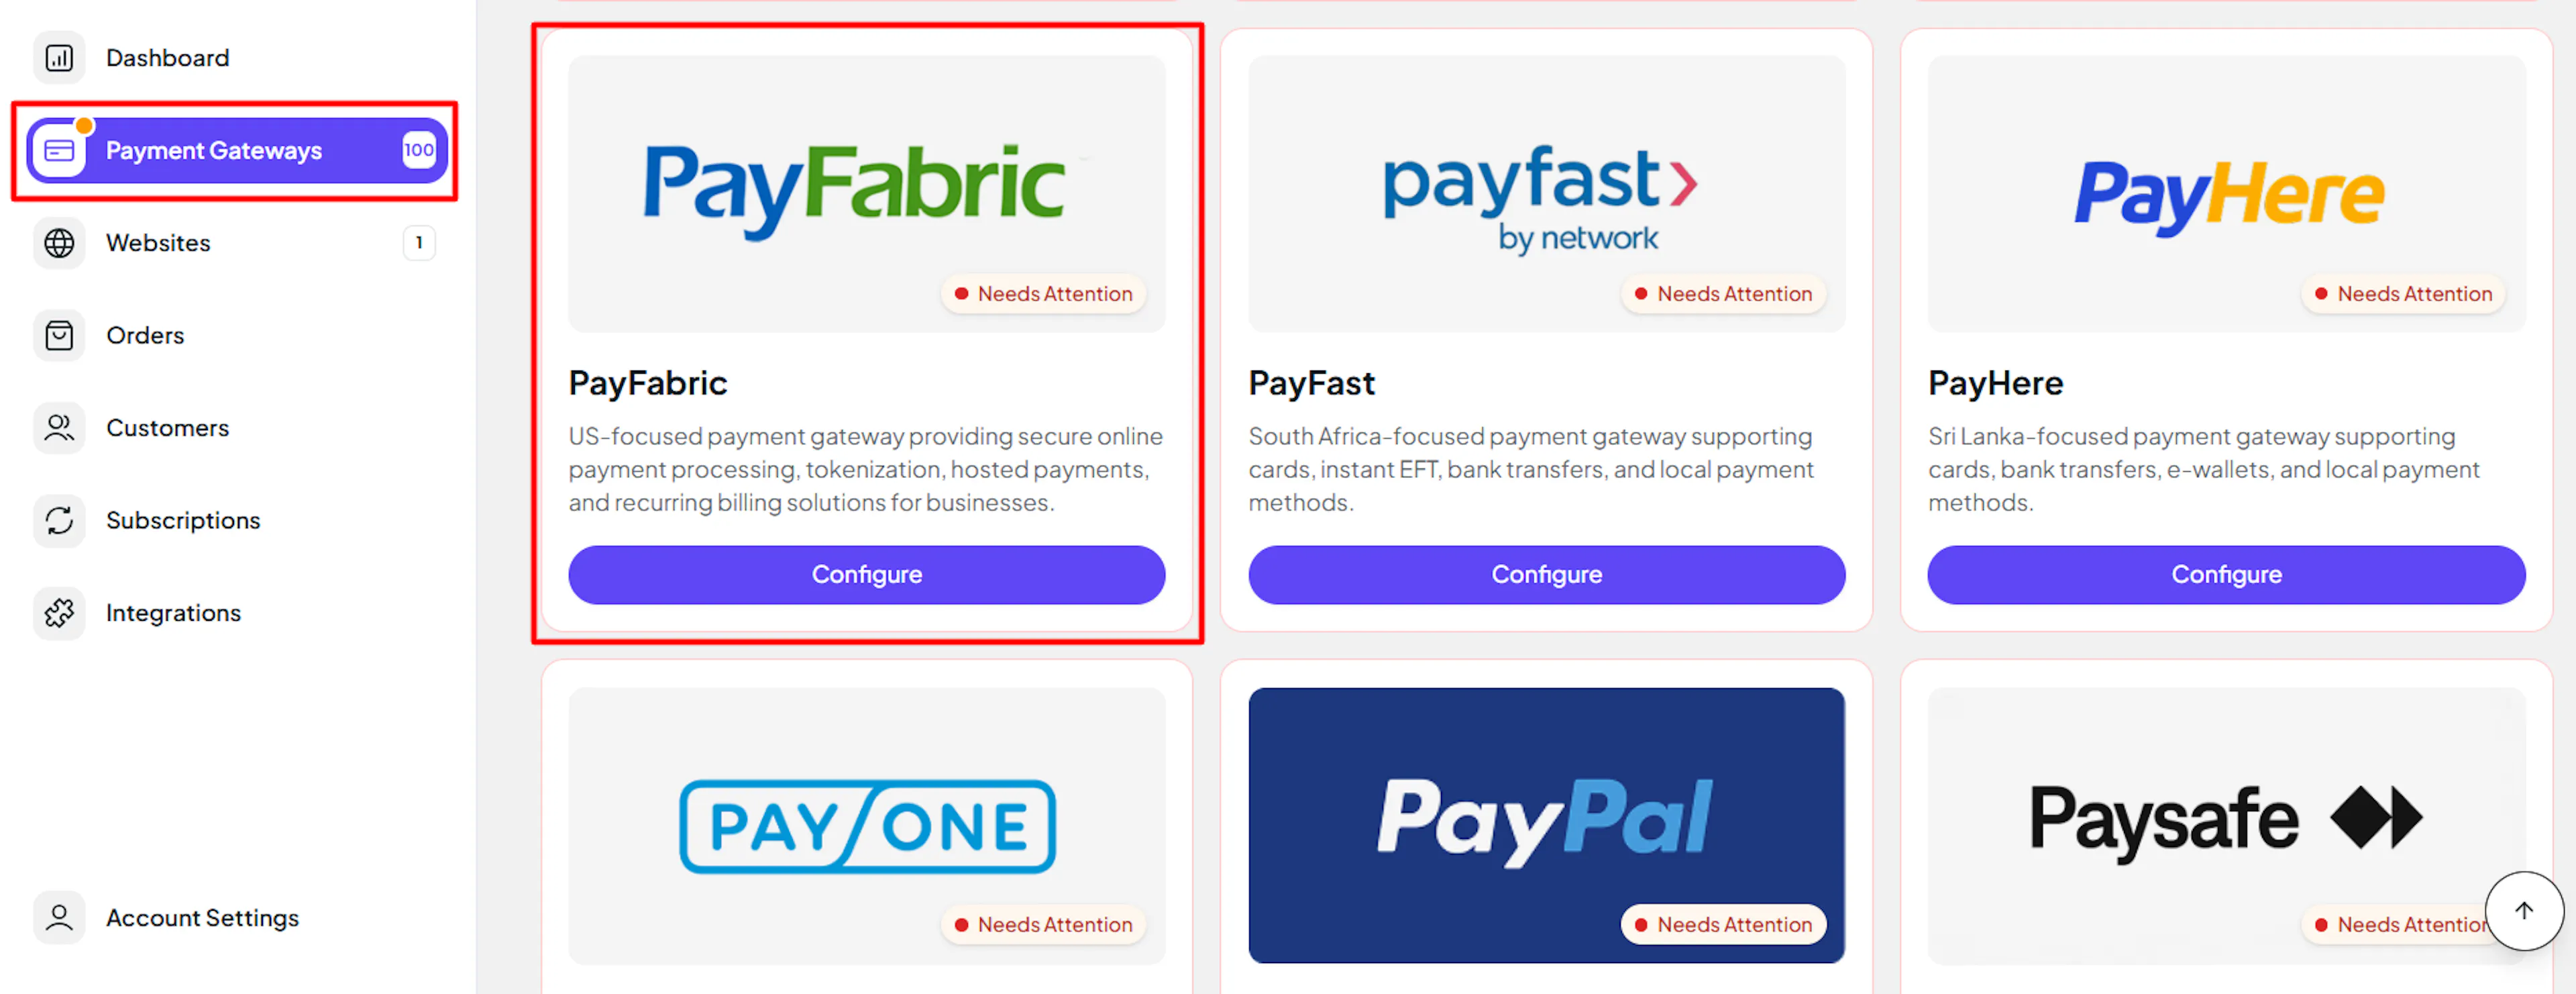
Log in to your PayLexer dashboard and navigate to Payment Gateways → PayFabric.
Enter your credentials
Paste the Device ID, Device Password and Gateway Profile (Setup ID) you copied from PayFabric into the corresponding fields.
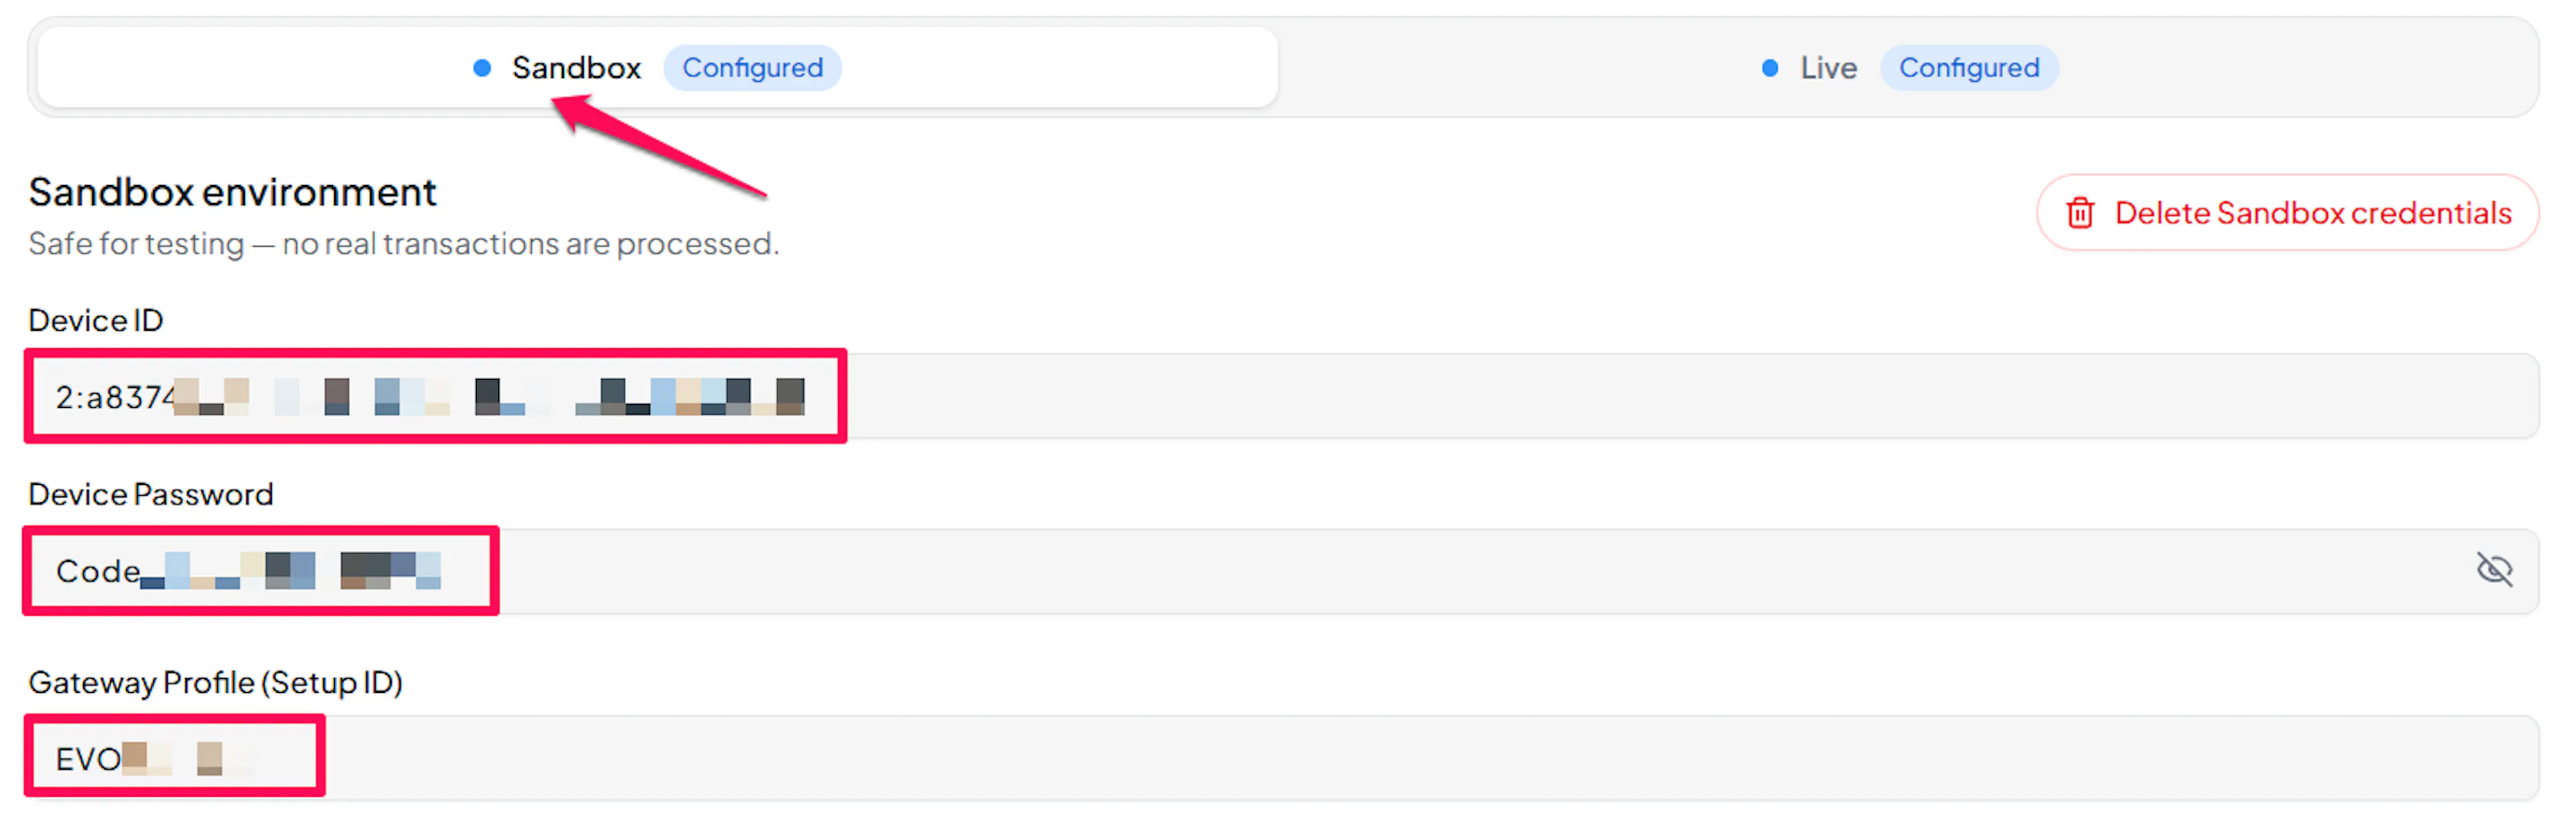
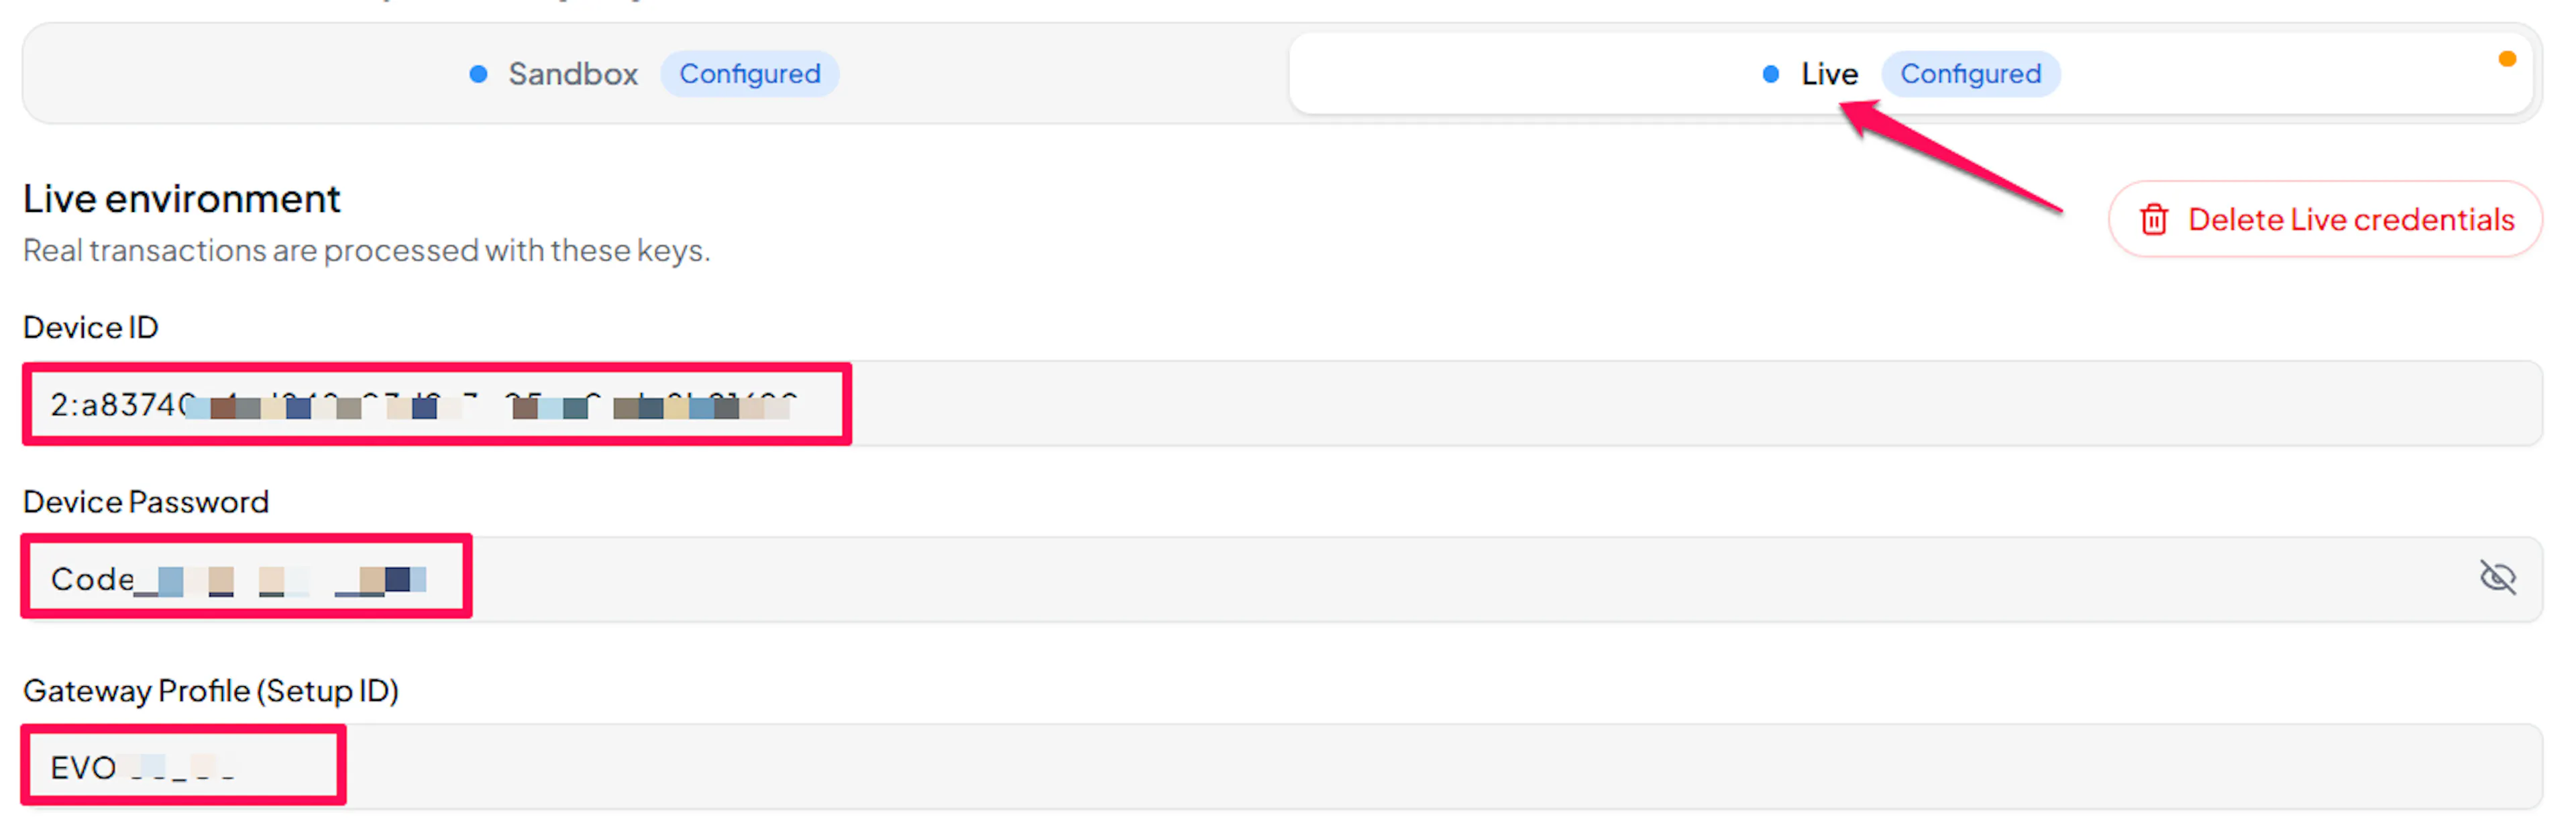
Understanding Live/Production and Sandbox Settings:
| Environment | Purpose |
|---|---|
| Live / Production | Used for real transactions. |
| Test / Sandbox | Used for testing only. No real money is processed. |
How PayLexer selects credentials:
- Debug/Test mode ON → Test credentials are used
- Debug/Test mode OFF → Live credentials are used
Configuring Webhooks
Webhooks enable real-time payment updates and significantly improve reliability.
Benefits of Webhooks:
- Instant payment status updates
- Automatic refund processing
- Dispute notifications
Copy your webhook URL from PayLexer
On the PayFabric configuration page in PayLexer, copy the Webhook URL shown in the read-only field.

Open Transaction Options in PayFabric
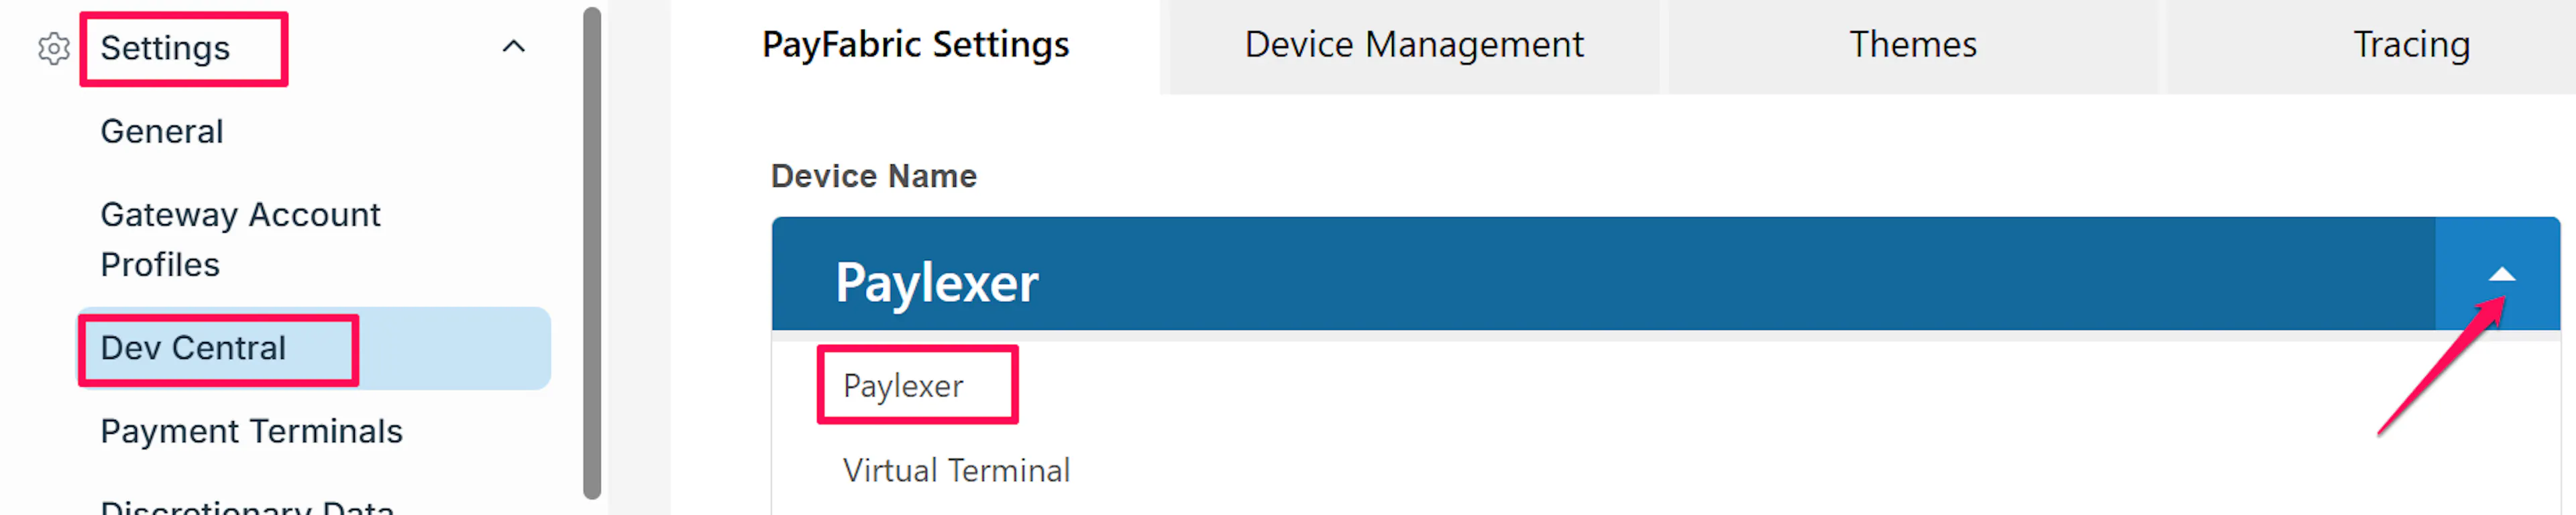
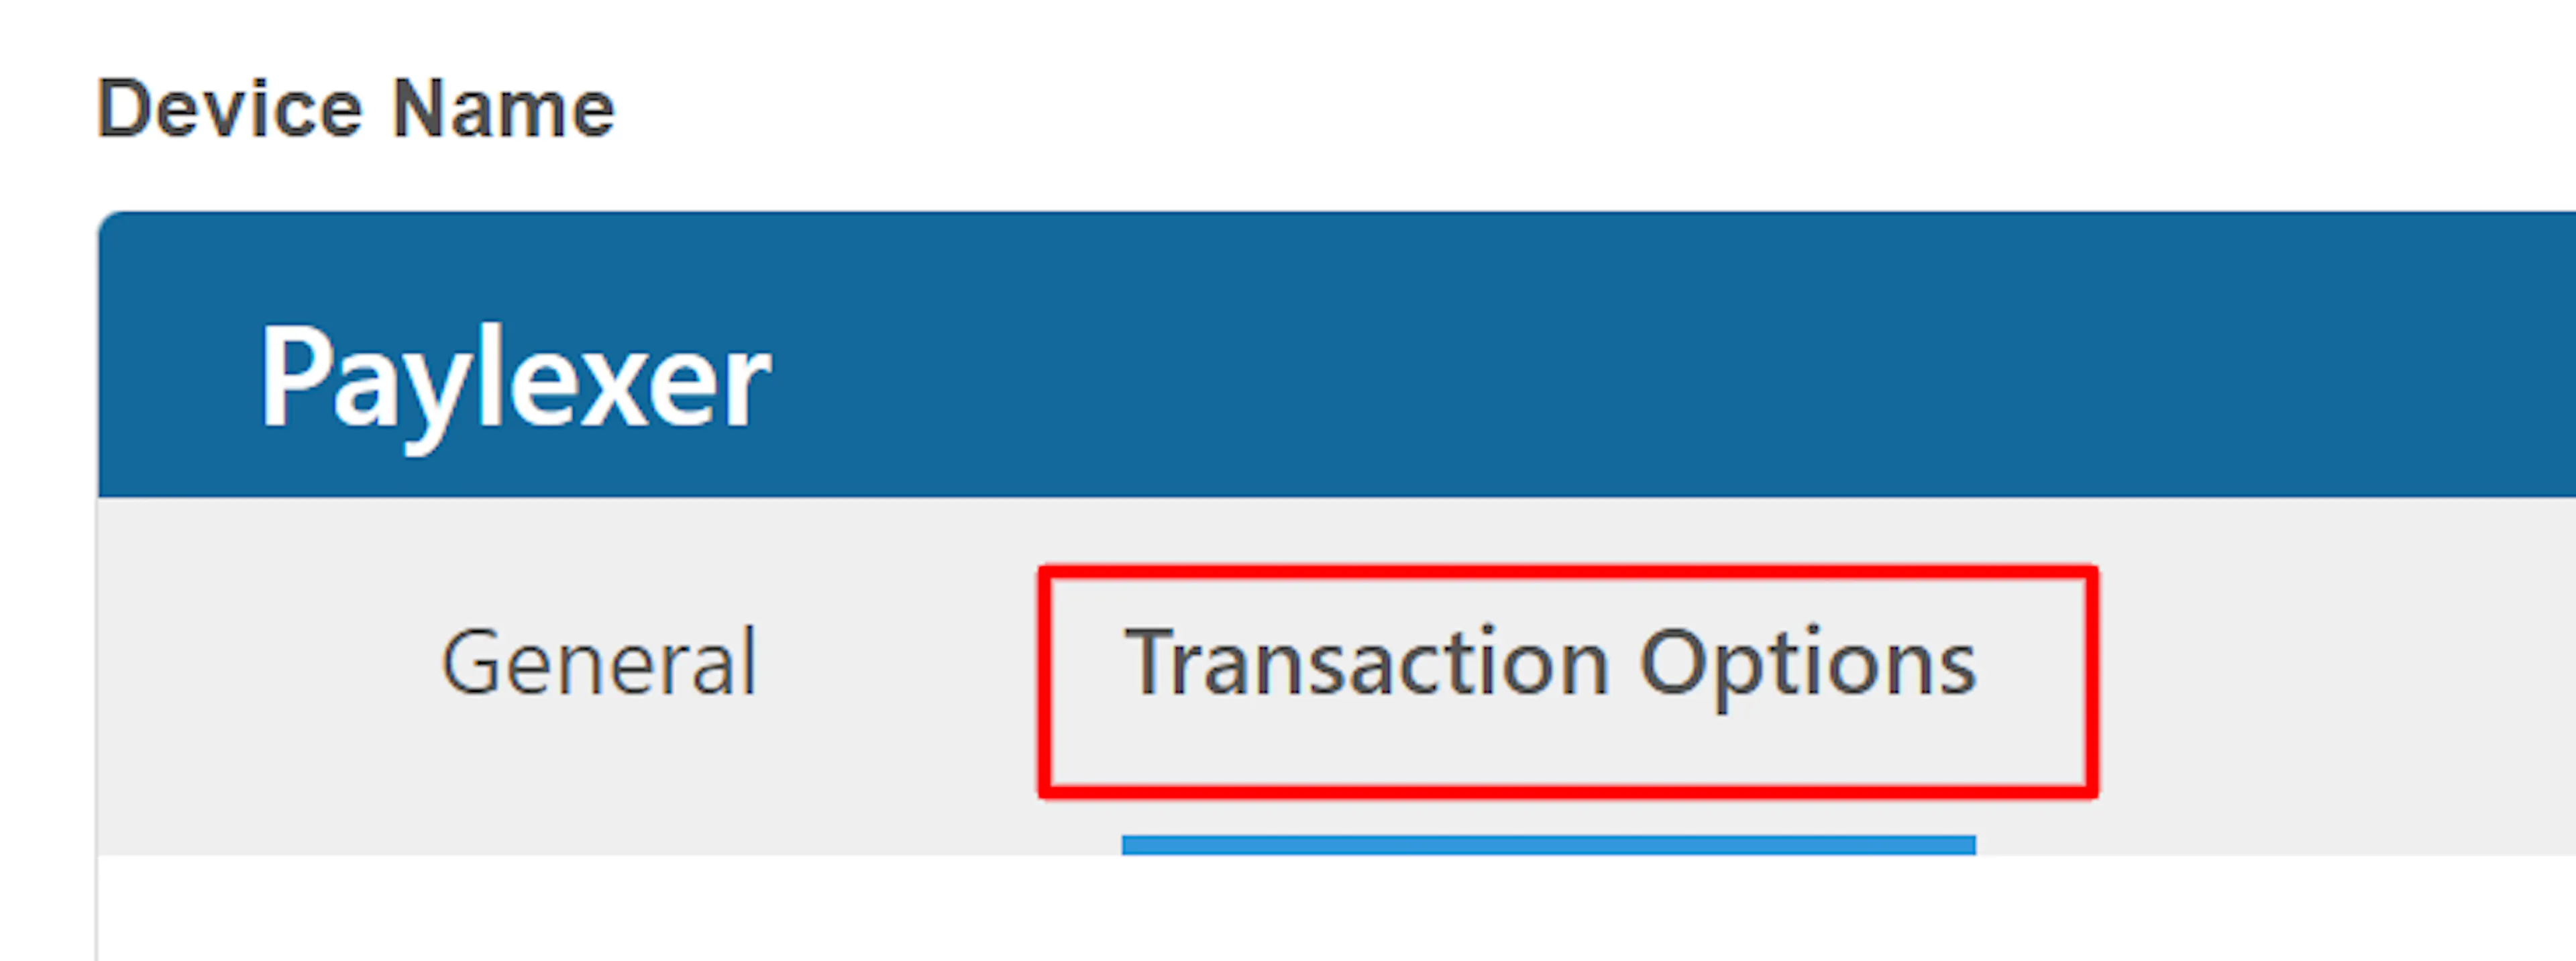
In the PayFabric portal, go to Settings → Dev Central → PayFabric Settings, select the device you created from the Device Name list, then open the Transaction Options tab.
The notification setting belongs to the device, so make sure the correct device is selected before you change anything.
Paste the URL and set the format
Paste the webhook URL into the Post URL field, and set the Post URL Content-Type header to Defaultand click save.
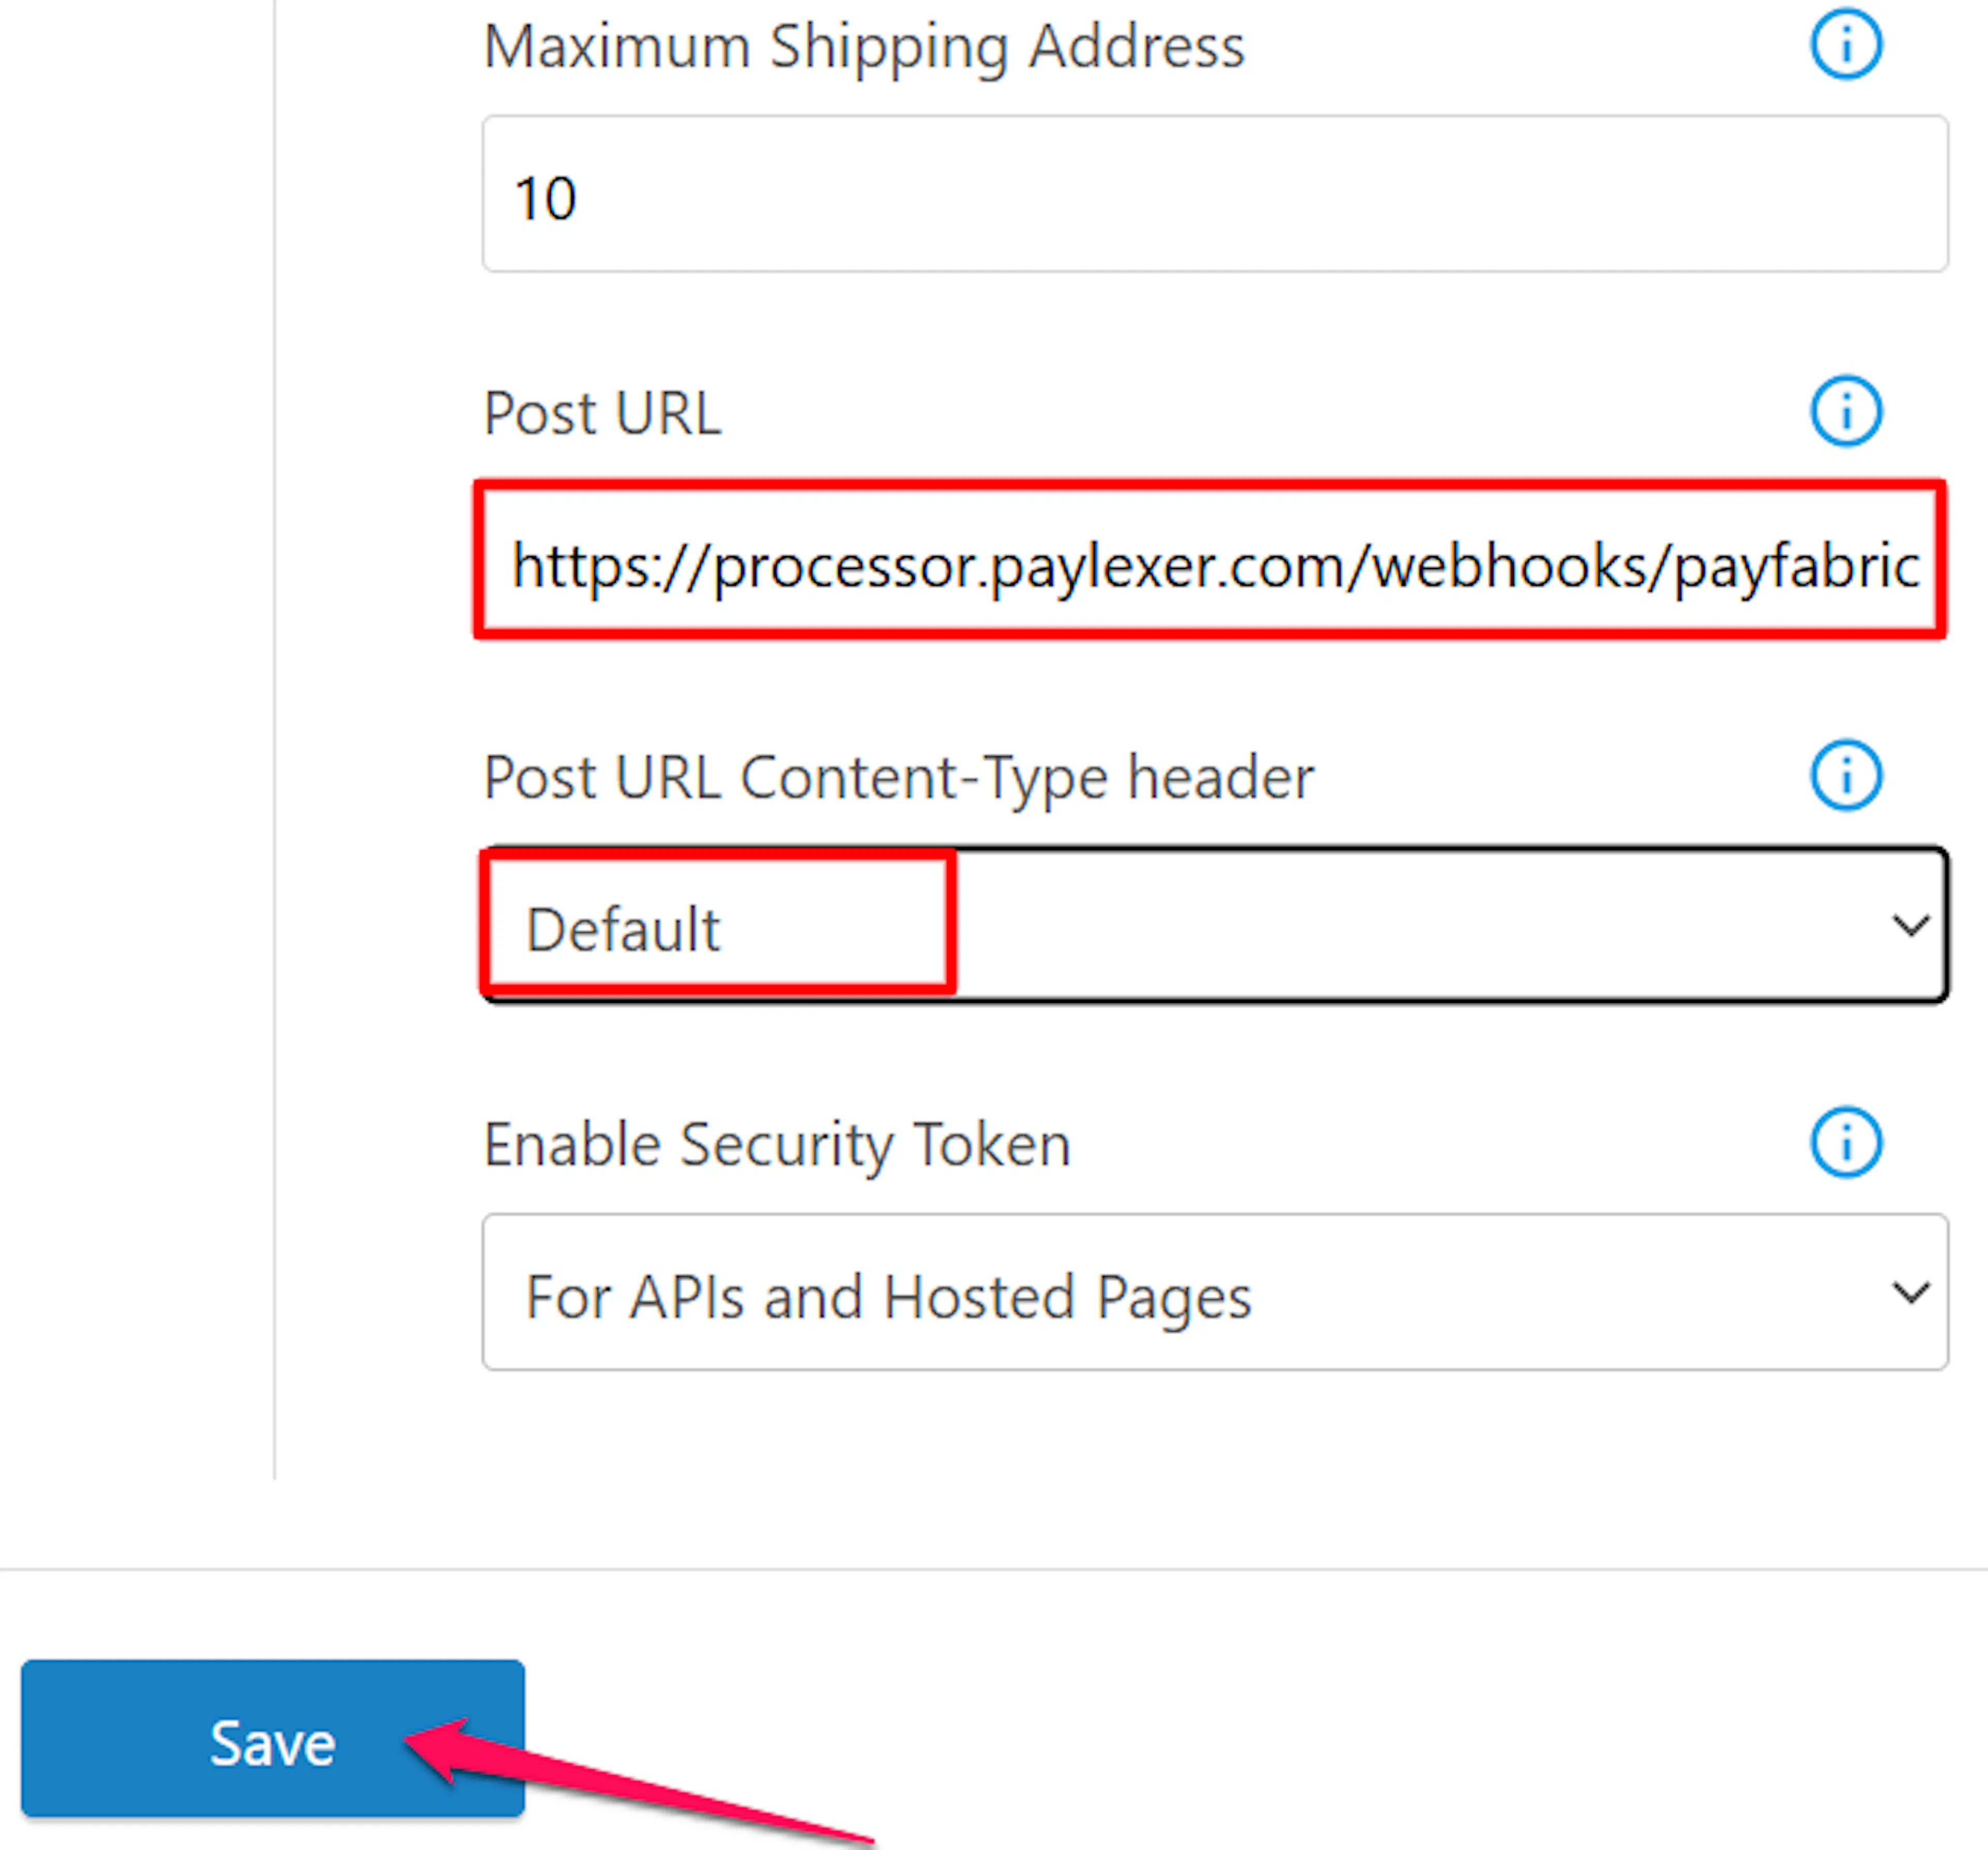
Do not choose Legacy. The Legacy setting labels its notifications as one format while actually sending another, so PayLexer cannot read them and every notification is rejected. Default sends the same information correctly labelled.
Test and Save
Click Save to save your configuration and verify your credentials. Click Verify Connection to test the connection.
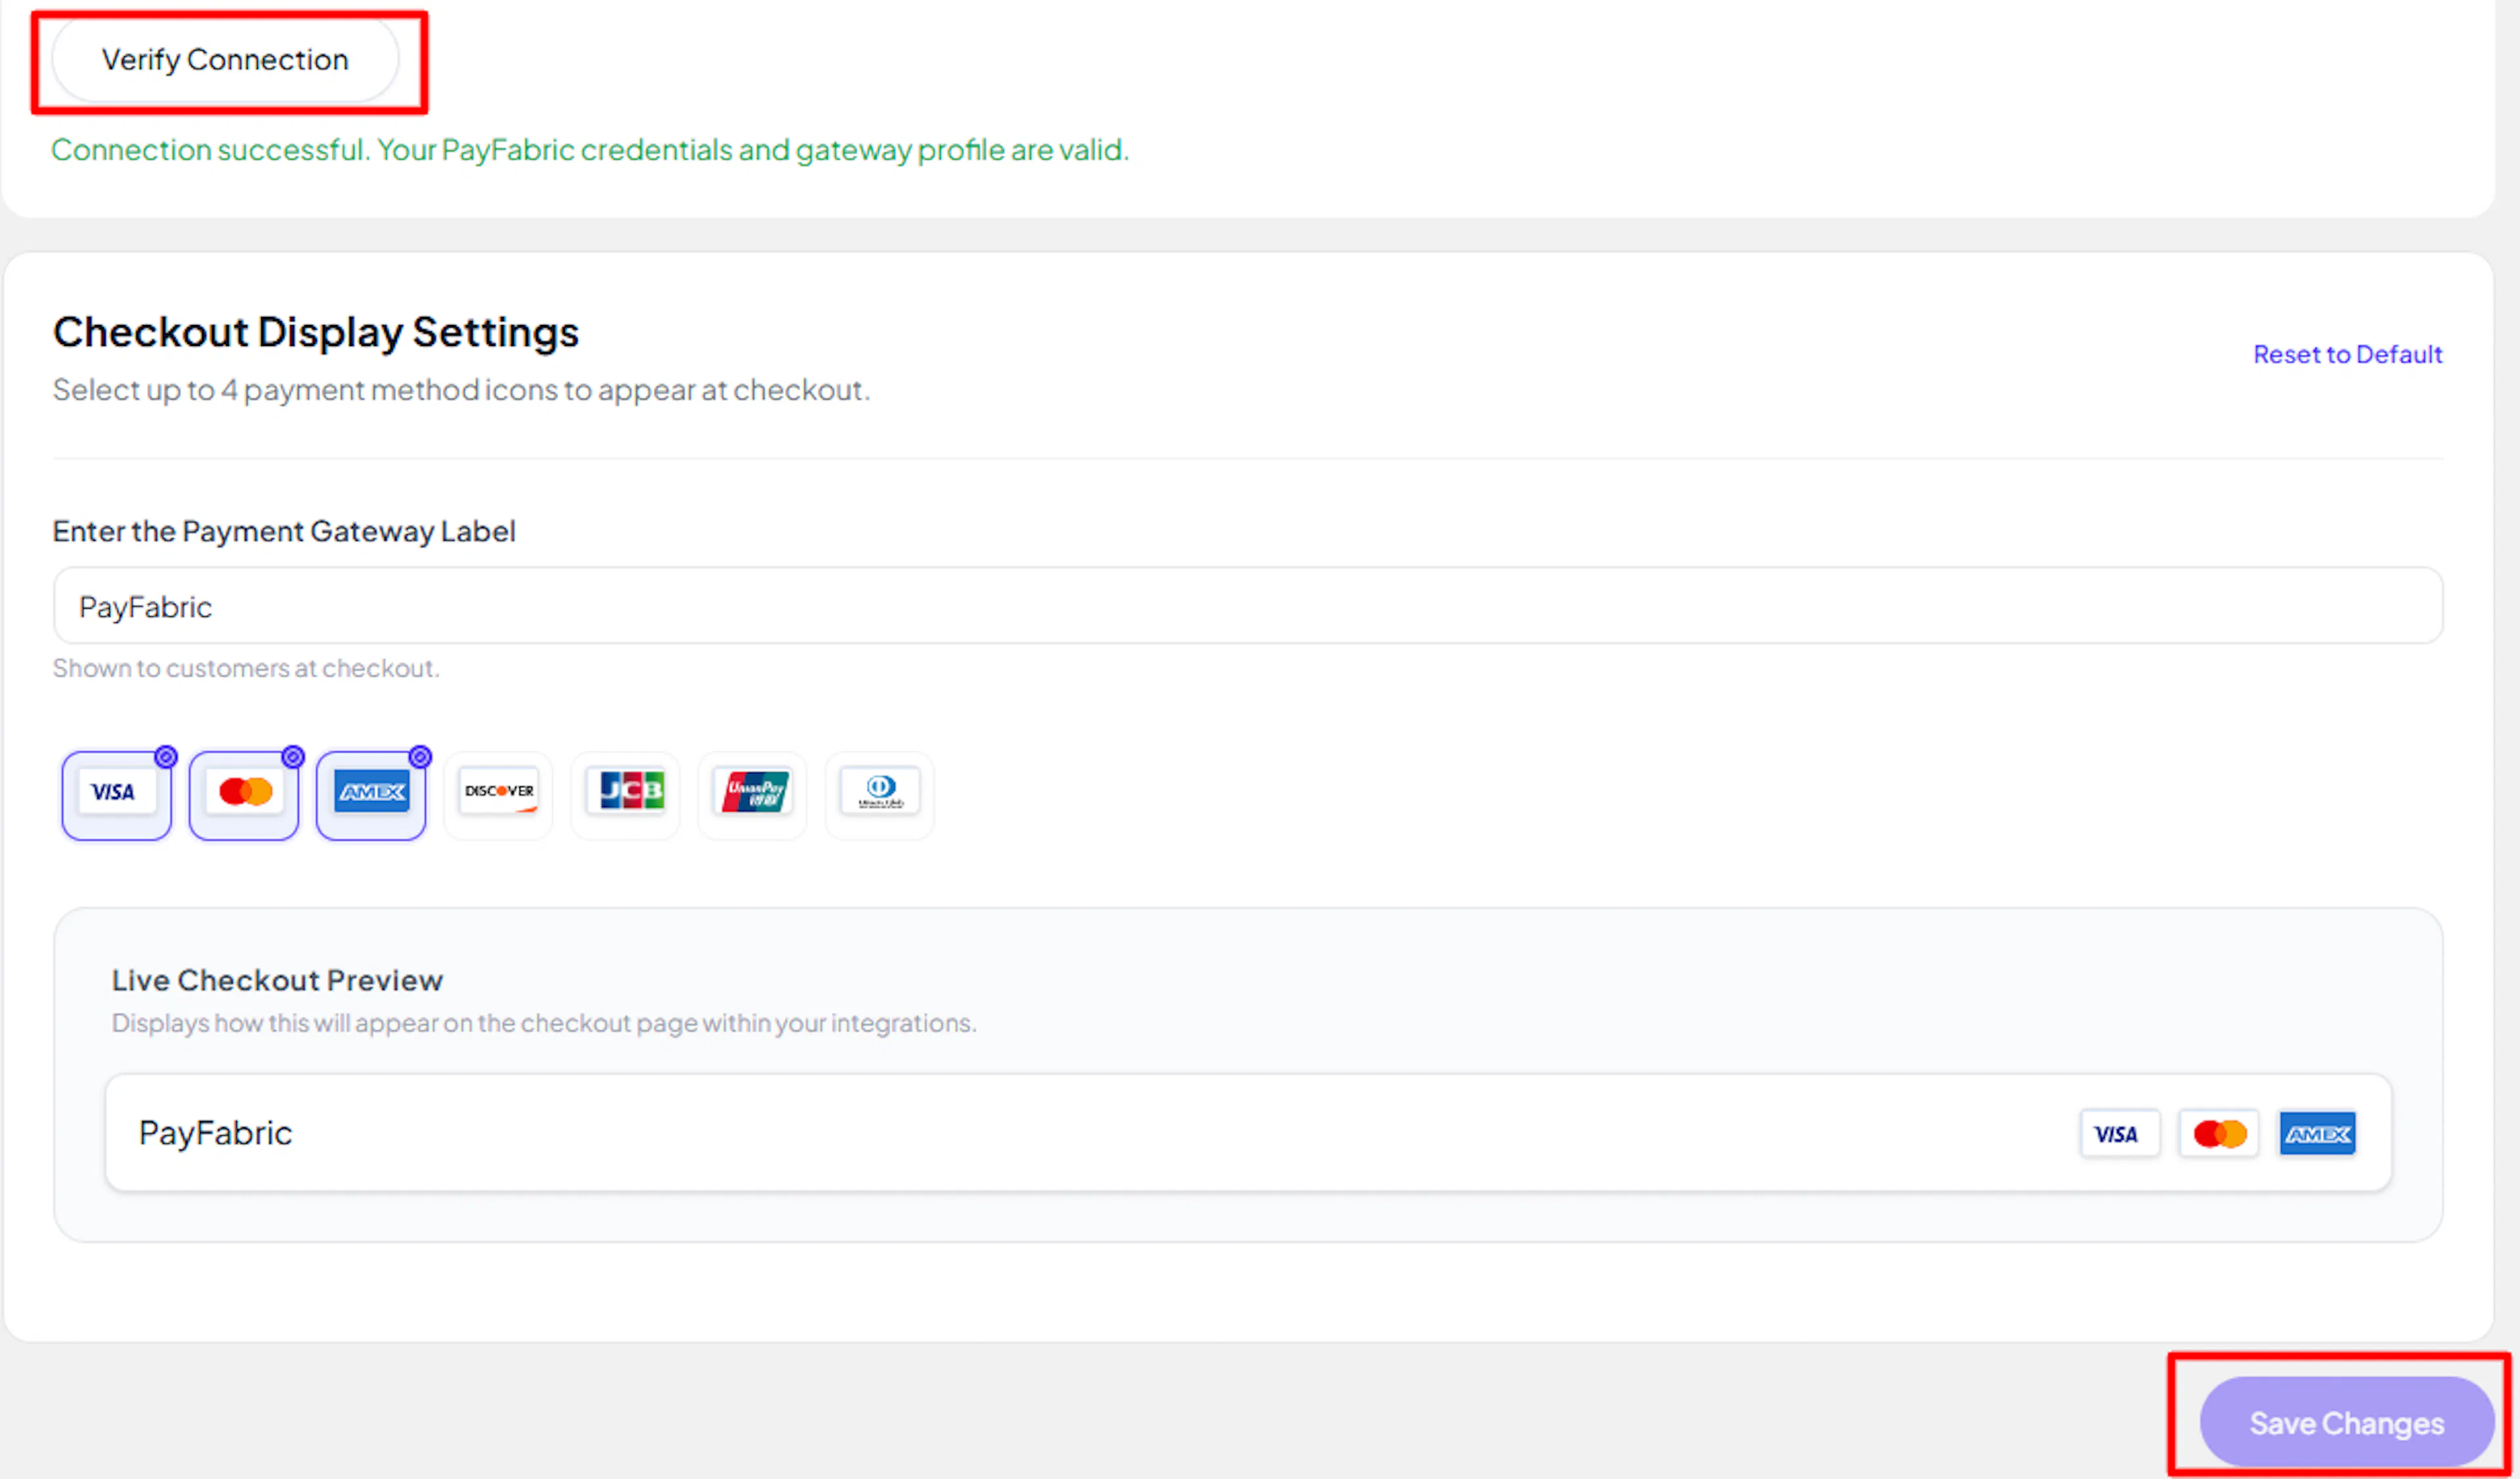
PayLexer checks the gateway profile as well as the credentials, so a misspelled profile name is caught here rather than surfacing later as a failed payment.
Integrate PayFabric to Your Website
If you have already added and configured your site, you can enable PayFabric in your existing setup.
Go to Websites
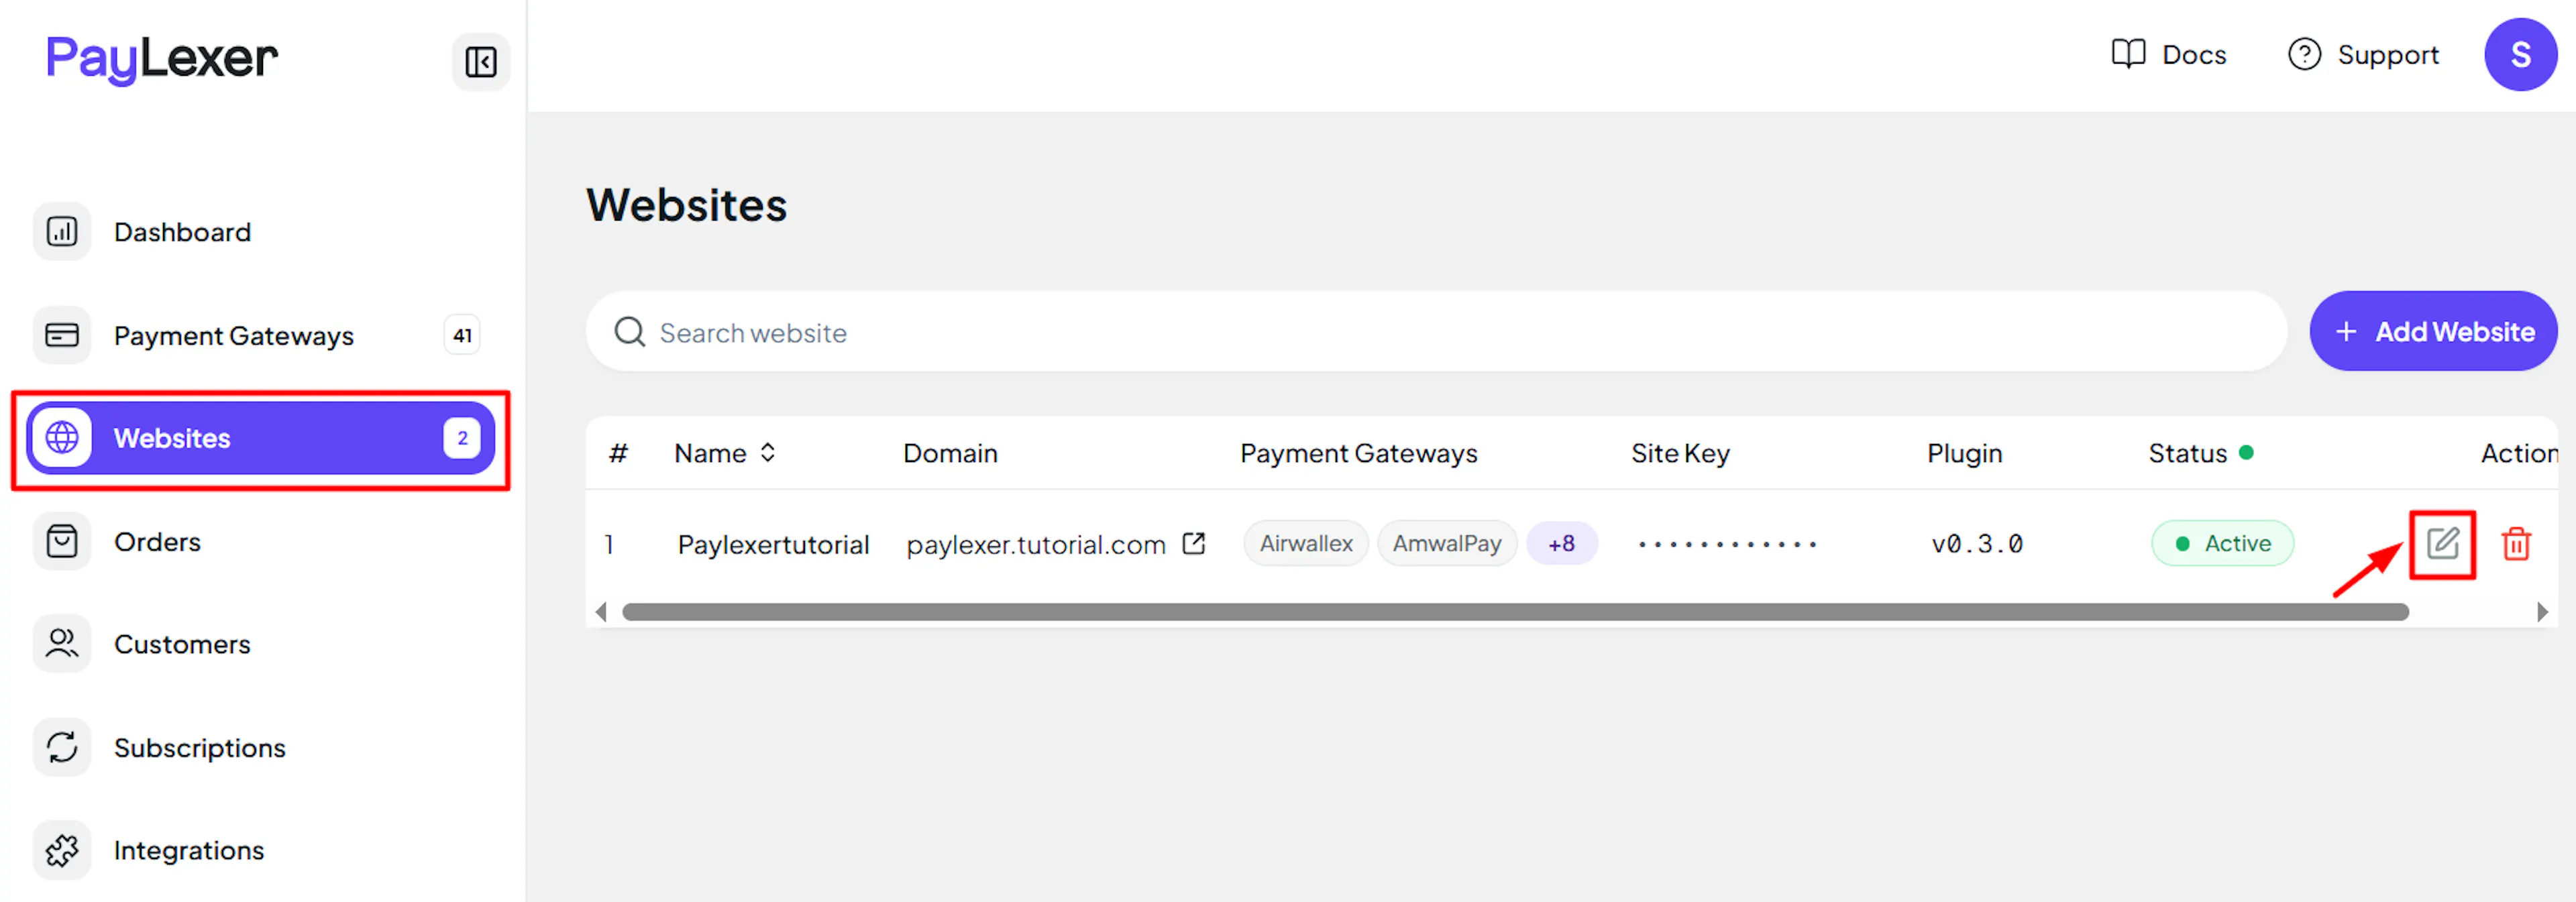
Navigate to Websites in your PayLexer dashboard.
Edit your website
Click the Edit Icon of your added website.
Enable PayFabric
Click the checkbox to enable PayFabric for the website.
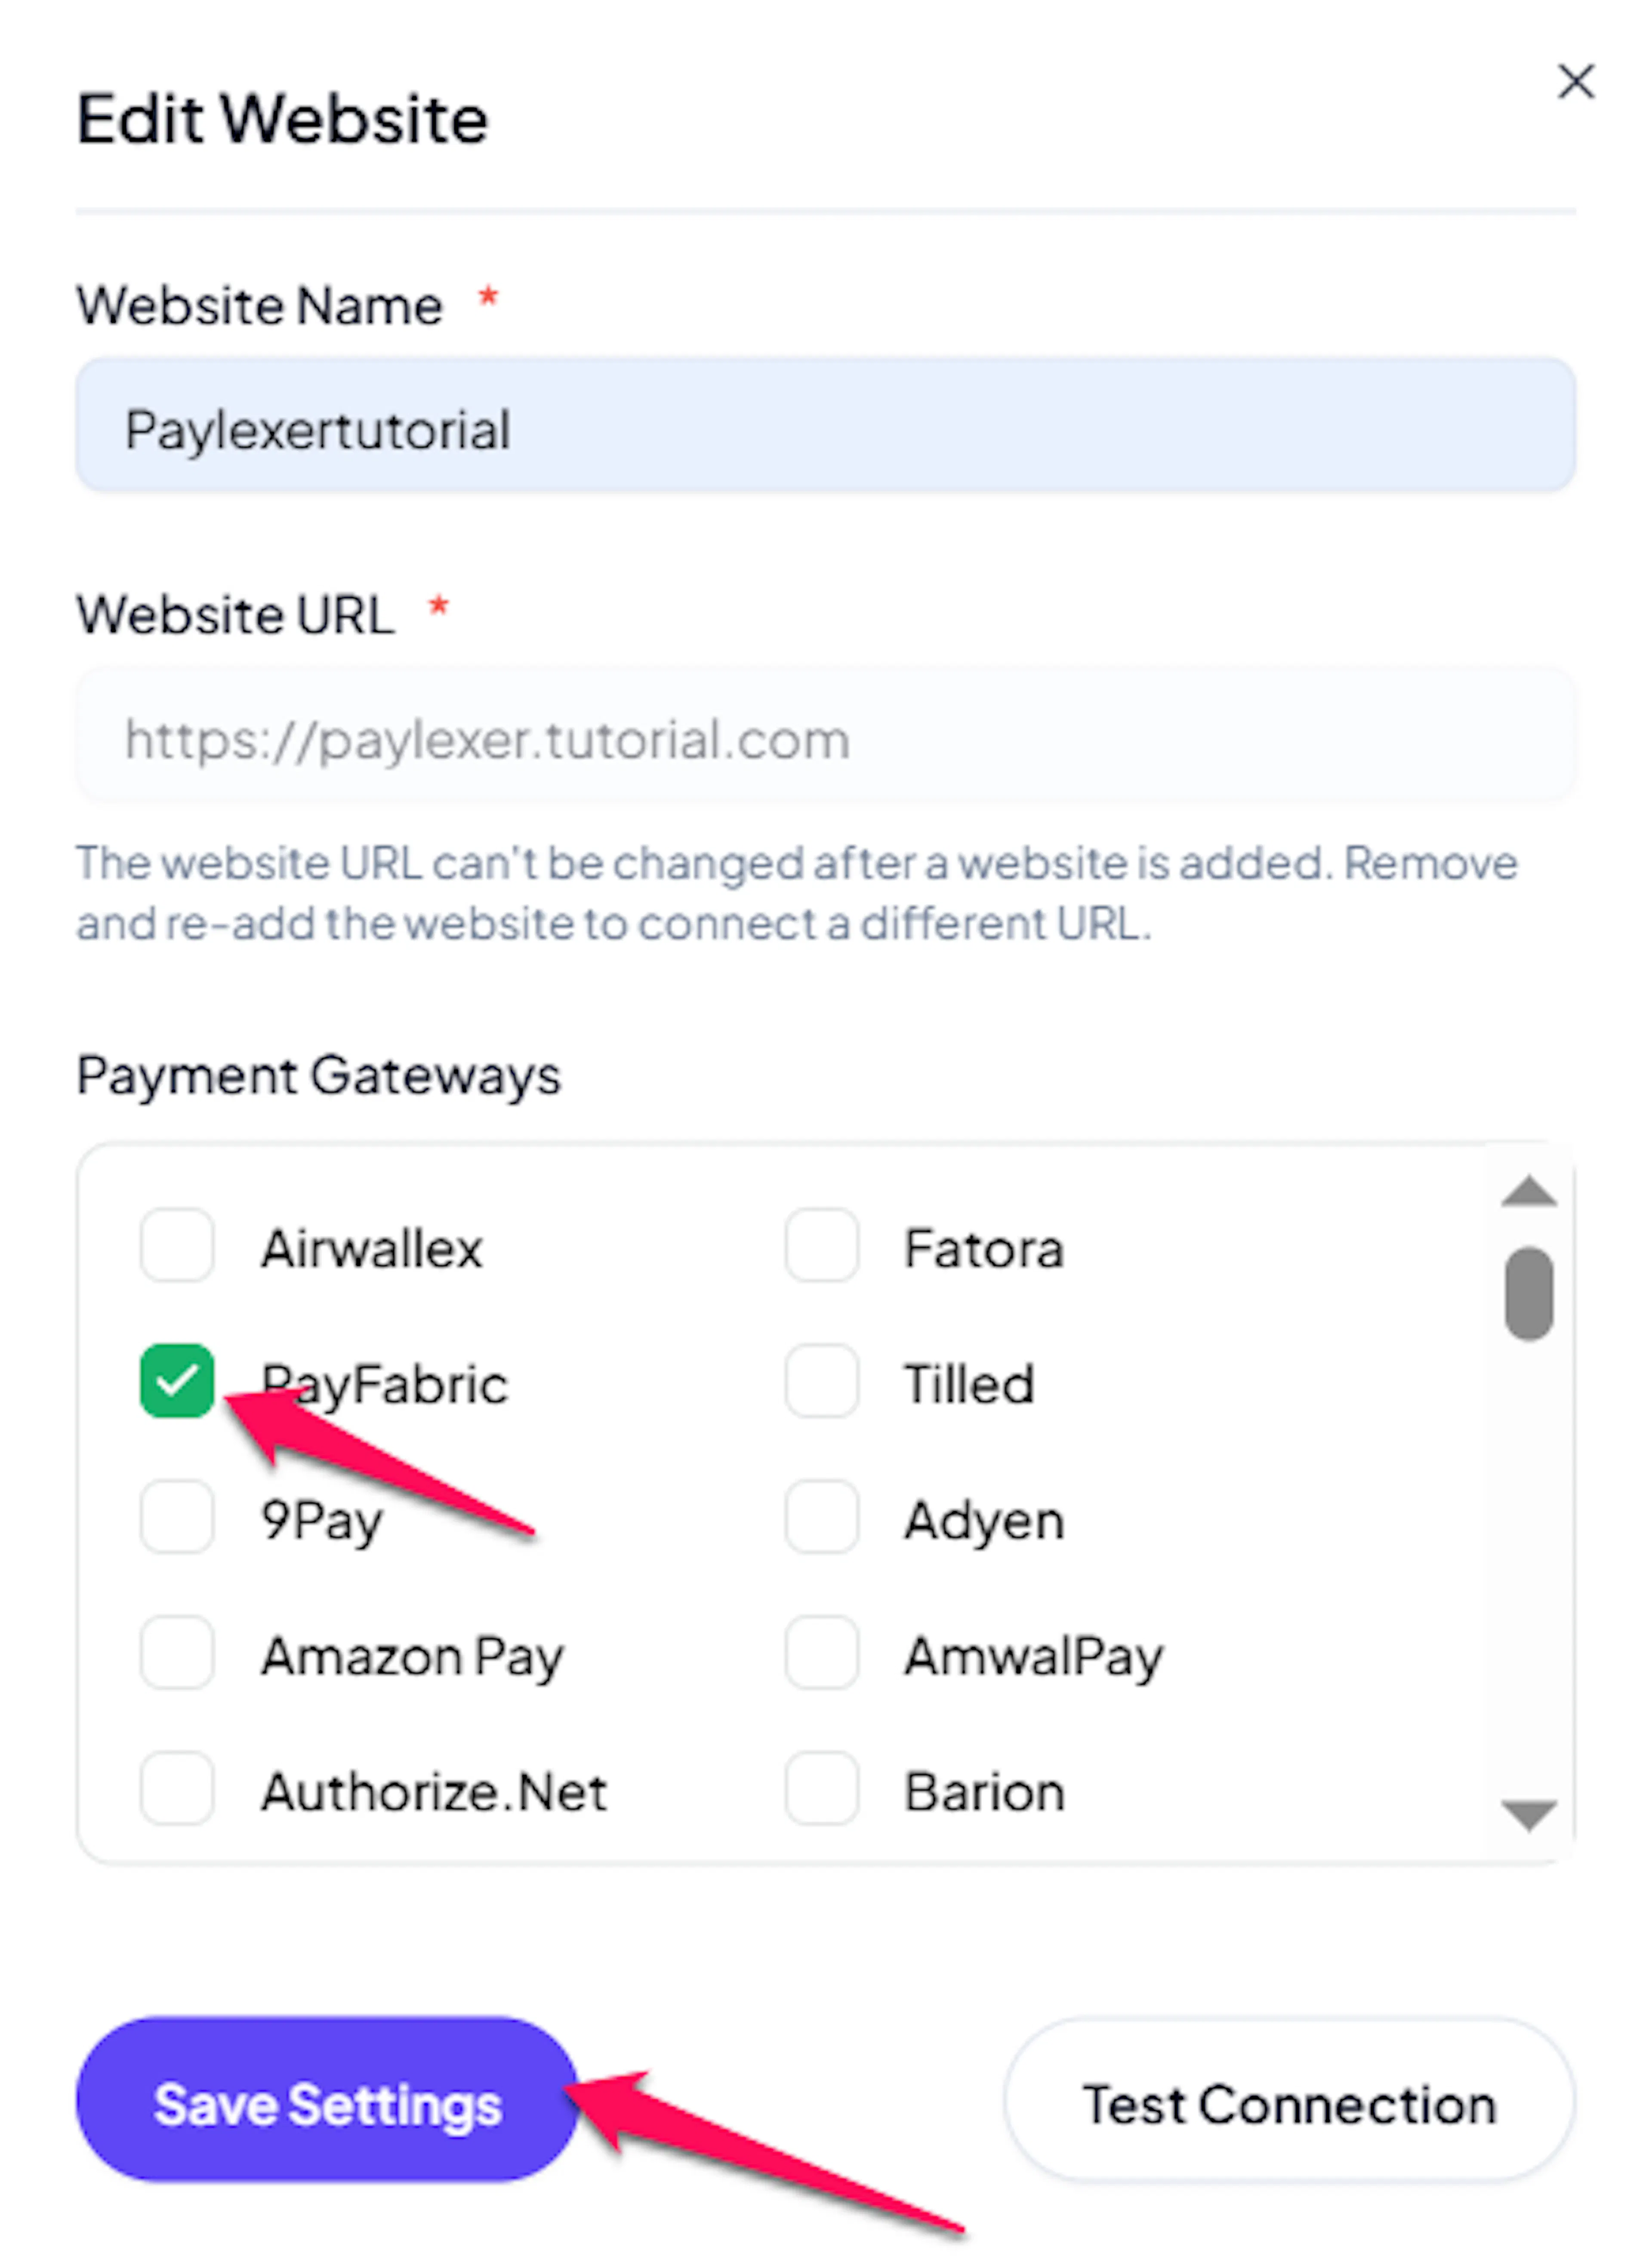
If you haven't added a website yet, Continue to Add Your Website →
Troubleshooting
Best Practices
- Test in sandbox before enabling production. Use PayFabric's test card
4111 1111 1111 1111with any future expiry date and any CVC. - Store the Device Password somewhere safe as soon as it is generated, because PayFabric will not show it again.
- Set the Post URL on every device you use with PayLexer, not just the first one.
- Confirm with your processor which currencies your account can actually settle before offering them at checkout.
FAQs
Still Have Questions?
- PayFabric Support:
- Support Site: PayFabric Support
- Support Email: support@payfabric.com
- PayLexer Support: Contact Support