

2C2P
Connect 2C2P to PayLexer to accept cards, digital wallets, QR payments, online banking and over-the-counter payments across Southeast Asia.
2C2P is a Singapore-headquartered payment platform and part of Antom (Ant International). It lets merchants accept the payment methods shoppers use across Southeast Asia from one account: cards, digital wallets, QR payments, online banking and pay-at-counter options. A hosted payment page shows the methods you have switched on with 2C2P.
- Supported Regions (Merchant Accounts): Singapore, Thailand, Malaysia, Philippines, Indonesia and Vietnam
- Supported Currencies: SGD, THB, MYR, PHP, IDR, VND, USD
Supported Features
- Hosted checkout that redirects shoppers to 2C2P's secure payment page
- Cards, digital wallets, QR payments, online banking and over-the-counter payments, depending on what is enabled on your 2C2P account
- Full refunds (requires refund keys)
- Partial refunds (requires refund keys)
- Real-time payment notifications, signed by 2C2P and verified by PayLexer
- PayLexer confirms each payment with 2C2P when the shopper returns, before your store shows the result
- A shopper can pay again for the same order after a failed attempt
- Separate test and live credentials for safe testing
2C2P does not support subscriptions or recurring billing in PayLexer. Only one-time payments are available.
Before You Start
Make sure you have:
- 2C2P Account – Don't have one? Sign up for 2C2P →
- 2C2P sandbox account – 2C2P does not offer self-service sandbox accounts. Contact support@2c2p.com or your 2C2P account manager to request a sandbox merchant
- PayLexer Account – Required to configure the integration. Create your account →
- A website where you want to integrate
Looking for a different payment processor? View all supported gateways →
Configuring 2C2P
You need a Merchant ID and Secret Key from 2C2P for this integration. To issue refunds from PayLexer, you also need a Merchant Private Key and the 2C2P Public Key.
Getting API Credentials
Log in to the 2C2P dashboard
Sign in to your 2C2P dashboard. For sandbox credentials, sign in to the 2C2P sandbox dashboard instead, which is a separate system with its own login.
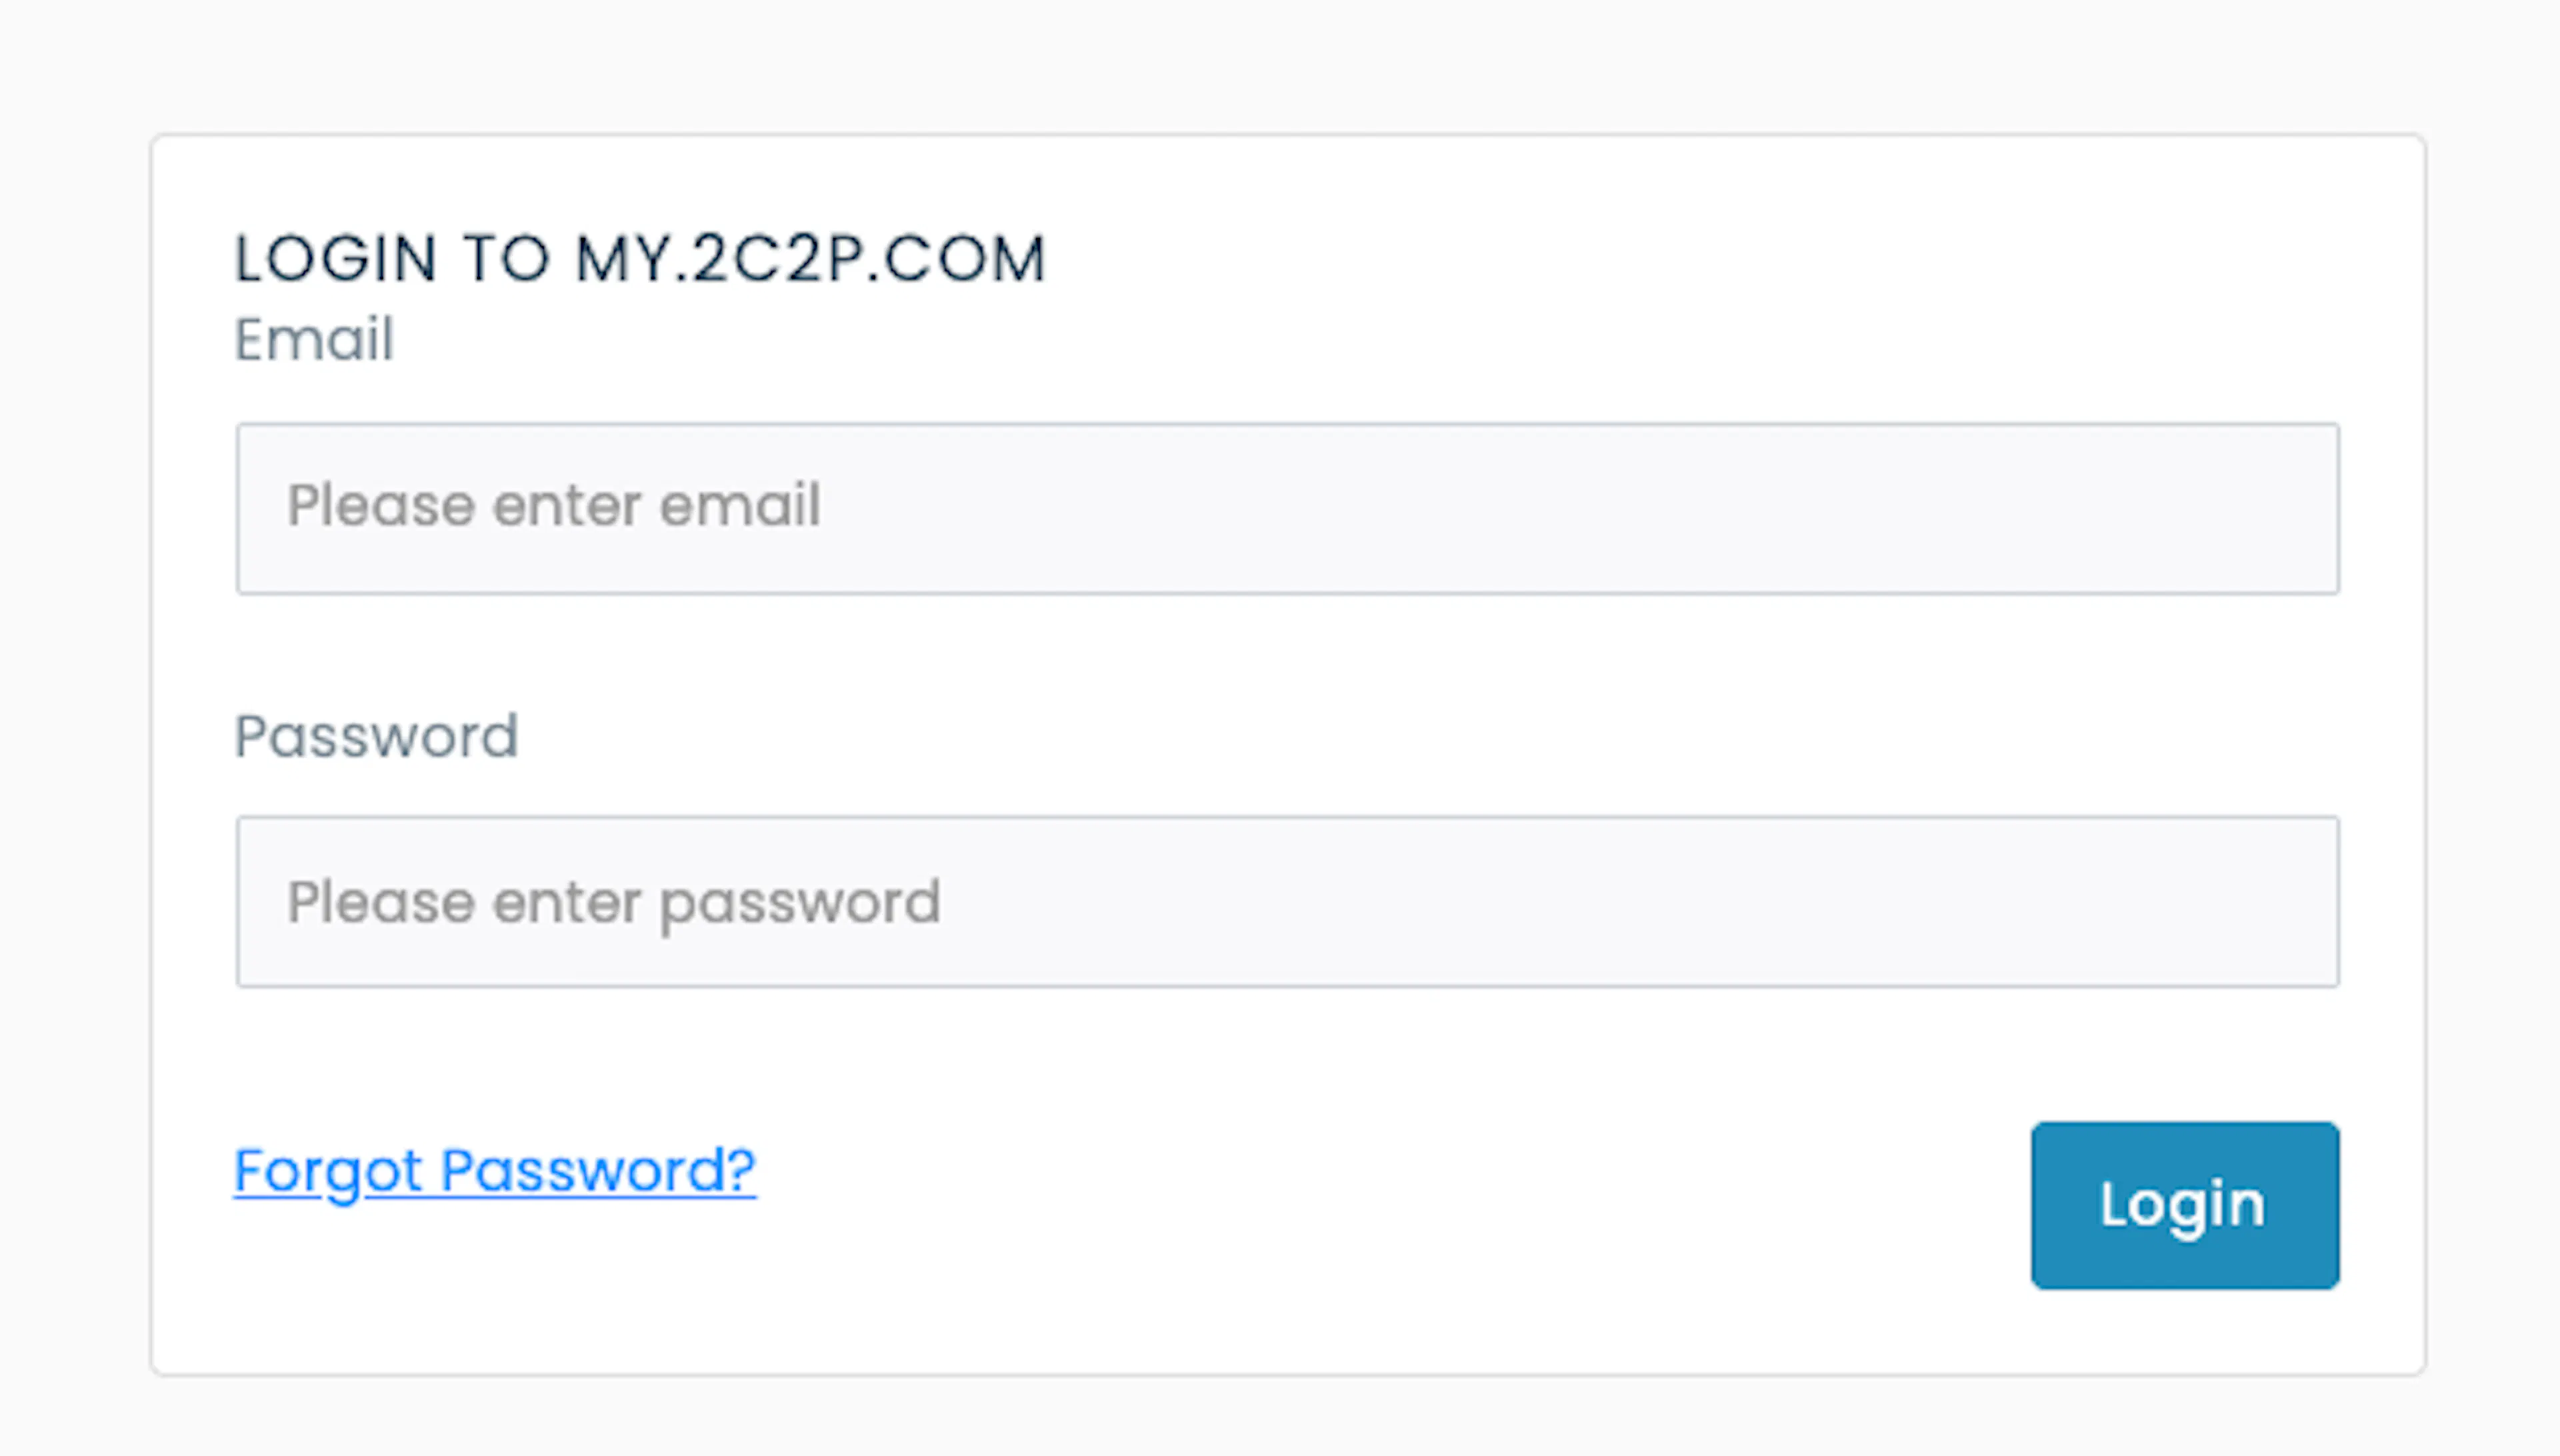
Copy your Merchant ID and Secret Key
Copy your Merchant ID and Secret Key from the 2C2P dashboard.
Keep your Secret Key private. It signs every payment PayLexer creates and it is how PayLexer checks that payment notifications genuinely came from 2C2P.
Set up refund keys (optional)
Payments work with just the Merchant ID and Secret Key. To issue refunds from PayLexer, 2C2P's refund service needs two more keys:
- 2C2P Public Key - download it from the 2C2P dashboard
- Merchant Private Key - create an RSA key pair by following 2C2P's certificate generation guide. Upload the public half (X.509 format) in the 2C2P dashboard and set it as the default. Keep the private half for PayLexer
The private key must be the one that belongs to the public key you set as default in the 2C2P dashboard. If they do not match, 2C2P rejects every refund. The private key must not be protected by a passphrase.
Refunds work only after 2C2P settles the payment, usually by the next business day. Payments made to Indonesian merchants must be refunded from the 2C2P dashboard.
Adding Credentials to PayLexer
Open PayLexer Dashboard
Log in to your PayLexer dashboard and go to Payment Gateways, find 2C2P and click Configure.
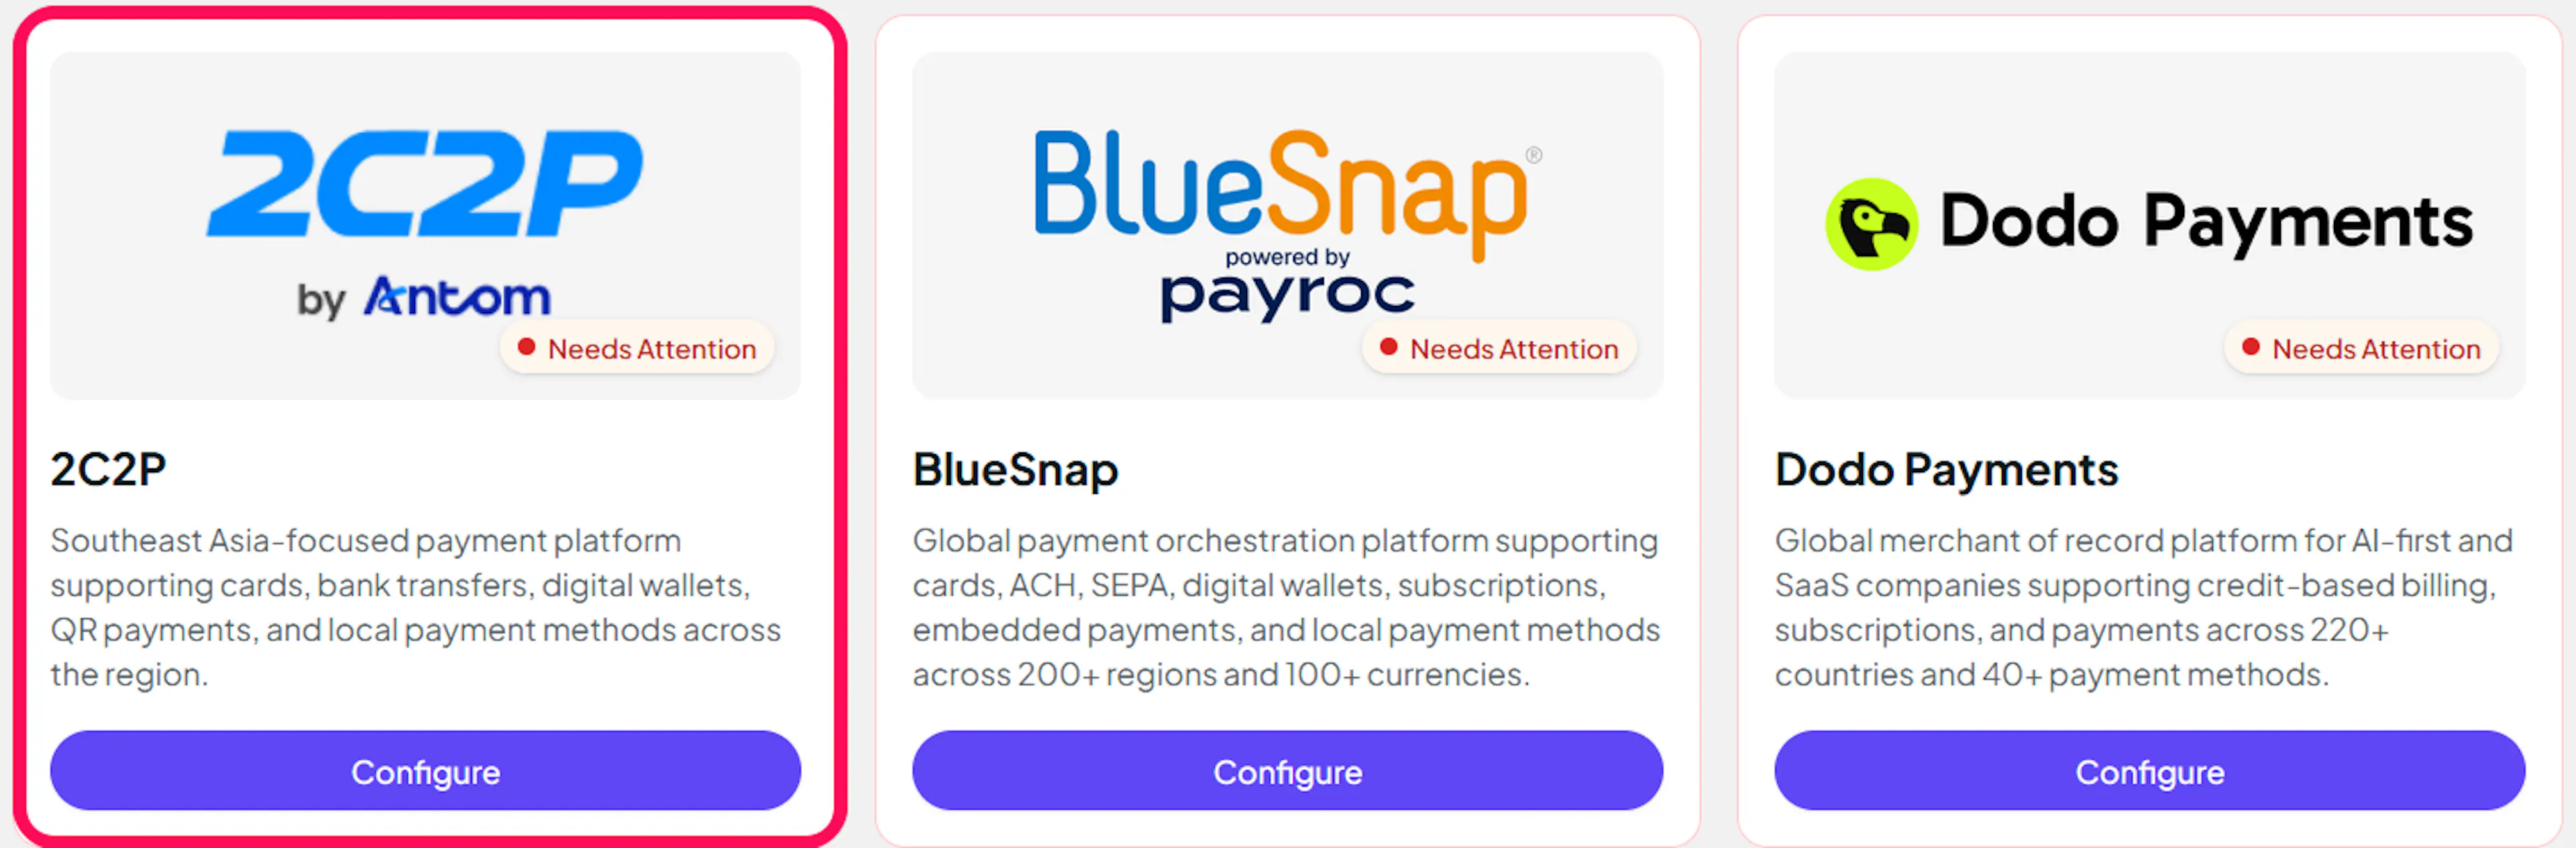
Enter your credentials
Paste the Merchant ID and Secret Key you copied from 2C2P into the corresponding fields. To enable refunds, also paste the Merchant Private Key (refunds) and the 2C2P Public Key (refunds), including their -----BEGIN and -----END lines.
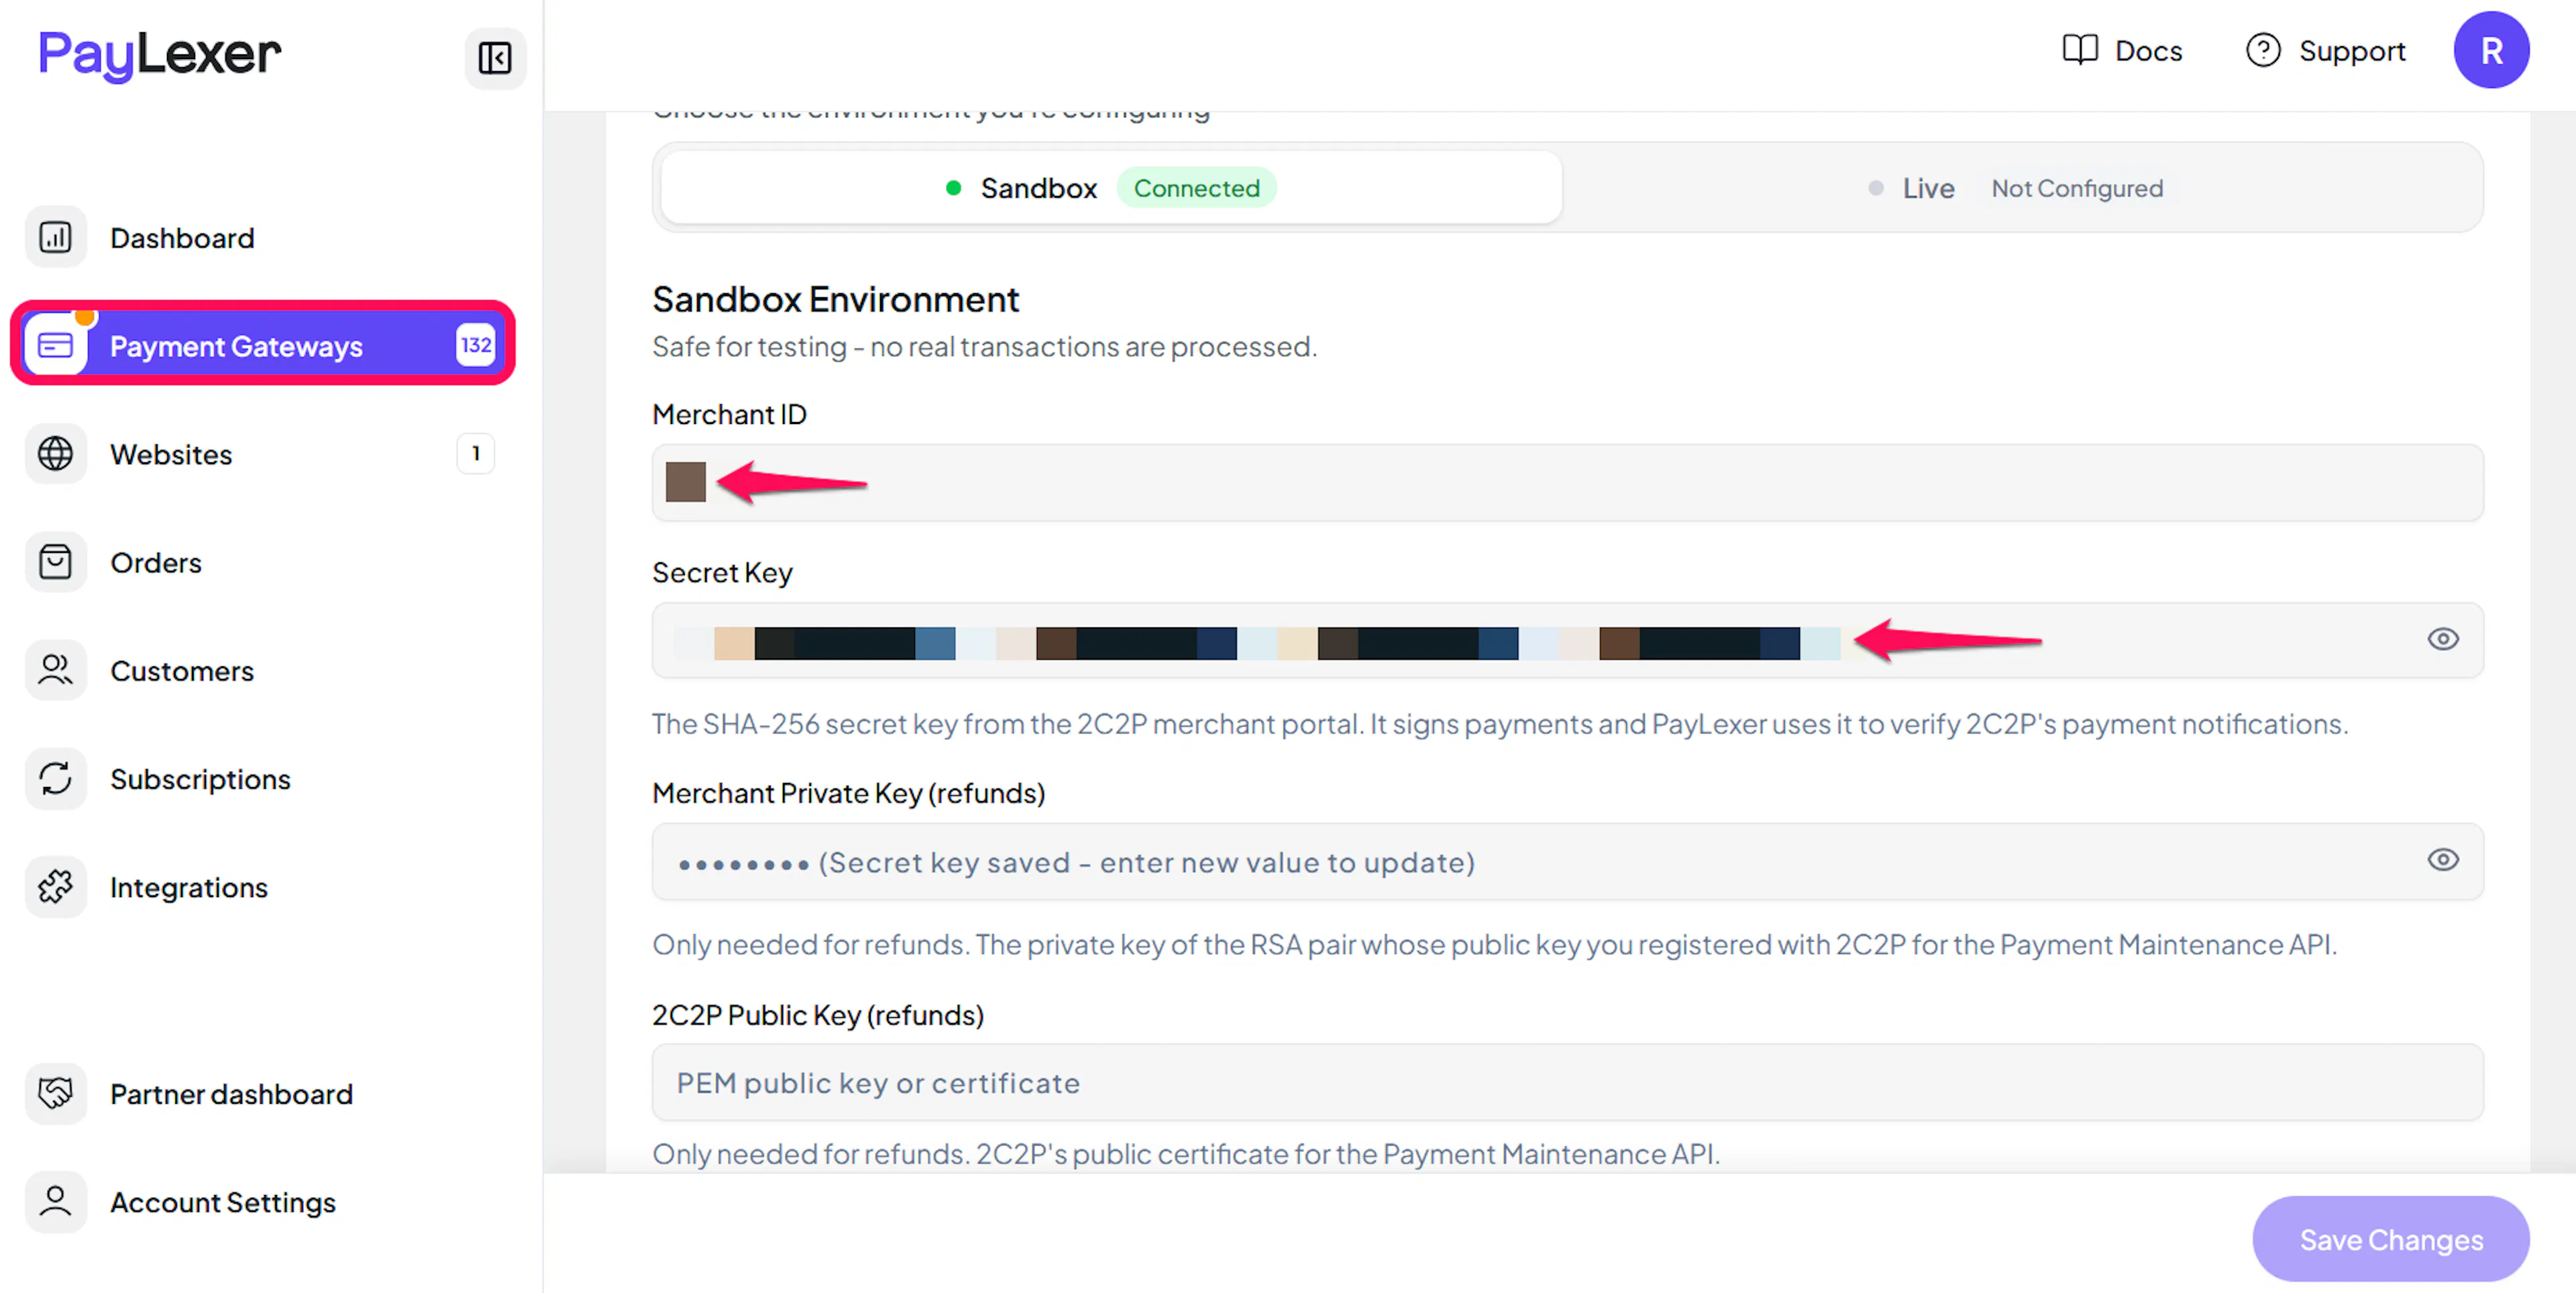
Understanding Live/Production and Sandbox Settings:
| Environment | Purpose |
|---|---|
| Live / Production | Used for real transactions. |
| Test / Sandbox | Used for testing only. No real money is processed. |
How PayLexer selects credentials:
- Debug/Test mode ON → Test credentials are used
- Debug/Test mode OFF → Live credentials are used
Sandbox and live are separate merchant accounts at 2C2P, each with its own Merchant ID and Secret Key. Enter sandbox values on the Sandbox tab and live values on the Live tab.
Verify and save
Click Verify Connection to check your credentials with 2C2P, then click Save Changes.
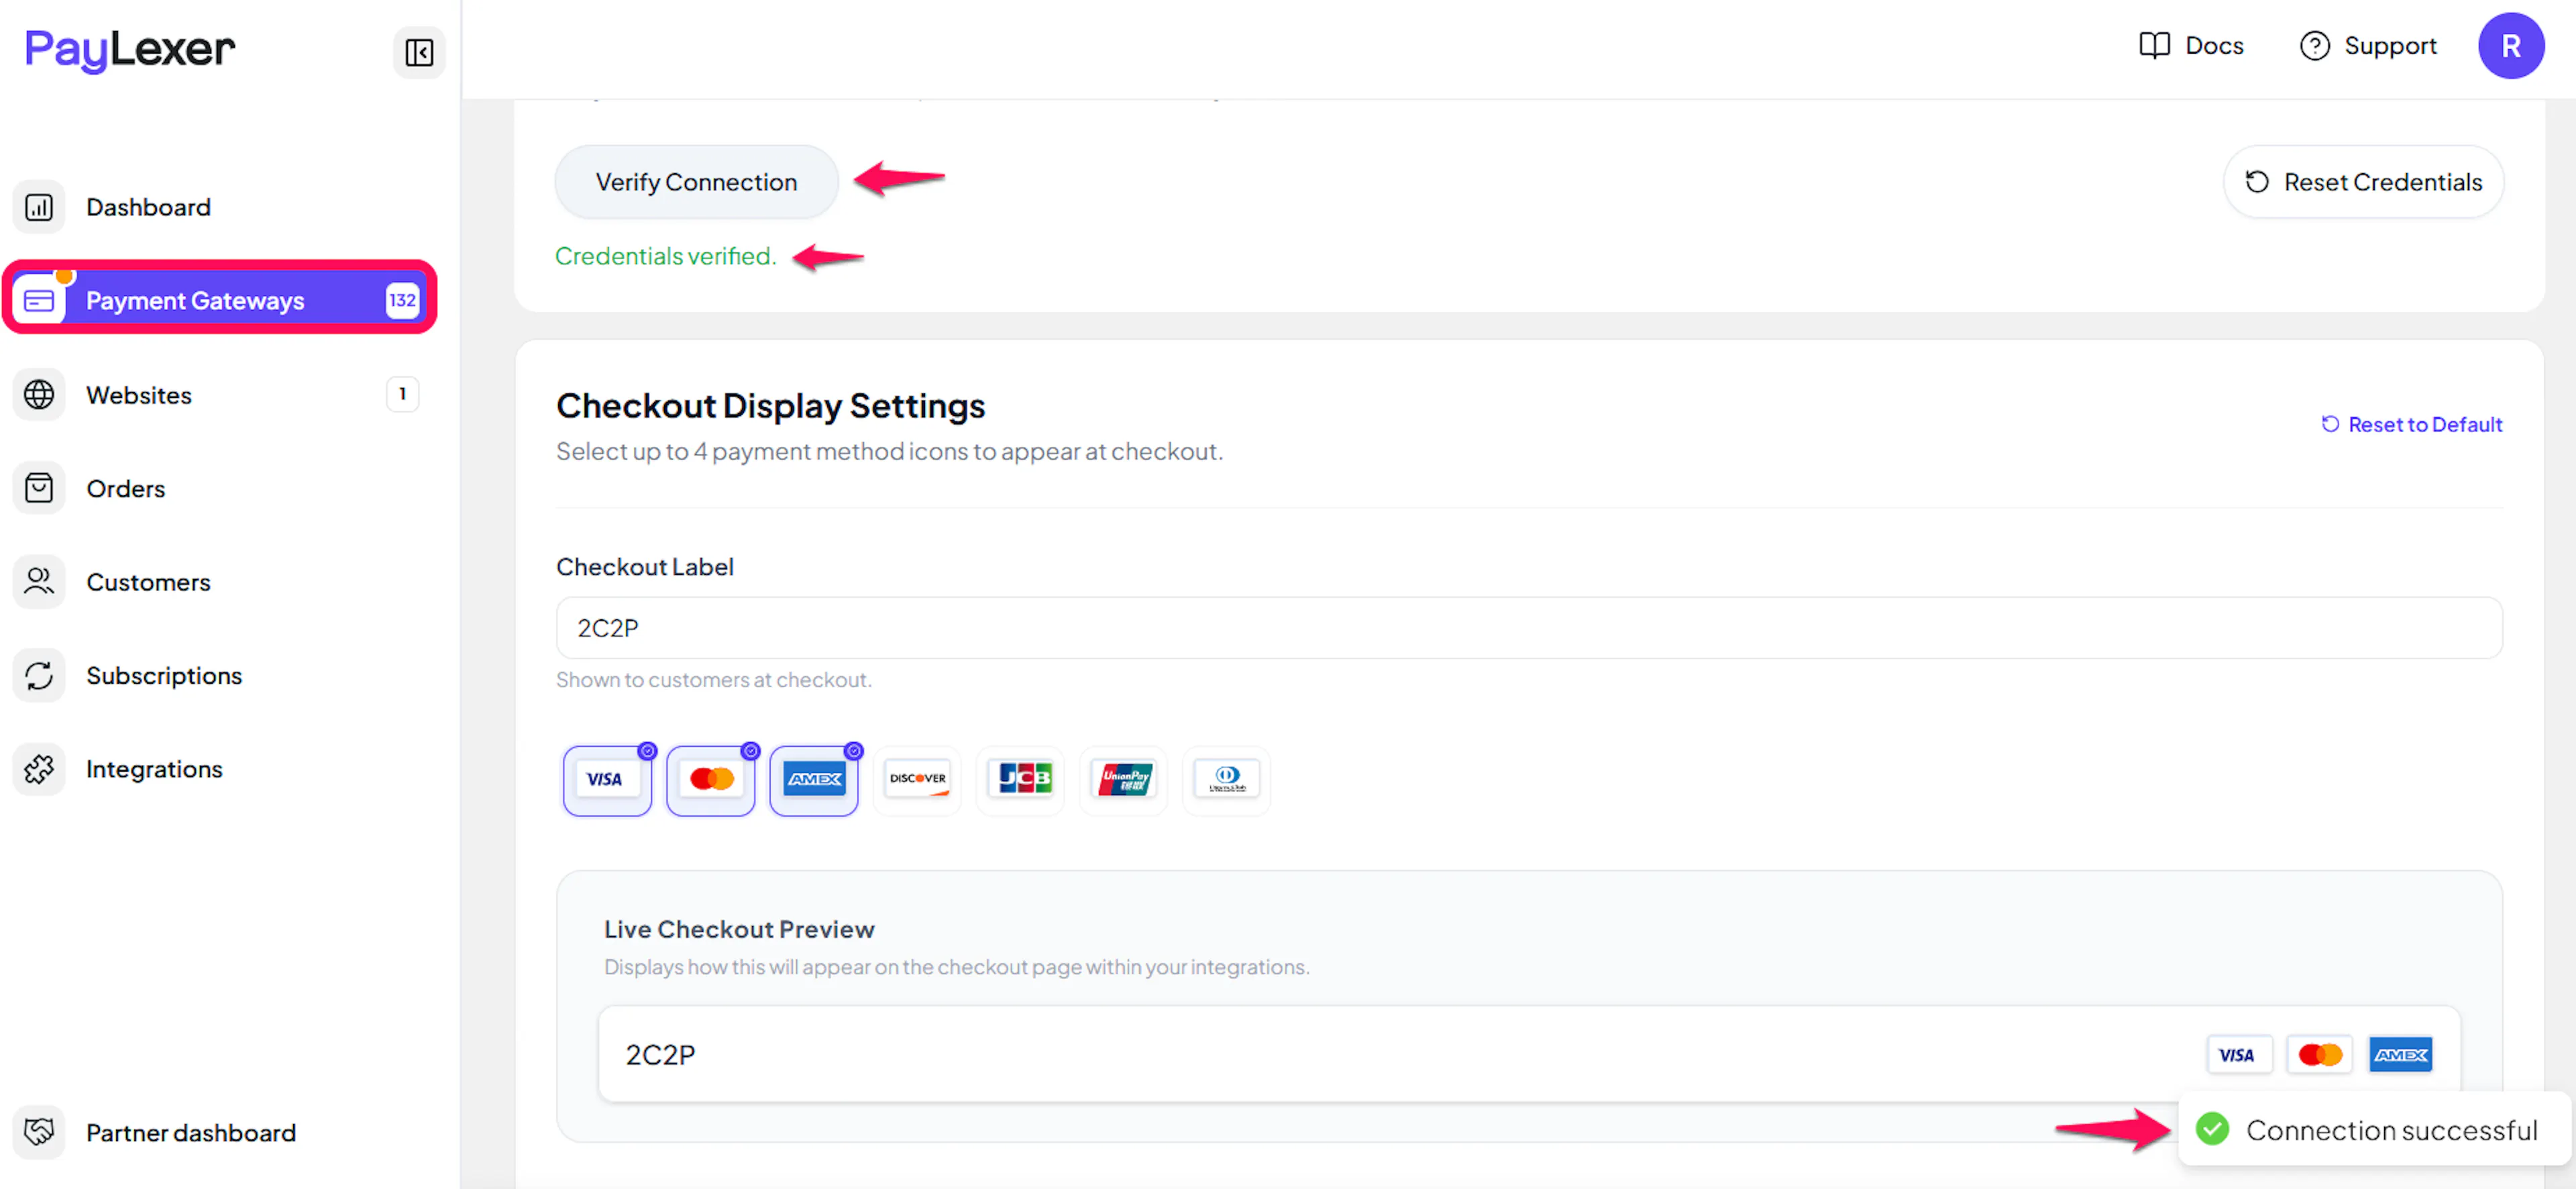
Verify Connection checks that your Merchant ID and Secret Key belong together. It does not create a payment, and it does not check the refund keys, which are only used when you issue a refund.
Configuring Webhooks (Mandatory)
Webhooks enable real-time payment updates and significantly improve reliability.
Benefits of Webhooks:
- Instant payment status updates
- Orders complete even if the shopper closes the browser before returning to your store
2C2P is different from most gateways here: there is nothing to set up. PayLexer sends 2C2P the notification address with every payment, and 2C2P signs each notification with your Secret Key.
Save your Secret Key
Make sure your Secret Key is saved in PayLexer for the environment you are using. It is the only thing PayLexer needs to verify 2C2P's notifications.
Place a test payment
With Debug/Test mode ON, place a small test payment and check that the order changes to paid in PayLexer within a minute or two.
There is no separate webhook secret to enter and no notification URL to paste into the 2C2P dashboard.
Integrate 2C2P to Your Website
If you have already added and configured your site, you can enable 2C2P in your existing setup.
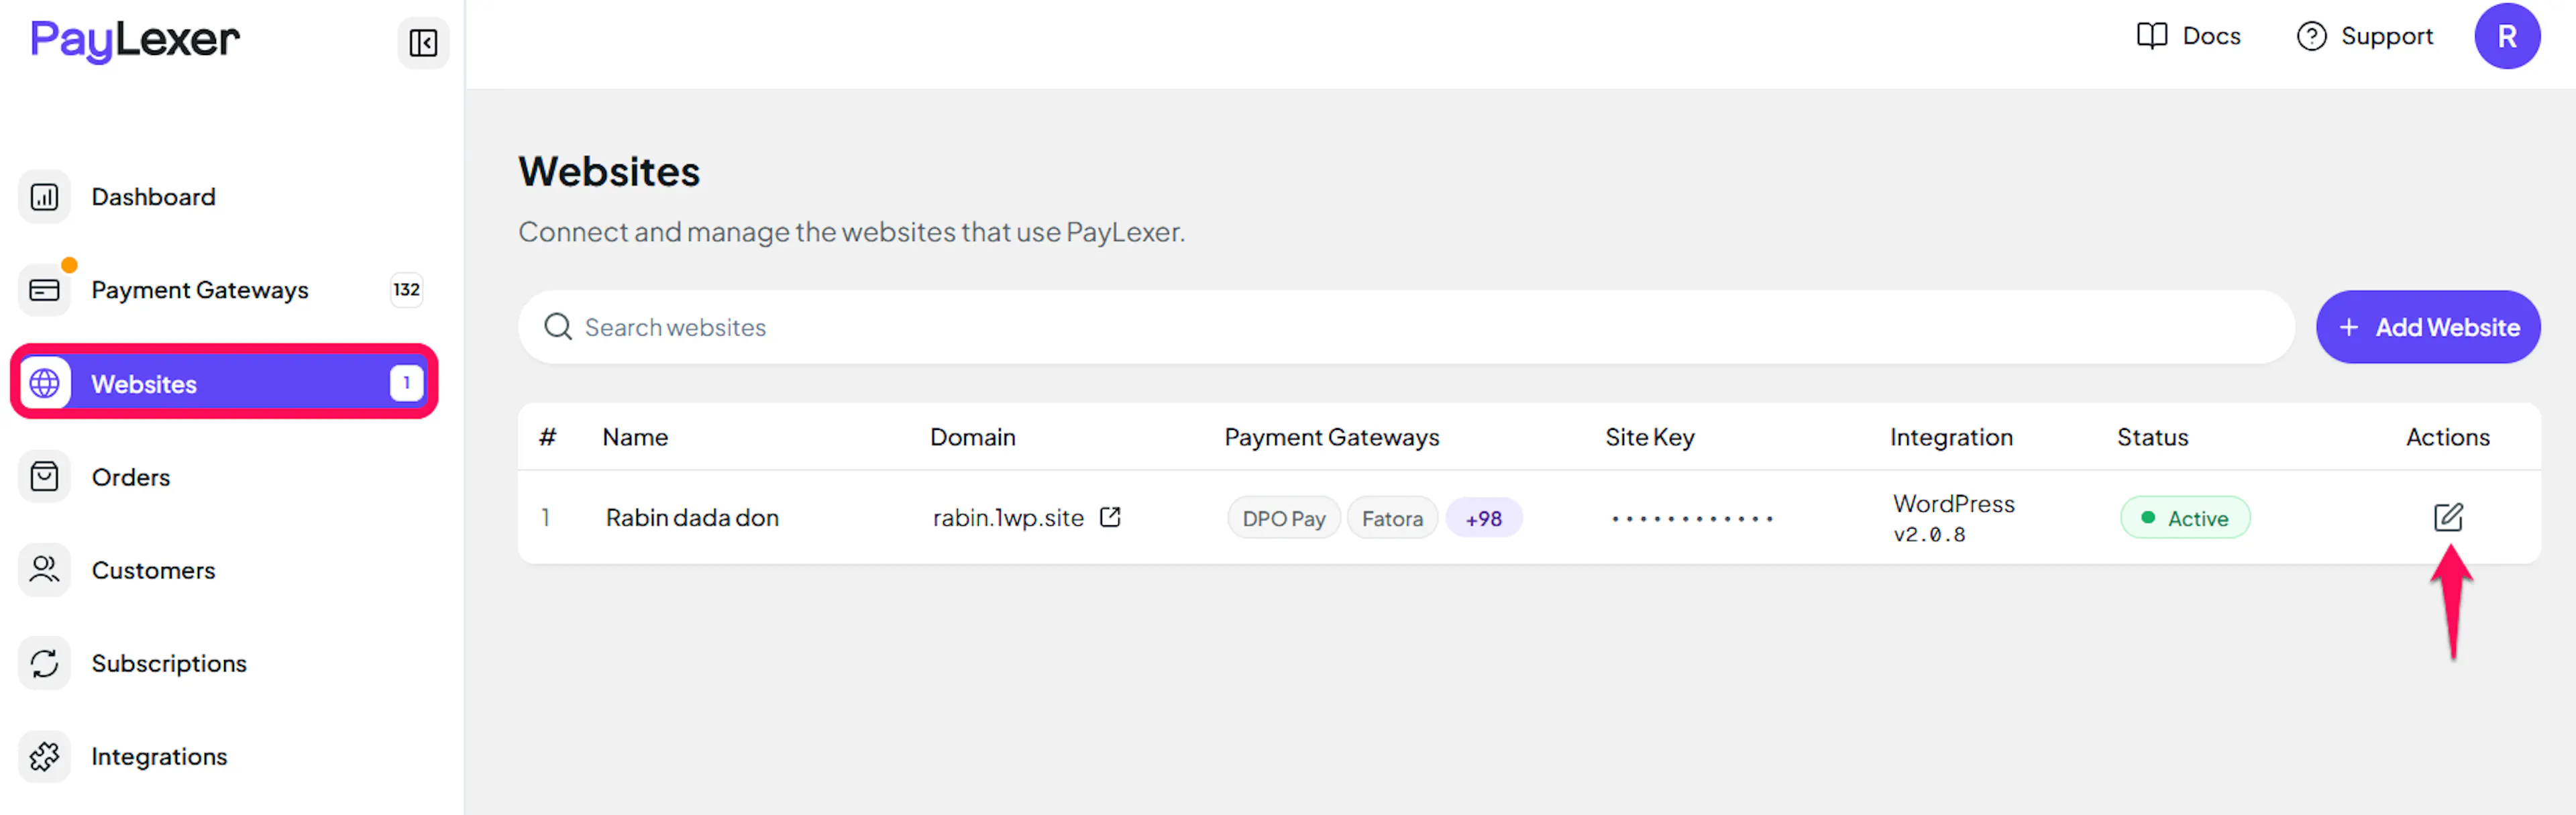
Go to Websites
Navigate to Websites in your PayLexer dashboard.
Open your website
Click your website's row (or the arrow at the end of it) to open its page.
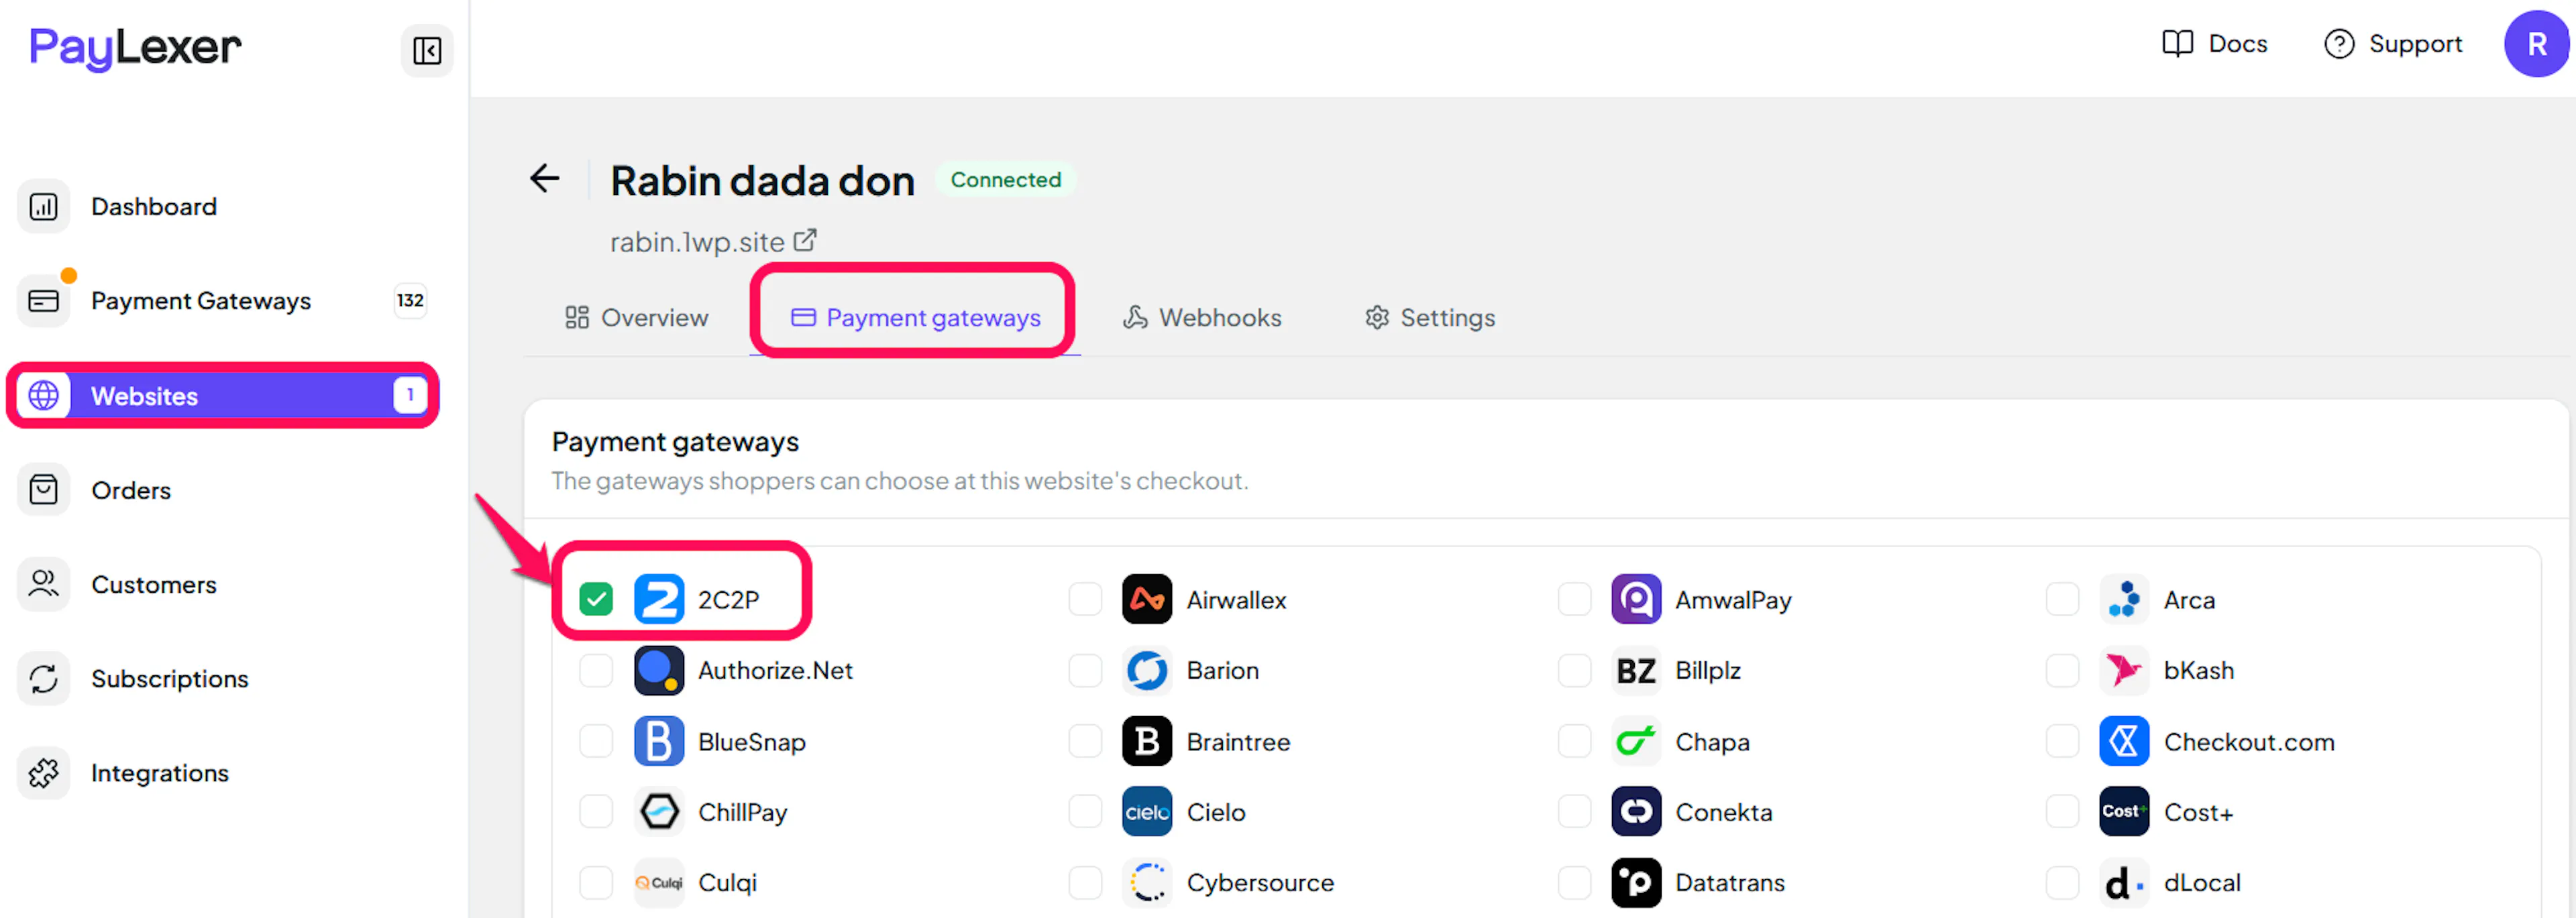
Enable 2C2P
Open the Payment gateways tab, tick the checkbox for 2C2P, then click Save gateways.
If you haven't added a website yet, Continue to Add Your Website →
Troubleshooting
Best Practices
- Test in sandbox before enabling production, using your 2C2P sandbox credentials with Debug/Test mode ON
- Switch on, in your 2C2P account, only the payment methods you want shoppers to see on 2C2P's page
- Add the refund keys before you need to refund, so refunds can be issued from your store or PayLexer
- Keep your Secret Key and Merchant Private Key private, and replace them at 2C2P if you suspect they have been exposed
- Reconcile your PayLexer orders against the 2C2P dashboard periodically
FAQs
Still Have Questions?
- 2C2P Support: Contact Support
- Developer Docs: 2C2P Developer Portal
- PayLexer Support: Contact Support