

Jenga
Connect Jenga by Equity Bank and Finserve to PayLexer to accept cards, mobile money and bank payments in East and Central Africa through Jenga's hosted checkout.
Jenga is the payment gateway of Equity Bank, run by Finserve Africa. Its hosted checkout lets shoppers pay by card, mobile money (M-Pesa, Airtel Money, Equitel) or Equity bank account. Available payment methods vary by country. Shoppers pay on Jenga's own page, so your website never handles card data, and PayLexer brings the result back to your store automatically.
- Supported Regions (Merchant Accounts): Kenya, Uganda, Tanzania, Rwanda, South Sudan, DRC, Ethiopia - view full list
- Supported Currencies: KES, UGX, TZS, USD, EUR, GBP - view full list
Supported Features
- Hosted checkout for one-time payments by card, mobile money or bank account
- Every payment confirmed directly with Jenga before your order is marked paid
- Full and partial refunds of card payments from PayLexer
- Separate test and live credentials
Before You Start
Make sure you have:
- JengaHQ Account – Don't have one? Sign up for JengaHQ →
- PayLexer Account – Required to configure the integration. Create your account →
- A website where you want to integrate
Looking for a different payment processor? View all supported gateways →
Configuring Jenga
You need four values for this integration: your Merchant Code, Consumer Secret and API Key from JengaHQ, plus a Private Key you generate yourself.
Getting API Credentials
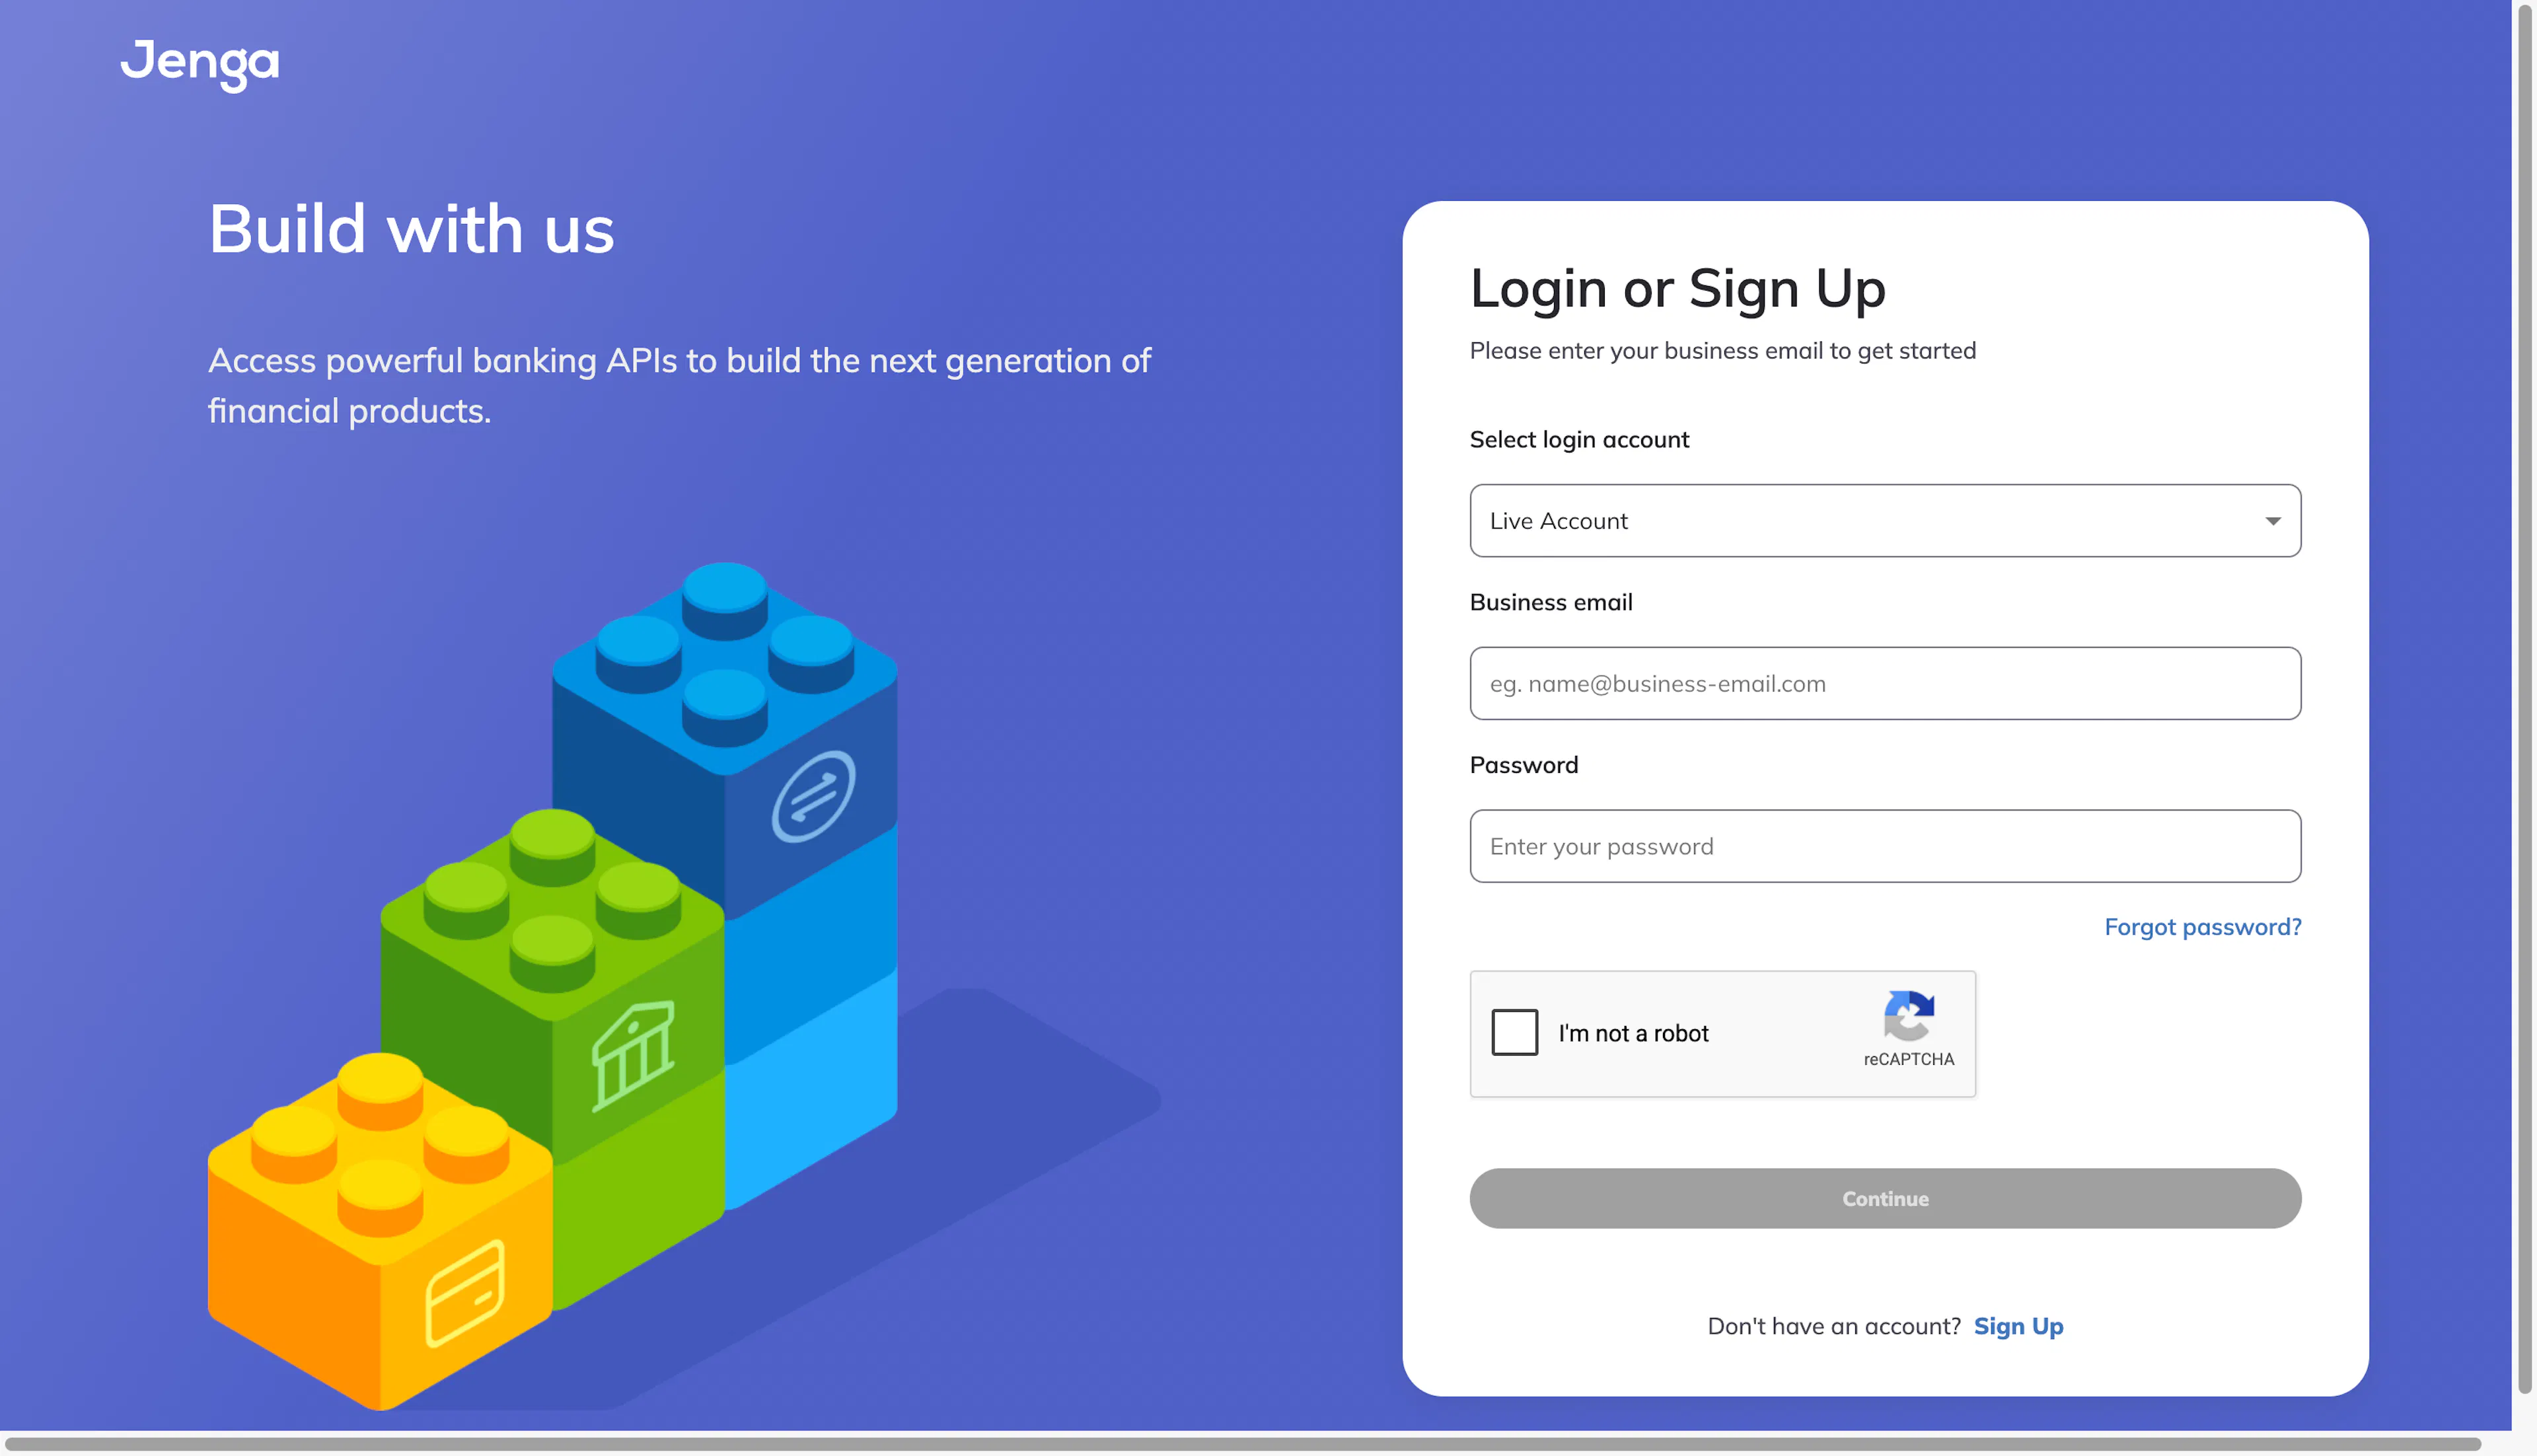
Log in to JengaHQ
Sign in to JengaHQ. Test and live credentials are separate, so collect a set for each environment.
Copy your API keys
Open Settings → API Keys and copy the Merchant Code, Consumer Secret and API Key.
Create your key files
Jenga needs proof that each payment really comes from you. You give it this proof with two matching files, called a key pair:
| File | What it does | Where it goes |
|---|---|---|
| publickey.pem | Lets Jenga check your payments | Upload to JengaHQ |
| privatekey.pem | Signs your payments | Paste into PayLexer only |
To create them, open Terminal on Mac or Git Bash on Windows. Then copy and run these two commands one at a time:
openssl genrsa -out privatekey.pem 2048
openssl rsa -in privatekey.pem -outform PEM -pubout -out publickey.pem
Both files are saved in your home folder. You can open them with any text editor, such as TextEdit or Notepad.
Upload the public key to JengaHQ
In JengaHQ, open Settings → API Keys and upload publickey.pem. Keep privatekey.pem safe and never share it. You'll paste it into PayLexer in the next section.
You need one key pair for test and one for live. Before you repeat these steps for your other account, move the first two files into a separate folder so the new ones don't replace them.
Adding Credentials to PayLexer
Open PayLexer Dashboard
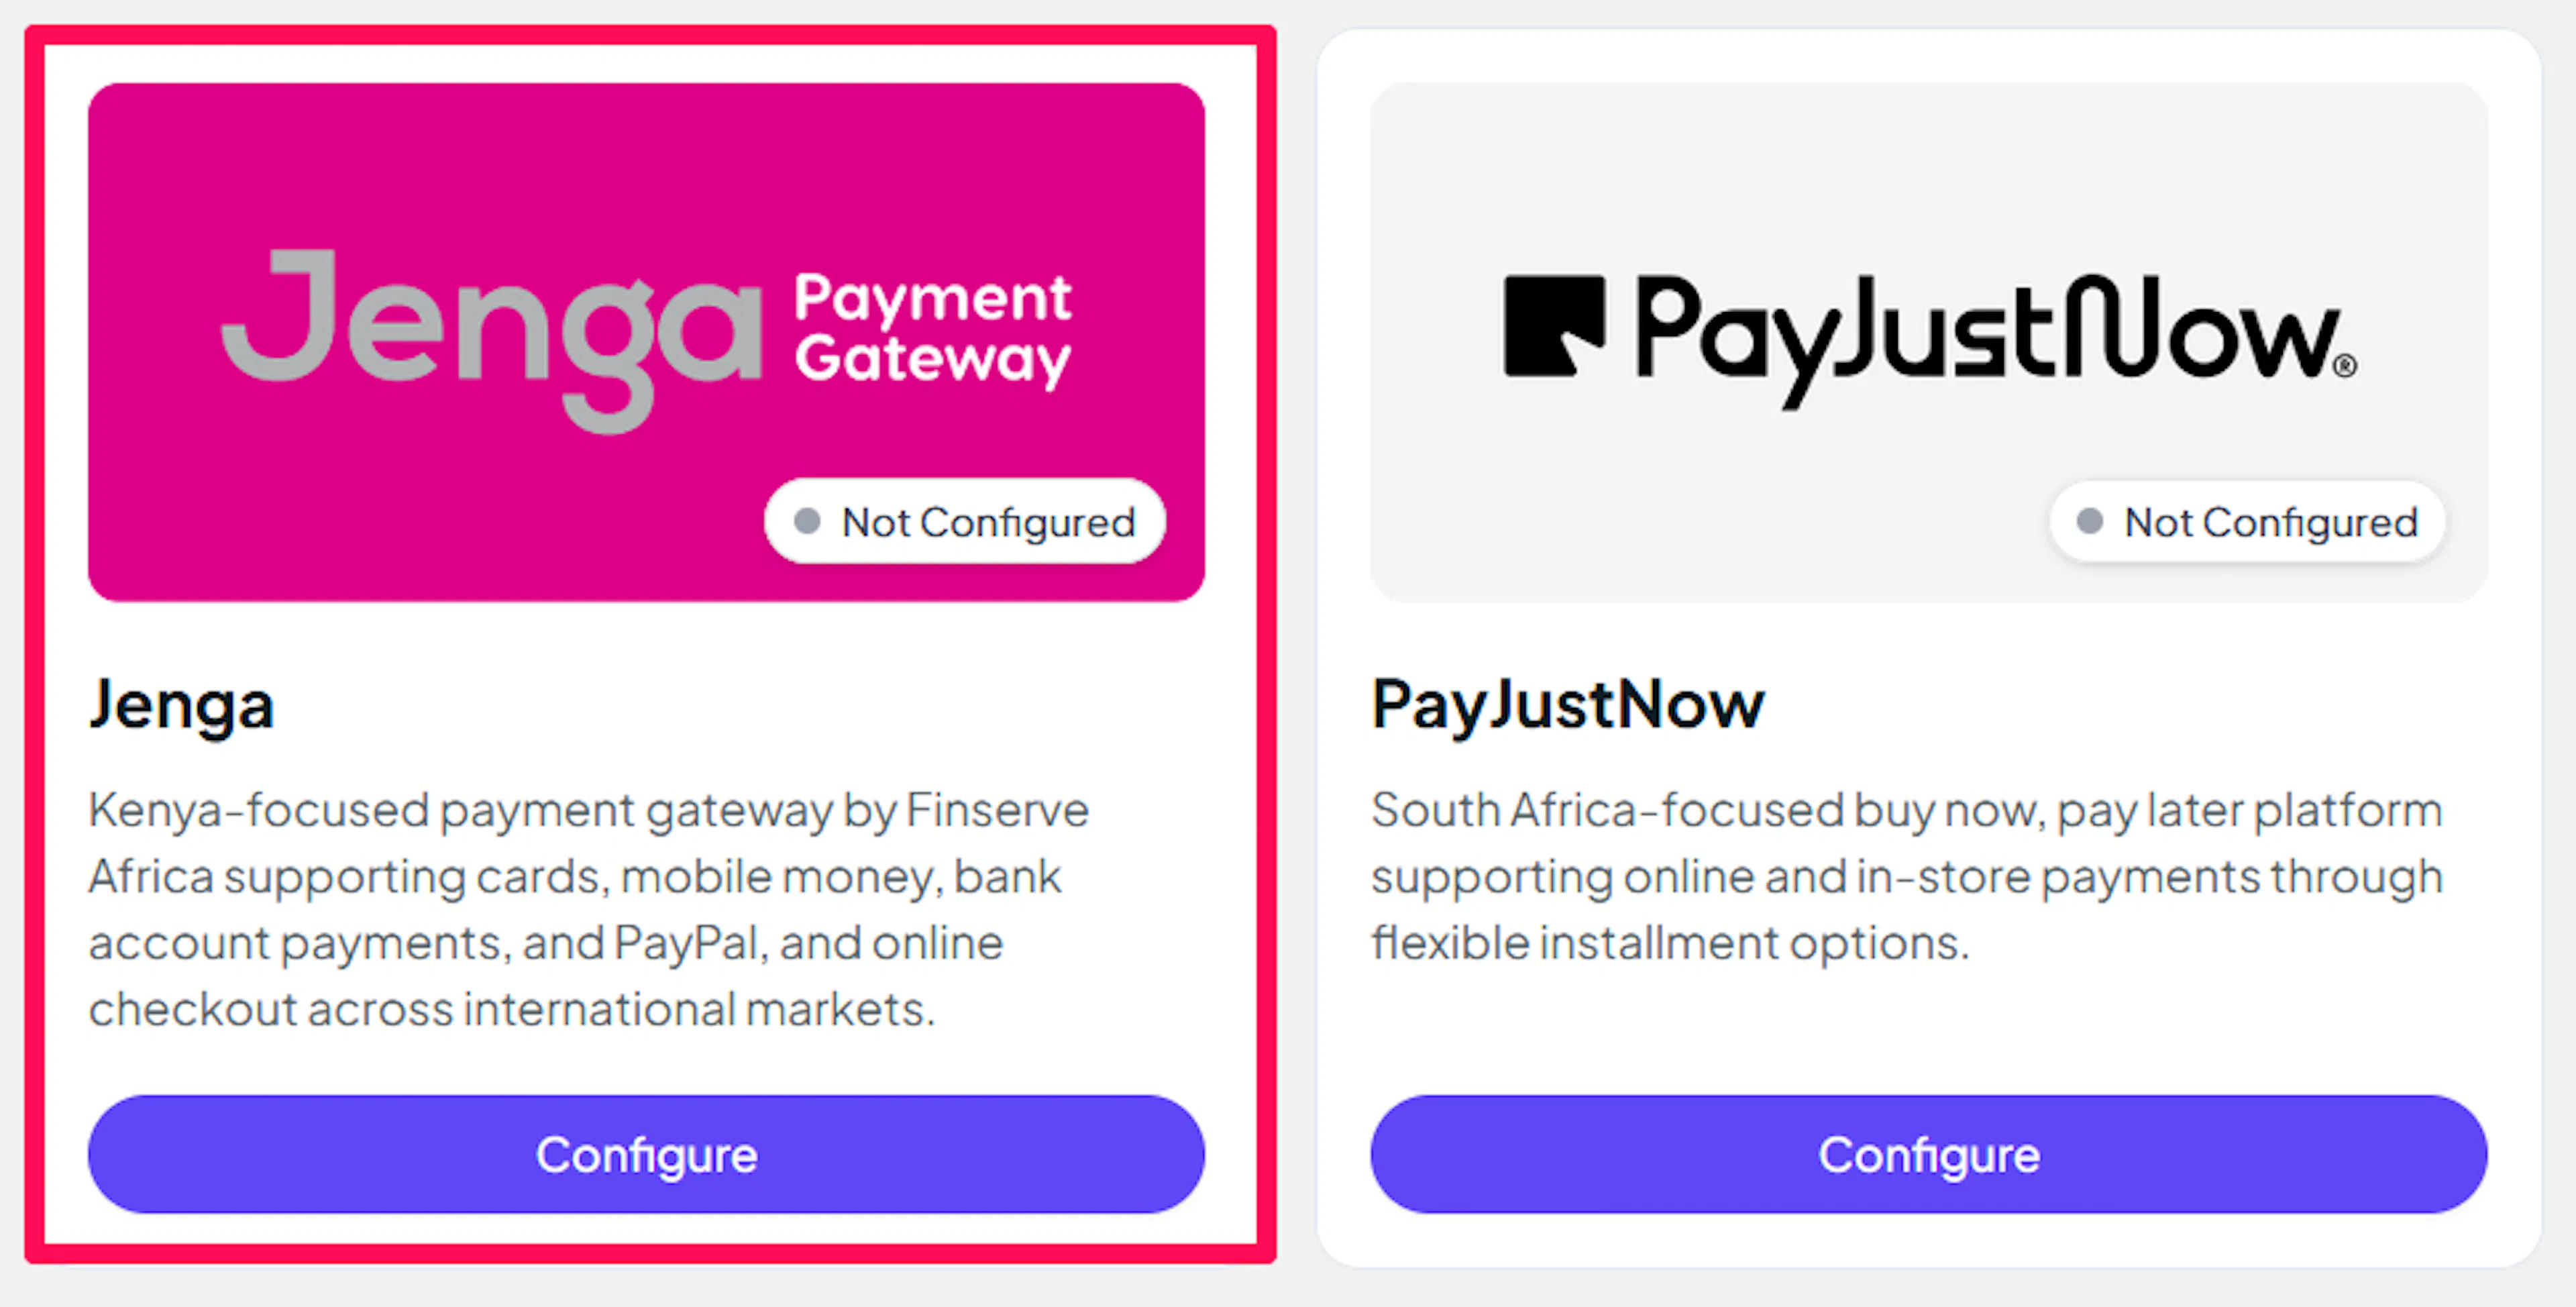
Log in to your PayLexer dashboard and navigate to Payment Gateways → Jenga.
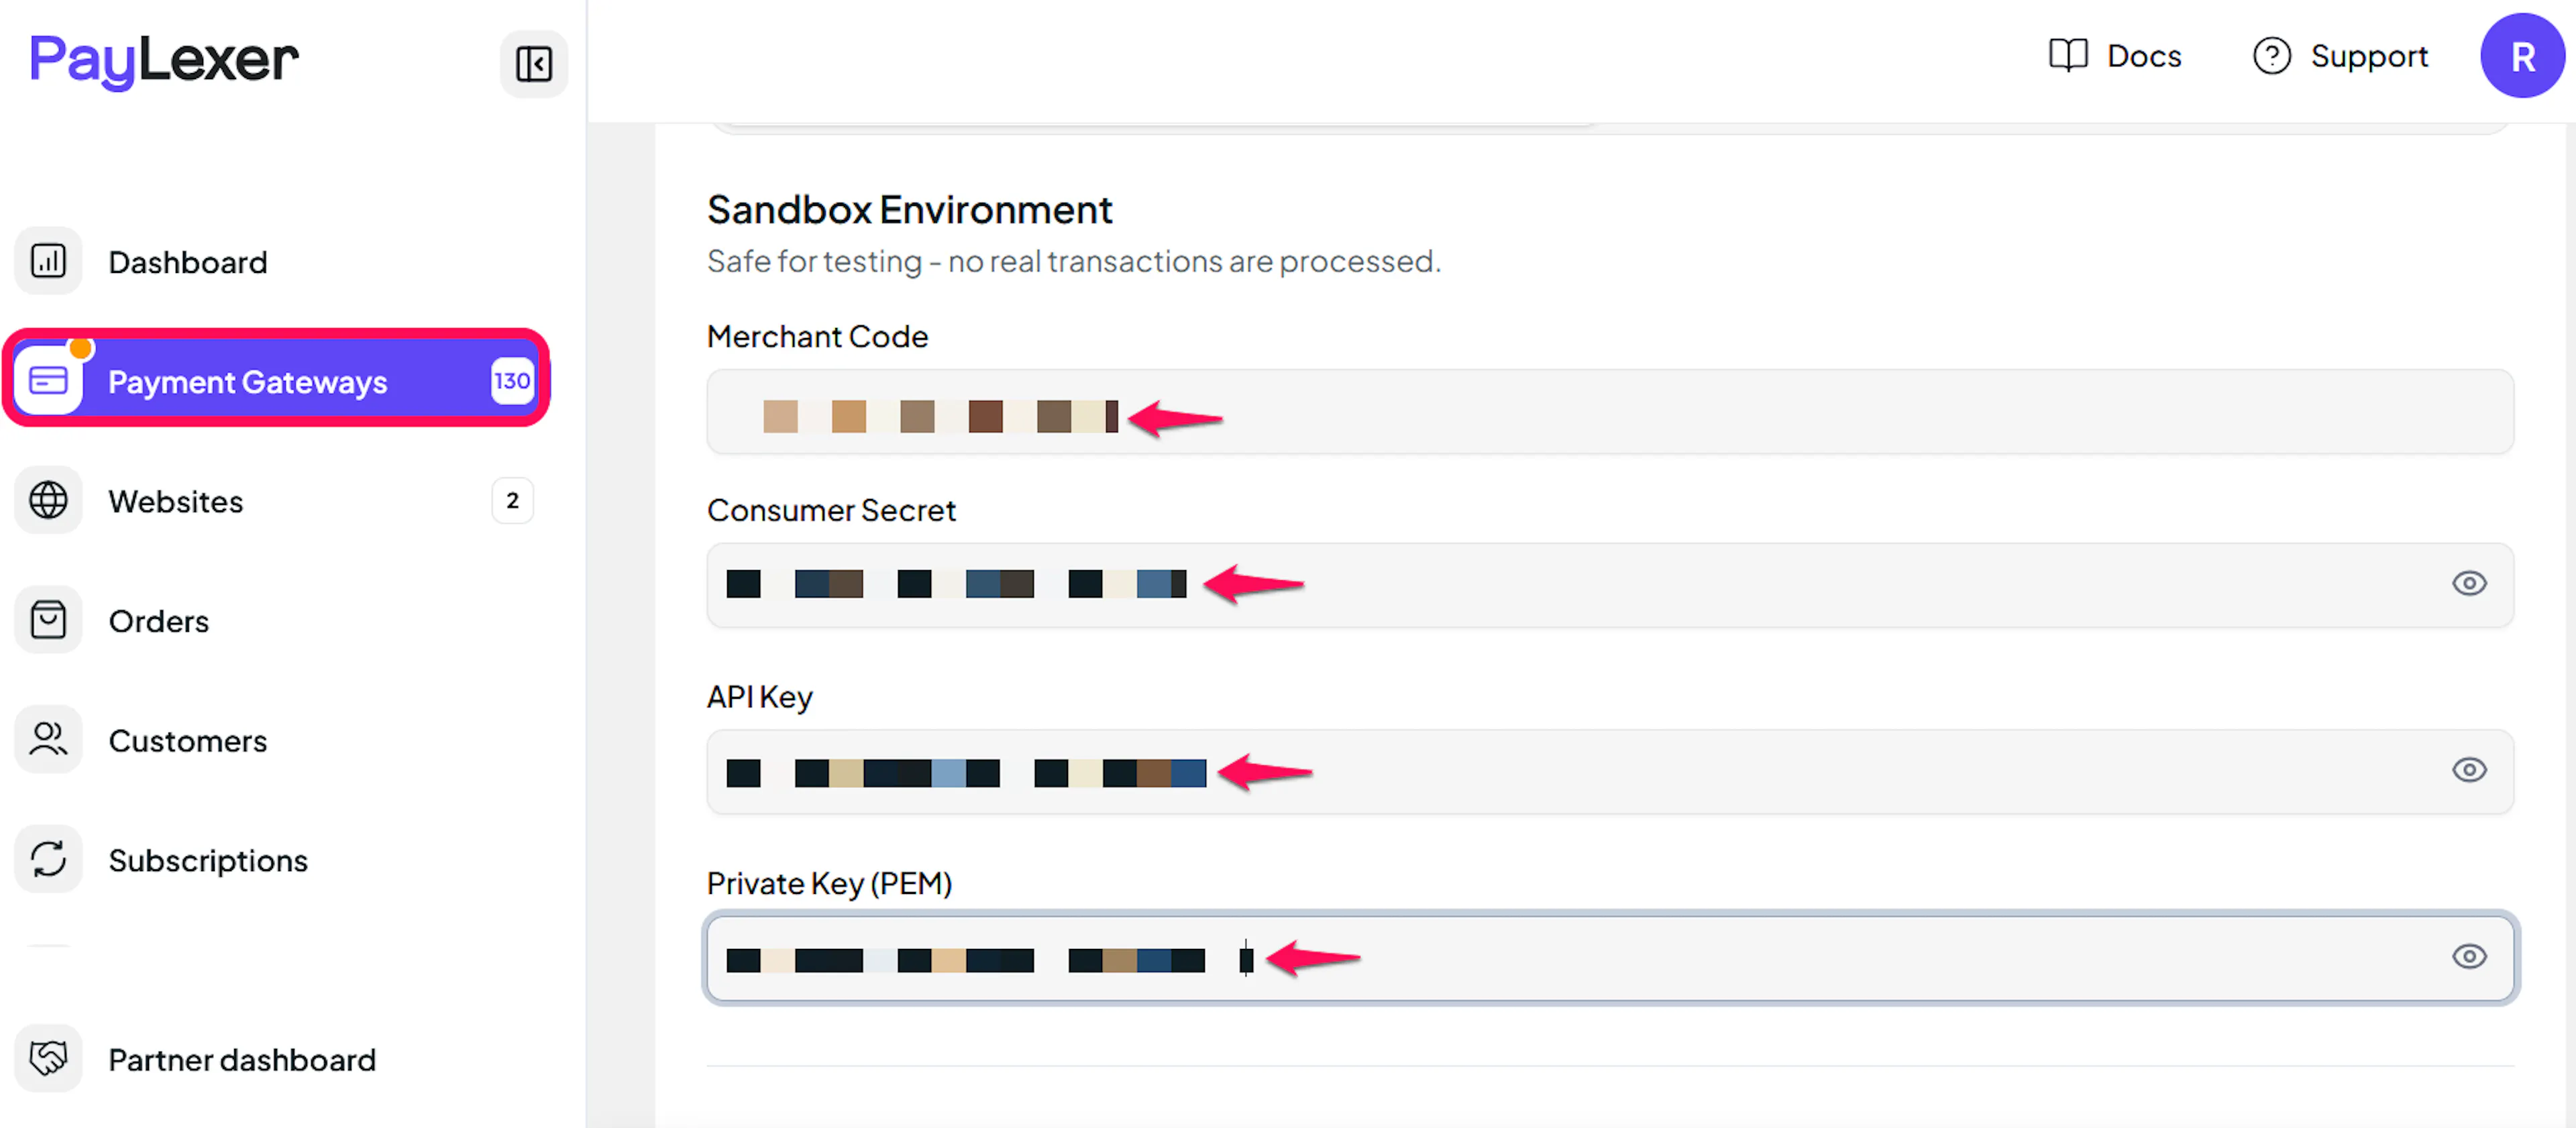
Enter your credentials
Paste the Merchant Code, Consumer Secret and API Key, and the full contents of privatekey.pem (including the -----BEGIN and -----END lines) as the Private Key. Use live credentials under the Live tab and test credentials under the Test tab.
Understanding Live/Production and Sandbox Settings:
| Environment | Purpose |
|---|---|
| Live / Production | Used for real transactions. |
| Test / Sandbox | Used for testing only. No real money is processed. |
How PayLexer selects credentials:
- Debug/Test mode ON → Test credentials are used
- Debug/Test mode OFF → Live credentials are used
Test and save
Click Save to save your configuration, then click Verify Connection to check that Jenga accepts your Merchant Code, Consumer Secret and API Key.
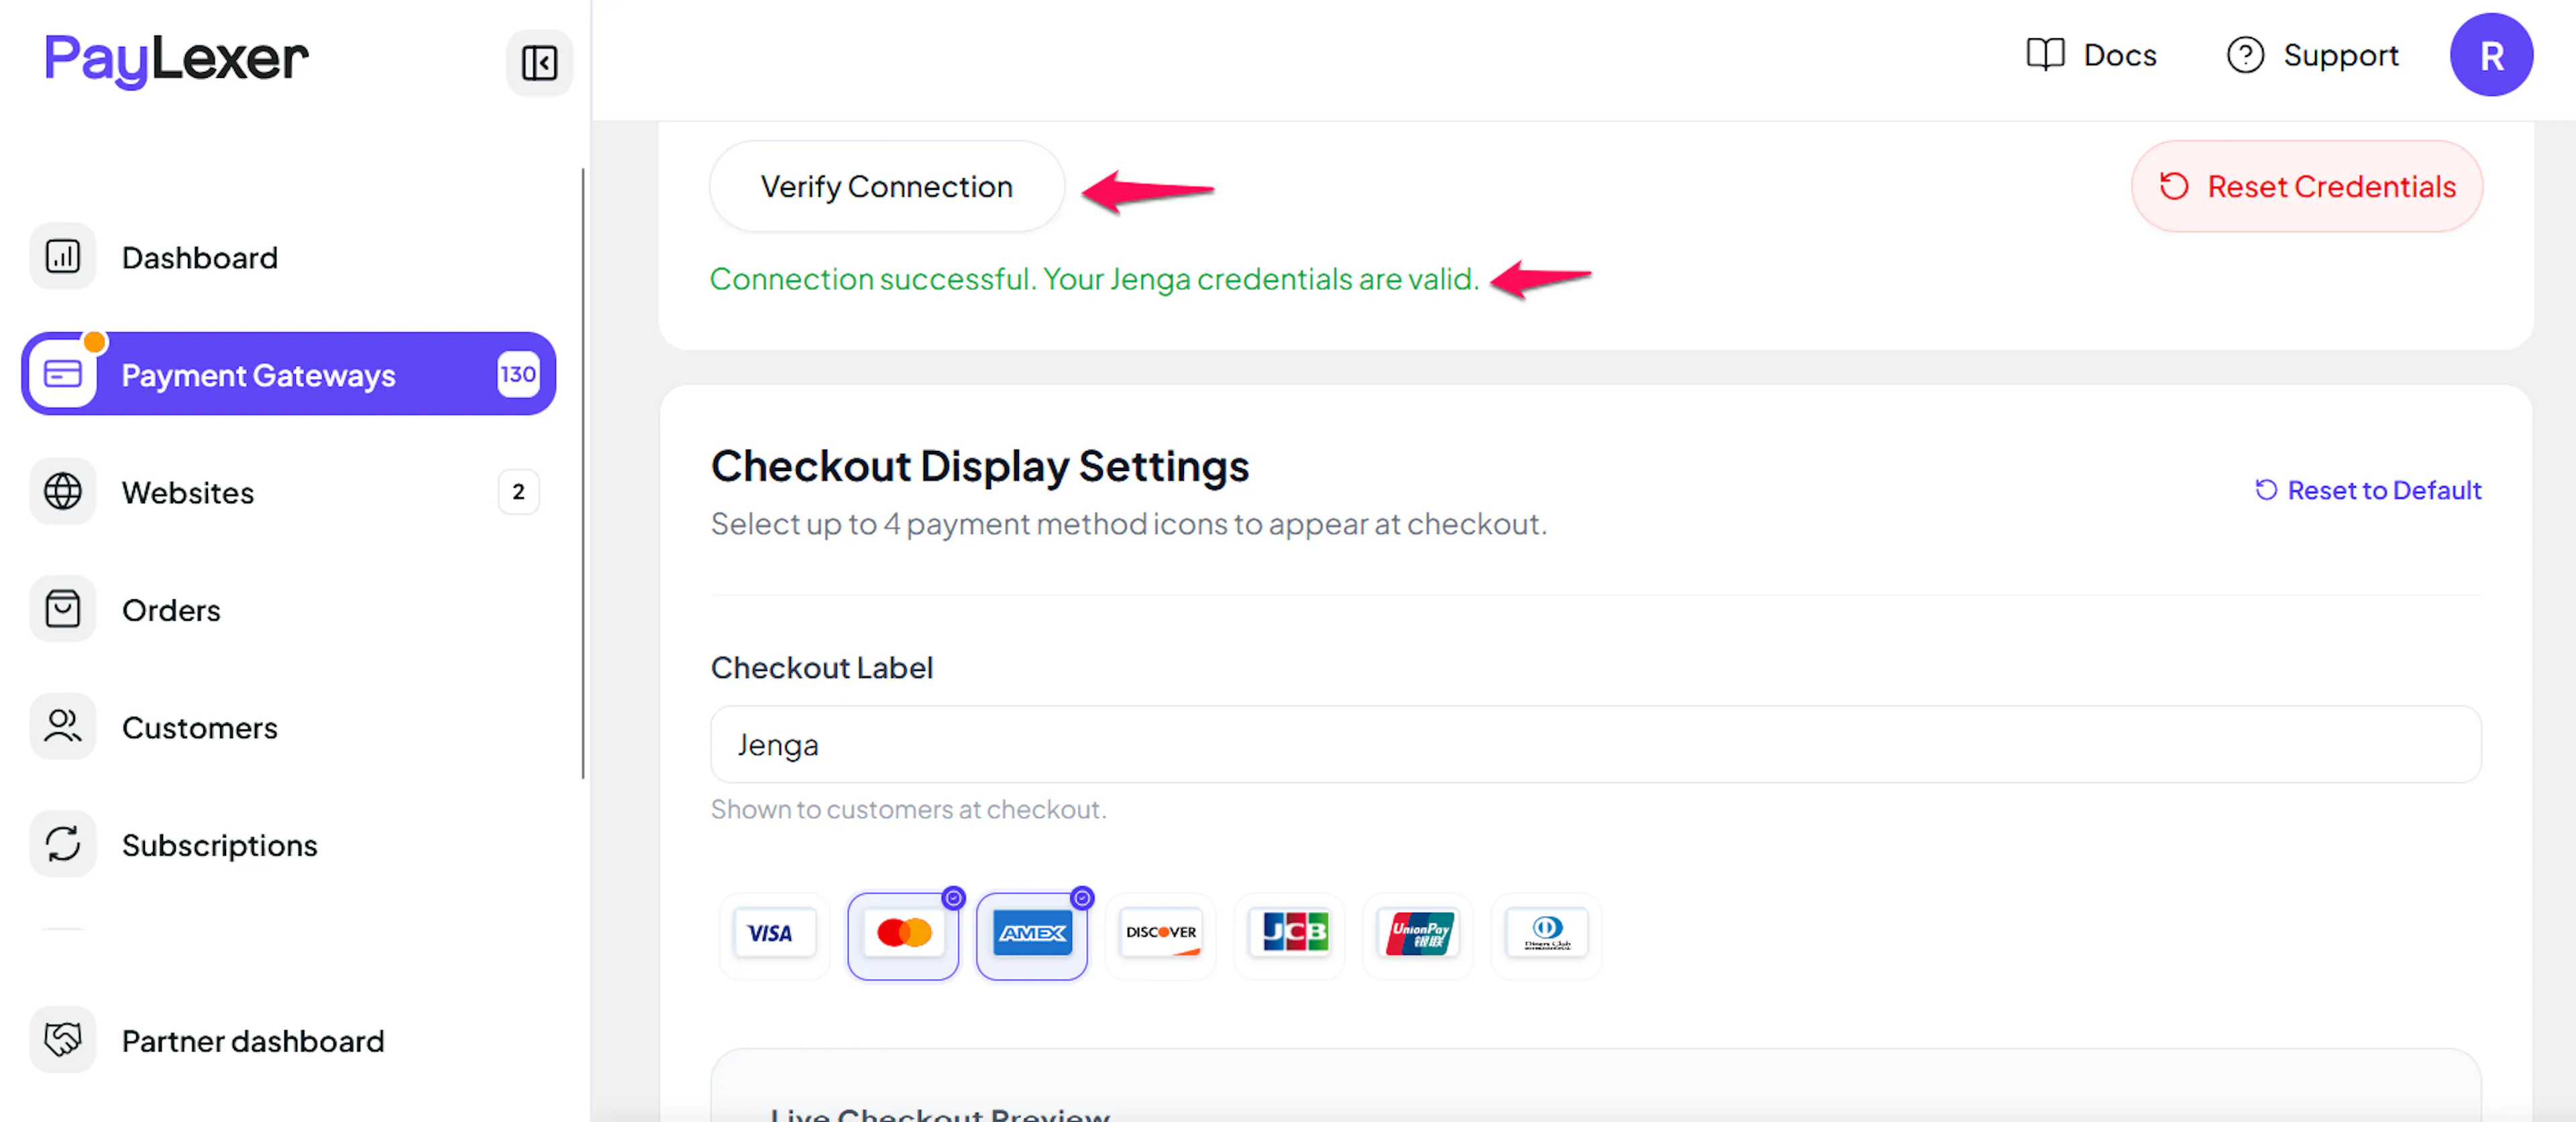
Verify Connection does not check the Private Key. If the key is wrong, or its public half isn't uploaded to JengaHQ, Jenga shows an error on its checkout page during your first test payment.
Configuring the IPN (Recommended)
Jenga's Instant Payment Notification (IPN) confirms a payment even if the shopper closes their browser before returning to your store.
Benefits of the IPN:
- Instant payment status updates
- Orders confirmed even when the shopper doesn't return to your store
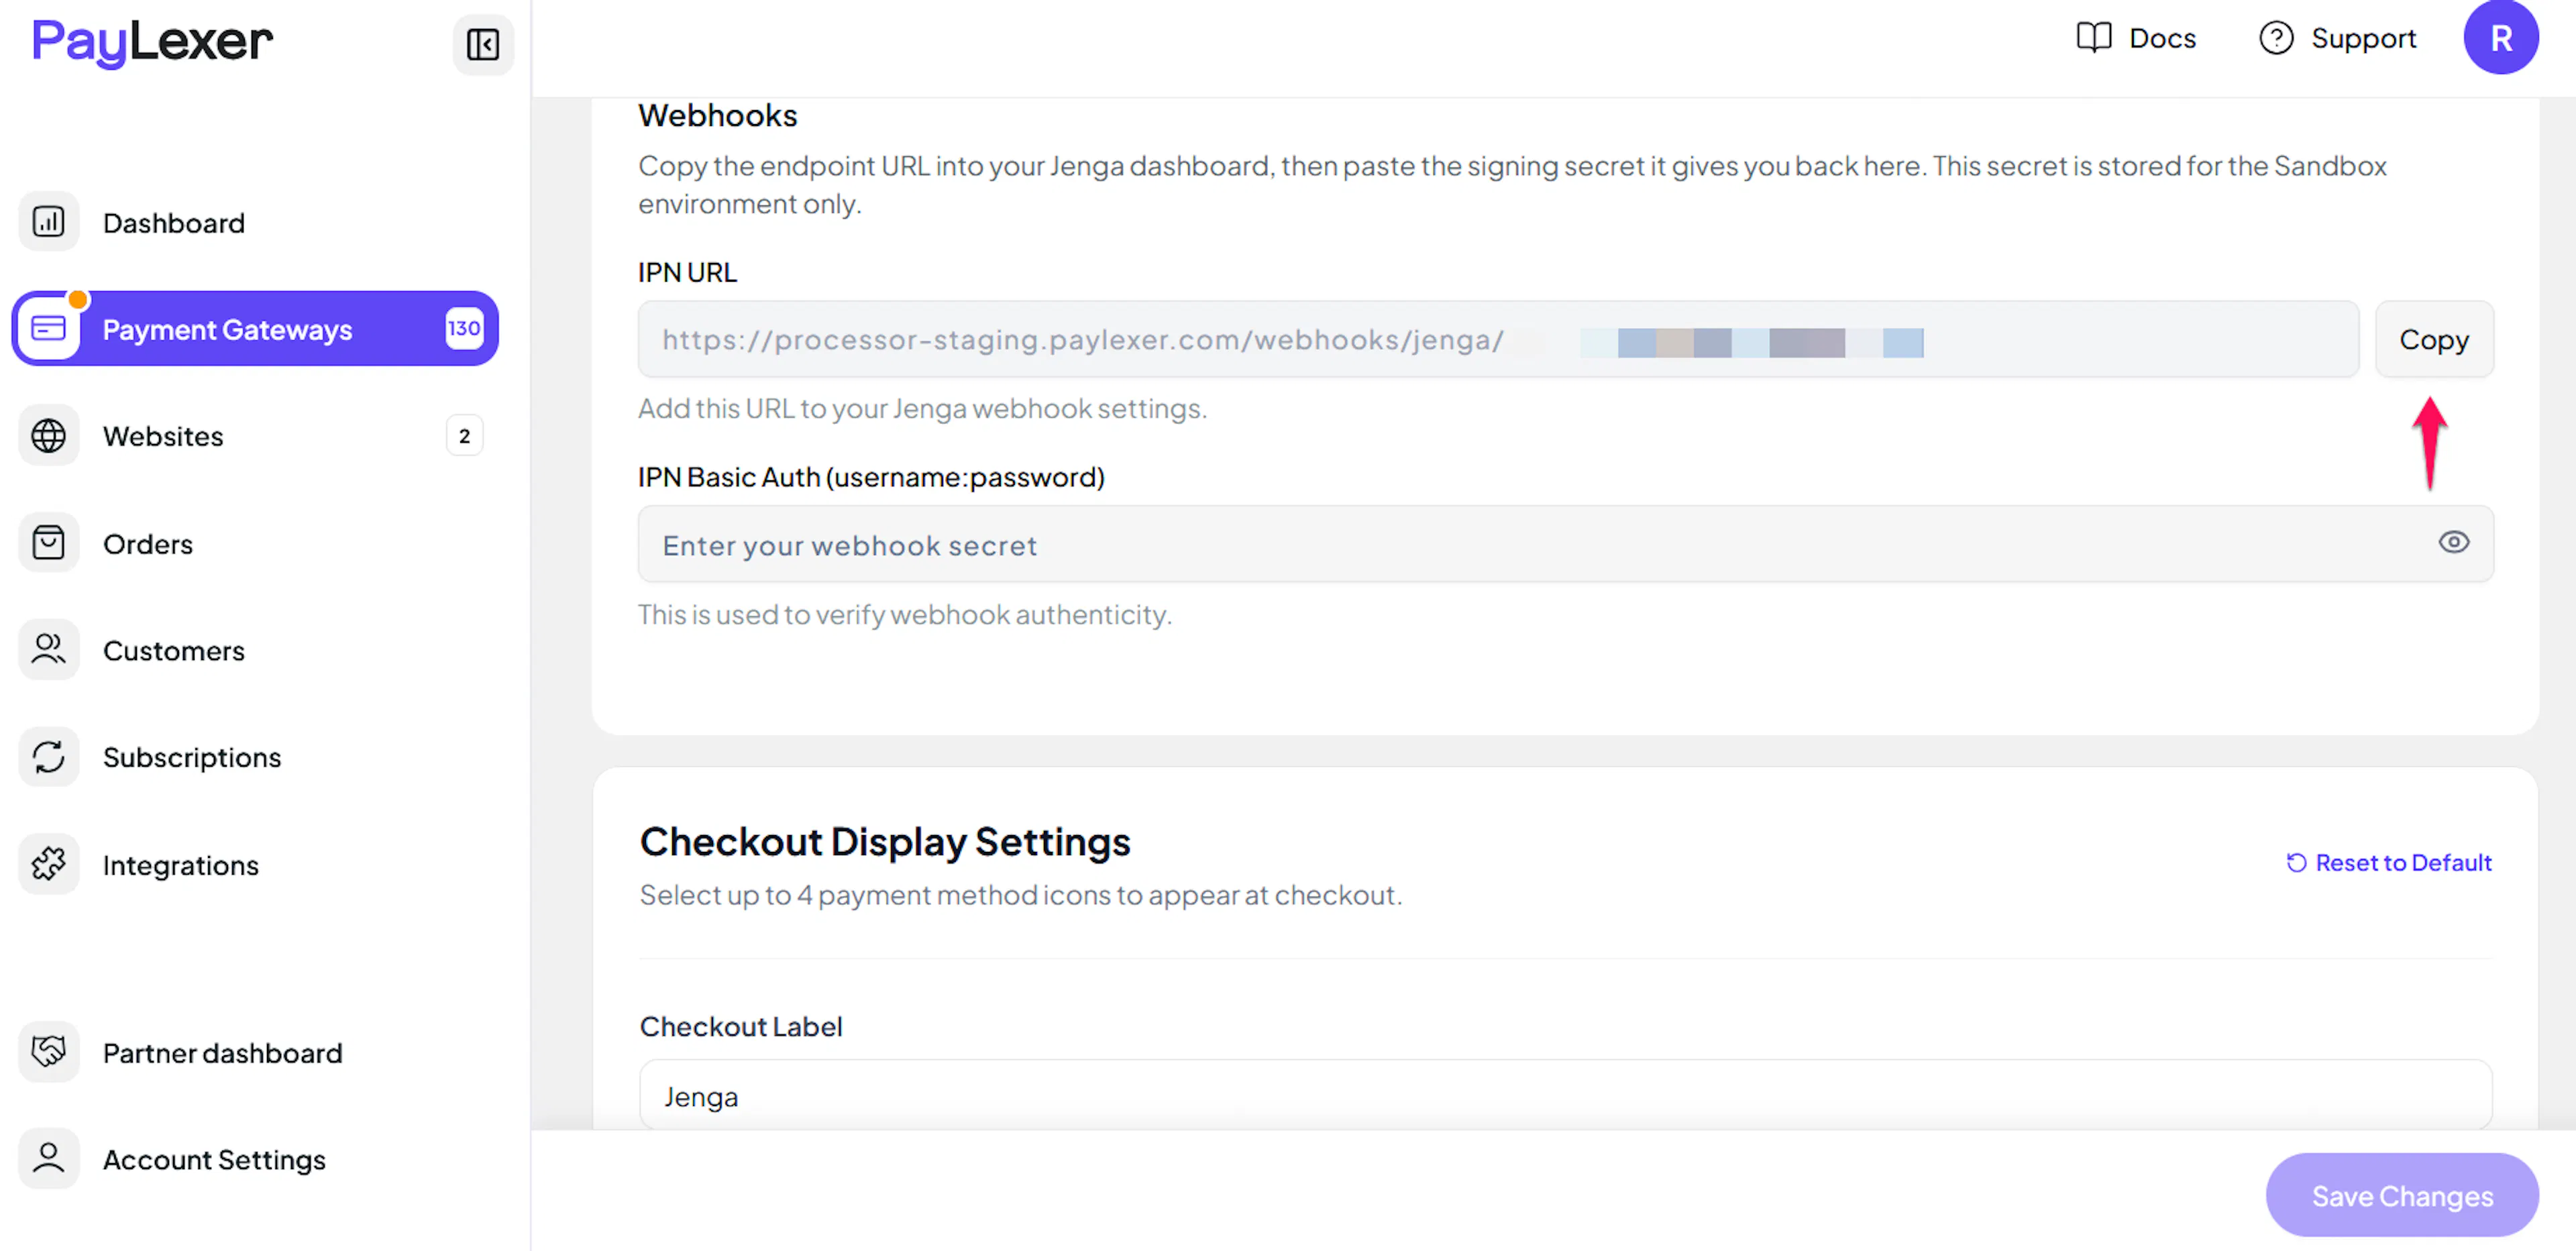
Copy your IPN URL
In PayLexer's Jenga settings, copy the read-only IPN URL.
Add the IPN in JengaHQ
In JengaHQ, open Settings → IPN, add a new IPN with the URL you copied, and choose a username and password.
Save the same pair in PayLexer
Back in PayLexer, enter the same username and password as username:password in the IPN Basic Auth field, then click Save.
Integrate Jenga to Your Website
If you have already added and configured your site, you can enable Jenga in your existing setup.
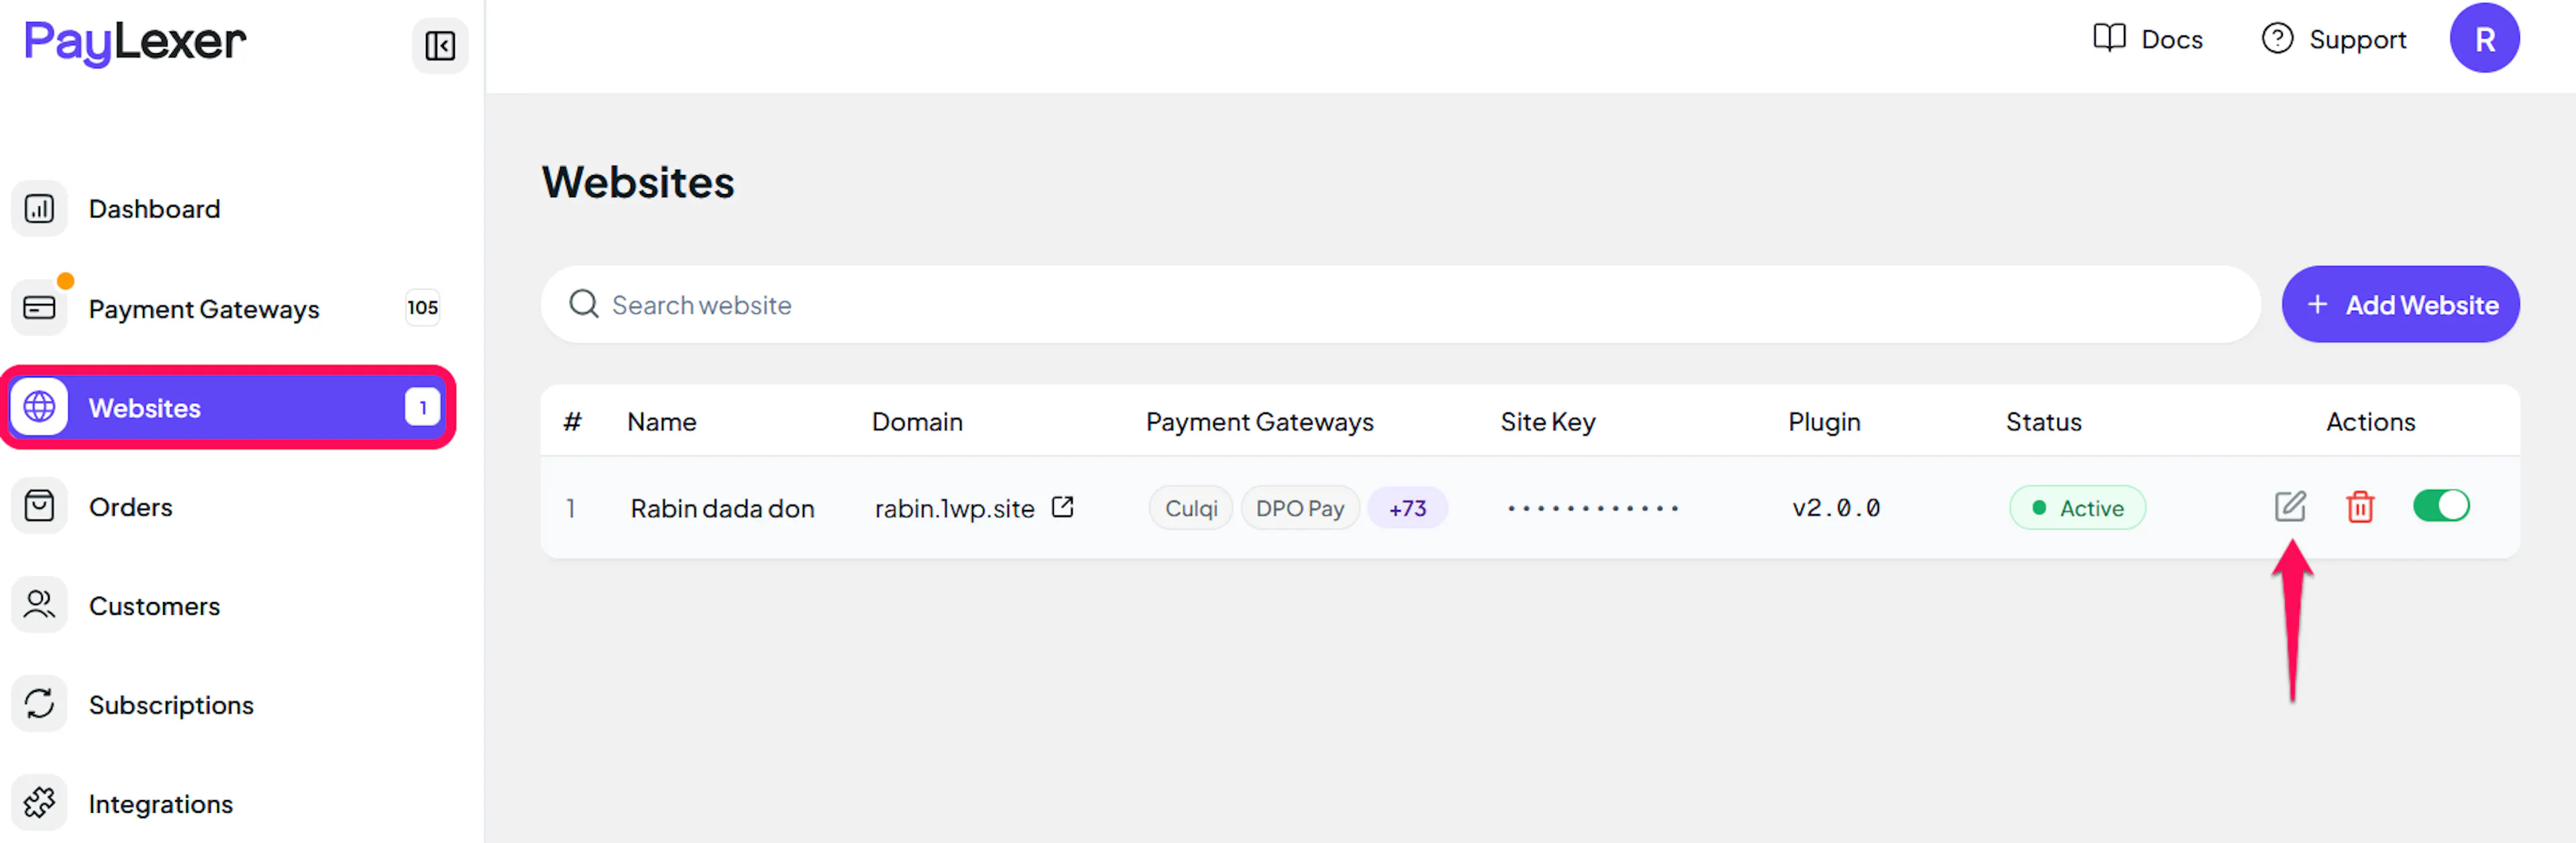
Go to Websites
Navigate to Websites in your PayLexer dashboard.
Edit your website
Click the Edit Icon of your added website.
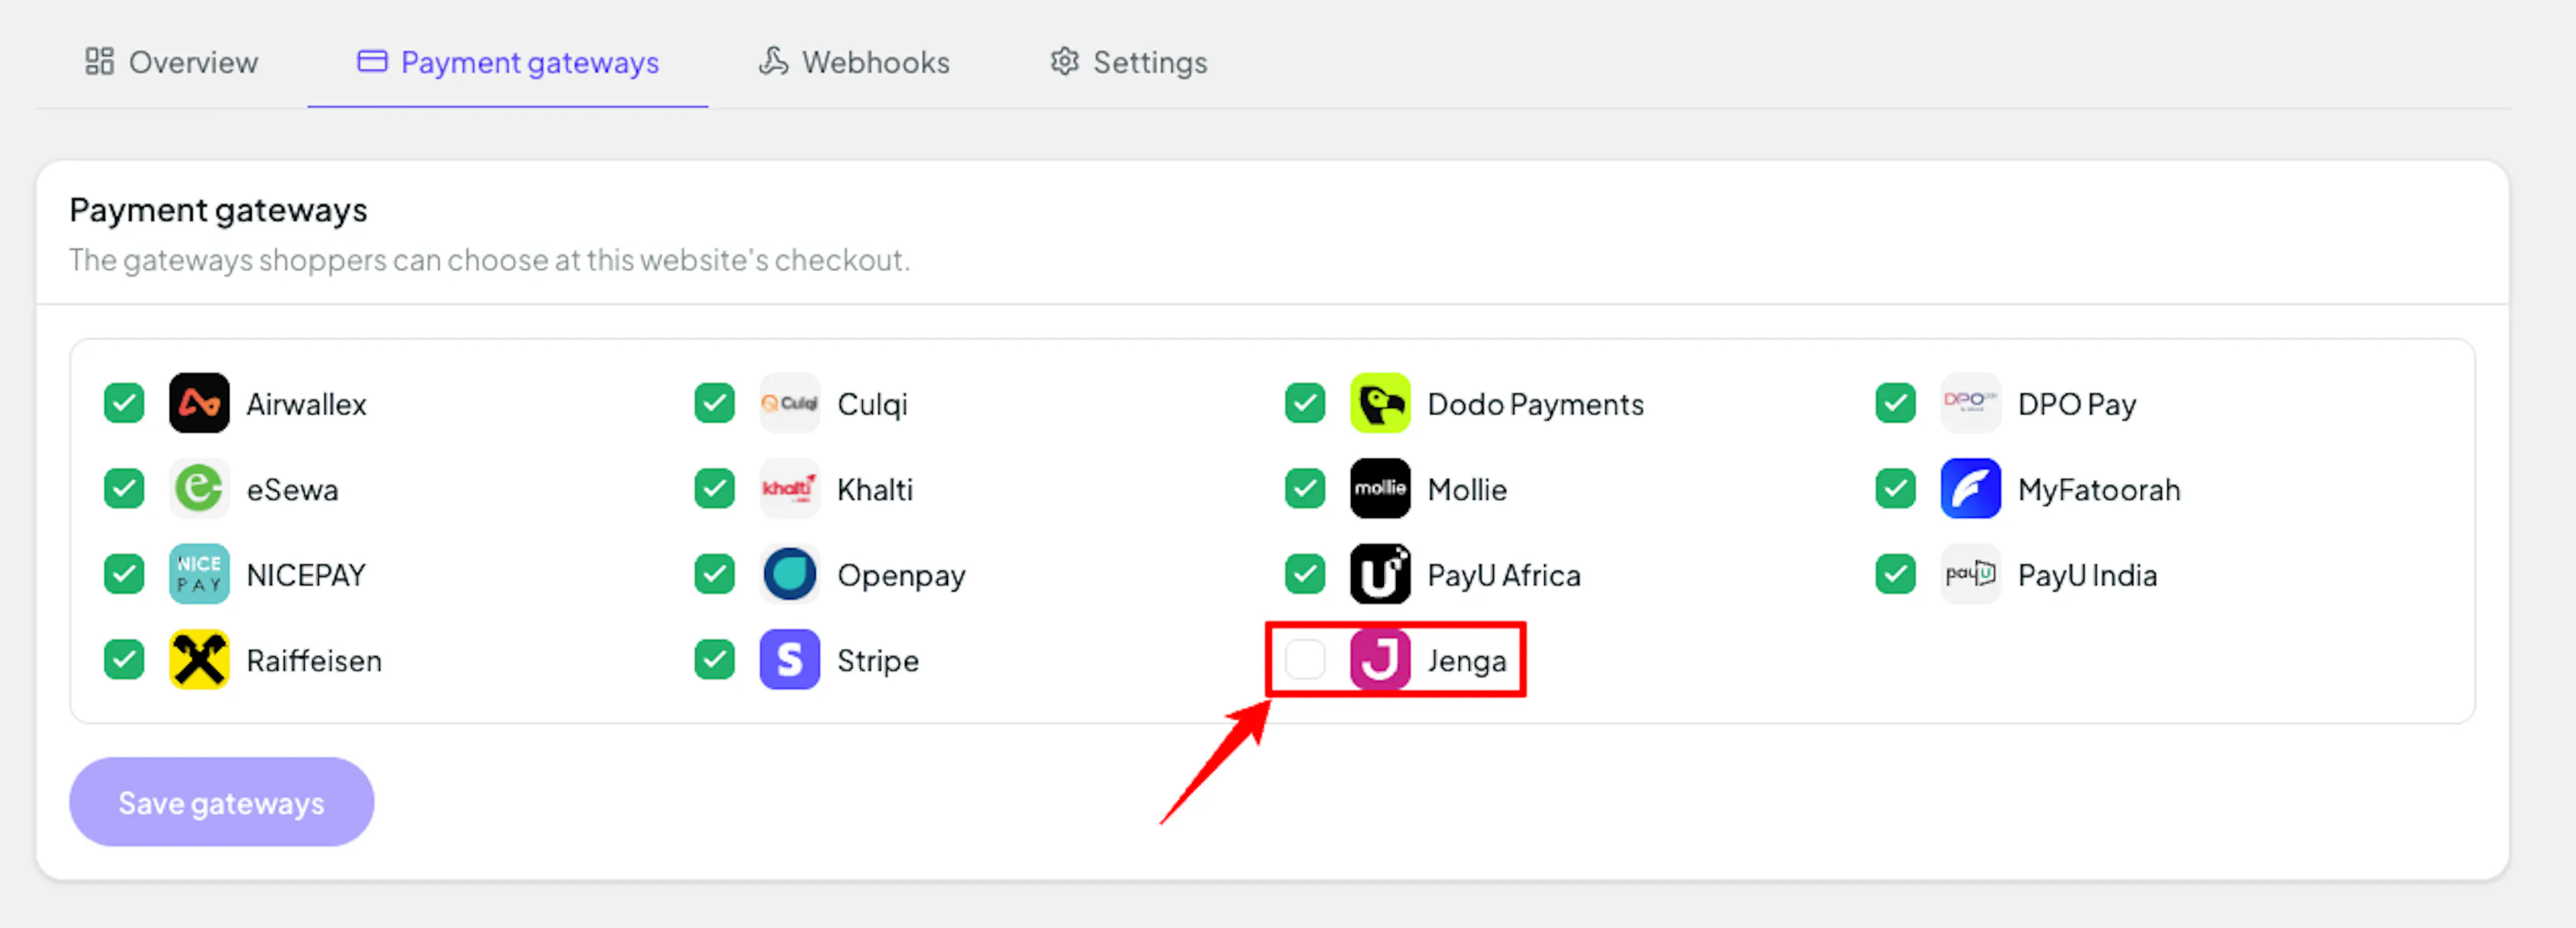
Enable Jenga
Click the checkbox to enable Jenga for the website.
If you haven't added a website yet, Continue to Add Your Website →
Troubleshooting
Best Practices
- Run a test payment with your Test credentials before going live
- Set up the IPN so payments are confirmed even when a shopper doesn't return to your store
- Keep your Private Key secret and never share it outside PayLexer
- Issue card refunds from PayLexer so your orders stay in sync
FAQs
Still Have Questions?
- Jenga Support: Jenga Support
- Jenga Developer Docs: Jenga Developer Documentation
- PayLexer Support: Contact Support