Paddle
Connect Paddle to PayLexer to accept payments, manage subscriptions, and handle global tax compliance automatically.
Paddle is a merchant of record (MoR) payment platform built for software and SaaS businesses. It handles payment processing, tax collection, and compliance across 200+ countries - removing the burden of VAT, GST, and sales tax from you entirely. Paddle supports one-time purchases and native recurring subscriptions with built-in checkout, trials, plan upgrades, and proration.
-
Supported Regions (Merchant Accounts): Global - 200+ countries including United States, United Kingdom, European Union, Australia, Canada, and more - view full list
-
Supported Currencies: USD, EUR, GBP, AUD, CAD, and 135+ additional currencies - view full list
Supported Features
-
One-time payments via hosted checkout
-
Native recurring subscriptions with billing cycle control
-
Free trial periods and sign-up fees
-
Cancel immediately or at end of billing period
-
Global tax compliance (VAT, GST, sales tax) handled automatically by Paddle
-
Multi-currency support across 140+ currencies
-
Payment methods: cards (Visa, Mastercard, Amex), PayPal, Apple Pay, Google Pay, bank transfers
-
Webhook notifications for payment and subscription lifecycle events
-
Sandbox environment for testing without real charges
Before You Start
Make sure you have:
-
Paddle Account – Don't have one? Sign up for Paddle →. You need both a sandbox account for testing and an approved production account for live payments.
-
PayLexer Account – Required to configure the integration. Create your account →
-
A website where you want to integrate
Looking for a different payment processor? View all supported gateways →
Configuring Paddle
You need an API Key, Client Token, and Webhook Secret from Paddle for this integration.
You need separate credentials for sandbox (test) and production (live) environments.
Getting API Credentials
API Key
Log in to your Paddle dashboard
Open the Paddle Sandbox dashboard for test credentials or the Paddle Production dashboard for live credentials.
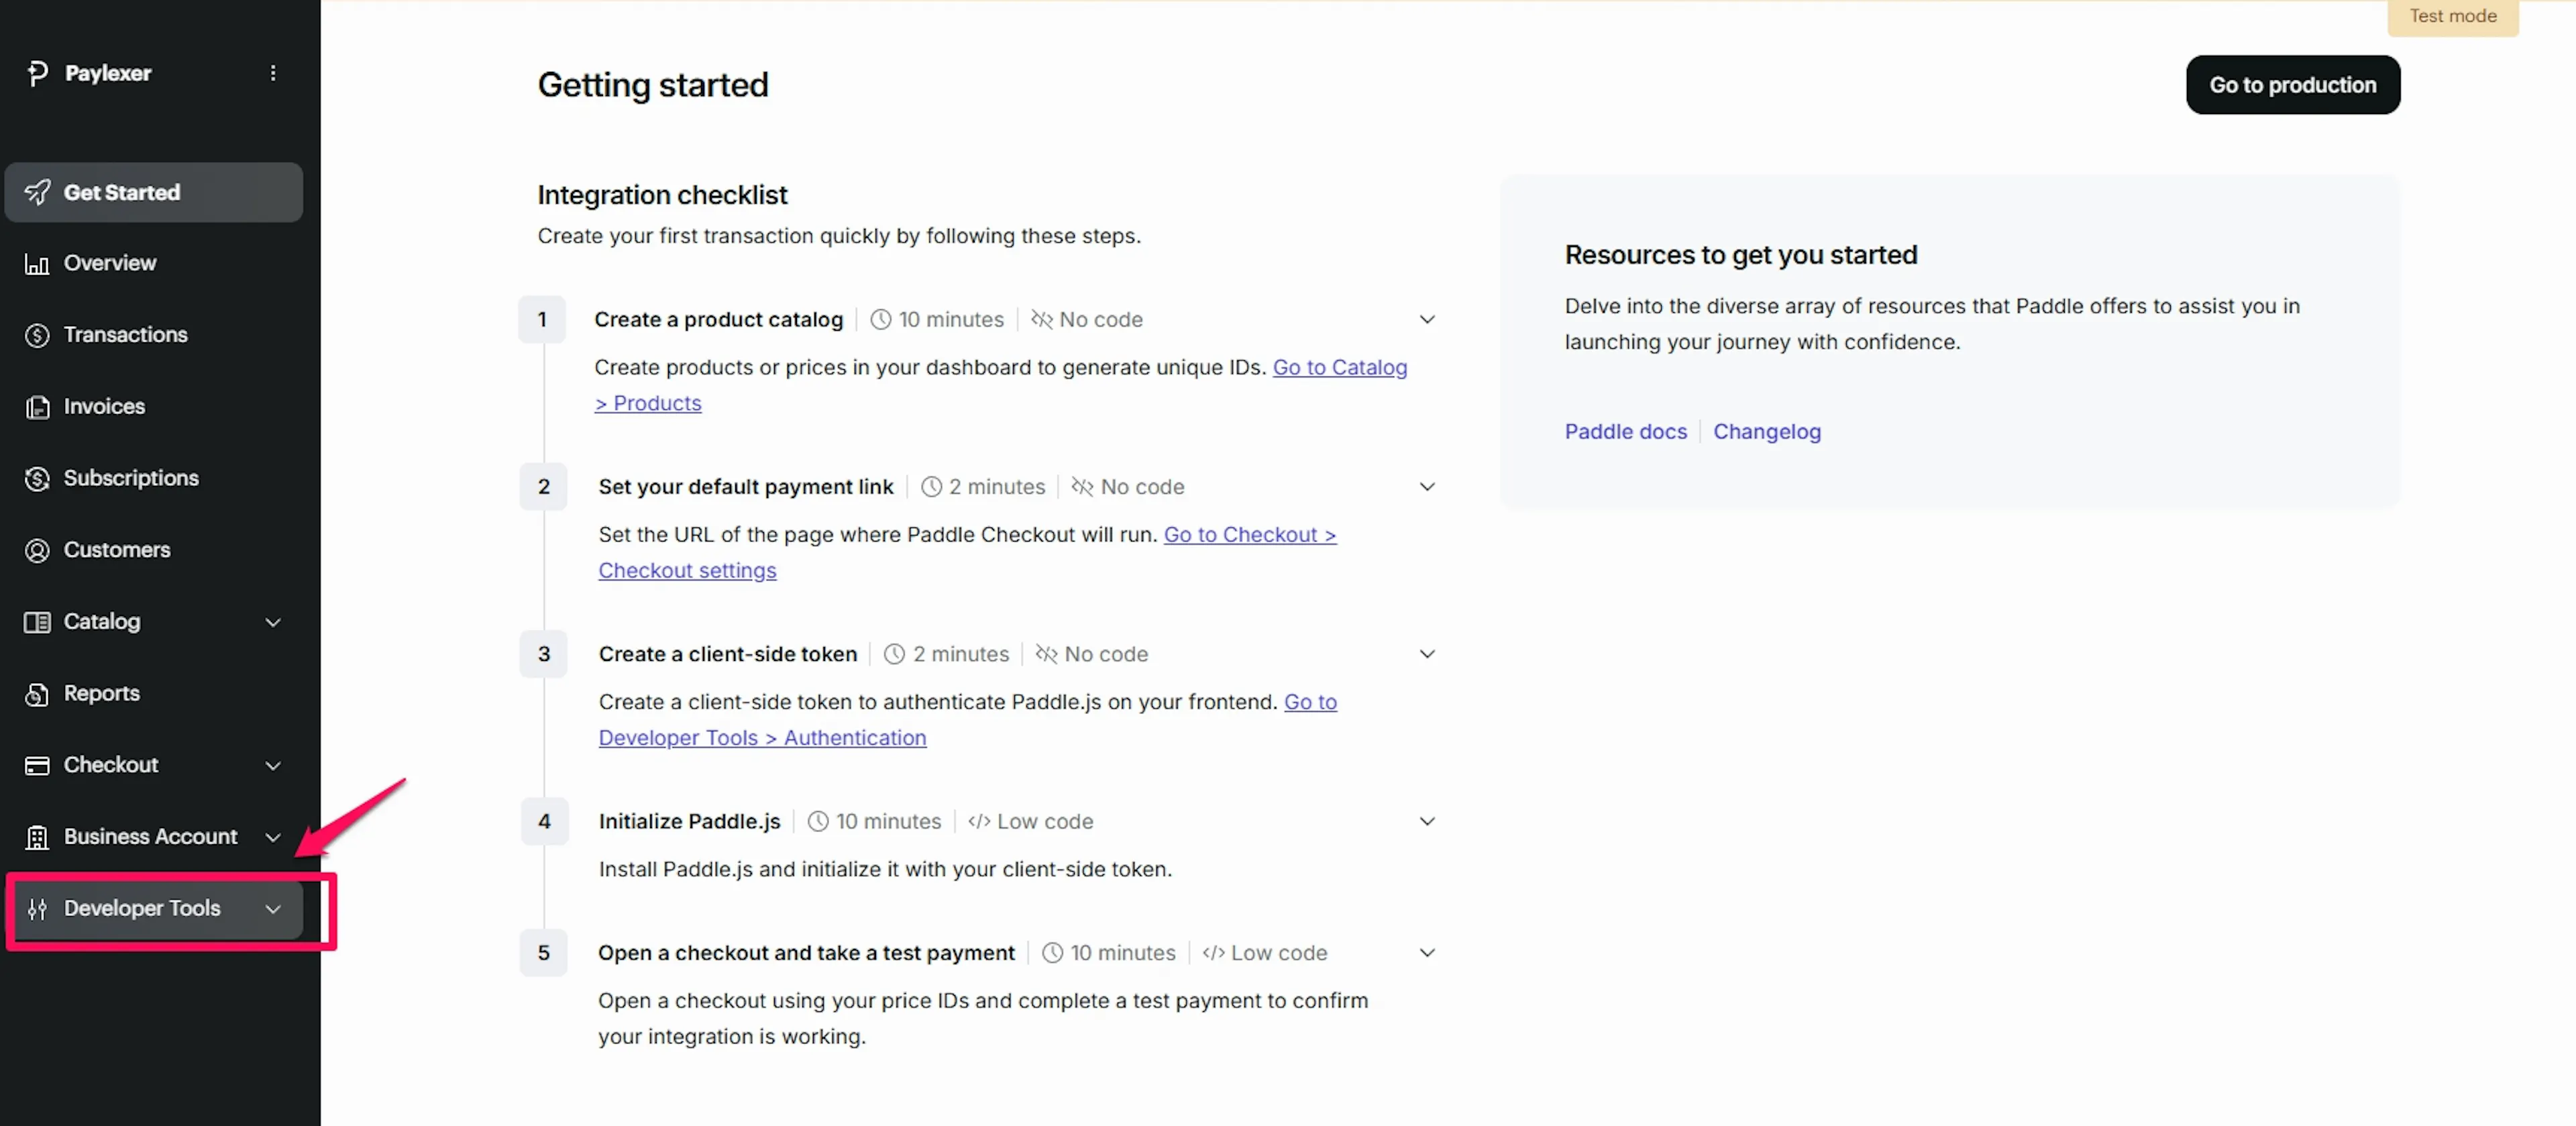
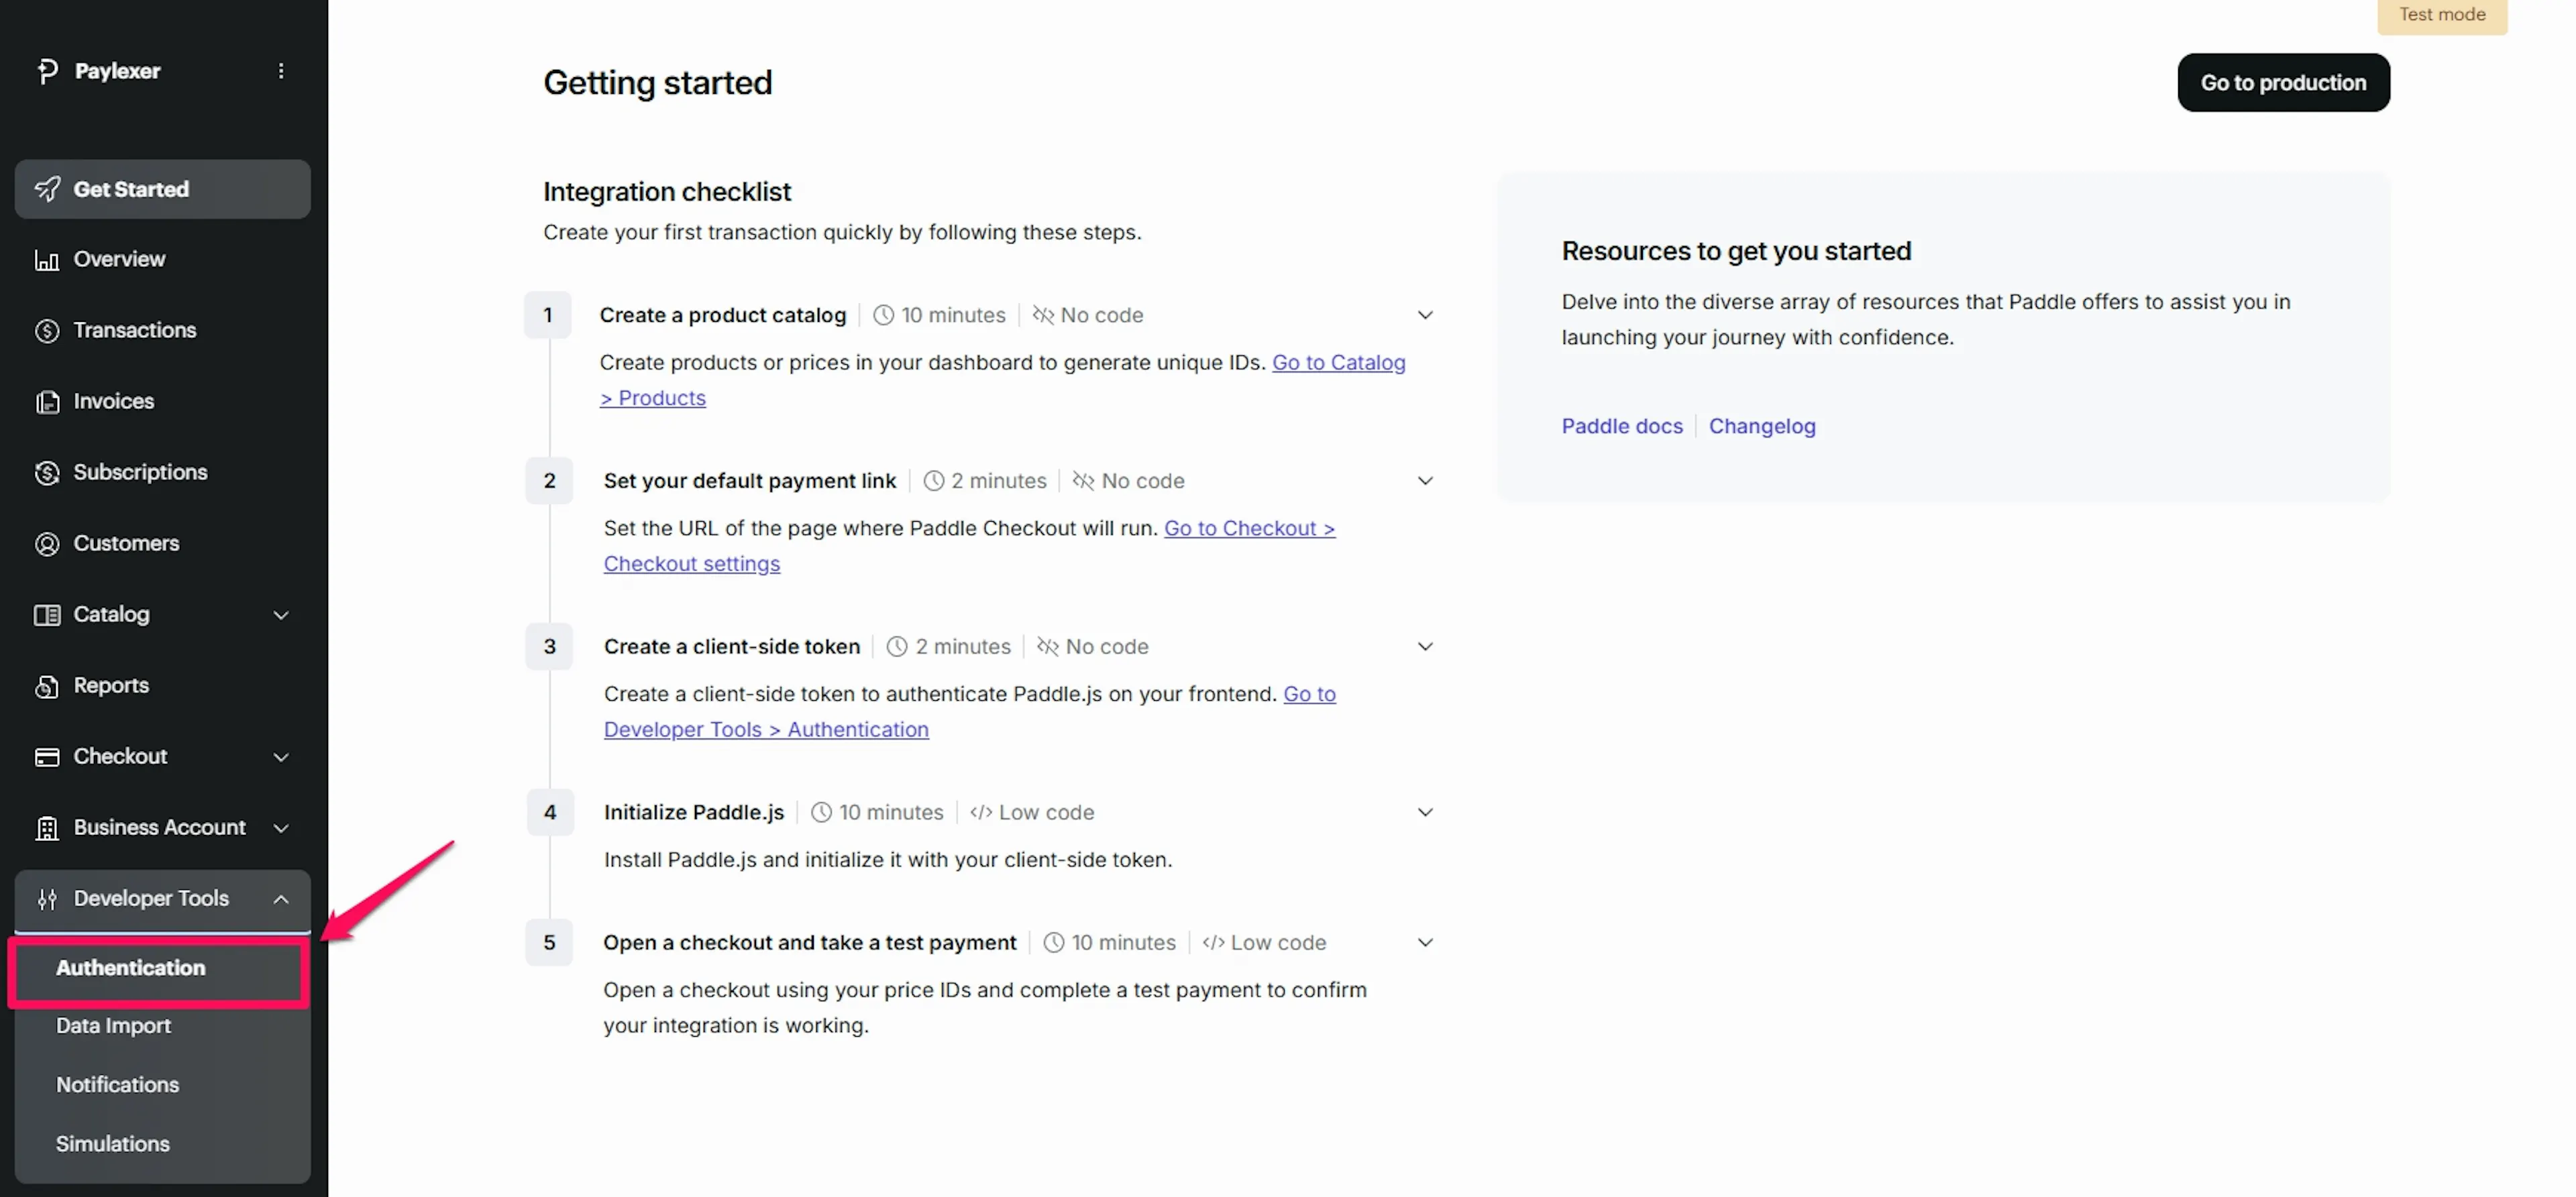
Navigate to Developer Tools - Authentication
In the left sidebar, click Developer Tools, then click Authentication.
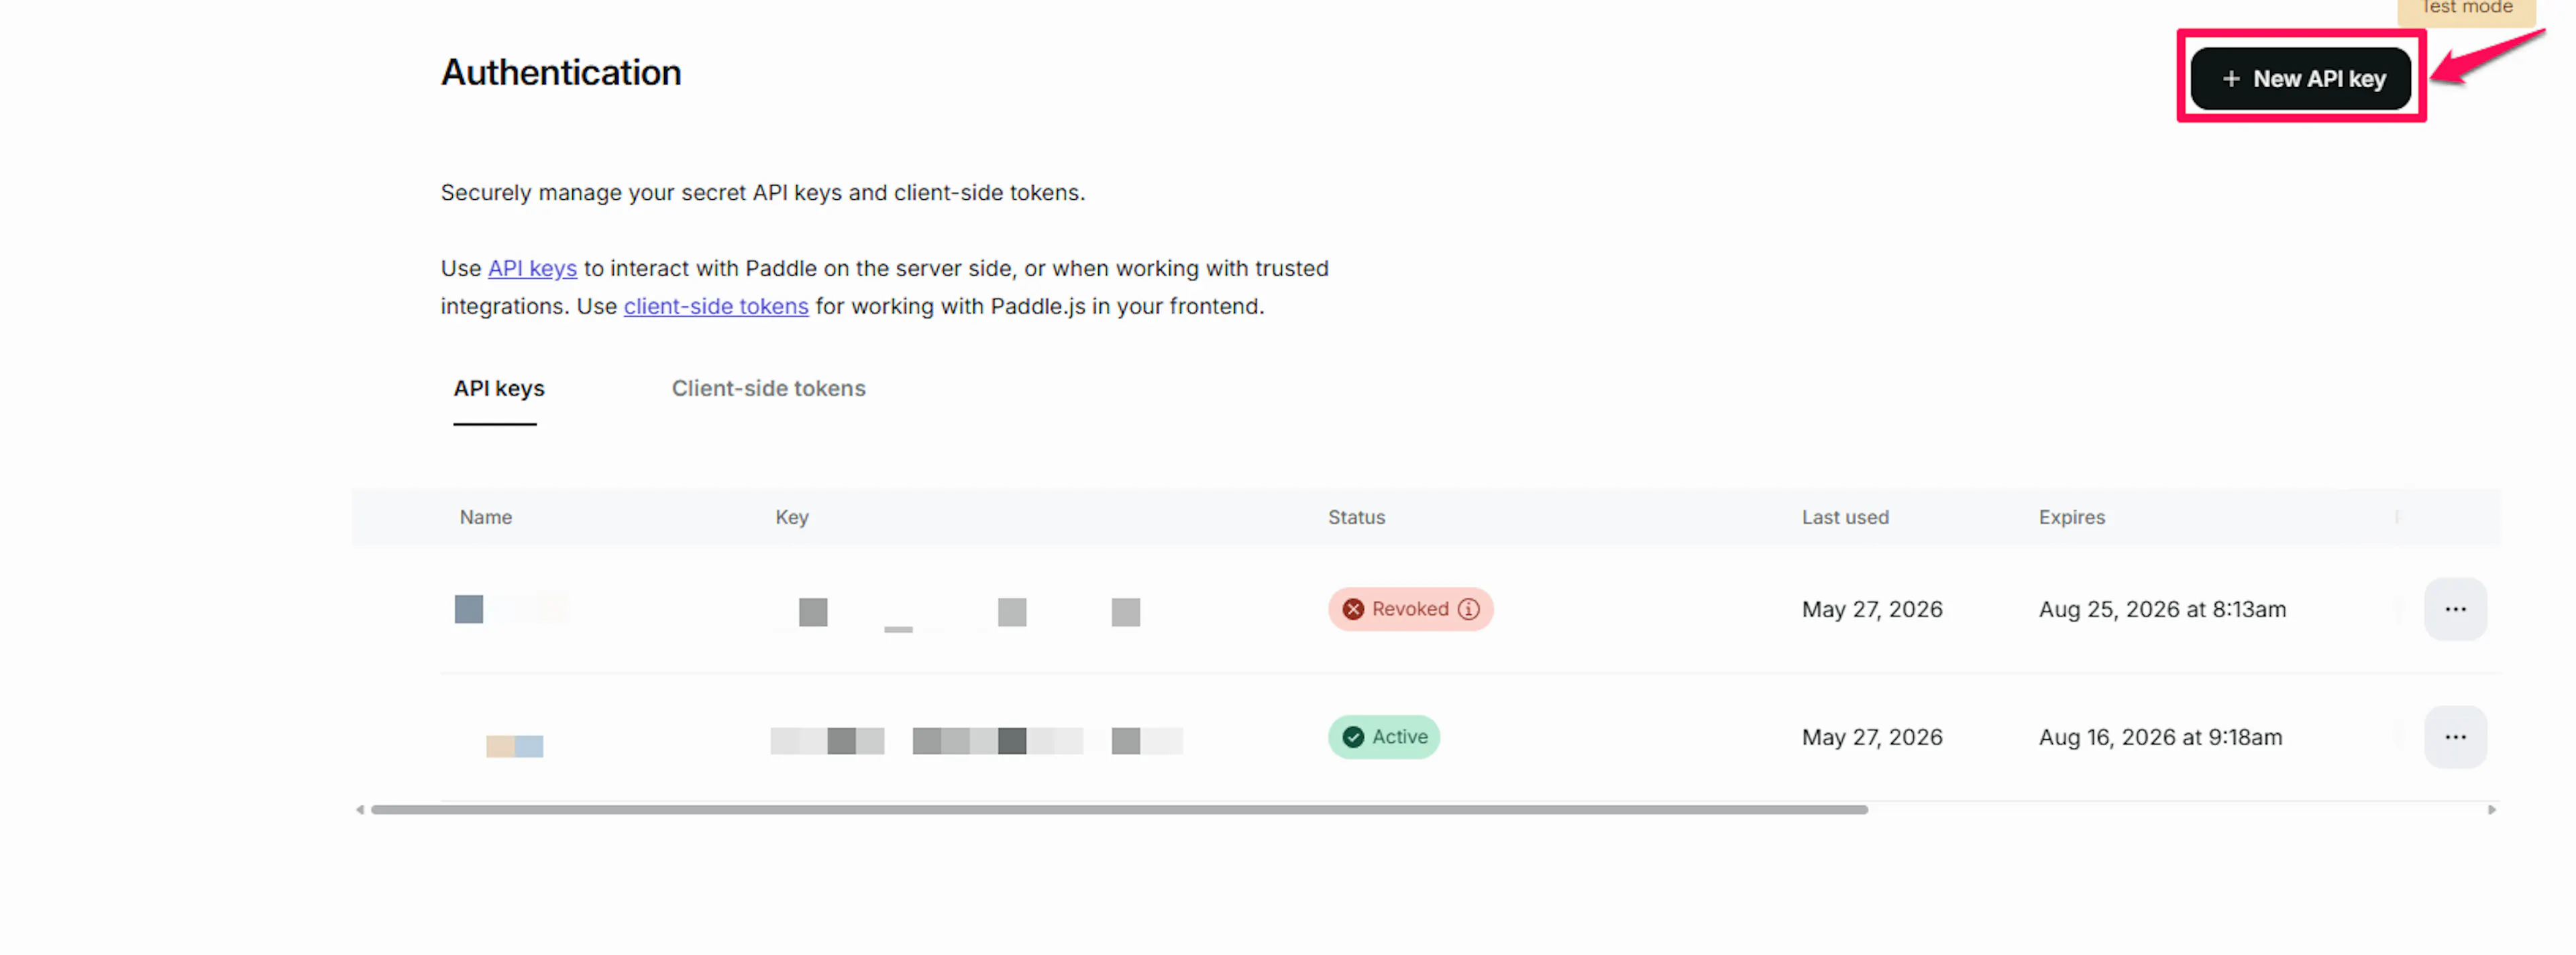
Generate an API key
Click New API Key. Give it a descriptive name (for example, "PayLexer Production") and set the scope to All permissions. Click Save and continue.

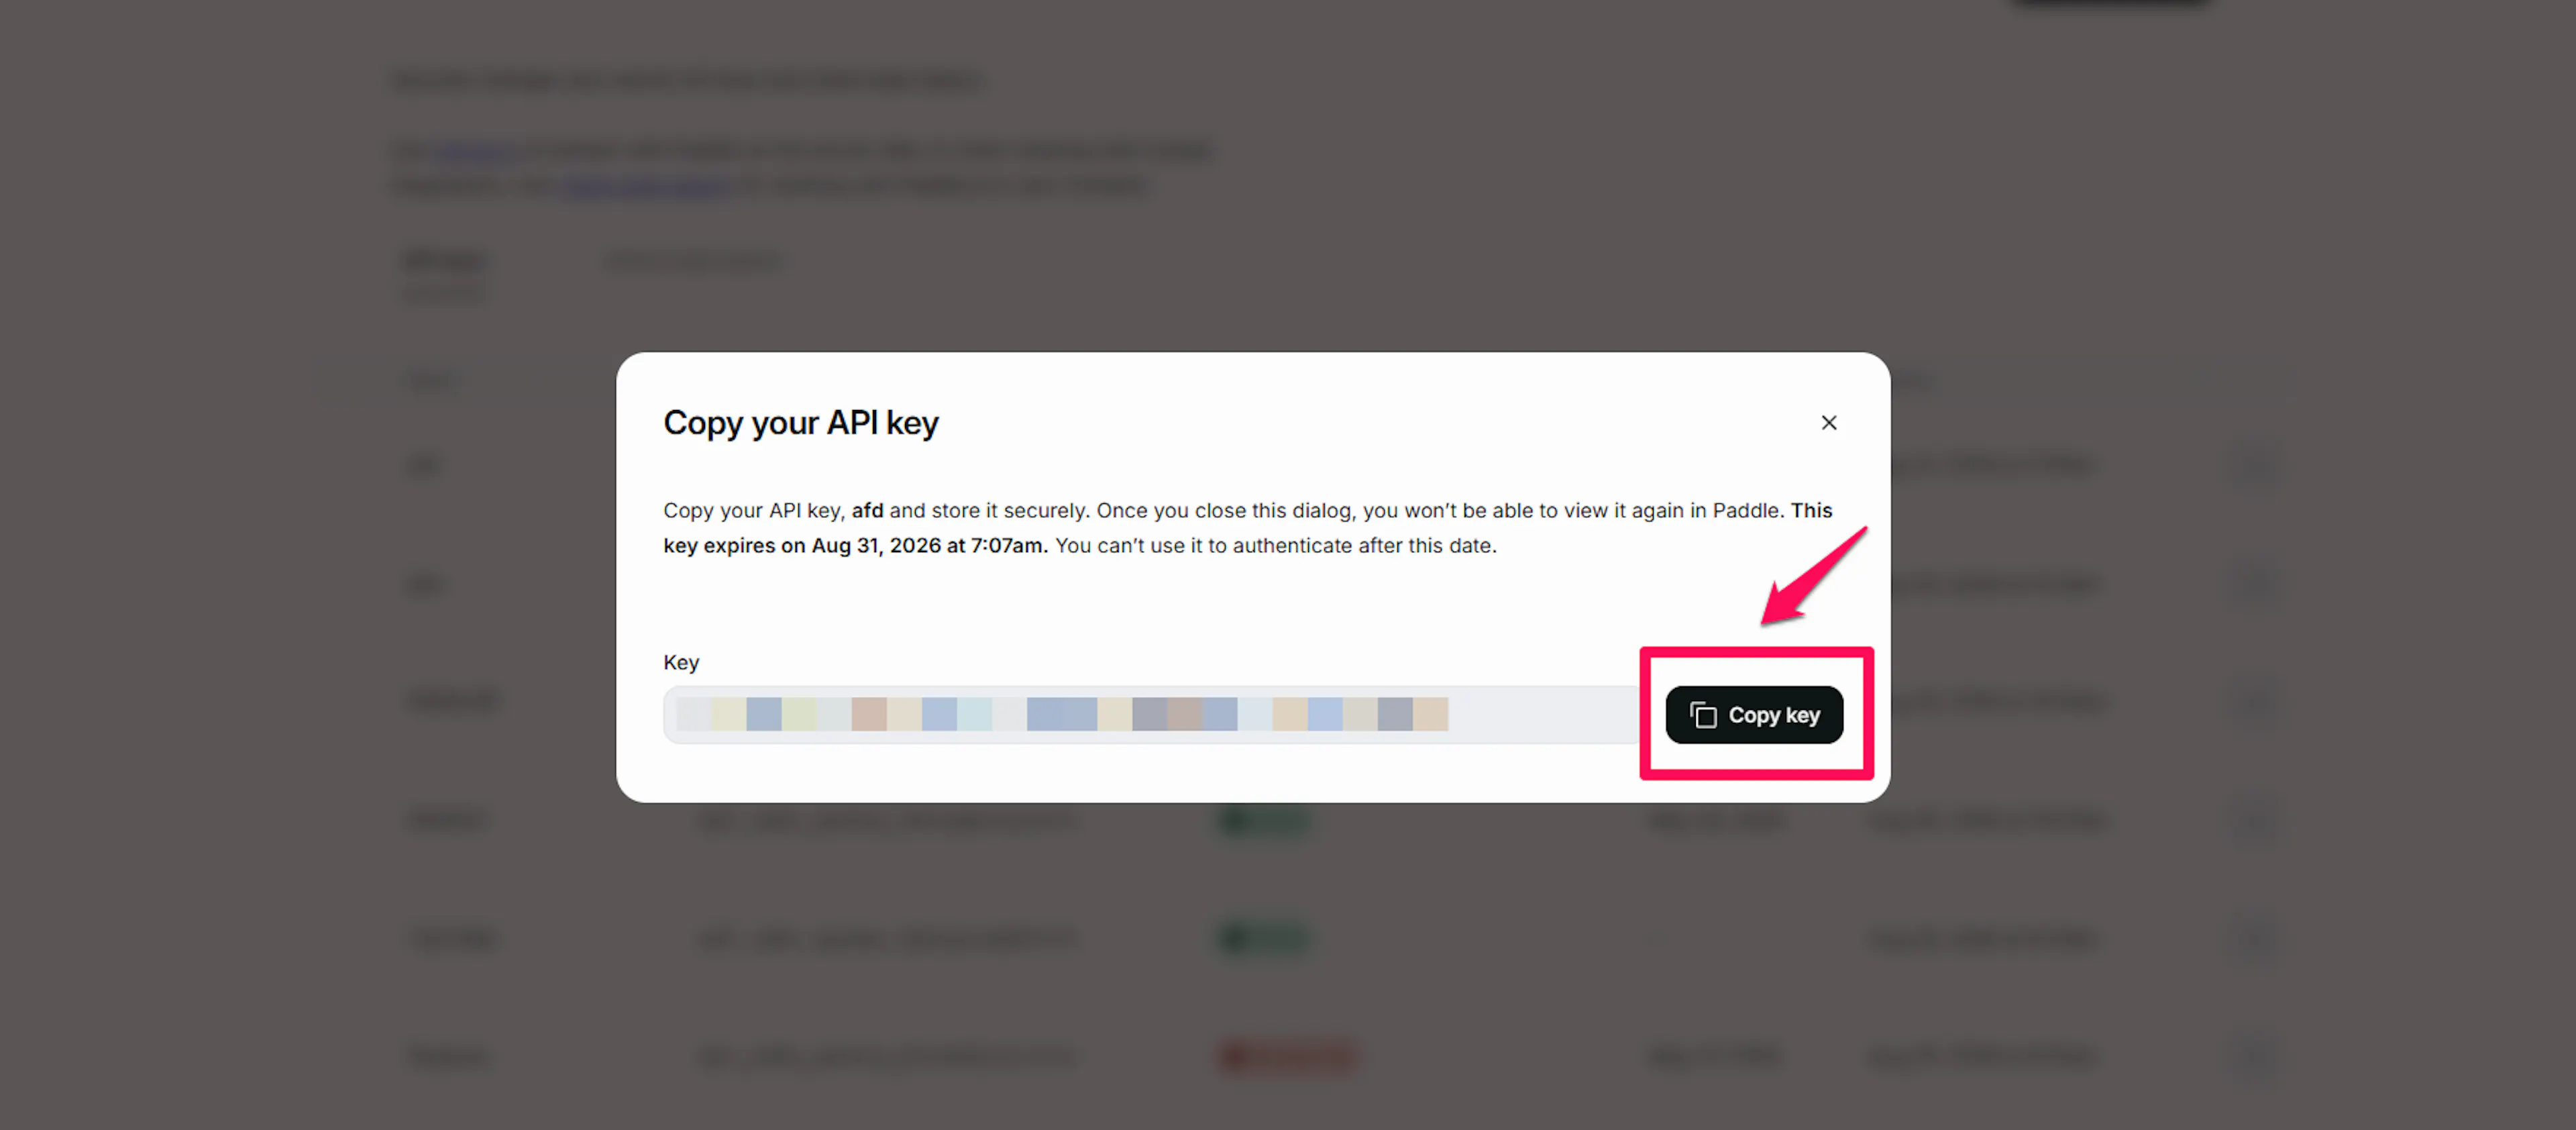
Copy your API key
Copy the key displayed. This is the only time Paddle shows it in full - store it securely before closing the dialog.
Client Token
Go to Developer Tools - Client-side tokens
In the Paddle sidebar, click Developer Tools, then click Client-side tokens.
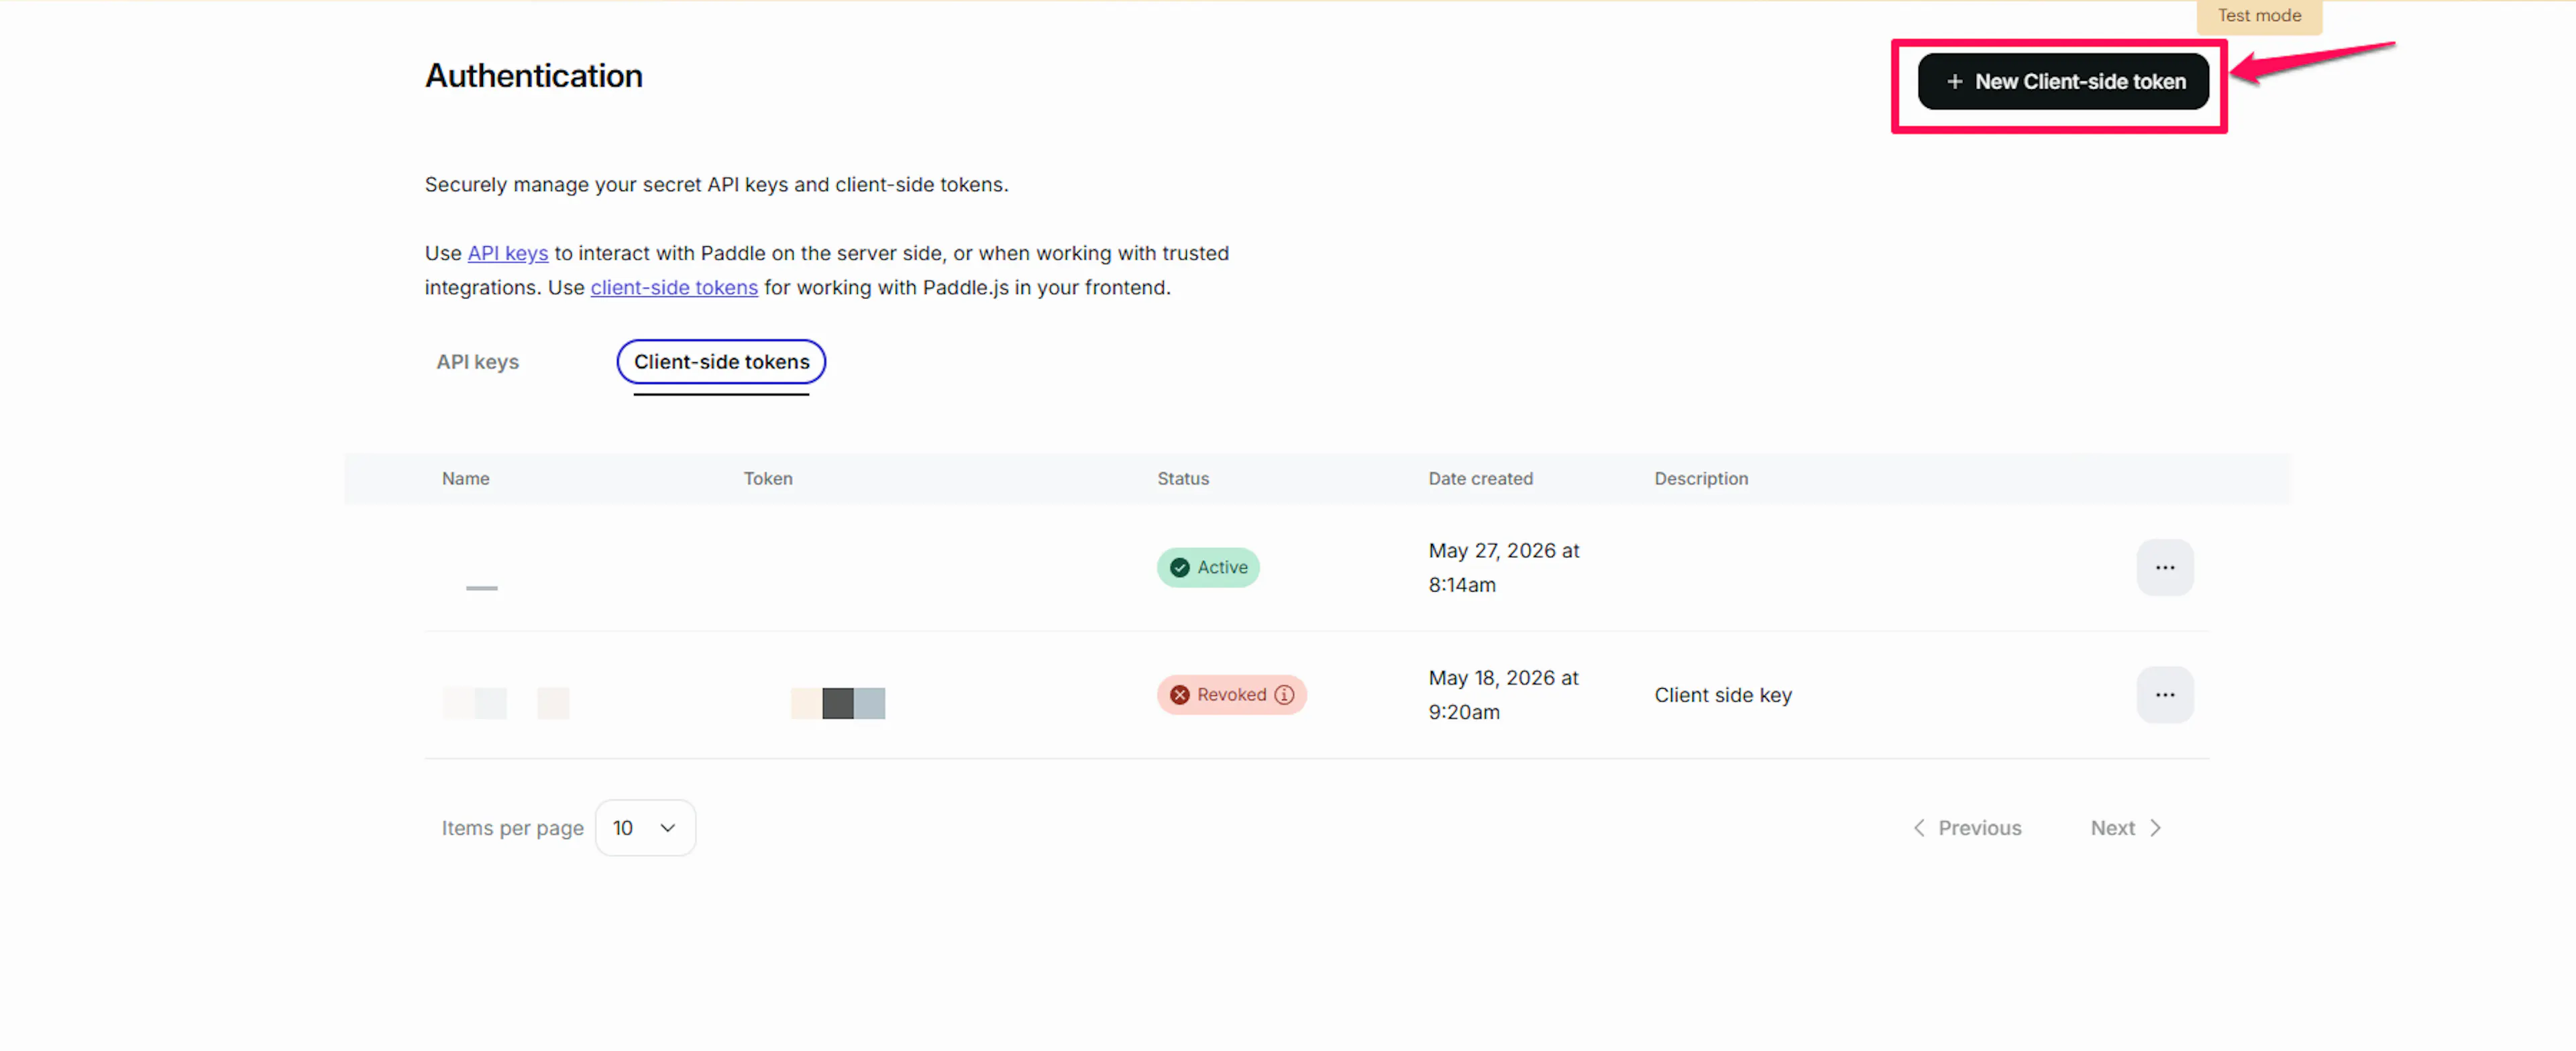
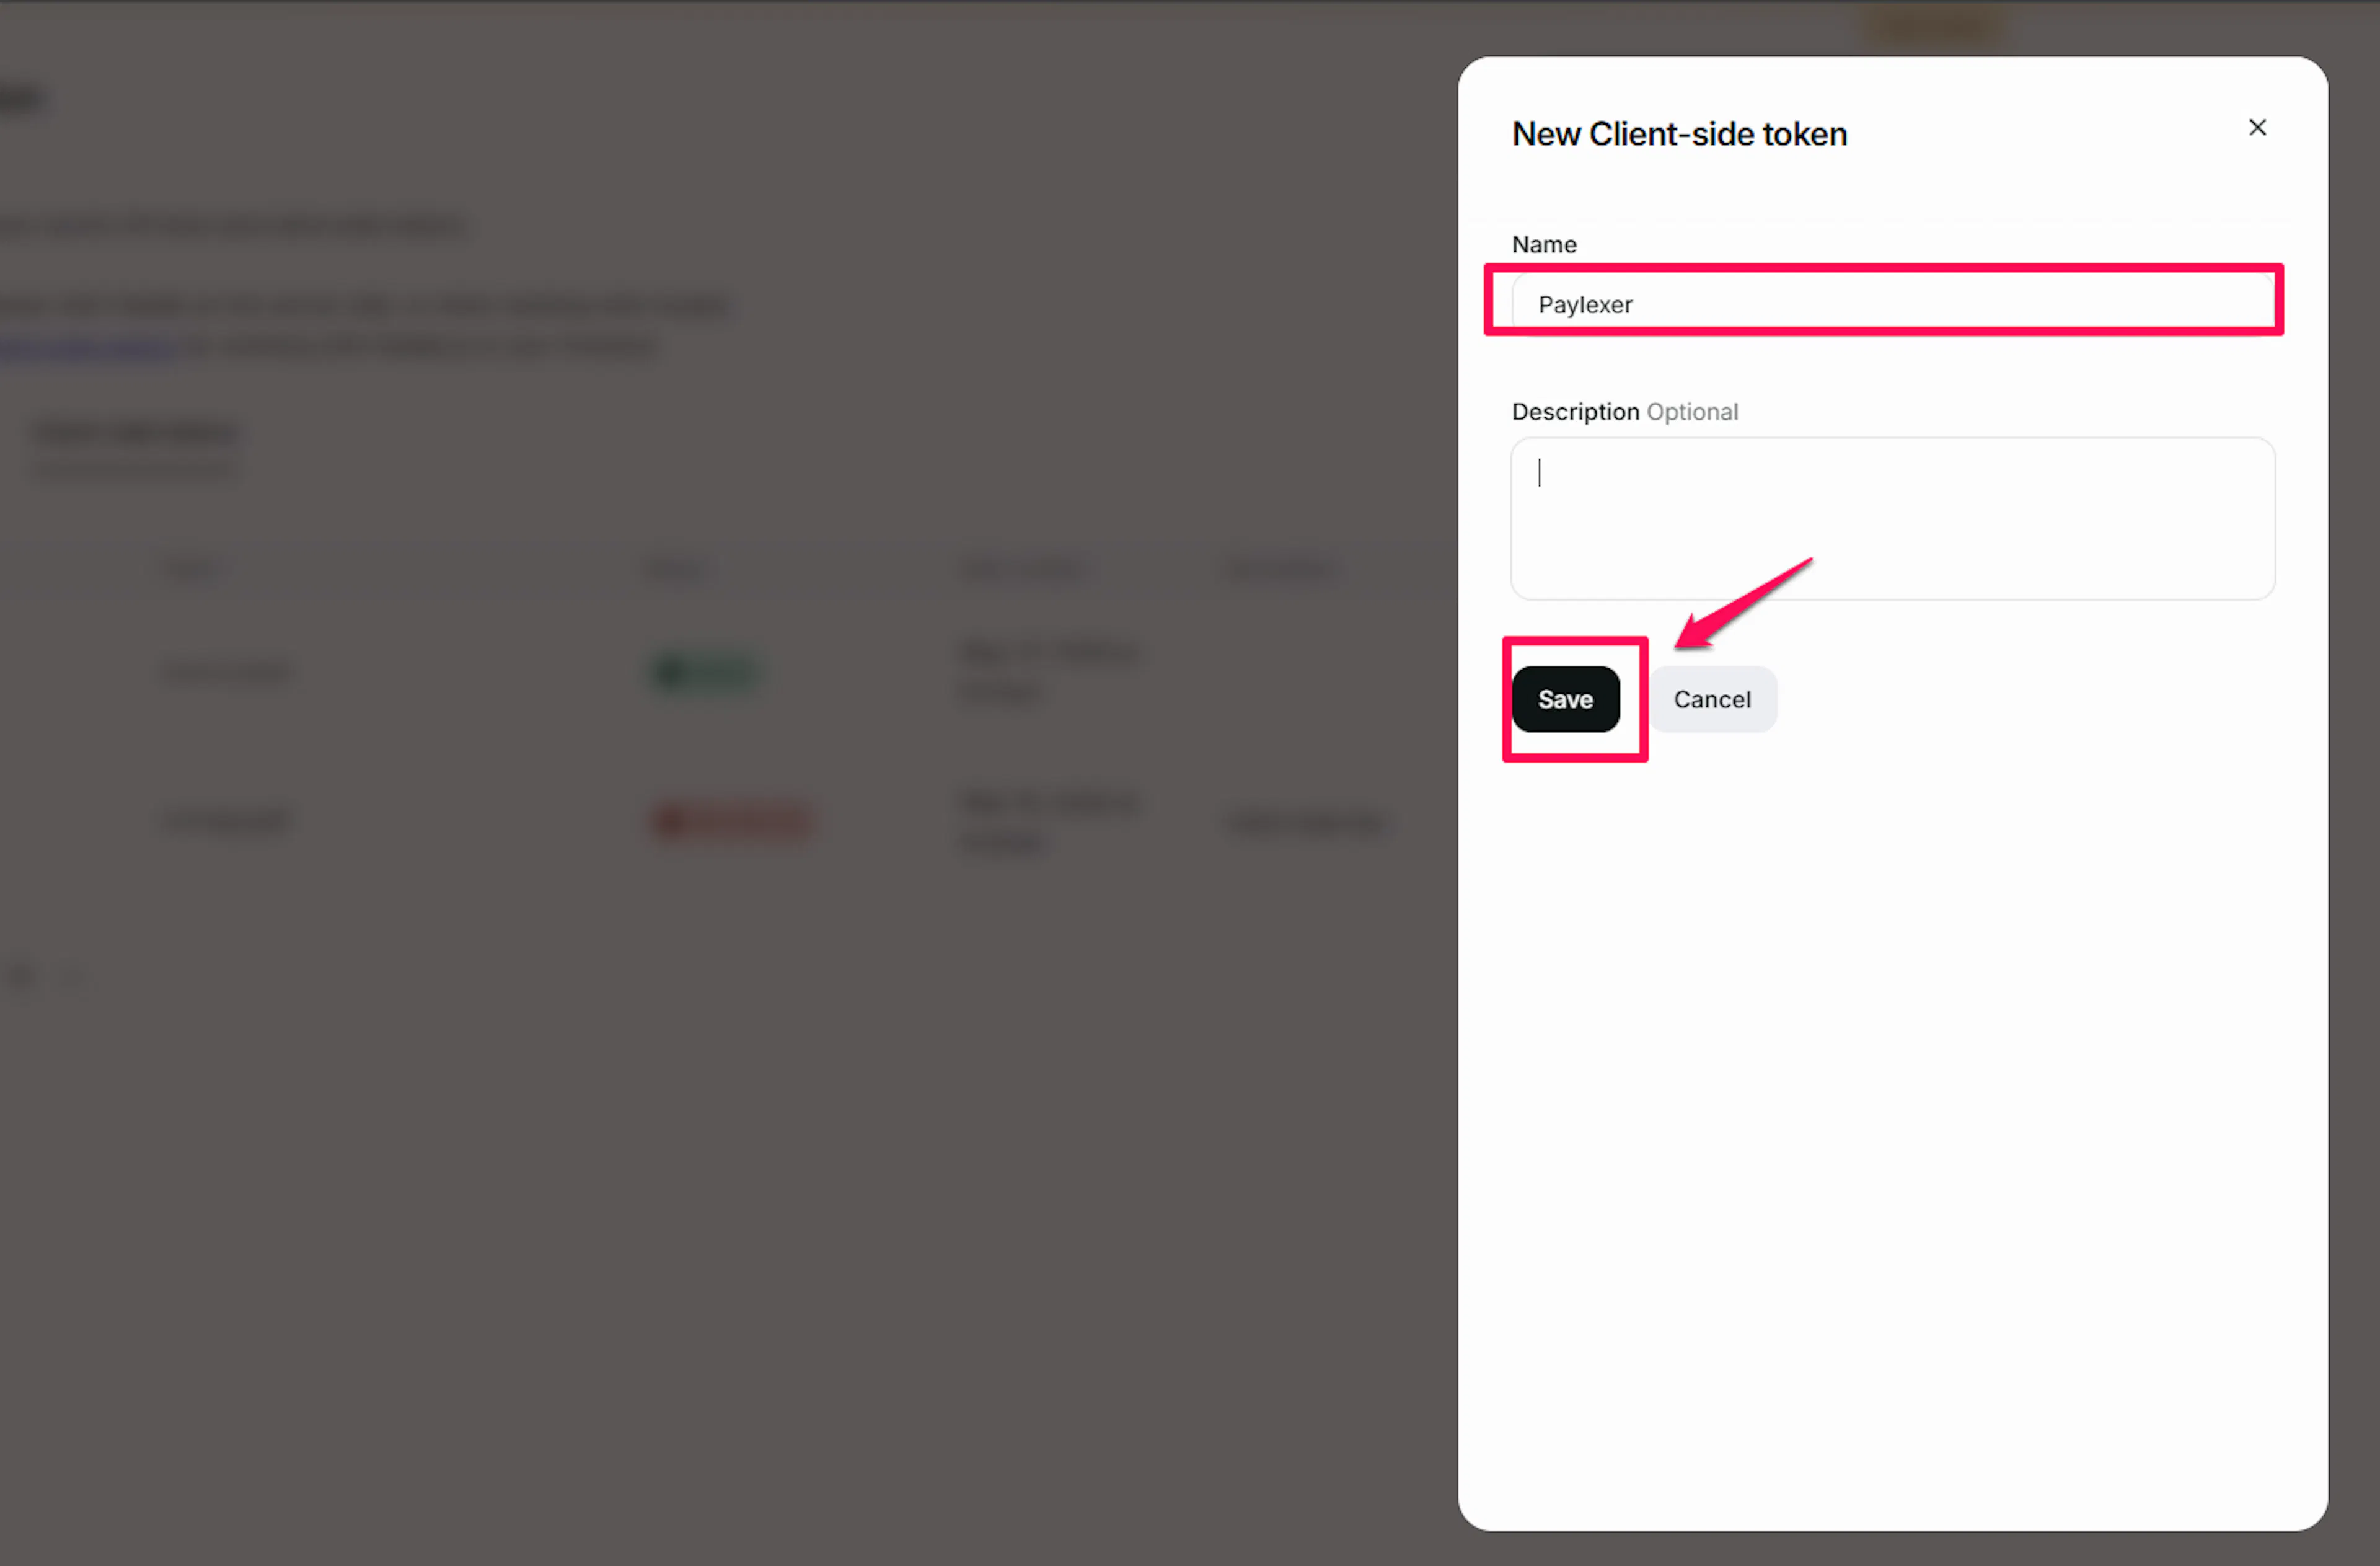
Generate a client token
Click Generate client token. Name it (for example, "PayLexer") and click Save.
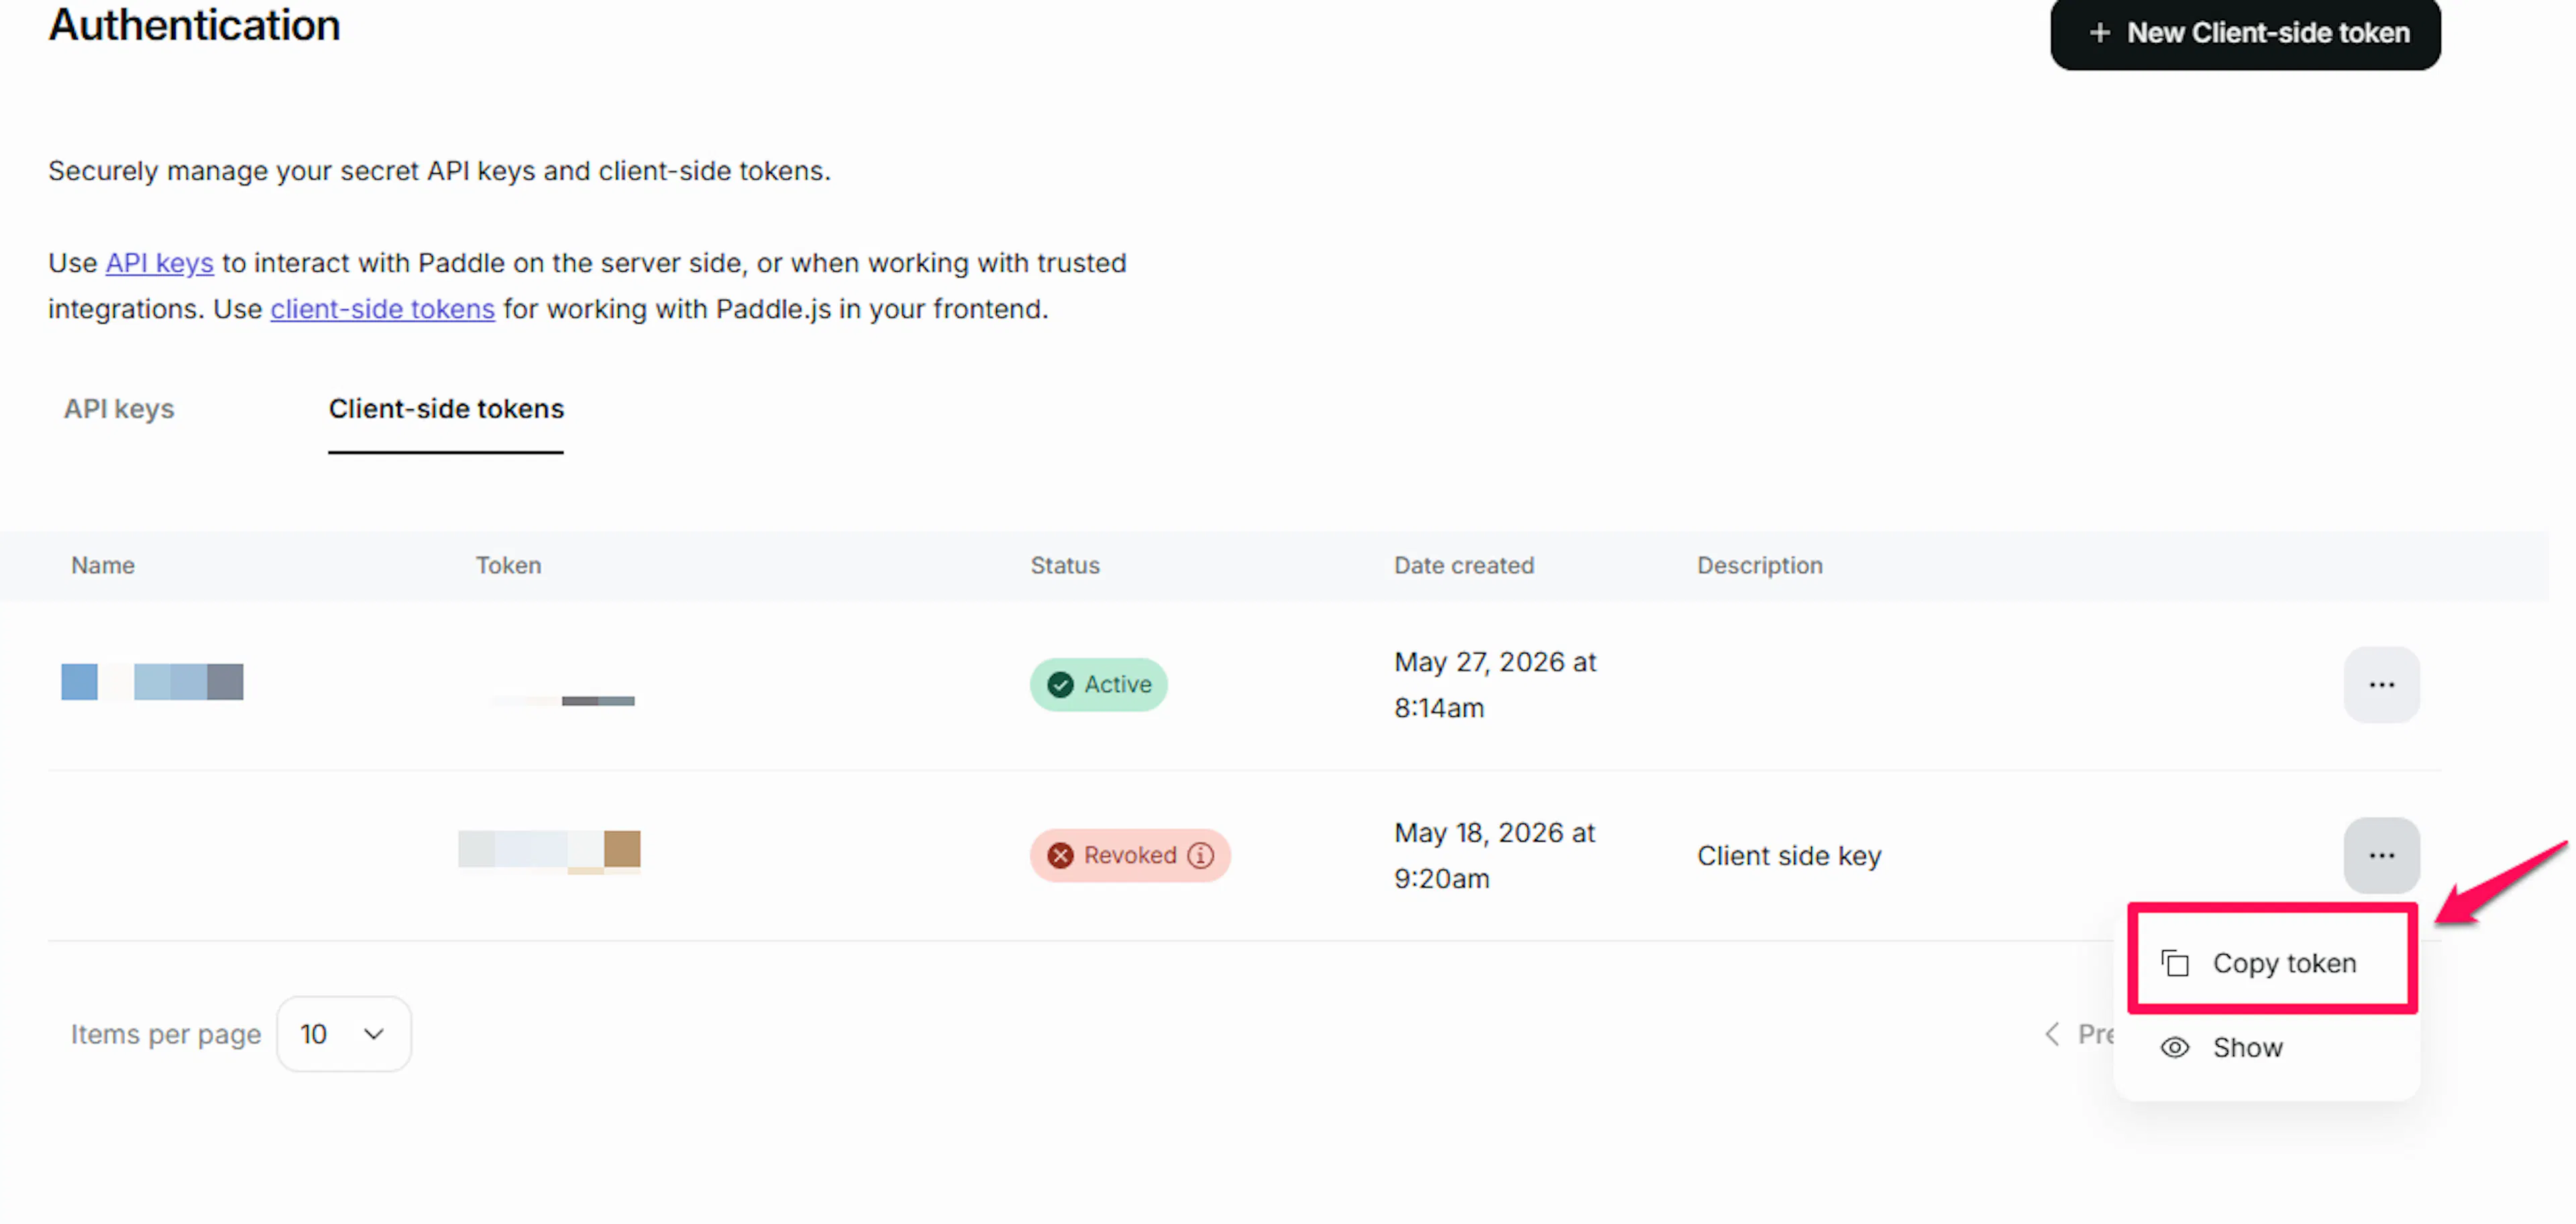
Copy the client token
Copy the token value shown. You need this for the checkout widget to render in the browser.
Repeat both sets of steps for the other environment (sandbox and production).
Adding Credentials to PayLexer
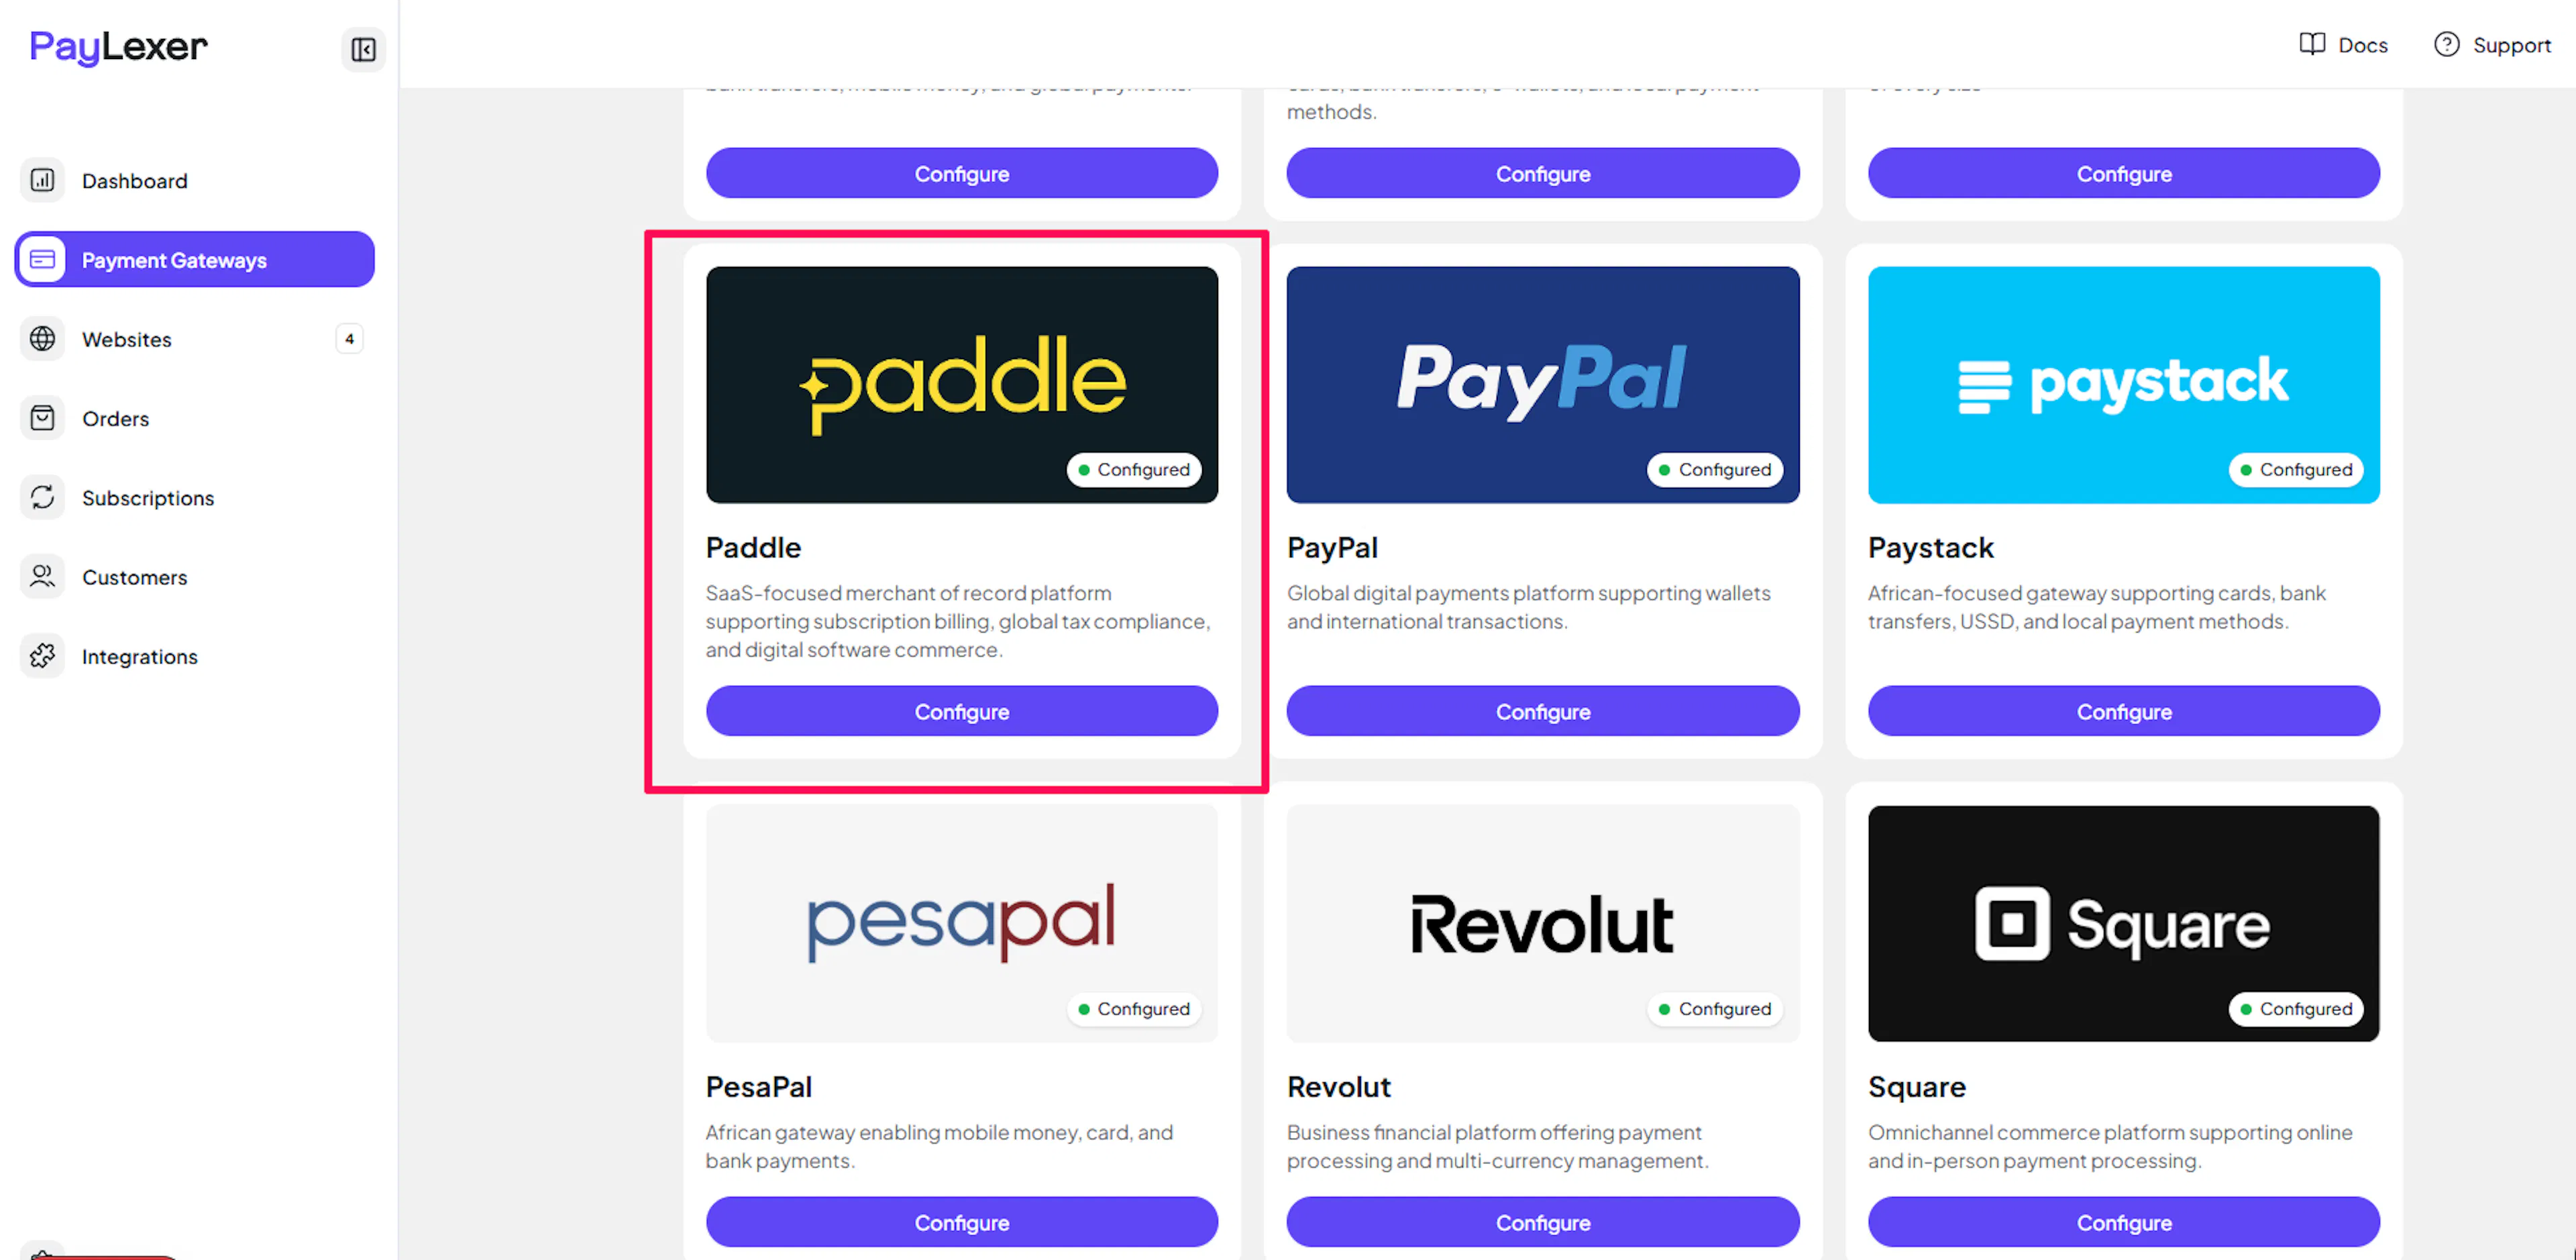
Open PayLexer Dashboard
Log in to your PayLexer dashboard and navigate to Payment Gateways → Paddle.
Enter your credentials
Paste your Live and Test API Keys and Client Tokens into the respective fields.
Understanding Live/Production and Sandbox Settings:
| Environment | Purpose |
|---|---|
| Live / Production (Mandatory) | Used for real transactions. Cannot be empty, even when testing. |
| Test / Sandbox (Optional) | Used for testing only. No real money is processed. |
How PayLexer selects credentials:
-
Debug/Test mode ON → Test credentials are used
-
Debug/Test mode OFF → Live credentials are used
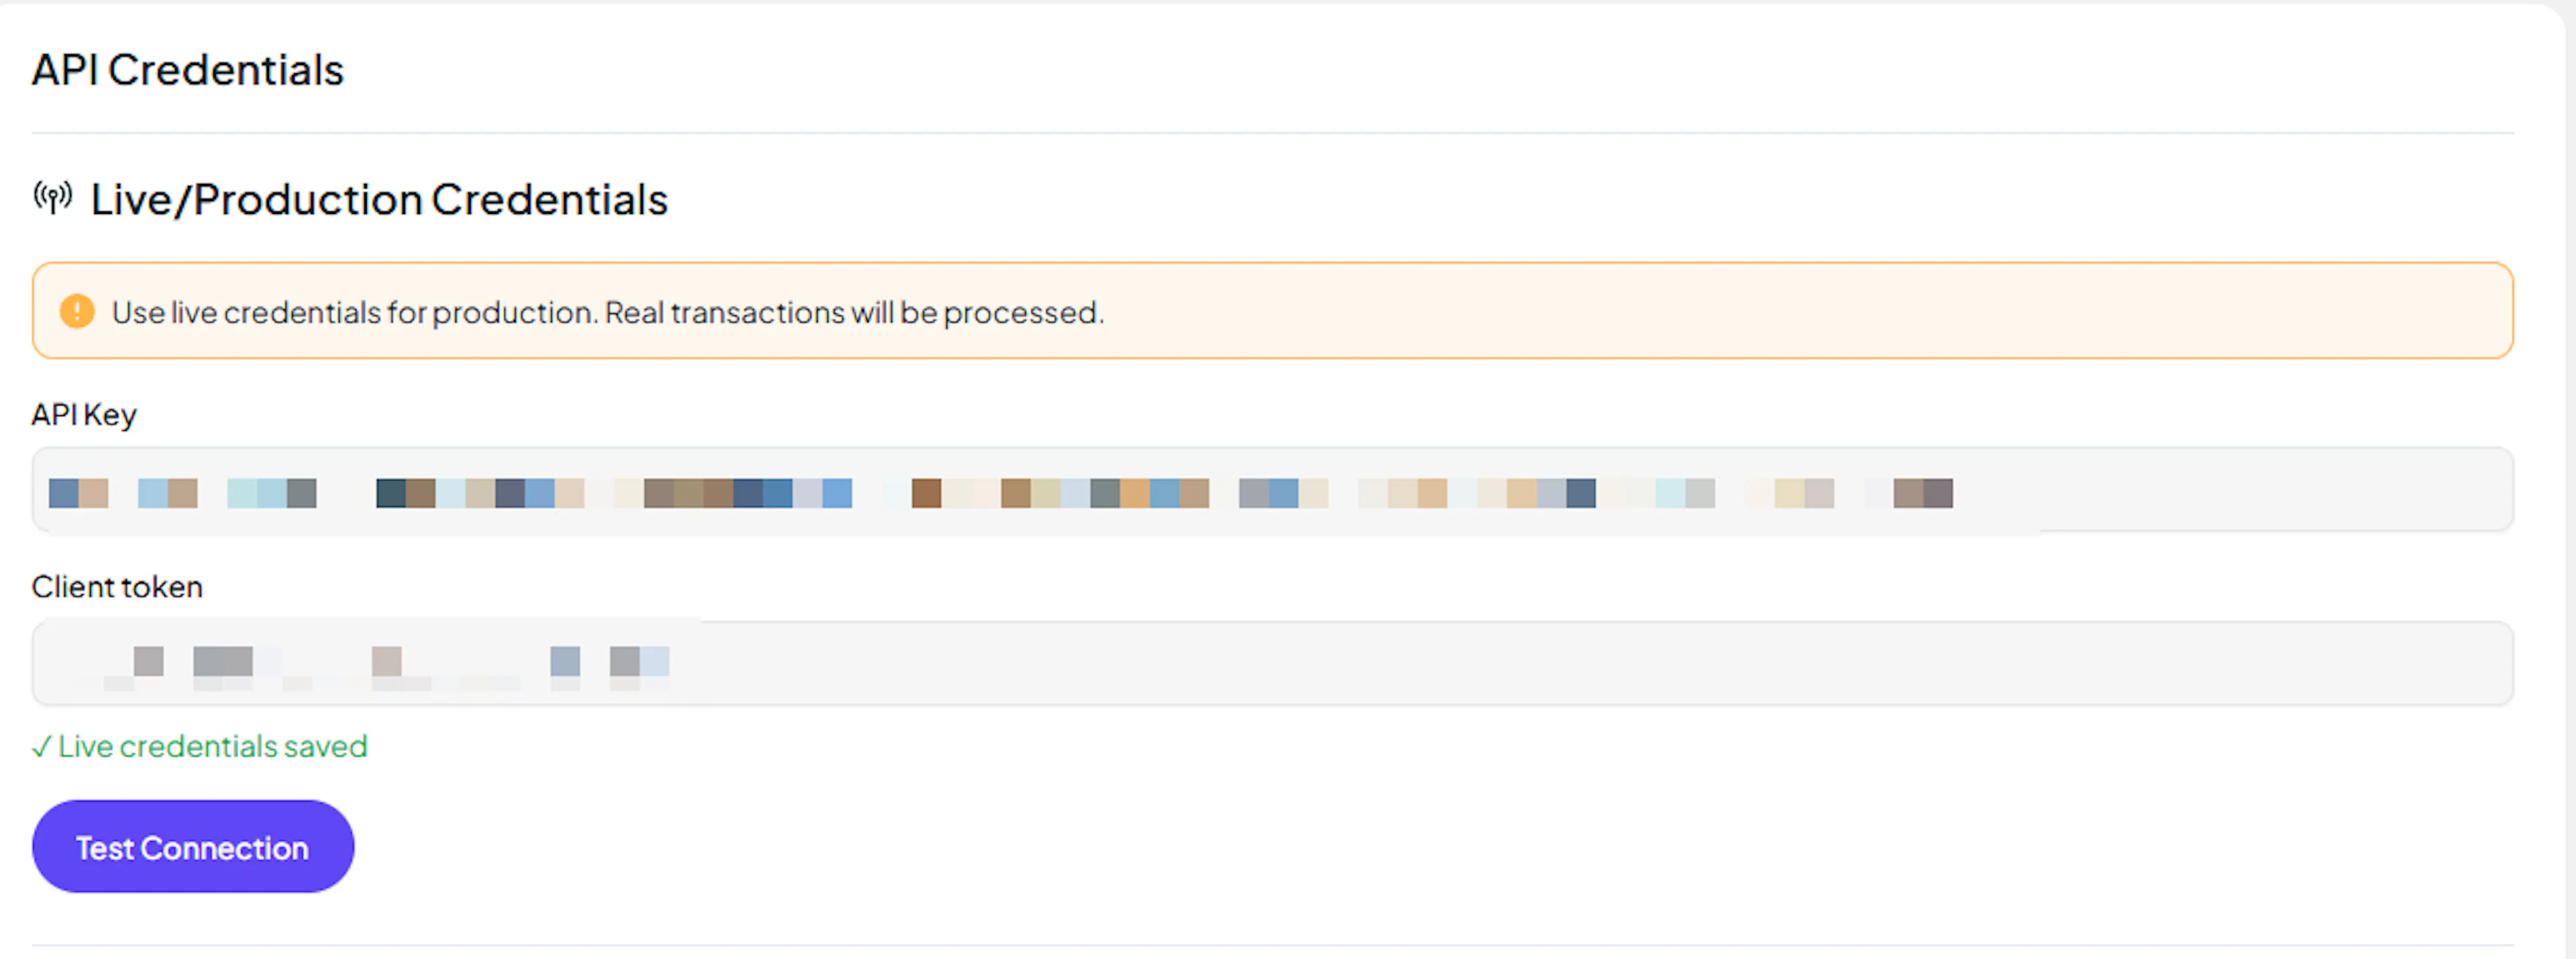
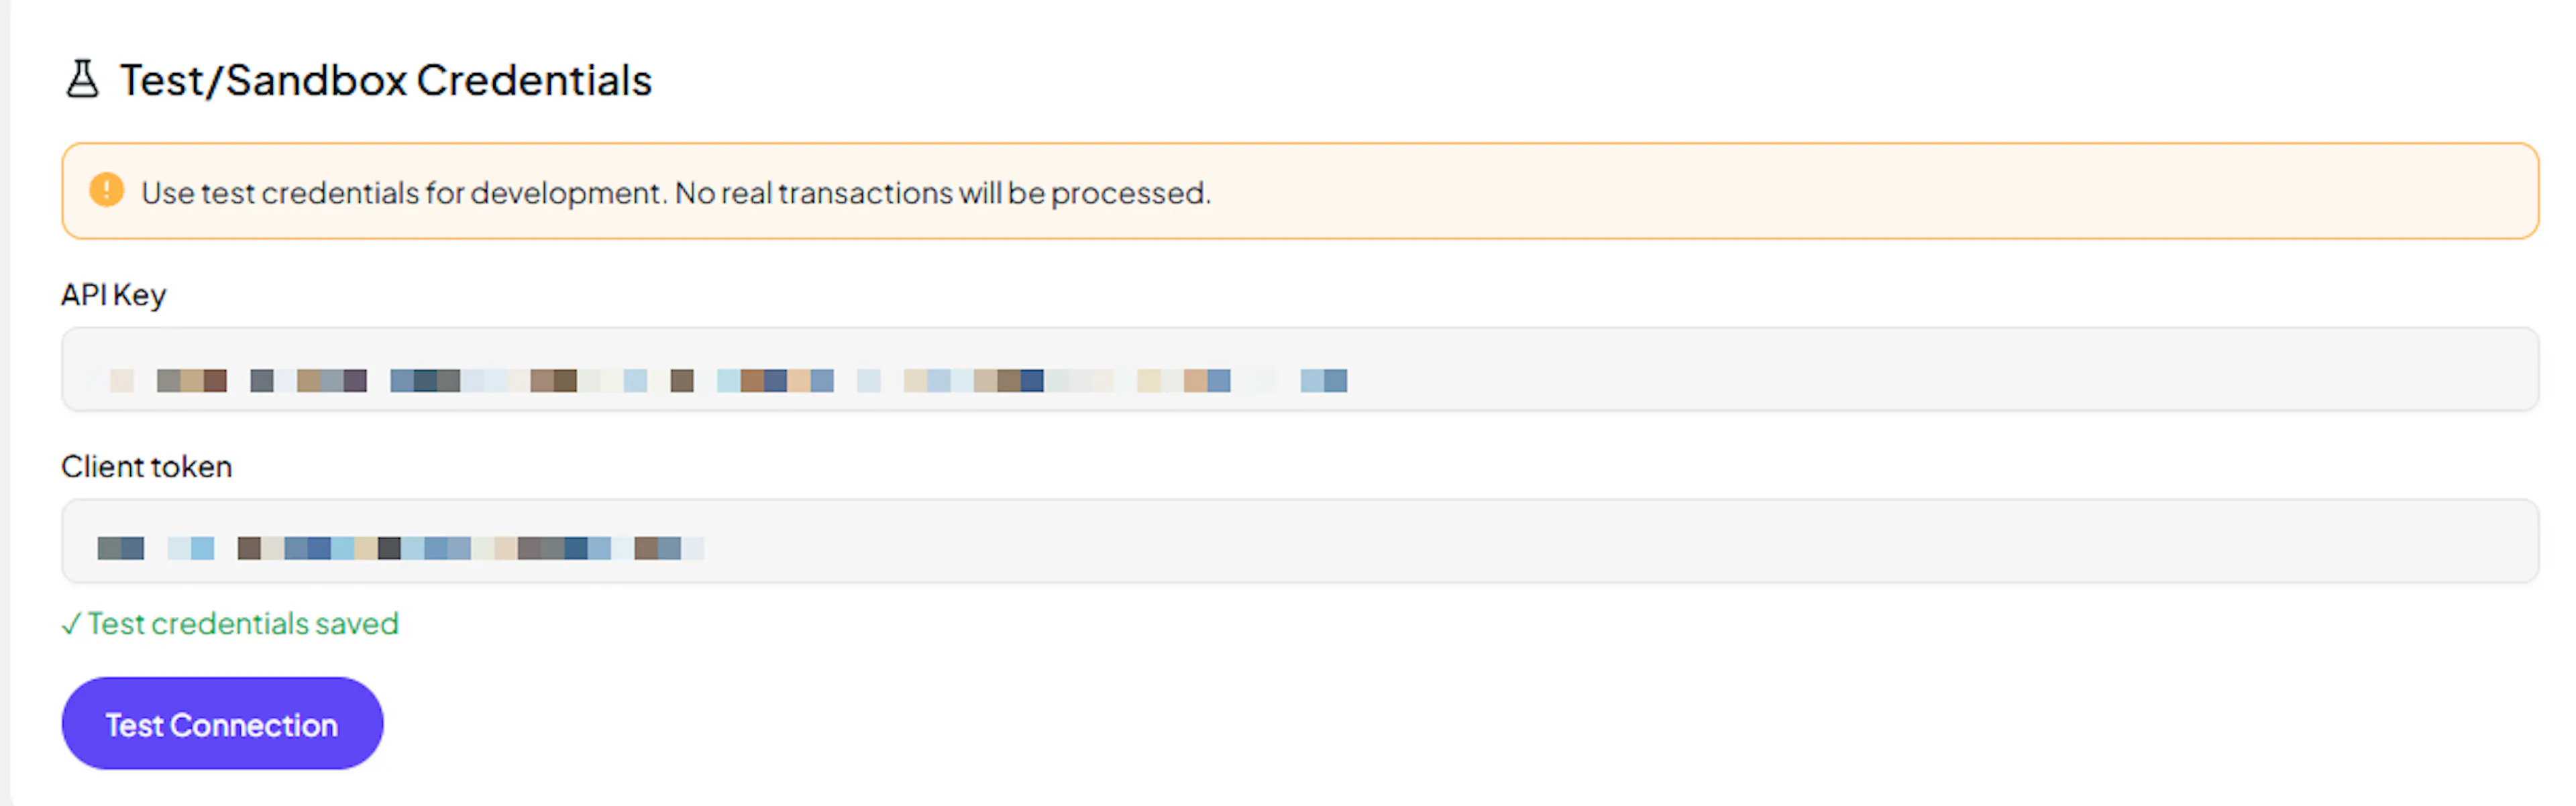
Save your credentials
Click Save Changes. PayLexer encrypts both sets of credentials and stores them in the vault.
Configuring Webhooks (Mandatory)
Webhooks allow Paddle to notify PayLexer in real time when a payment succeeds, a subscription renews, or a subscription is cancelled. Without webhooks, PayLexer relies on polling and may miss or delay subscription lifecycle events.
Benefits of Webhooks:
-
Instant payment status updates
-
Real-time subscription lifecycle sync (activations, renewals, cancellations)
-
Automatic handling of failed payment retries and status changes
-
Adjustment and refund events processed without manual intervention
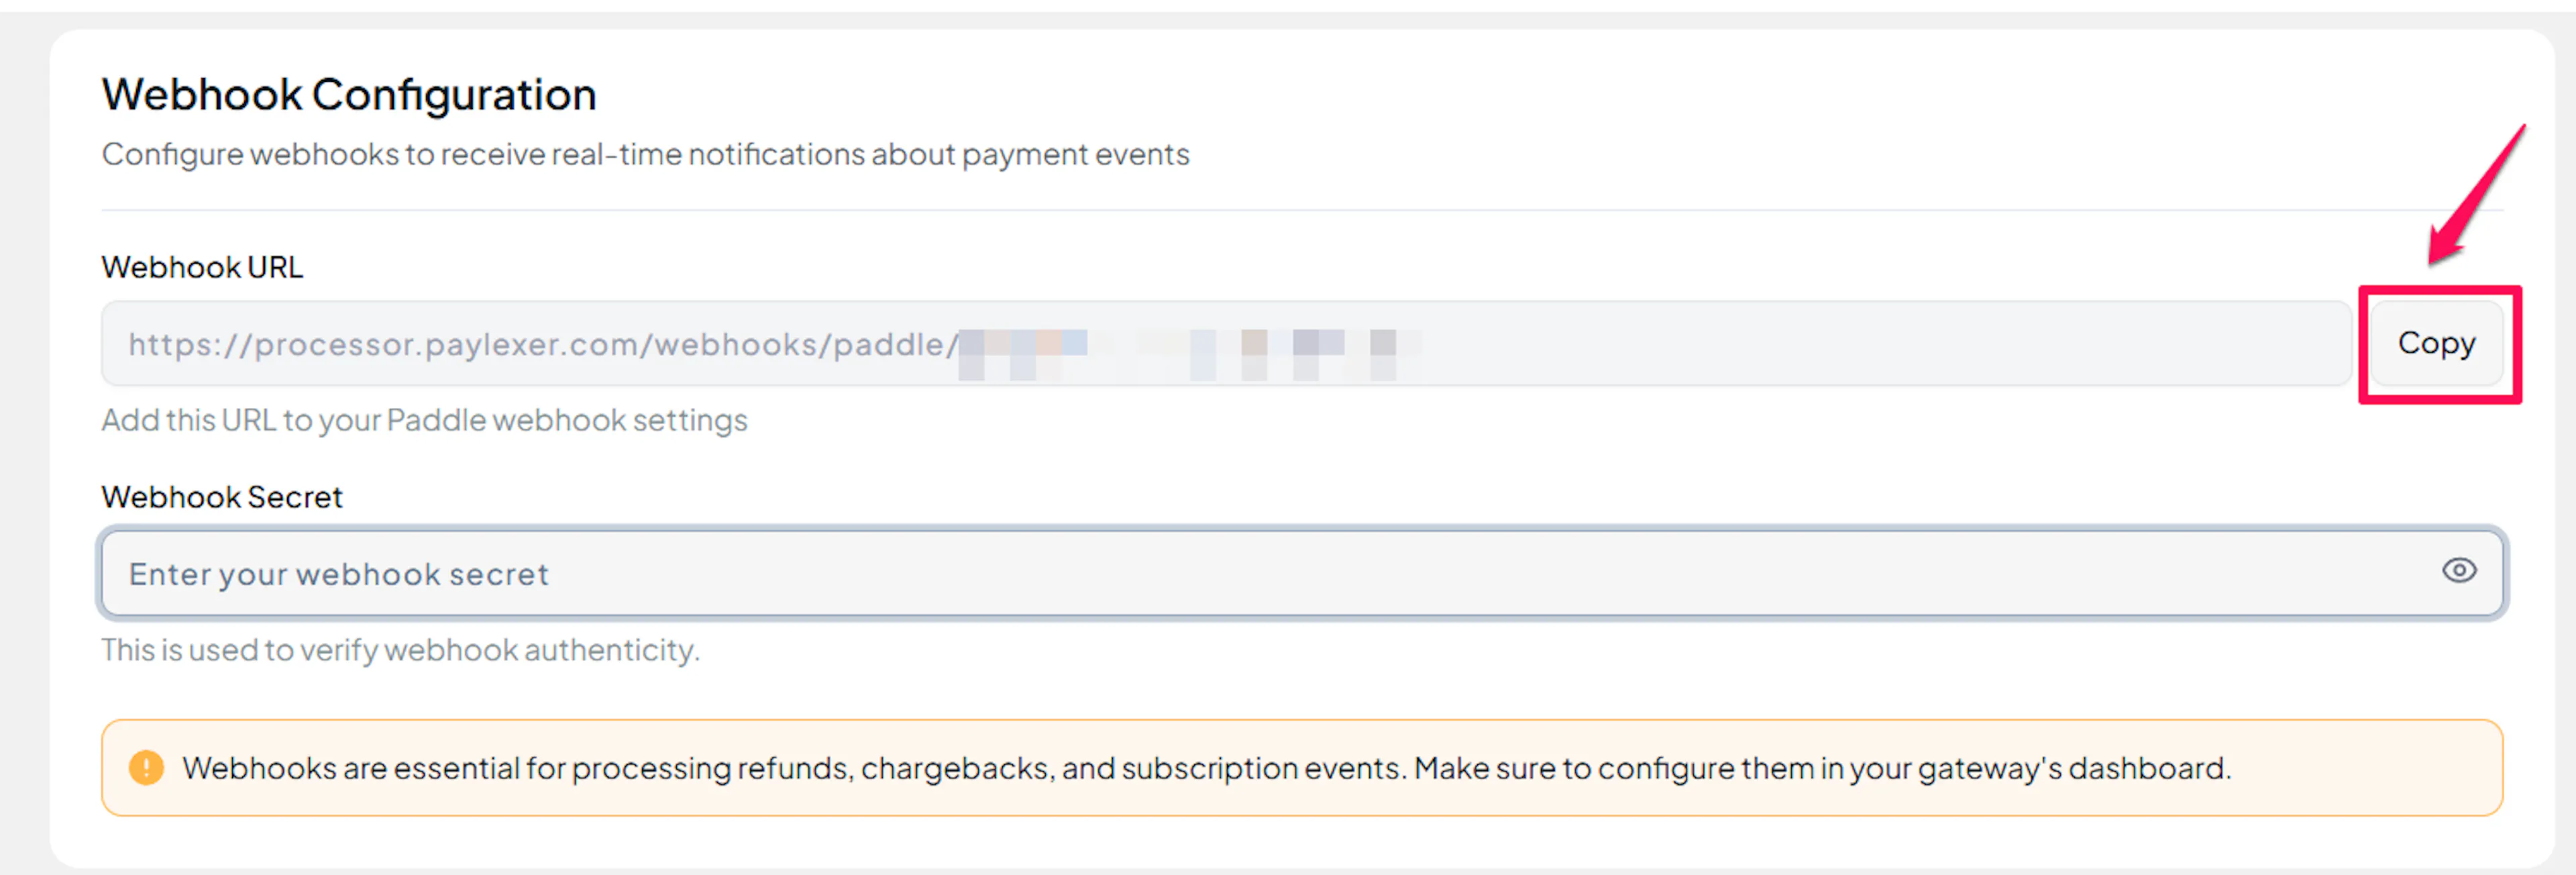
Step 1 - Get your PayLexer webhook URL
Copy the webhook URL from PayLexer
In your PayLexer dashboard, go to Payment Gateways → Paddle → Webhooks. Copy the Webhook URL shown there.
Step 2 - Create the notification destination in Paddle
Go to Notifications in Paddle
In the Paddle dashboard, click Notifications in the left sidebar.
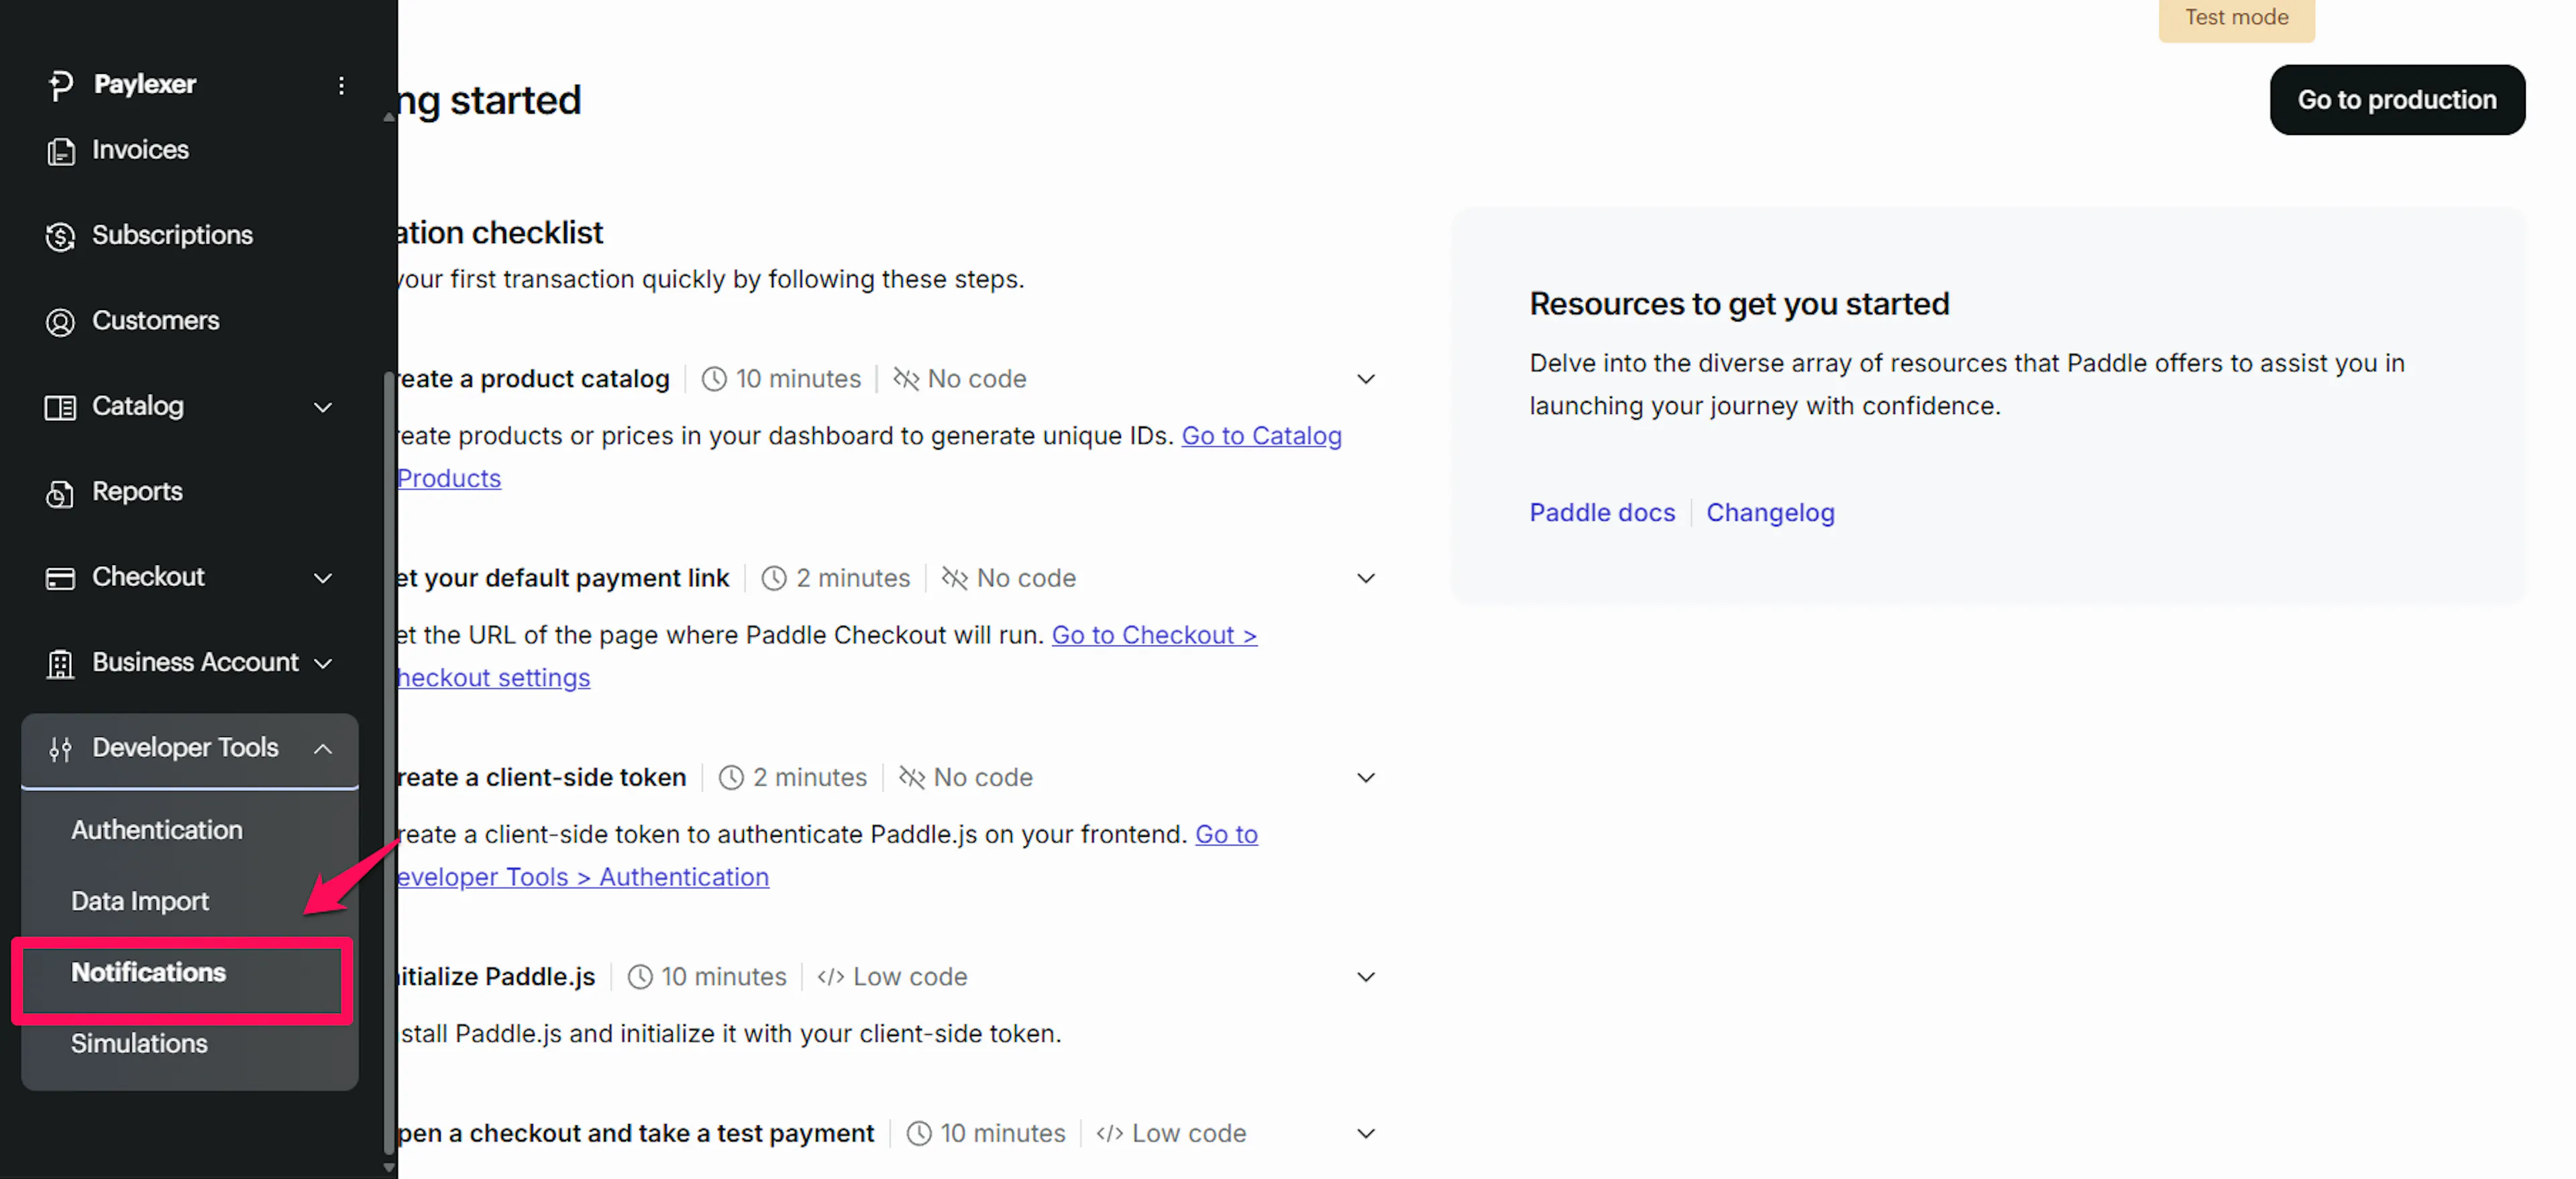
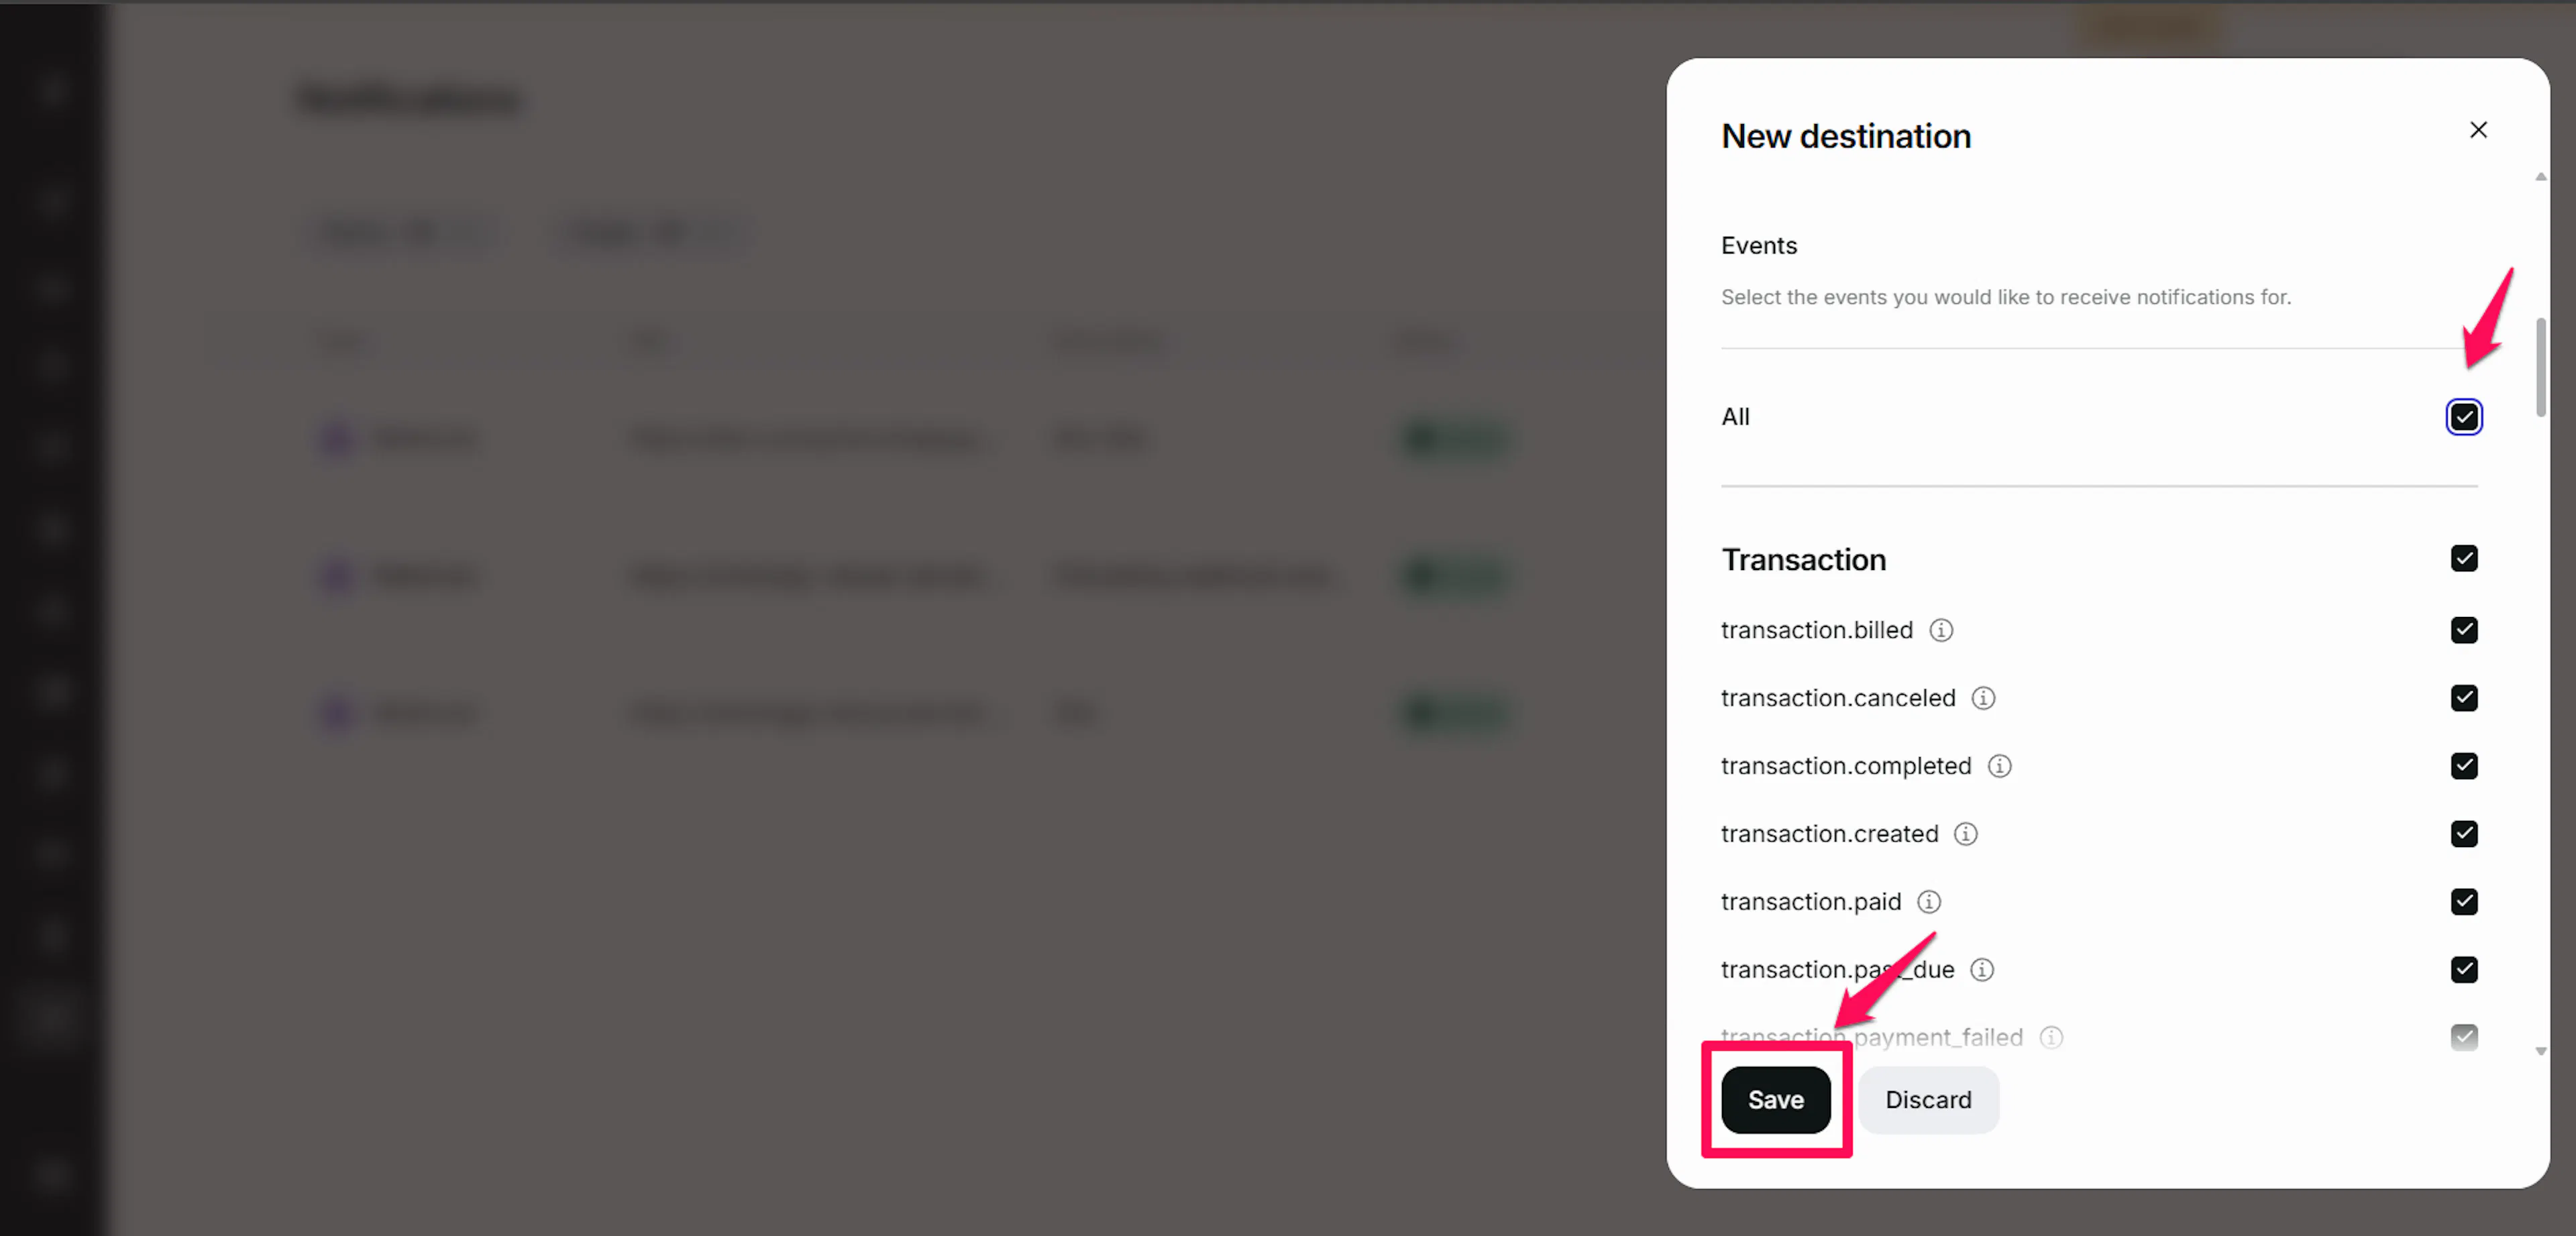
Create a new notification destination
Click New destination. Set the type to Webhook and paste the PayLexer webhook URL into the URL field.

Subscribe to all events
Under Events, select all available events. At minimum, ensure these are included:
-
transaction.completed -
transaction.payment_failed -
subscription.created -
subscription.activated -
subscription.updated -
subscription.canceled -
subscription.paused -
subscription.resumed -
adjustment.created -
adjustment.updated
Click Save destination.
Copy the webhook secret
After saving, Paddle displays a Signing secret for this destination. Copy it.
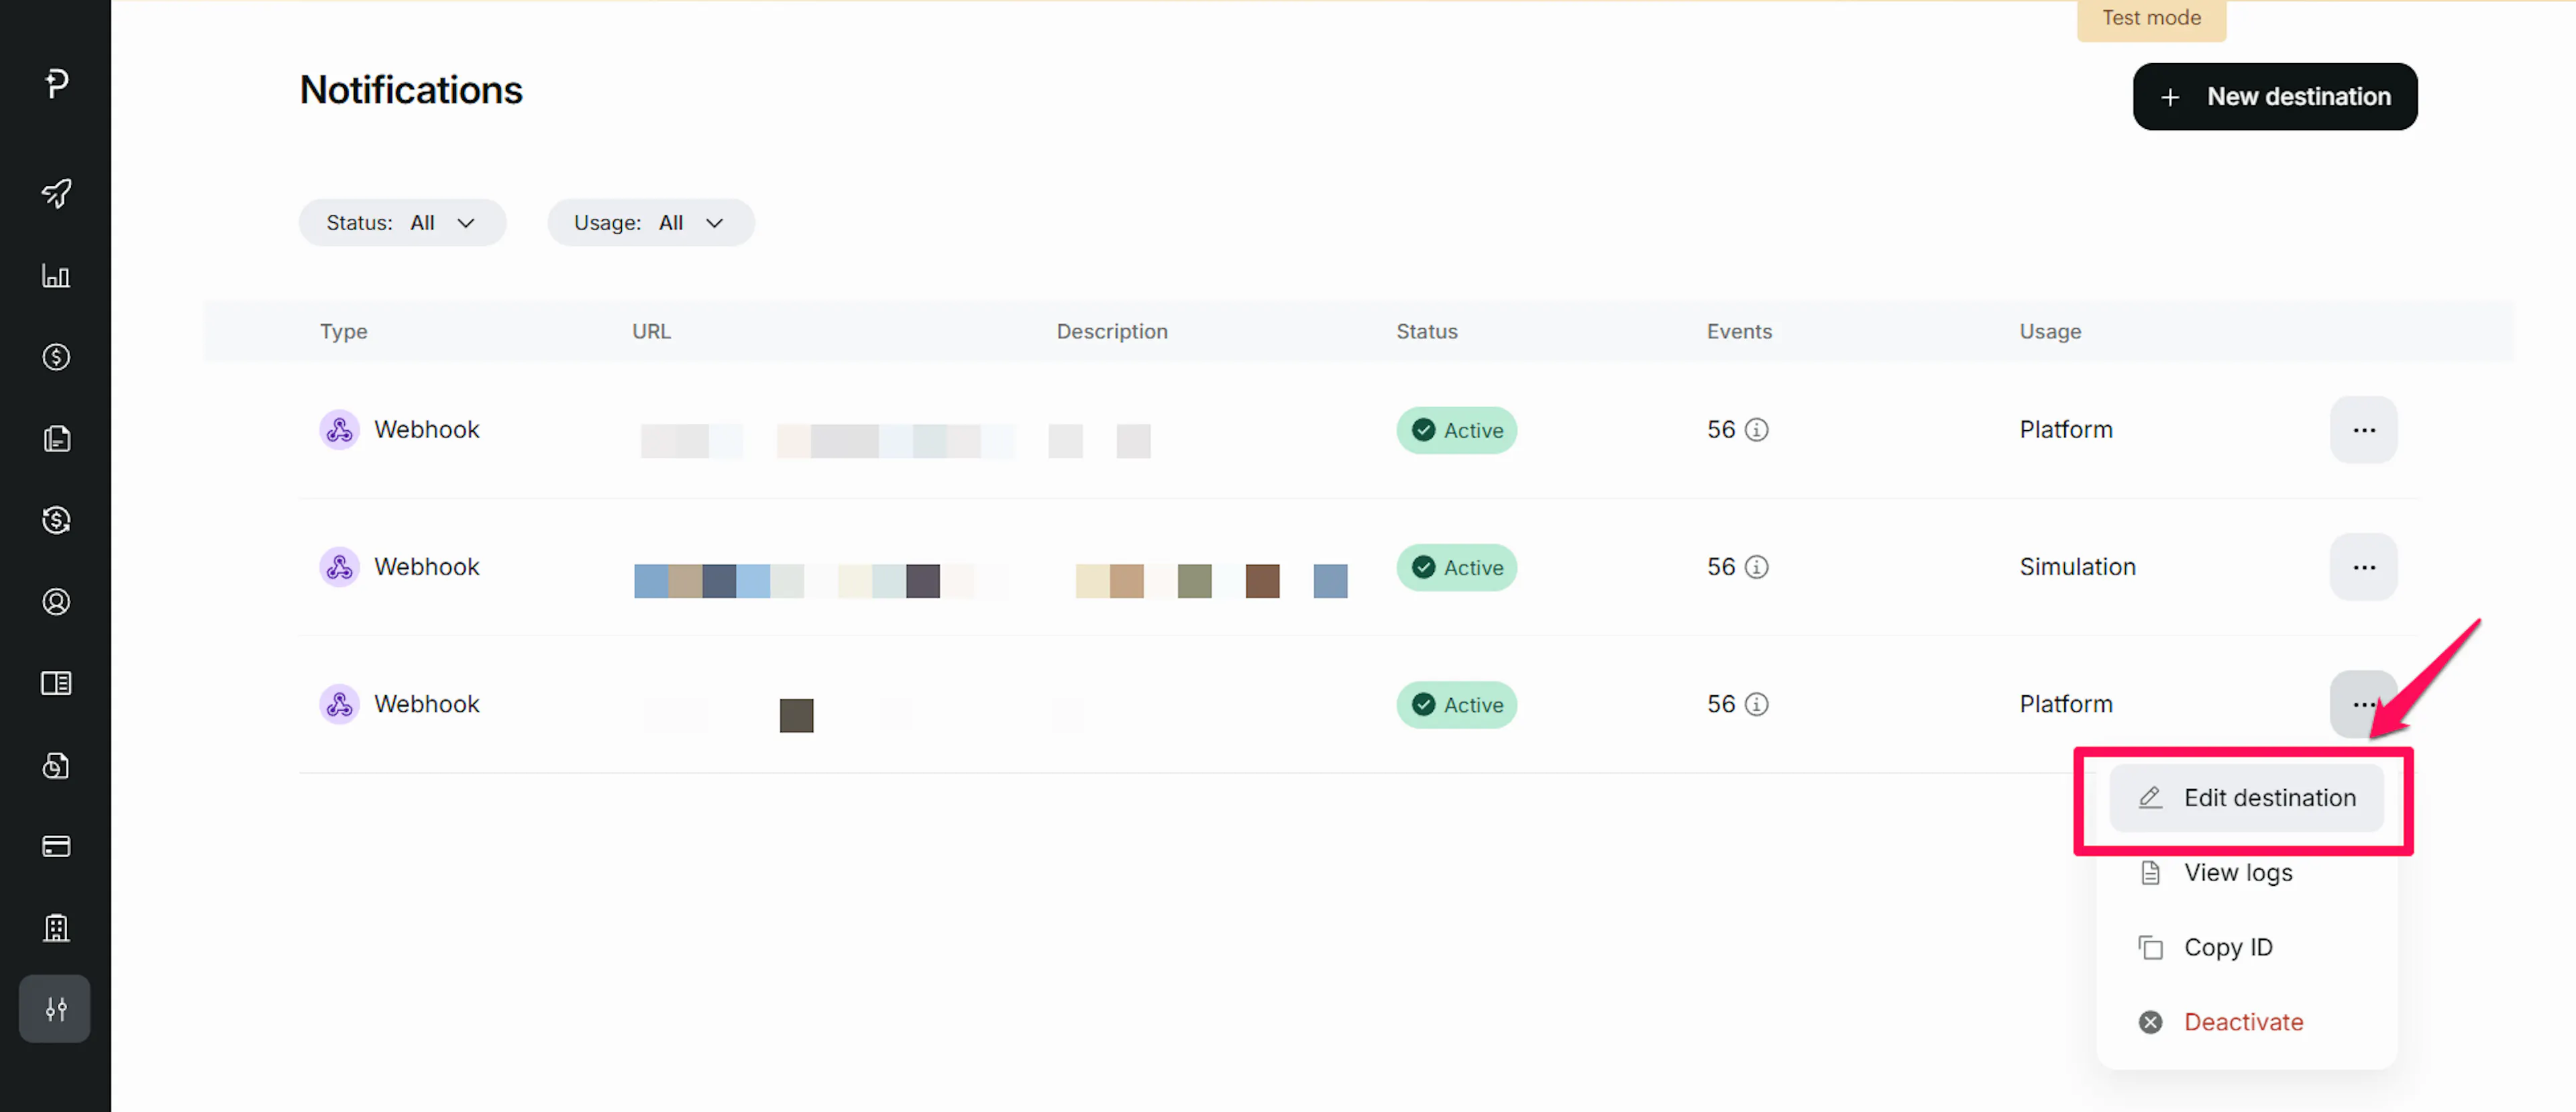
Save in PayLexer
Back in PayLexer, paste the signing secret into the Webhook Secret field under Paddle gateway settings. Click Save Changes.
Repeat the Notifications setup in both your Paddle Sandbox and Paddle Production dashboards. Use the same PayLexer webhook URL for both - PayLexer detects the environment from the request context automatically.
Integrate Paddle to Your Website
If you have already added and configured your site, you can enable Paddle in your existing setup.
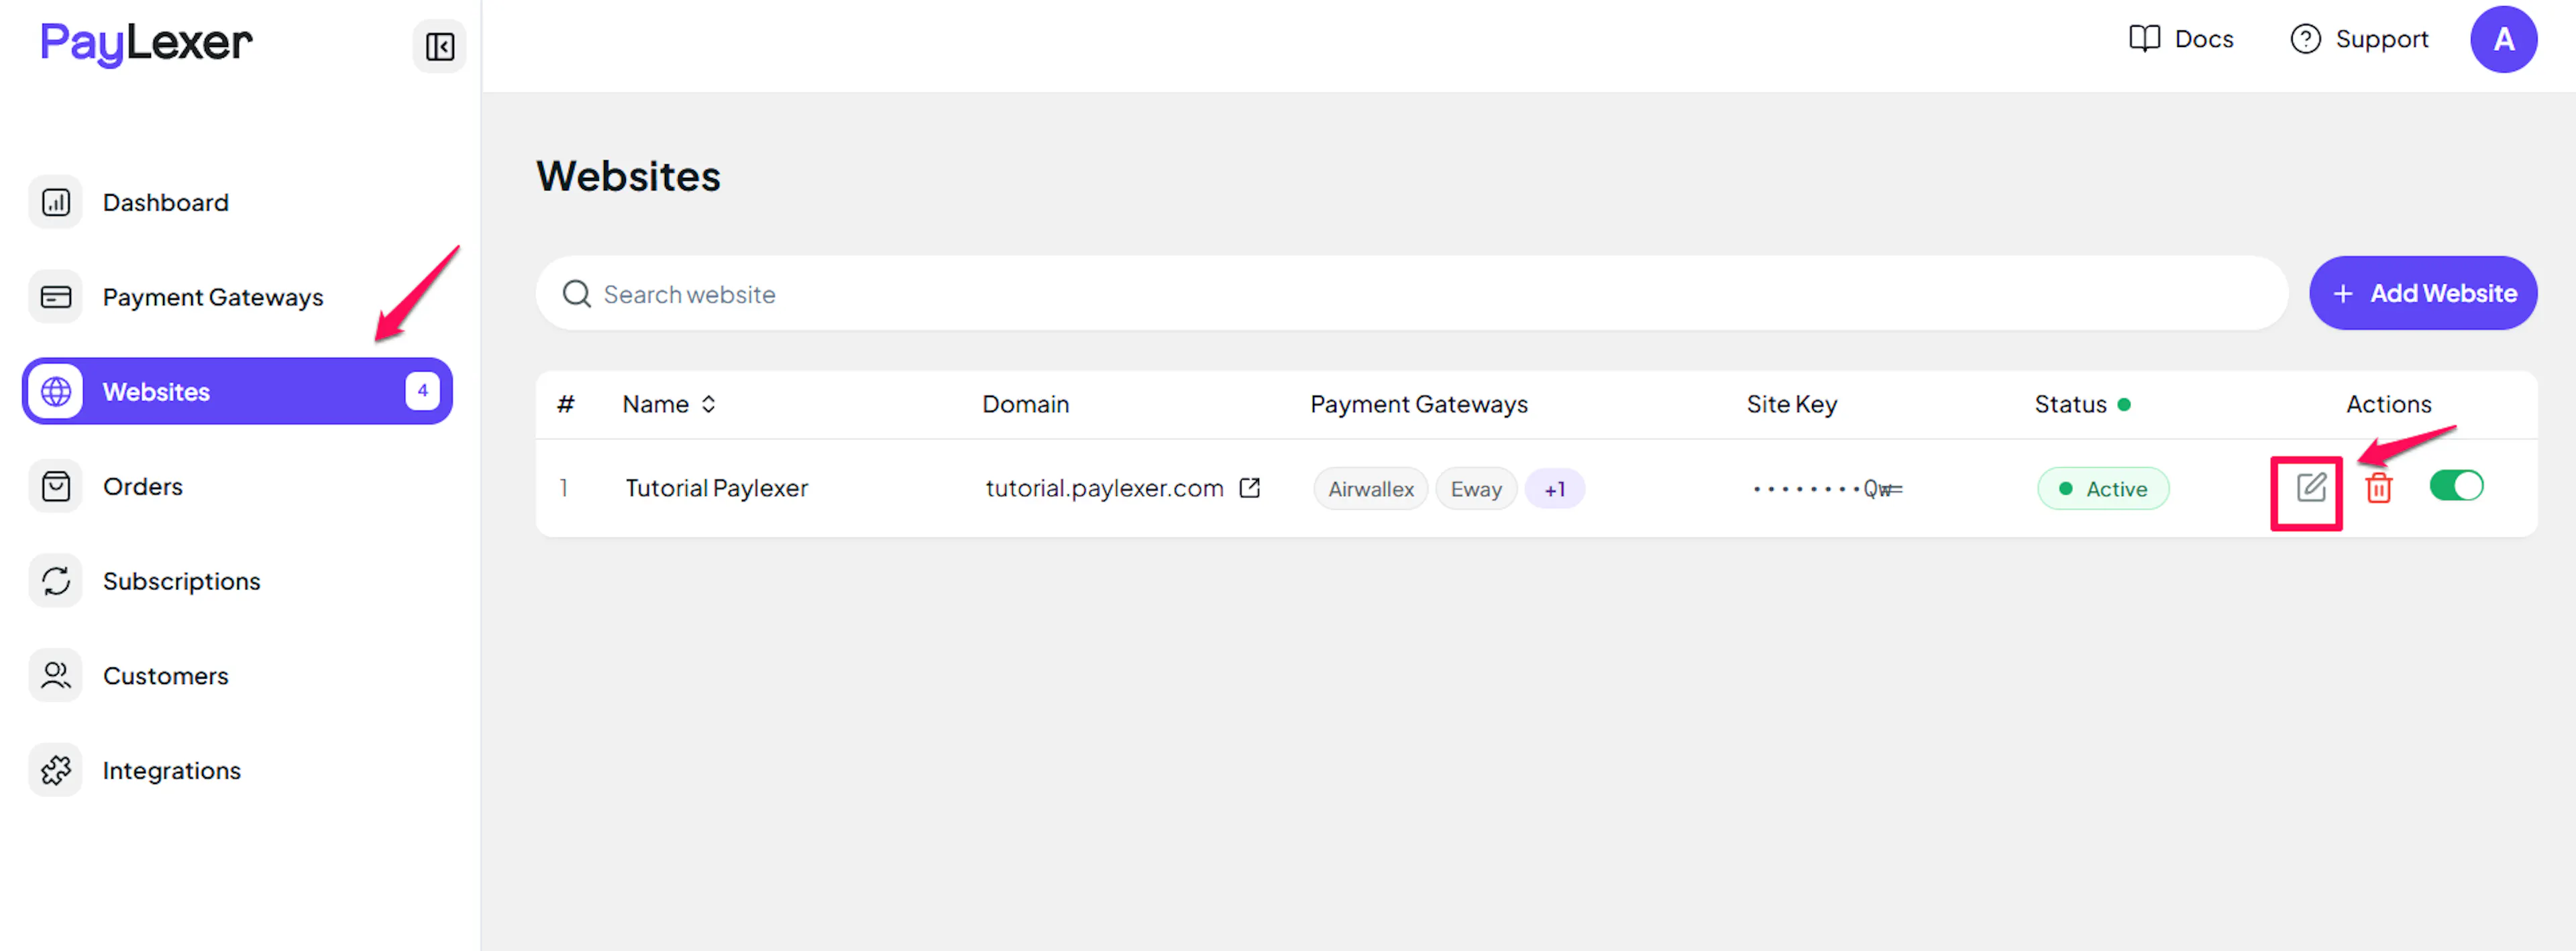
Go to Websites
Navigate to Websites in your PayLexer dashboard.
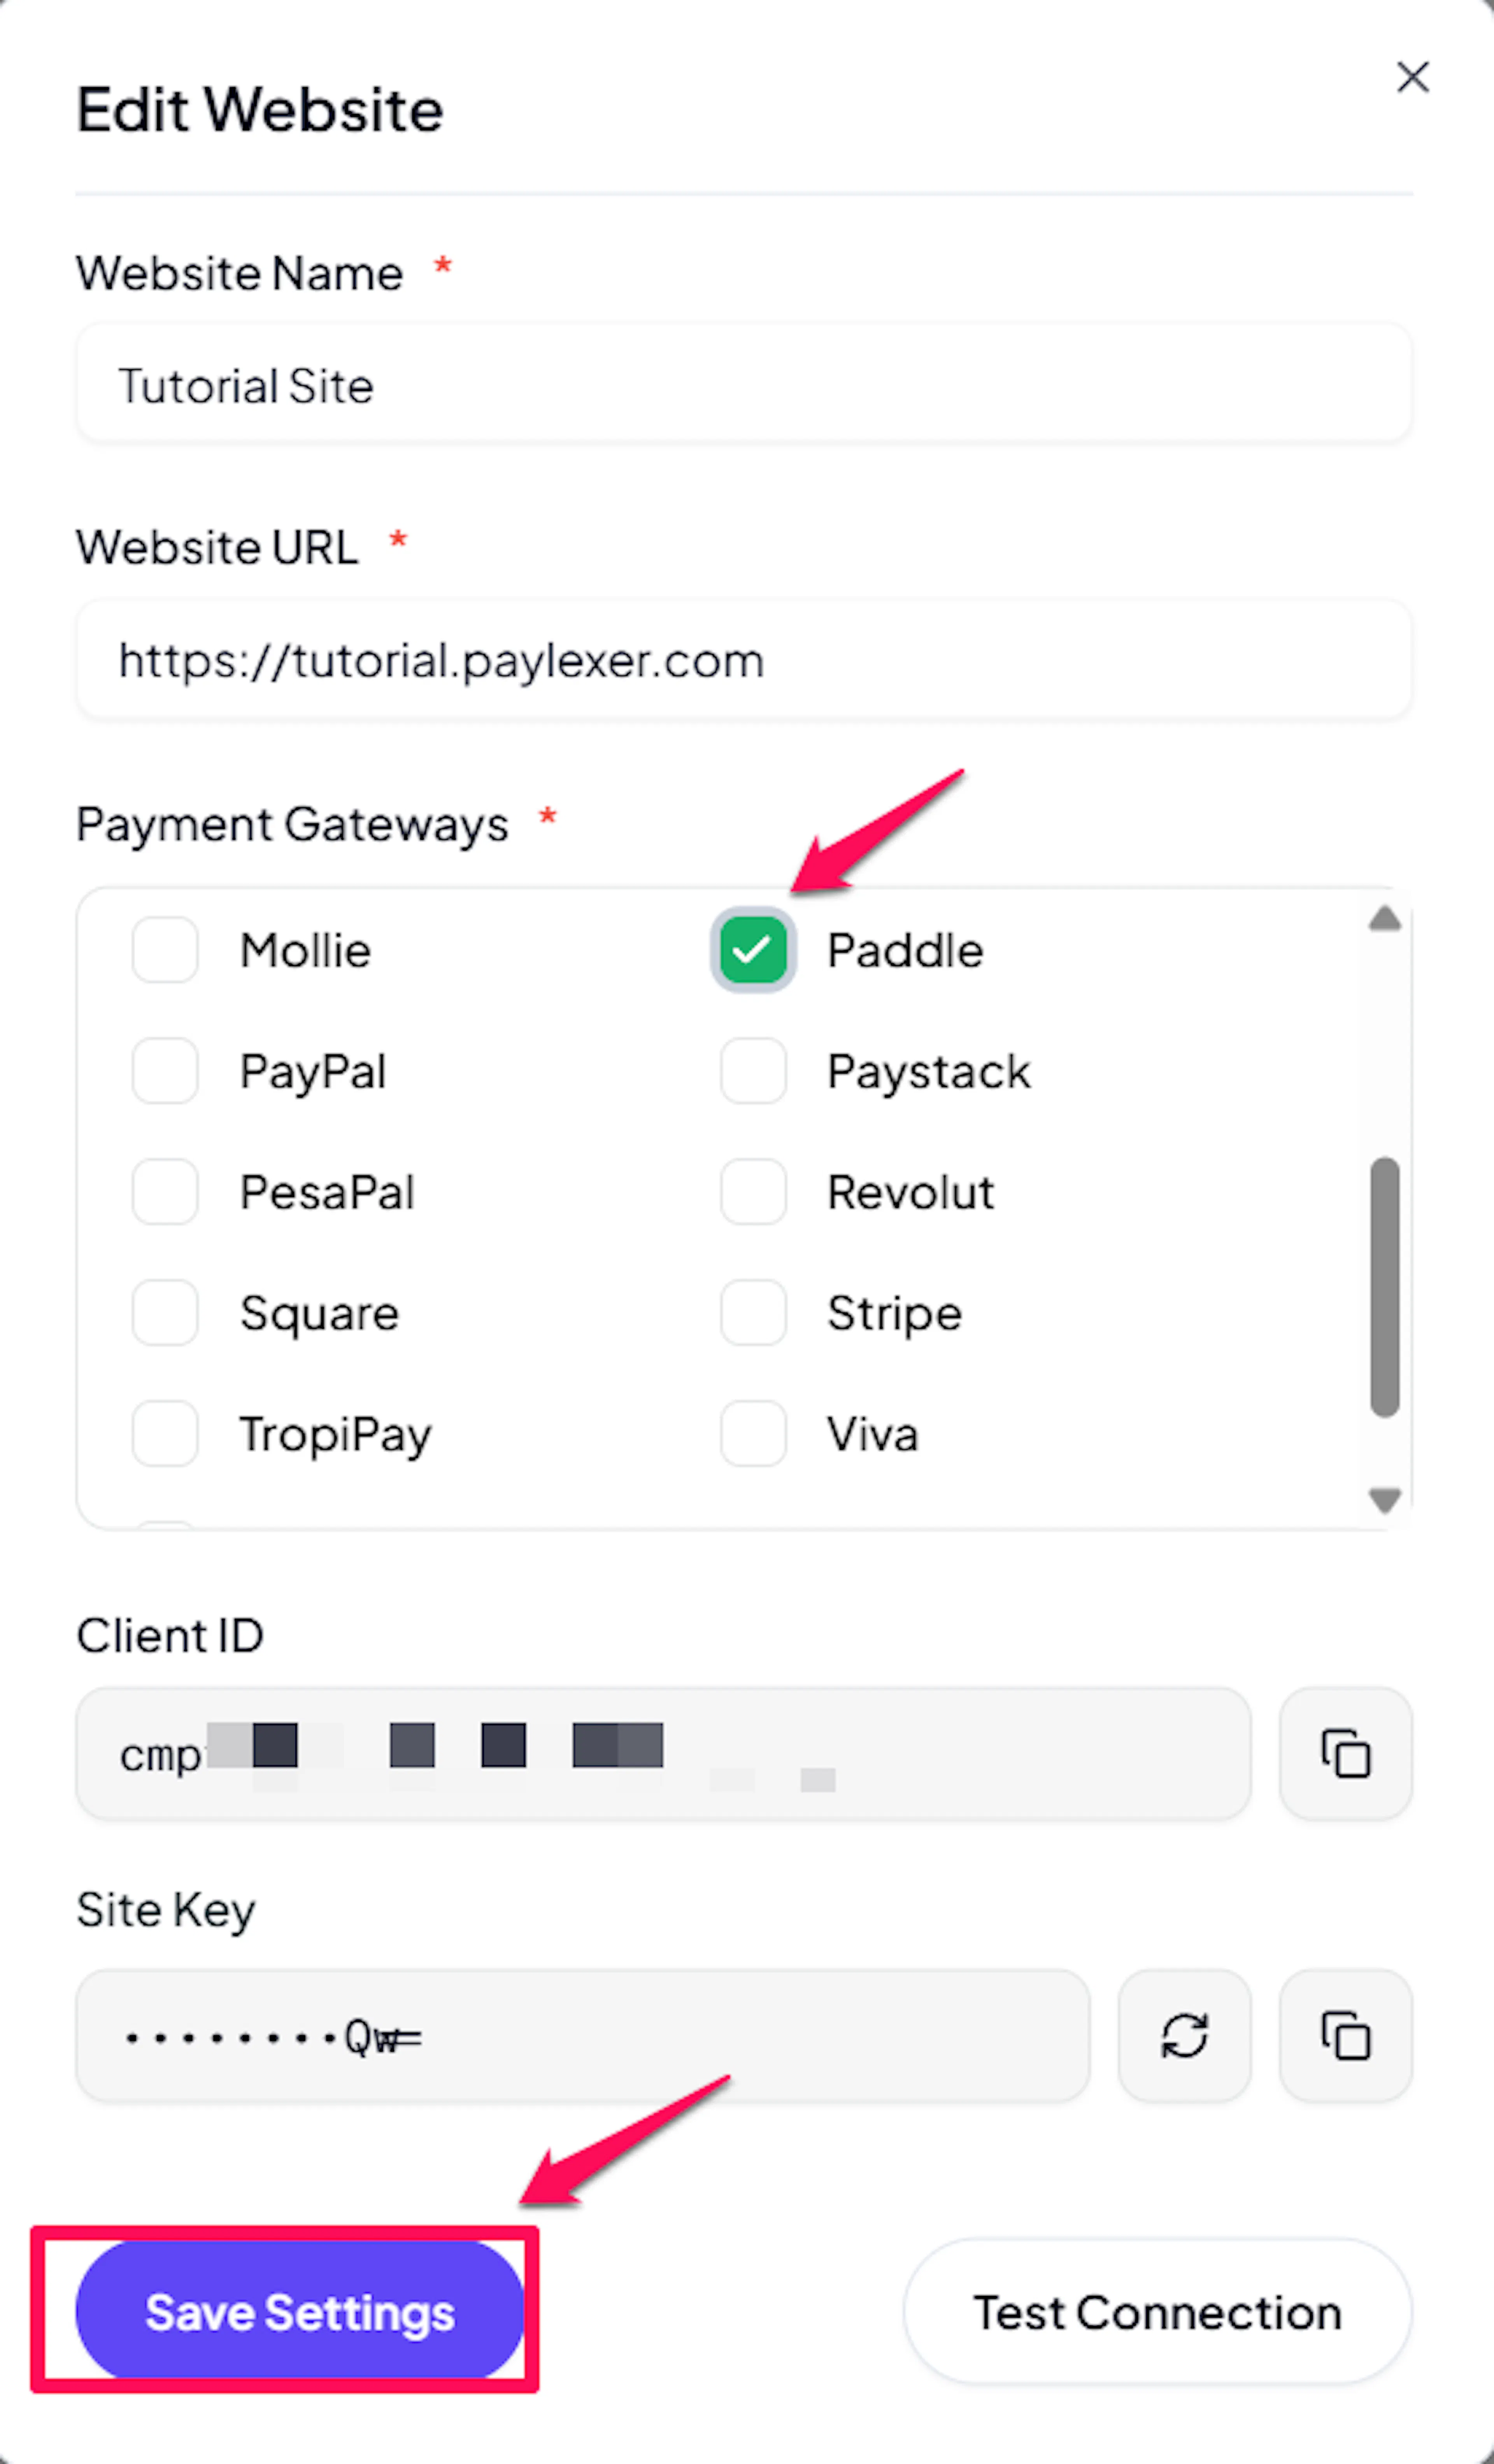
Edit your website
Click the Edit Icon of your added website.
Enable Paddle
Click the checkbox to enable Paddle for the website.
Paddle uses a two-step checkout flow. When a customer completes checkout, Paddle first creates a transaction (txn_xxx). The subscription record with the permanent ID (sub_xxx) is created after the customer pays and Paddle fires the subscription.created webhook. This is normal behavior - you do not need to handle it manually.
If you haven't added a website yet, Continue to Add Your Website →
Troubleshooting
Best Practices
-
Test in sandbox before switching to live credentials - use test card numbers provided in the Paddle developer docs
-
Enable webhooks before going live - without them, subscription renewals, cancellations, and payment failures rely on polling and will be slower to sync
-
Store both sandbox and production credentials in PayLexer from the start - having test credentials configured makes it easy to verify behavior without disrupting live traffic
-
Use
planNameconsistently when creating subscriptions - PayLexer uses this as the deduplication key to avoid creating redundant products in your Paddle catalog -
Do not manually create subscriptions or products directly in the Paddle dashboard if they are managed through PayLexer - manual changes can cause ID mismatches
-
Monitor your Paddle Notifications dashboard periodically for failed webhook deliveries and re-send any that failed during downtime
-
Keep your Webhook Secret and API Key secure - rotate them in Paddle and update in PayLexer if you suspect either has been compromised
-
Configure webhooks in both Test and Live environments
FAQs
Still Have Questions?
-
Paddle Support: Paddle Help Center
-
PayLexer Support: Contact Support
For API references and advanced integration details, see the Paddle developer documentation.