Tap Payments
Connect Tap Payments to PayLexer to accept card and digital wallet payments across the Middle East and GCC through a secure hosted checkout.
Tap Payments is a Middle East and North Africa (MENA) focused payment gateway that processes card, digital wallet, and local payment methods through a secure, hosted checkout page. Through PayLexer, Tap supports one-time payments with separate Test (Sandbox) and Live (Production) environments so you can validate the full payment flow before going live.
-
Supported Regions (Merchant Accounts): GCC and wider MENA markets (UAE, Saudi Arabia, Kuwait, Bahrain, Oman, Qatar, and more)
-
Supported Currencies: AED, BHD, EUR, GBP, KWD, OMR, QAR, SAR, USD
Supported Features
-
Card and digital wallet payments via Tap's hosted checkout page
-
Test (Sandbox) and Live (Production) environments selected automatically by your API key prefix
-
Coverage across GCC and wider MENA markets
-
One-time payments only - subscriptions and refunds are not supported through PayLexer for Tap
Before You Start
Make sure you have:
-
Tap Payments Account – Don't have one? Sign up for Tap Payments →
-
PayLexer Account – Required to configure the integration. Create your account →
-
A website where you want to integrate
Looking for a different payment processor? View all supported gateways →
Configuring Tap Payments
You need a Secret API Key from Tap for this integration. Tap issues a single secret key per environment, and the key prefix decides which environment it belongs to:
-
Test (Sandbox) keys start with
sk_test_ -
Live (Production) keys start with
sk_live_
You generate both keys from the same Tap Dashboard.
Getting API Credentials
Open API Credentials in the Tap Dashboard
Log in to your Tap Dashboard, then go to Developers → API Credentials.
Generate and copy your Secret API Key
Click Generate Key to reveal your Secret API Key, then copy it. Repeat for both environments so you have a sk_test_ key for testing and a sk_live_ key for production.
Your Secret API Key is a server-side credential. Never expose it in front-end code, share it in chat, email, or a support ticket. If you suspect it has been exposed, regenerate it in the Tap Dashboard and update PayLexer with the new value.
Adding Credentials to PayLexer
Open PayLexer Dashboard
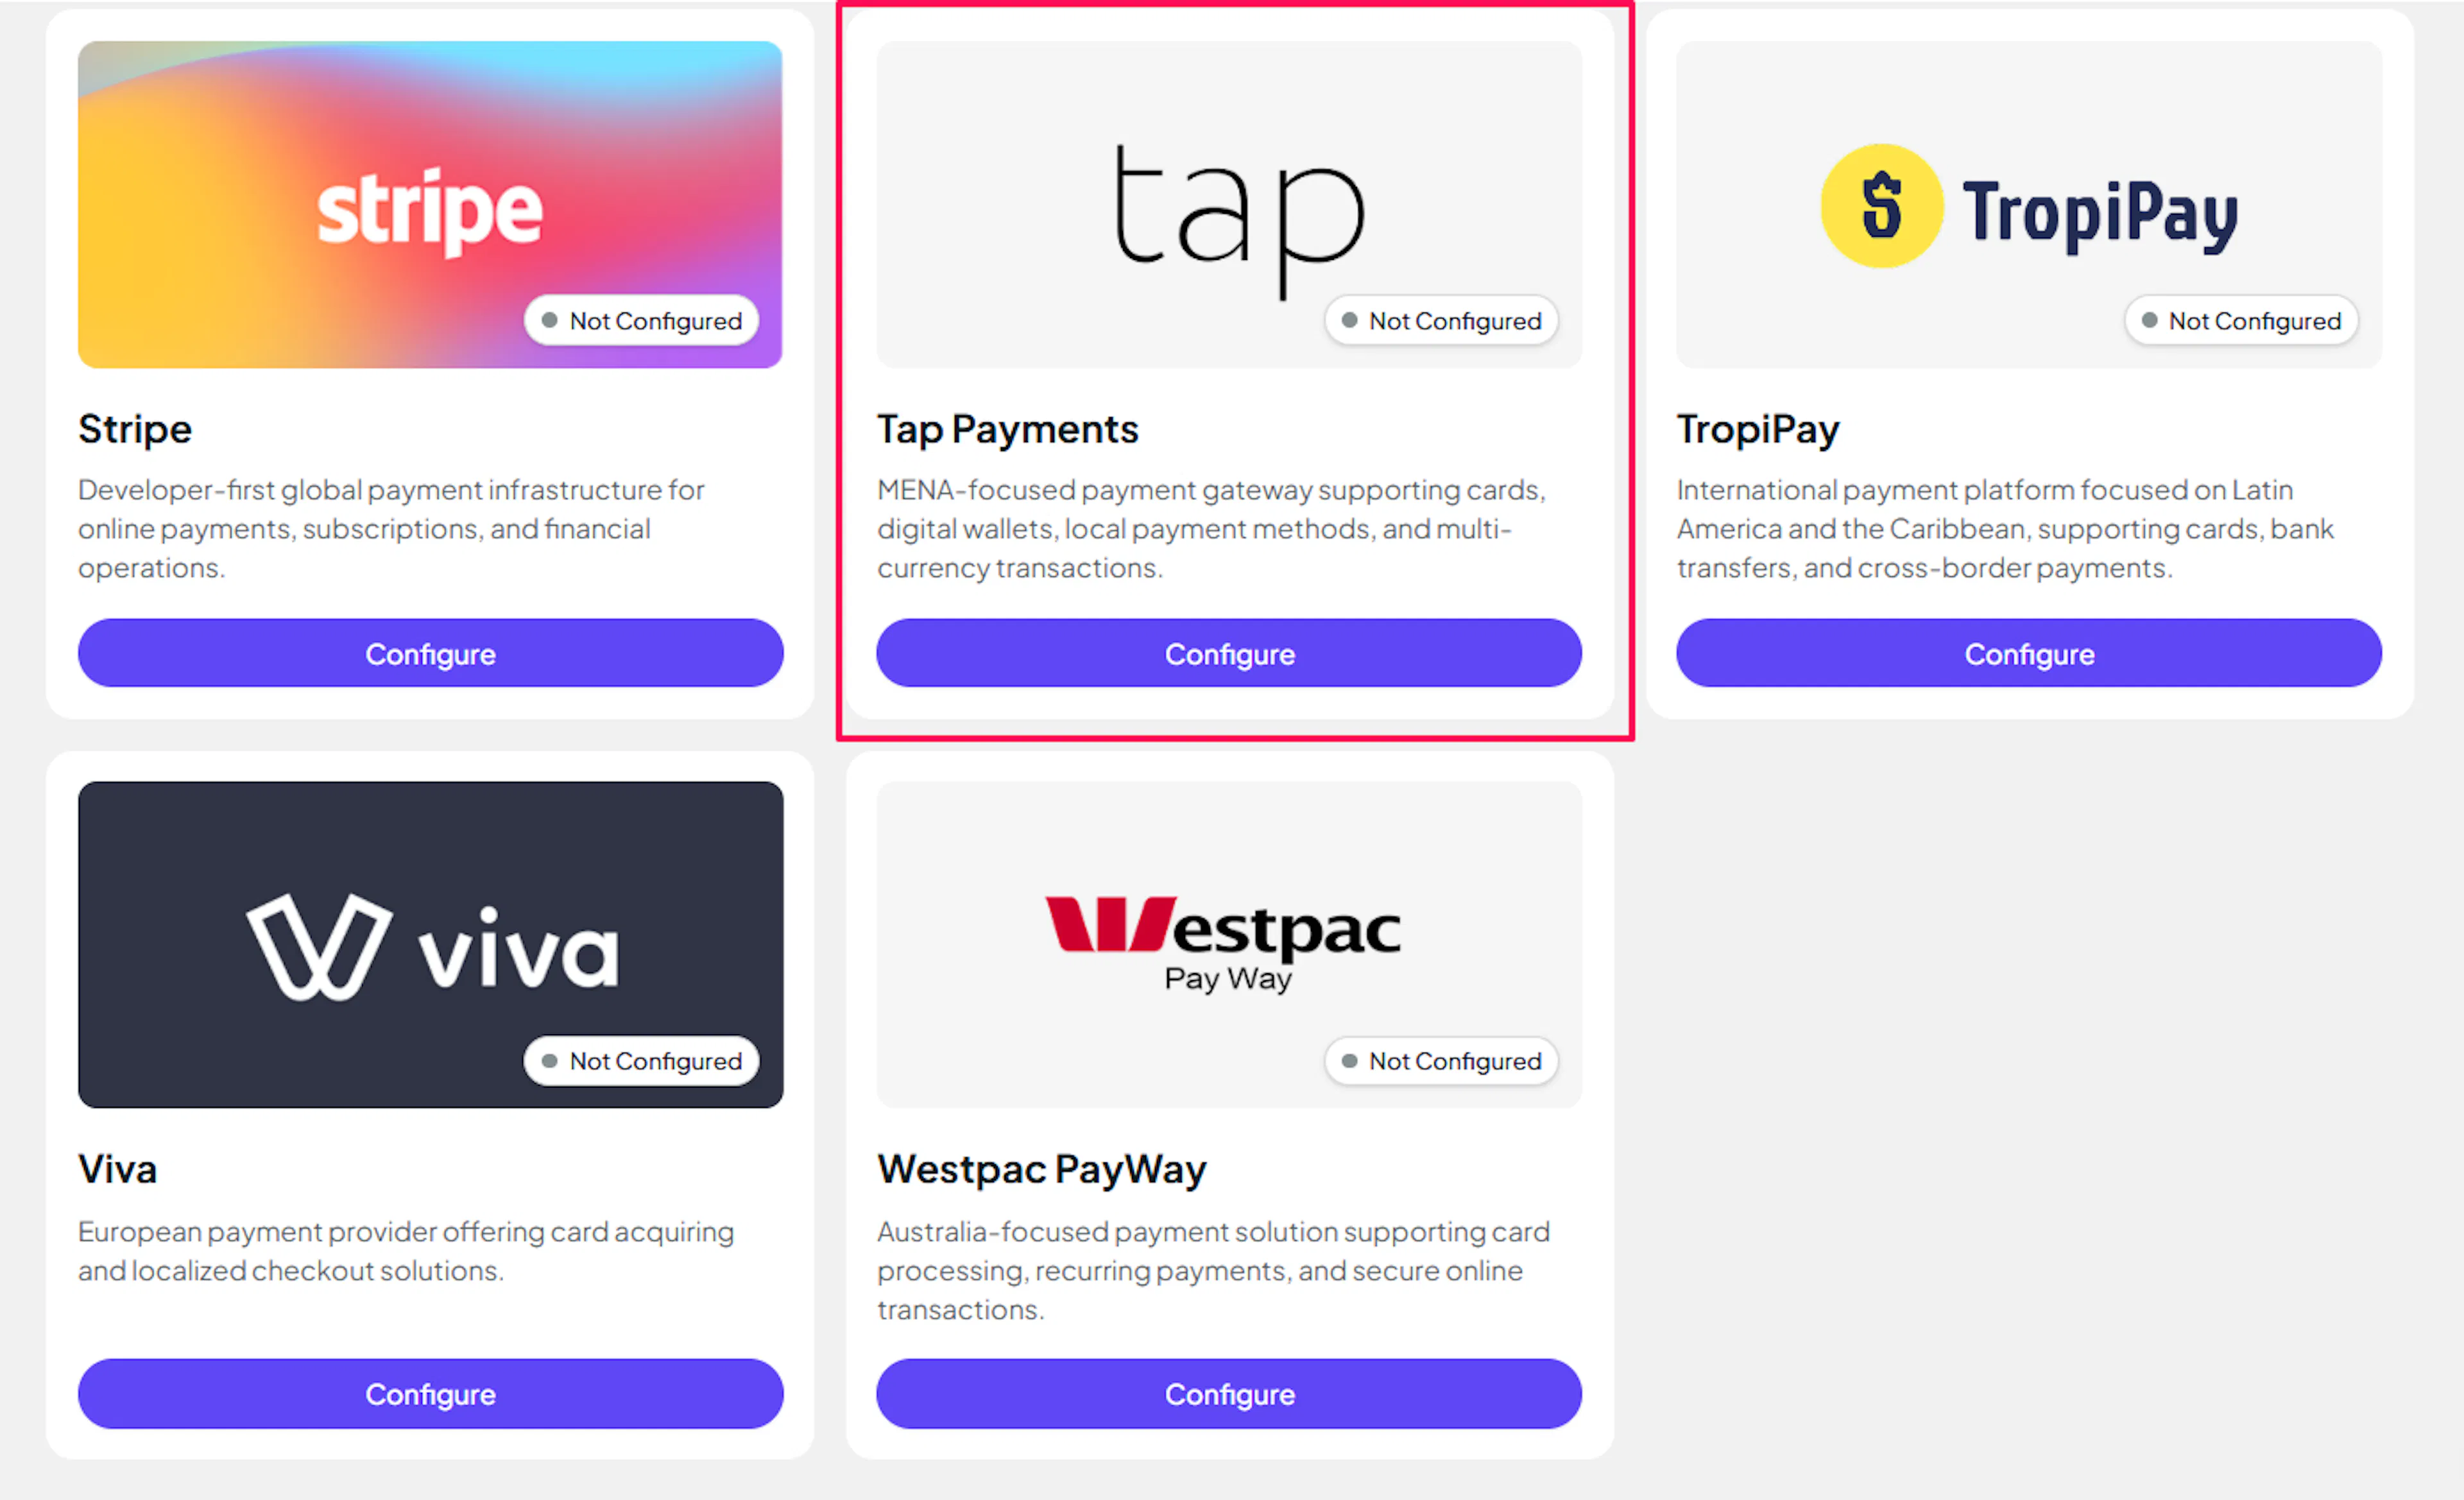
Log in to your PayLexer dashboard and navigate to Payment Gateways → Tap Payments.
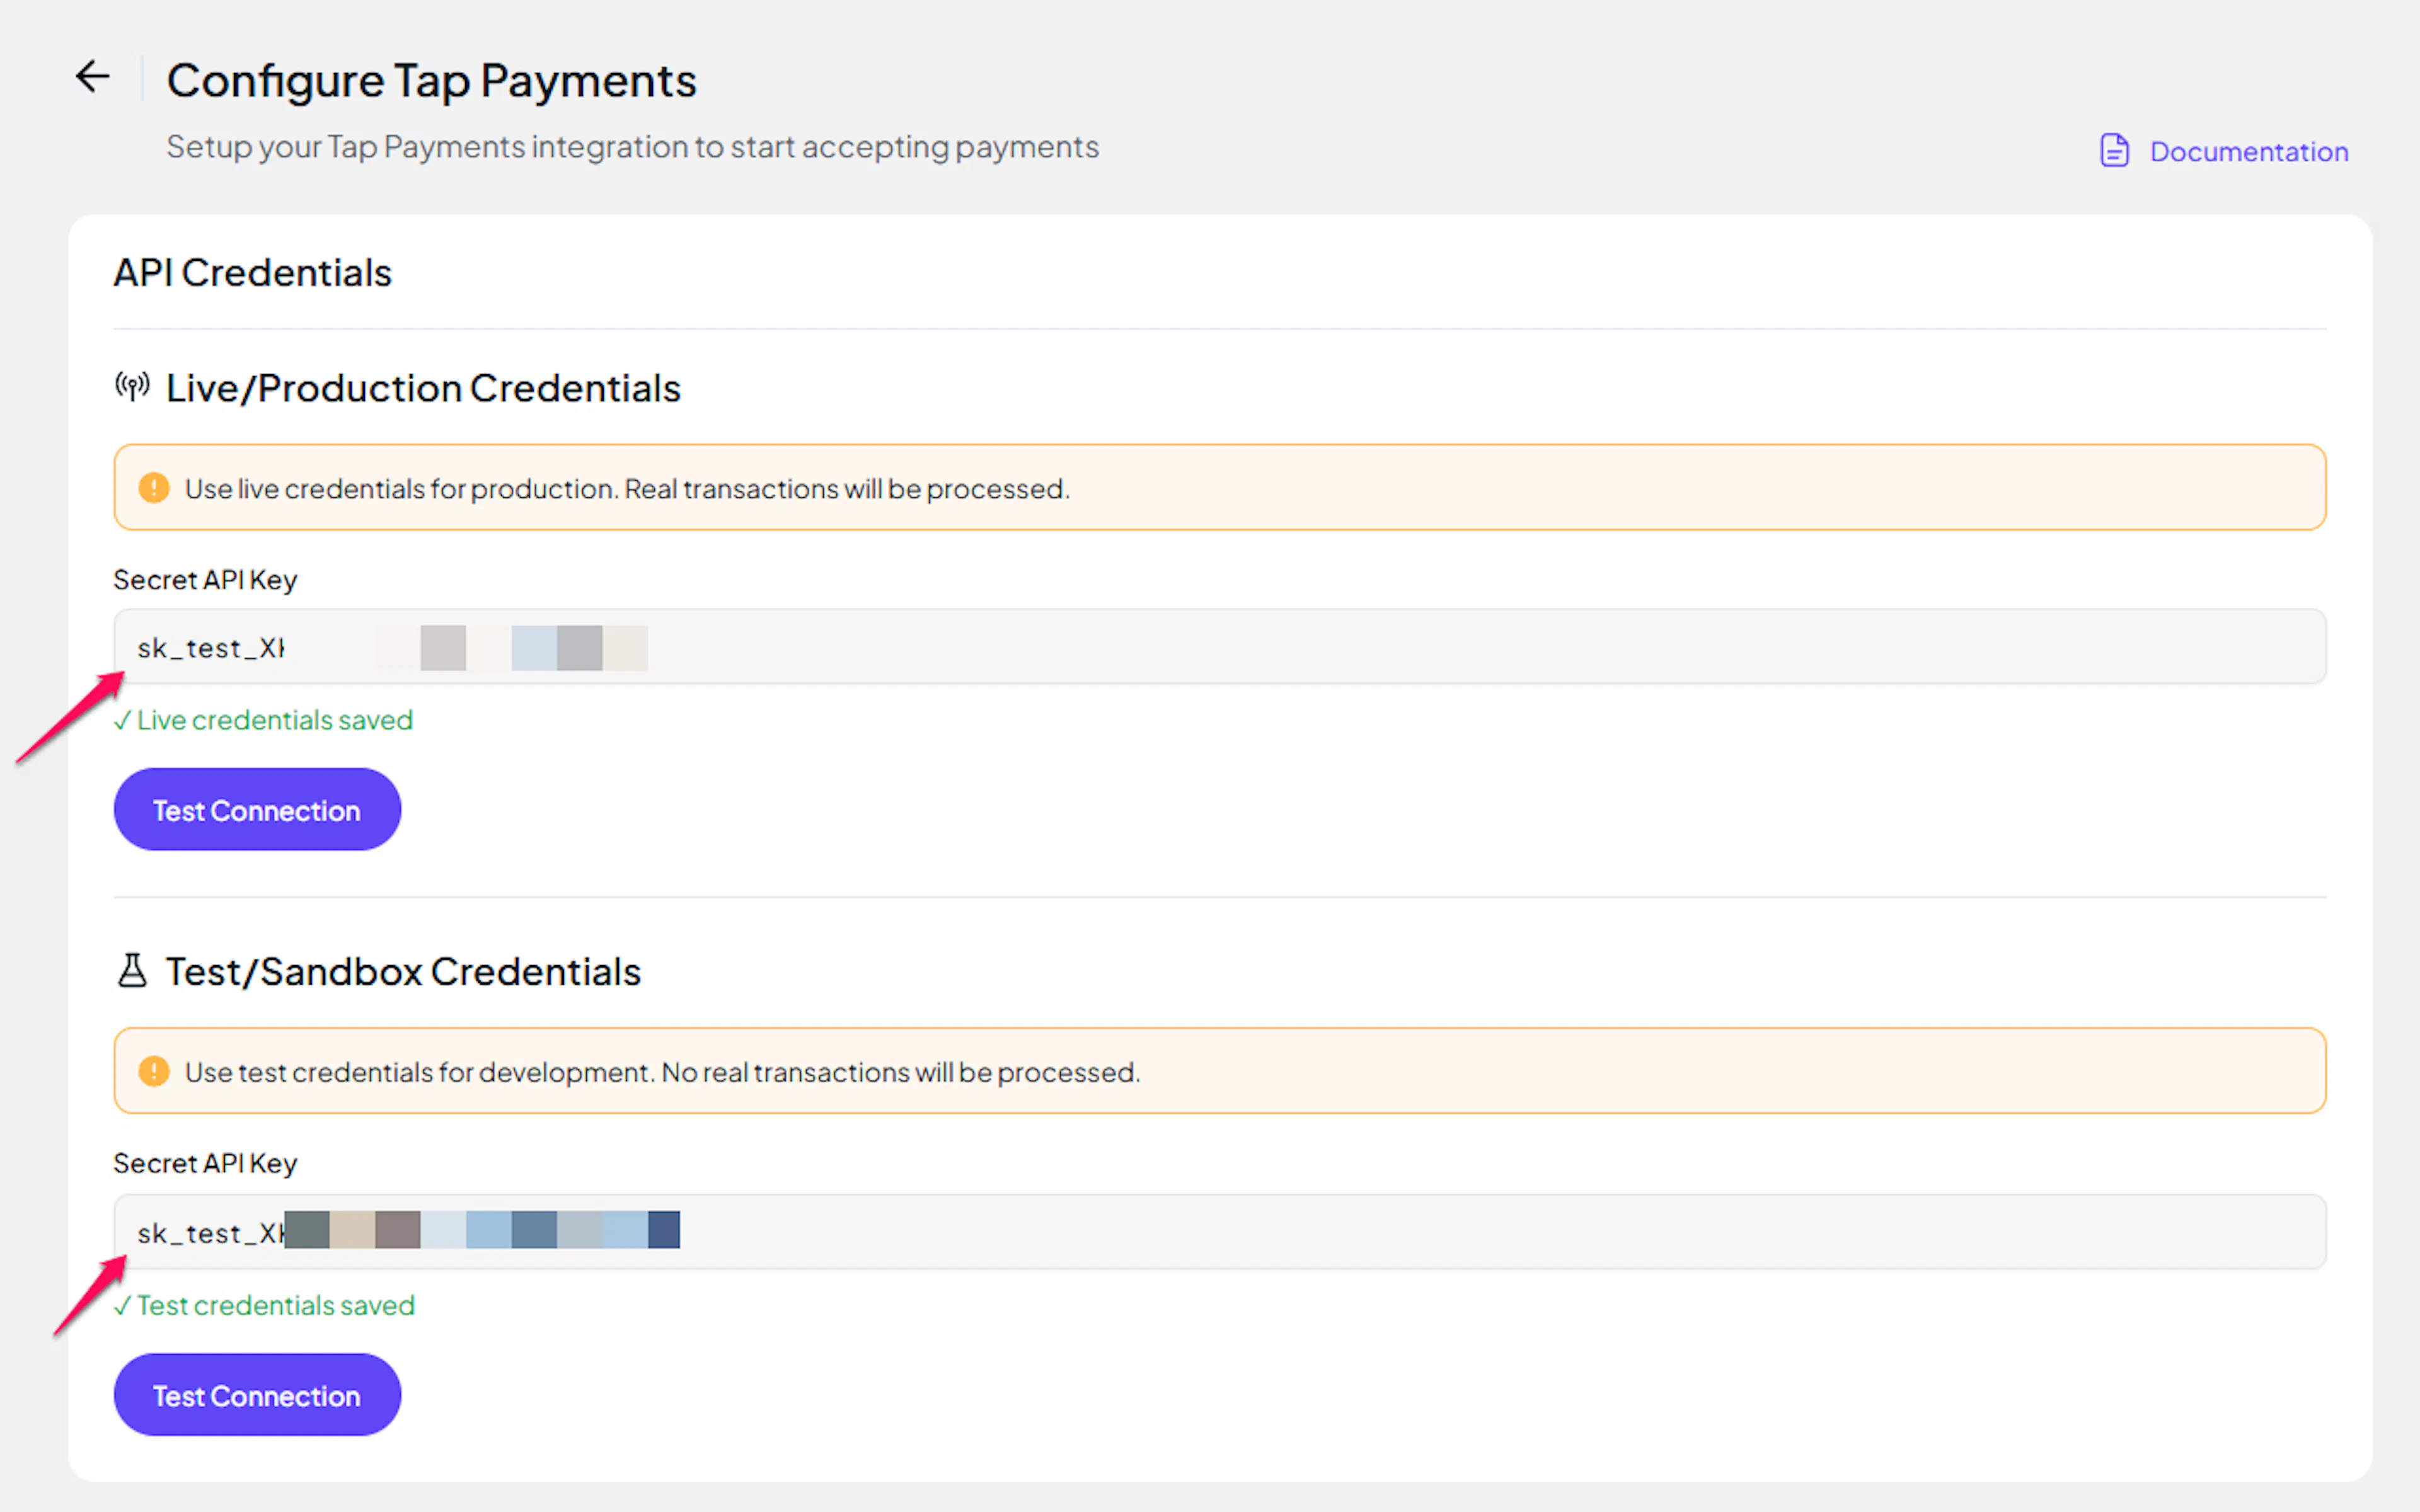
Enter your credentials
Paste your Live and Test keys into the respective fields:
-
Secret API Key (Live) - your
sk_live_key from the Tap Dashboard -
Secret API Key (Test) - your
sk_test_key from the Tap Dashboard
Understanding Live/Production and Sandbox Settings:
| Environment | Purpose |
|---|---|
| Live / Production (Mandatory) | Used for real transactions. Cannot be empty, even when testing. |
| Test / Sandbox (Optional) | Used for testing only. No real money is processed. |
How PayLexer selects credentials:
-
Debug/Test mode ON → Test credentials are used
-
Debug/Test mode OFF → Live credentials are used
Save your configuration
Click Save Configuration. PayLexer validates the key against Tap's API and shows Connected when authentication succeeds.
Credentials saved. You can now enable Tap Payments on any of your websites.
Integrate Tap Payments to Your Website
If you have already added and configured your site, you can enable Tap Payments in your existing setup.
Go to Websites
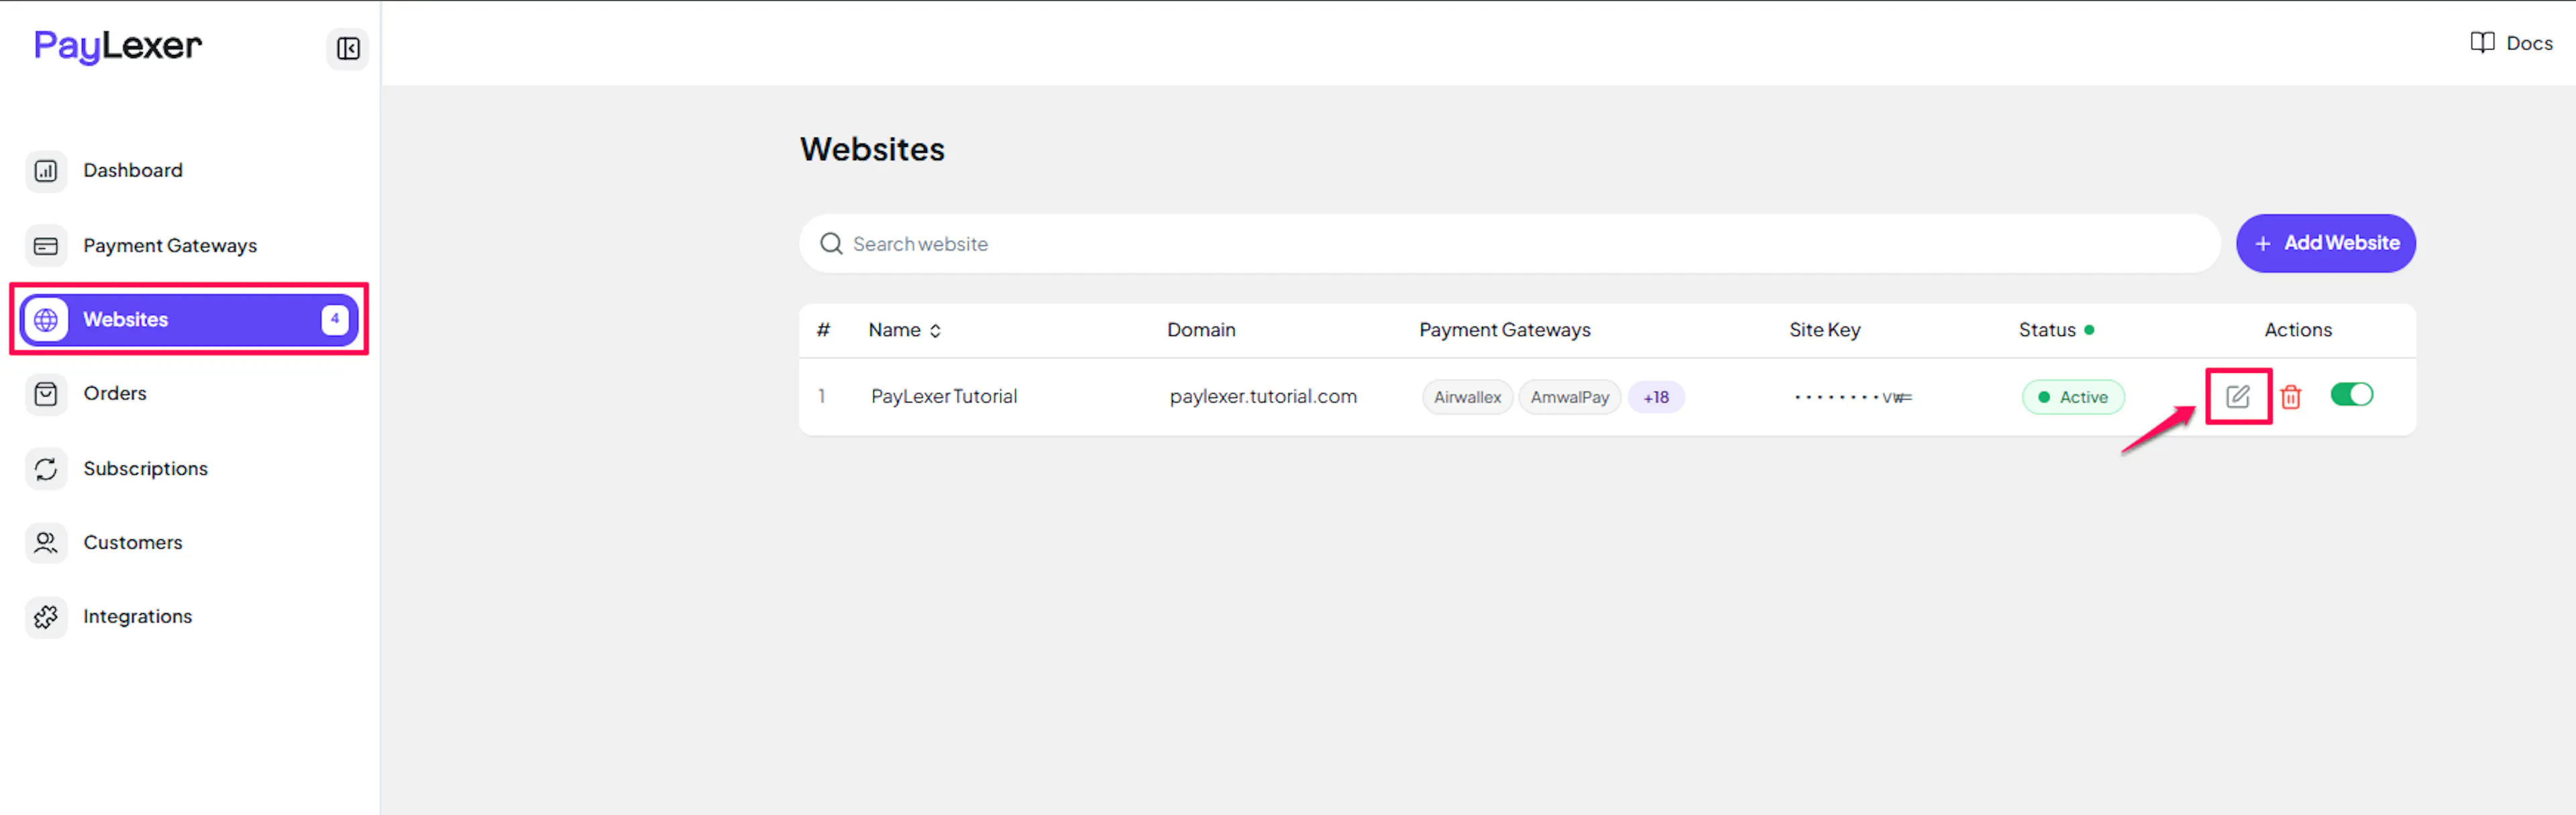
Navigate to Websites in your PayLexer dashboard.
Edit your website
Click the Edit Icon of your added website.
Enable Tap Payments
Click the checkbox to enable Tap Payments for the website.
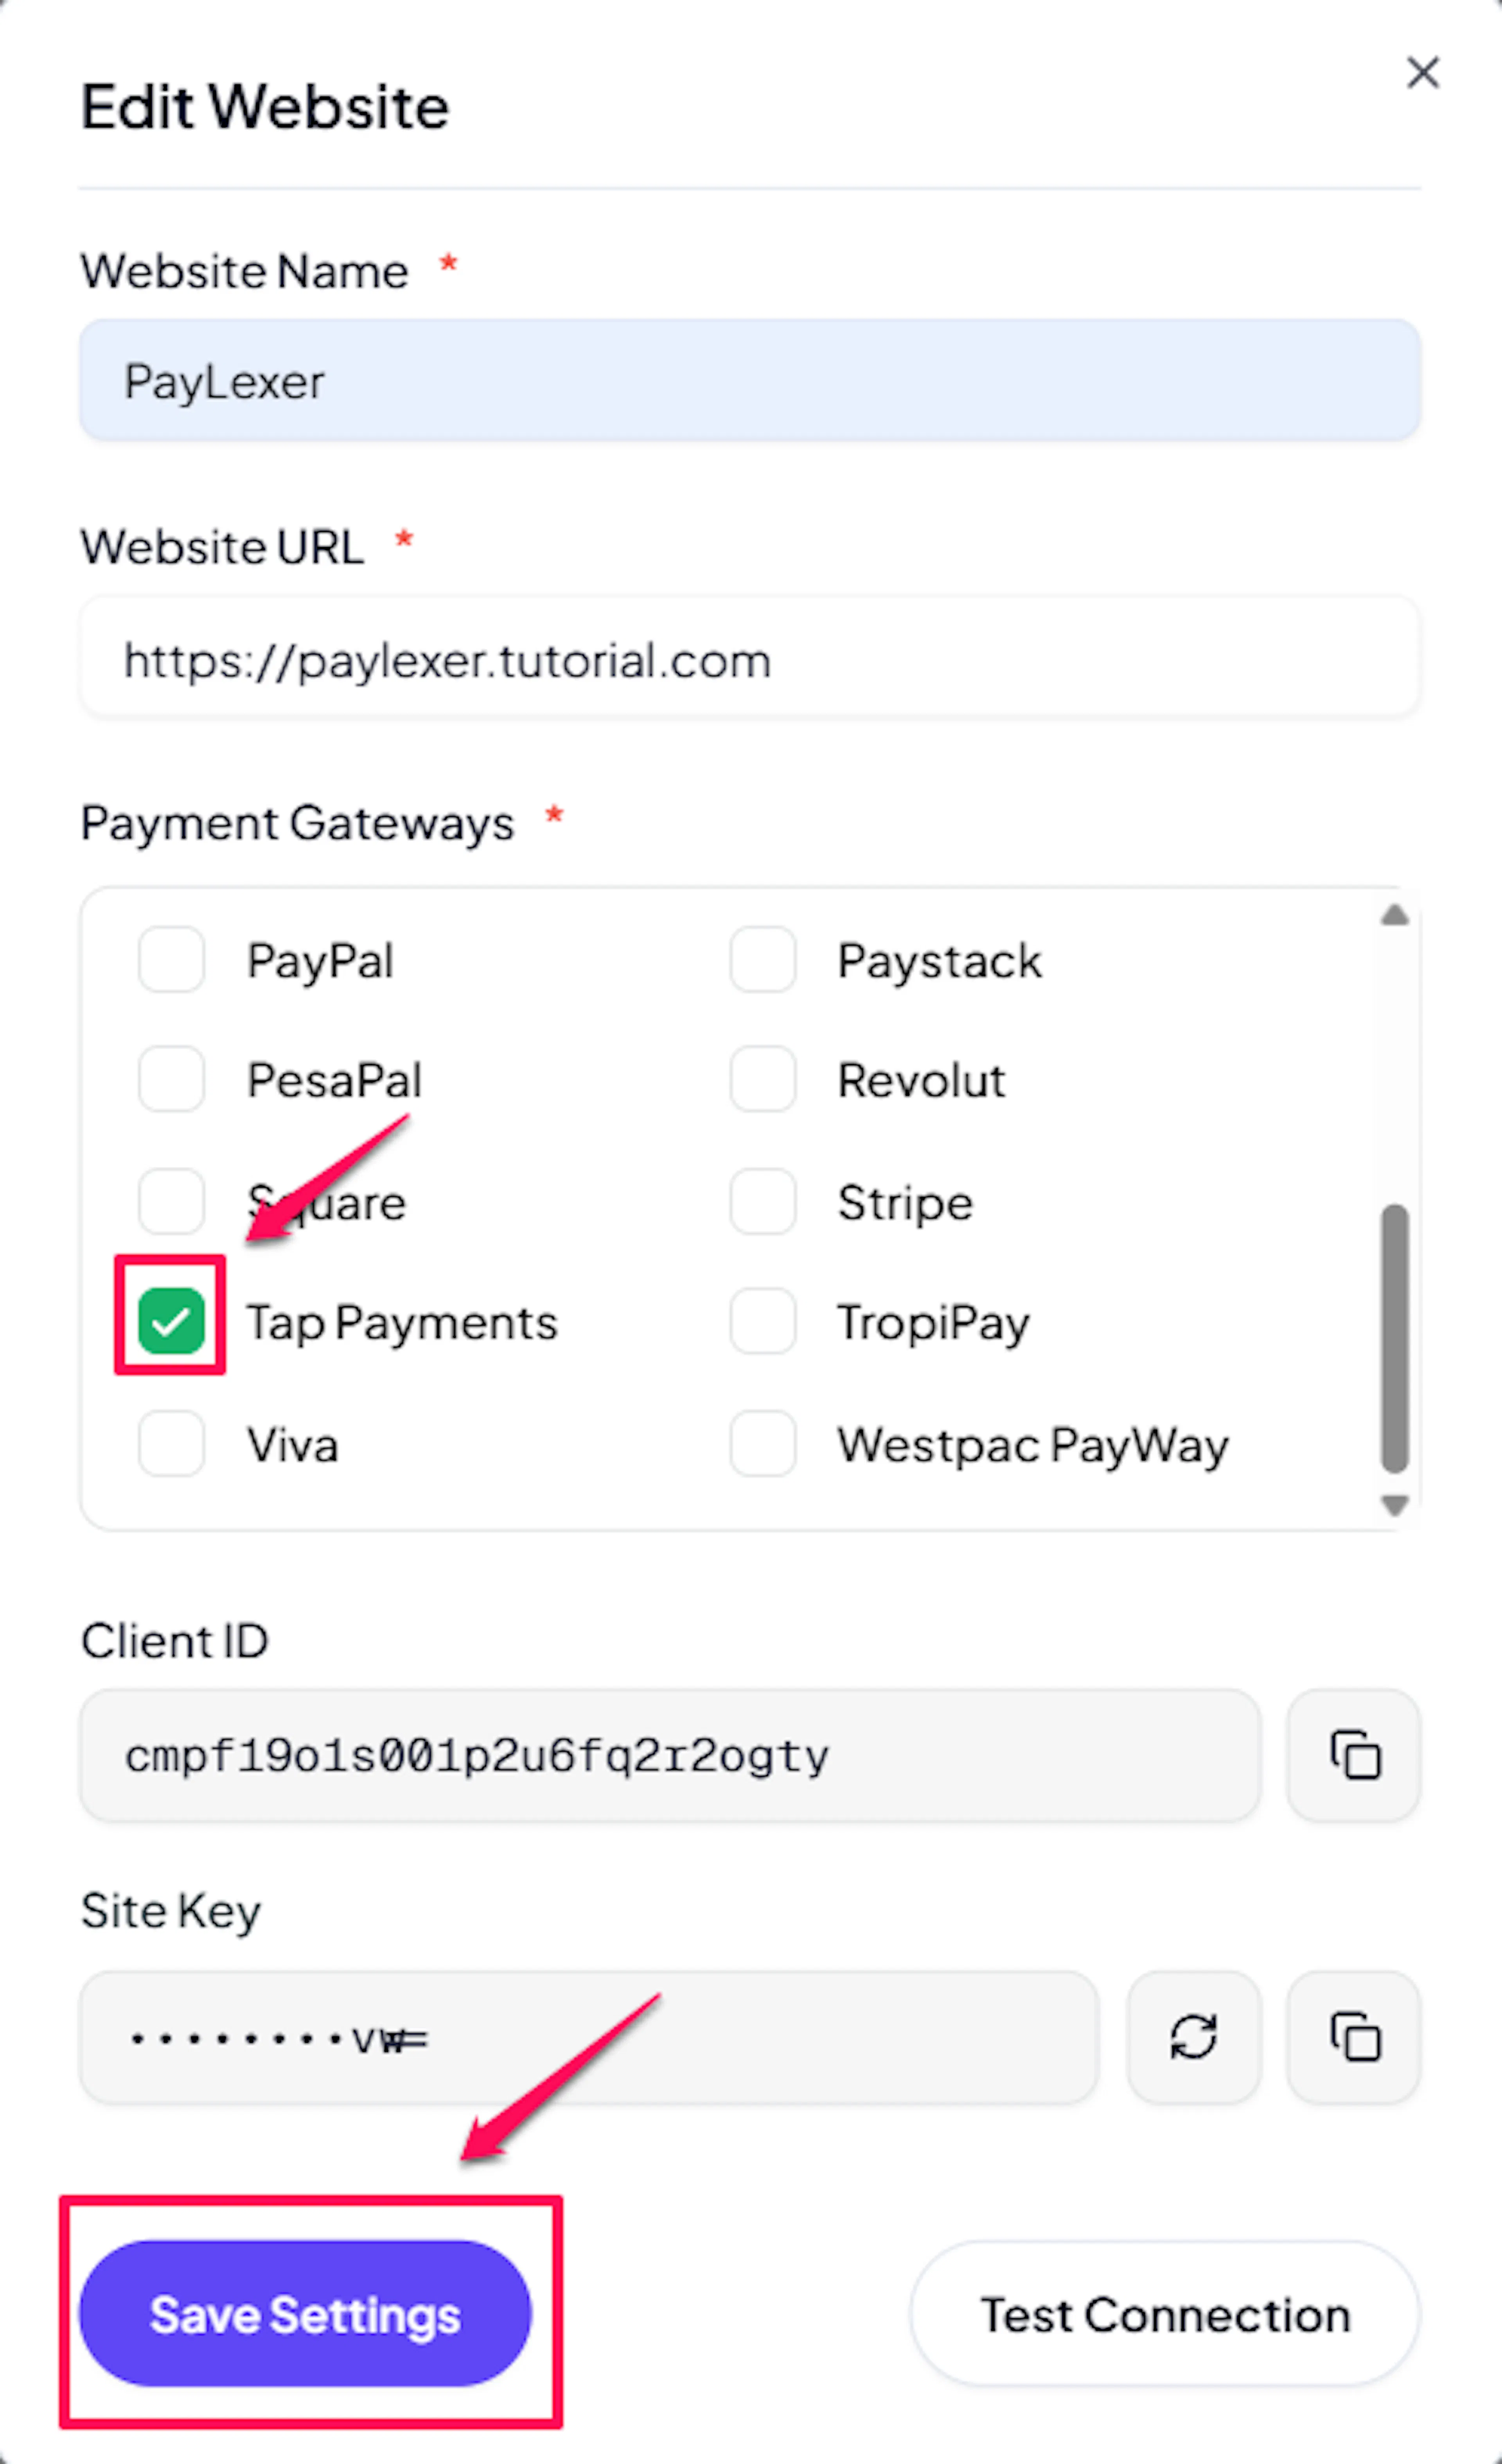
Tap Payments is now active for this website. Run a test transaction before switching off Debug/Test mode.
If you haven't added a website yet, Continue to Add Your Website →
Troubleshooting
-
Make sure there are no leading or trailing spaces in the pasted value.
-
Live credentials must be filled in even when you are only testing - PayLexer requires the Live environment to be configured.
-
If the key was regenerated in the Tap Dashboard, the old key stops working. Update PayLexer with the new value.
- Tap uses a redirect-based hosted checkout. When the customer completes payment, they are returned to PayLexer, and a webhook request sent by tap is captured by PayLexer which verifies the charge status with Tap before finalising the order.
-
PayLexer does not sync refunds initiated directly inside the Tap Dashboard.
-
Refunds and subscriptions are not supported through PayLexer for Tap. If you need to issue a refund, do it in the Tap Dashboard and update the order status in your platform (WooCommerce, Easy Digital Downloads, etc.) manually.
-
Confirm Tap Payments is Enabled under Websites → Edit for the site in question.
-
Confirm the customer's checkout currency is one of the supported currencies (AED, BHD, EUR, GBP, KWD, OMR, QAR, SAR, USD).
-
Clear any platform-level cache (WooCommerce, EDD, FluentCart, WP Travel Engine) after enabling the gateway.
Best Practices
-
Run at least one full test transaction in Sandbox before switching Debug/Test mode off. Use your platform's Test Mode toggle together with your
sk_test_key. -
Keep your Secret API Key server-side at all times. Never paste it into chat, email, or a support ticket. If you suspect it has been exposed, regenerate it from the Tap Dashboard and update PayLexer immediately.
-
Confirm the checkout currency matches your Tap merchant account configuration. If your Tap account is not enabled for a currency, Tap will reject the charge.
-
Double-check the key prefix before saving. A
sk_test_key in the Live field (or the reverse) is the most common cause of failed connections.
FAQs
Live credentials are mandatory to save the configuration. The Test key is optional but highly recommended so you can safely test payments before going live.
Two things determine this: the Debug Mode setting in your platform and the key prefix. When Debug Mode is ON, PayLexer uses your sk_test_ key. When OFF, it uses your sk_live_ key.
Transactions appear in three places: your platform's booking or order pages, PayLexer Dashboard → Orders, and the Tap Dashboard. All three show the same transactions with different IDs.
No. Refunds are not supported through PayLexer for Tap. To issue a refund, process it directly in the Tap Dashboard and update the order status in your platform manually.
No. PayLexer's Tap Payments integration covers one-time payments only. If you need recurring billing, see the Supported Payment Gateways page for gateways that support subscriptions.
AED, BHD, EUR, GBP, KWD, OMR, QAR, SAR, and USD. Your Tap merchant account must be enabled for the currency you charge in.
Sign in to the Tap Dashboard, then go to Developers → API Credentials and click Generate Key. Copy the key immediately. Test keys start with sk_test_ and Live keys start with sk_live_.
Still Have Questions?
- Tap Payments Support: Tap Payments Help Center
- PayLexer Support: Contact Support
For Tap Payments API references and advanced configuration, see the Tap Payments developer documentation.