

Safepay
Connect Safepay to PayLexer to accept cards with 3-D Secure and run recurring subscriptions for shoppers in Pakistan.
Safepay is a Pakistani fintech headquartered in Karachi, regulated by the State Bank of Pakistan, and backed by Y Combinator. It processes cards through Cybersource with built-in 3-D Secure authentication on a fully hosted checkout page, so card details never touch PayLexer or your own servers, and it supports recurring subscriptions on top of one-time payments.
- Supported Regions (Merchant Accounts): Pakistan
- Supported Currencies: PKR, USD, GBP, EUR, CAD, AED, SAR
Supported Features
- Hosted checkout - shoppers are redirected to Safepay's secure page to enter card details and complete 3-D Secure
- One-time payments
- Full and partial refunds
- Recurring subscriptions with daily, weekly, monthly, or yearly billing intervals
- Free trial periods on subscriptions
- Real-time payment and subscription updates through signed webhooks
- Separate Test (sandbox) and Live environments
Before You Start
Make sure you have:
- Safepay Account – Don't have one? Sign up for Safepay →
- PayLexer Account – Required to configure the integration. Create your account →
- A website where you want to integrate
Looking for a different payment processor? View all supported gateways →
Configuring Safepay
You need a Public Key and Secret Key from Safepay for this integration.
Getting API Credentials
Safepay issues a separate Merchant API Key and Merchant Secret for its sandbox and live environments.
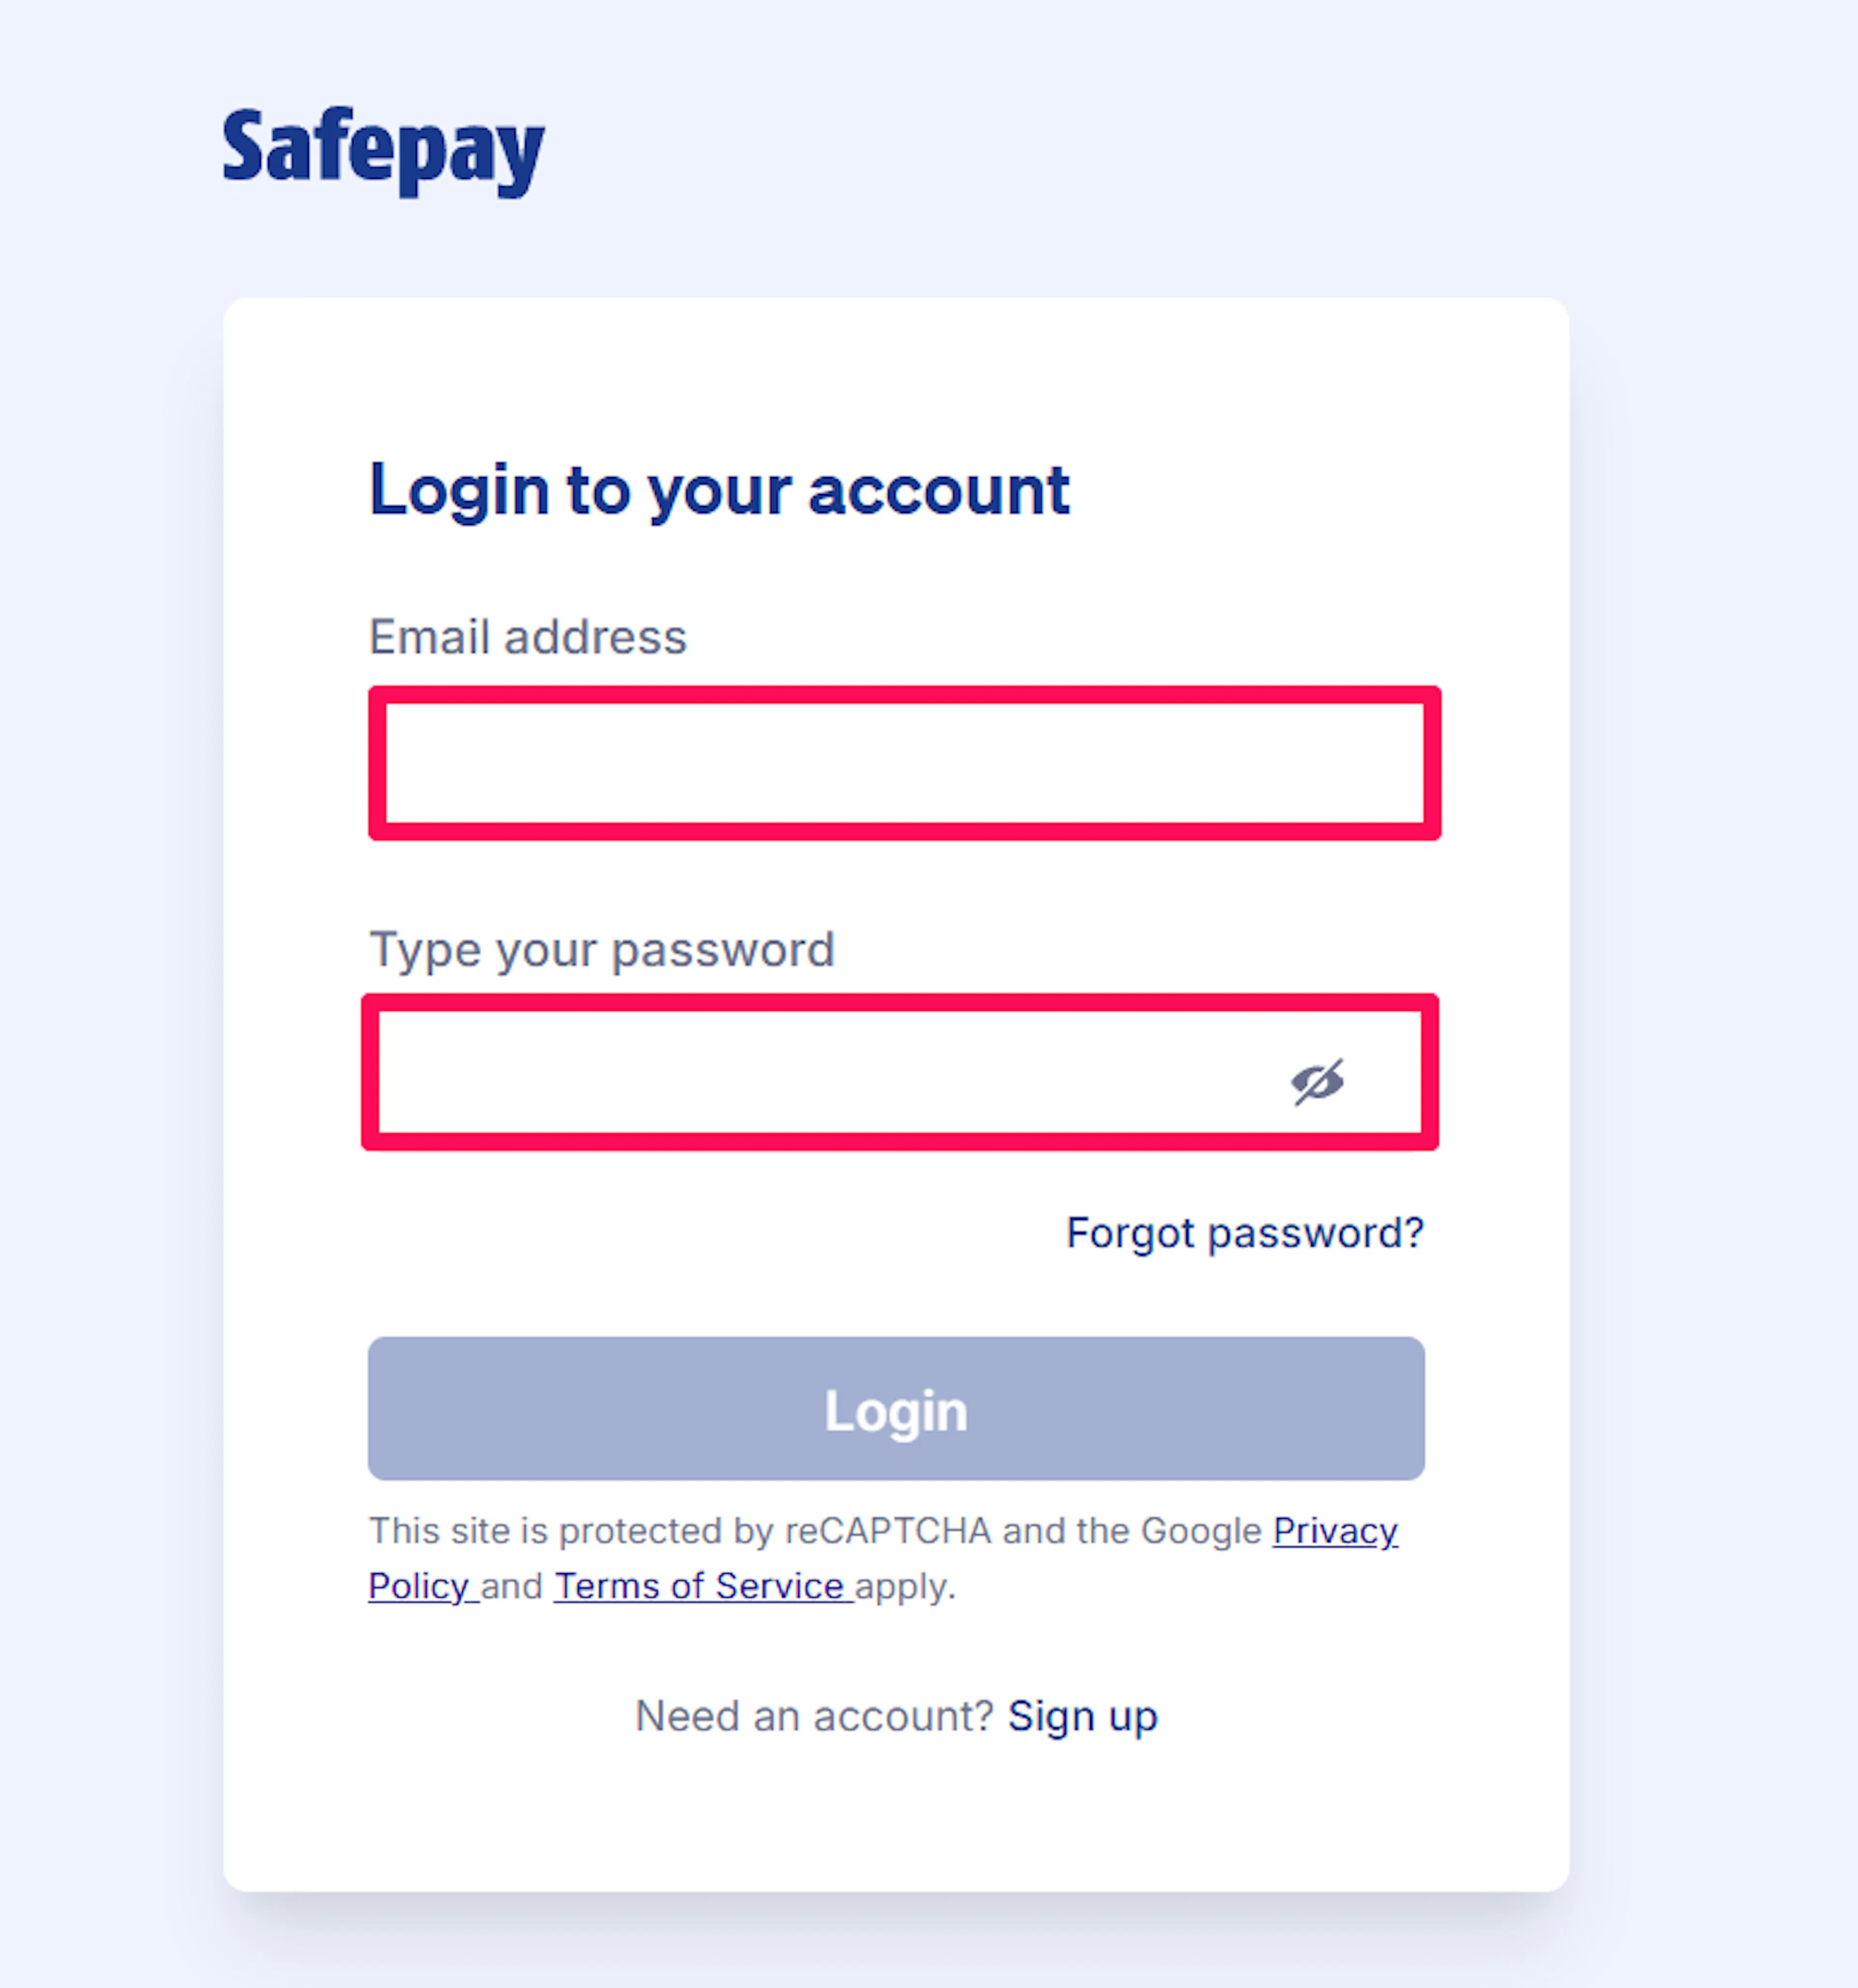
Log in to your Safepay Dashboard
Sign in to your Safepay sandbox dashboard for test credentials, or your Safepay live dashboard for production credentials.
Open the Developer section
Go to the Developer tab of your Safepay dashboard and click on API tab.

Copy your Merchant API Key and Merchant Secret
Copy the Public Key and Secret Key displayed on the API tab.
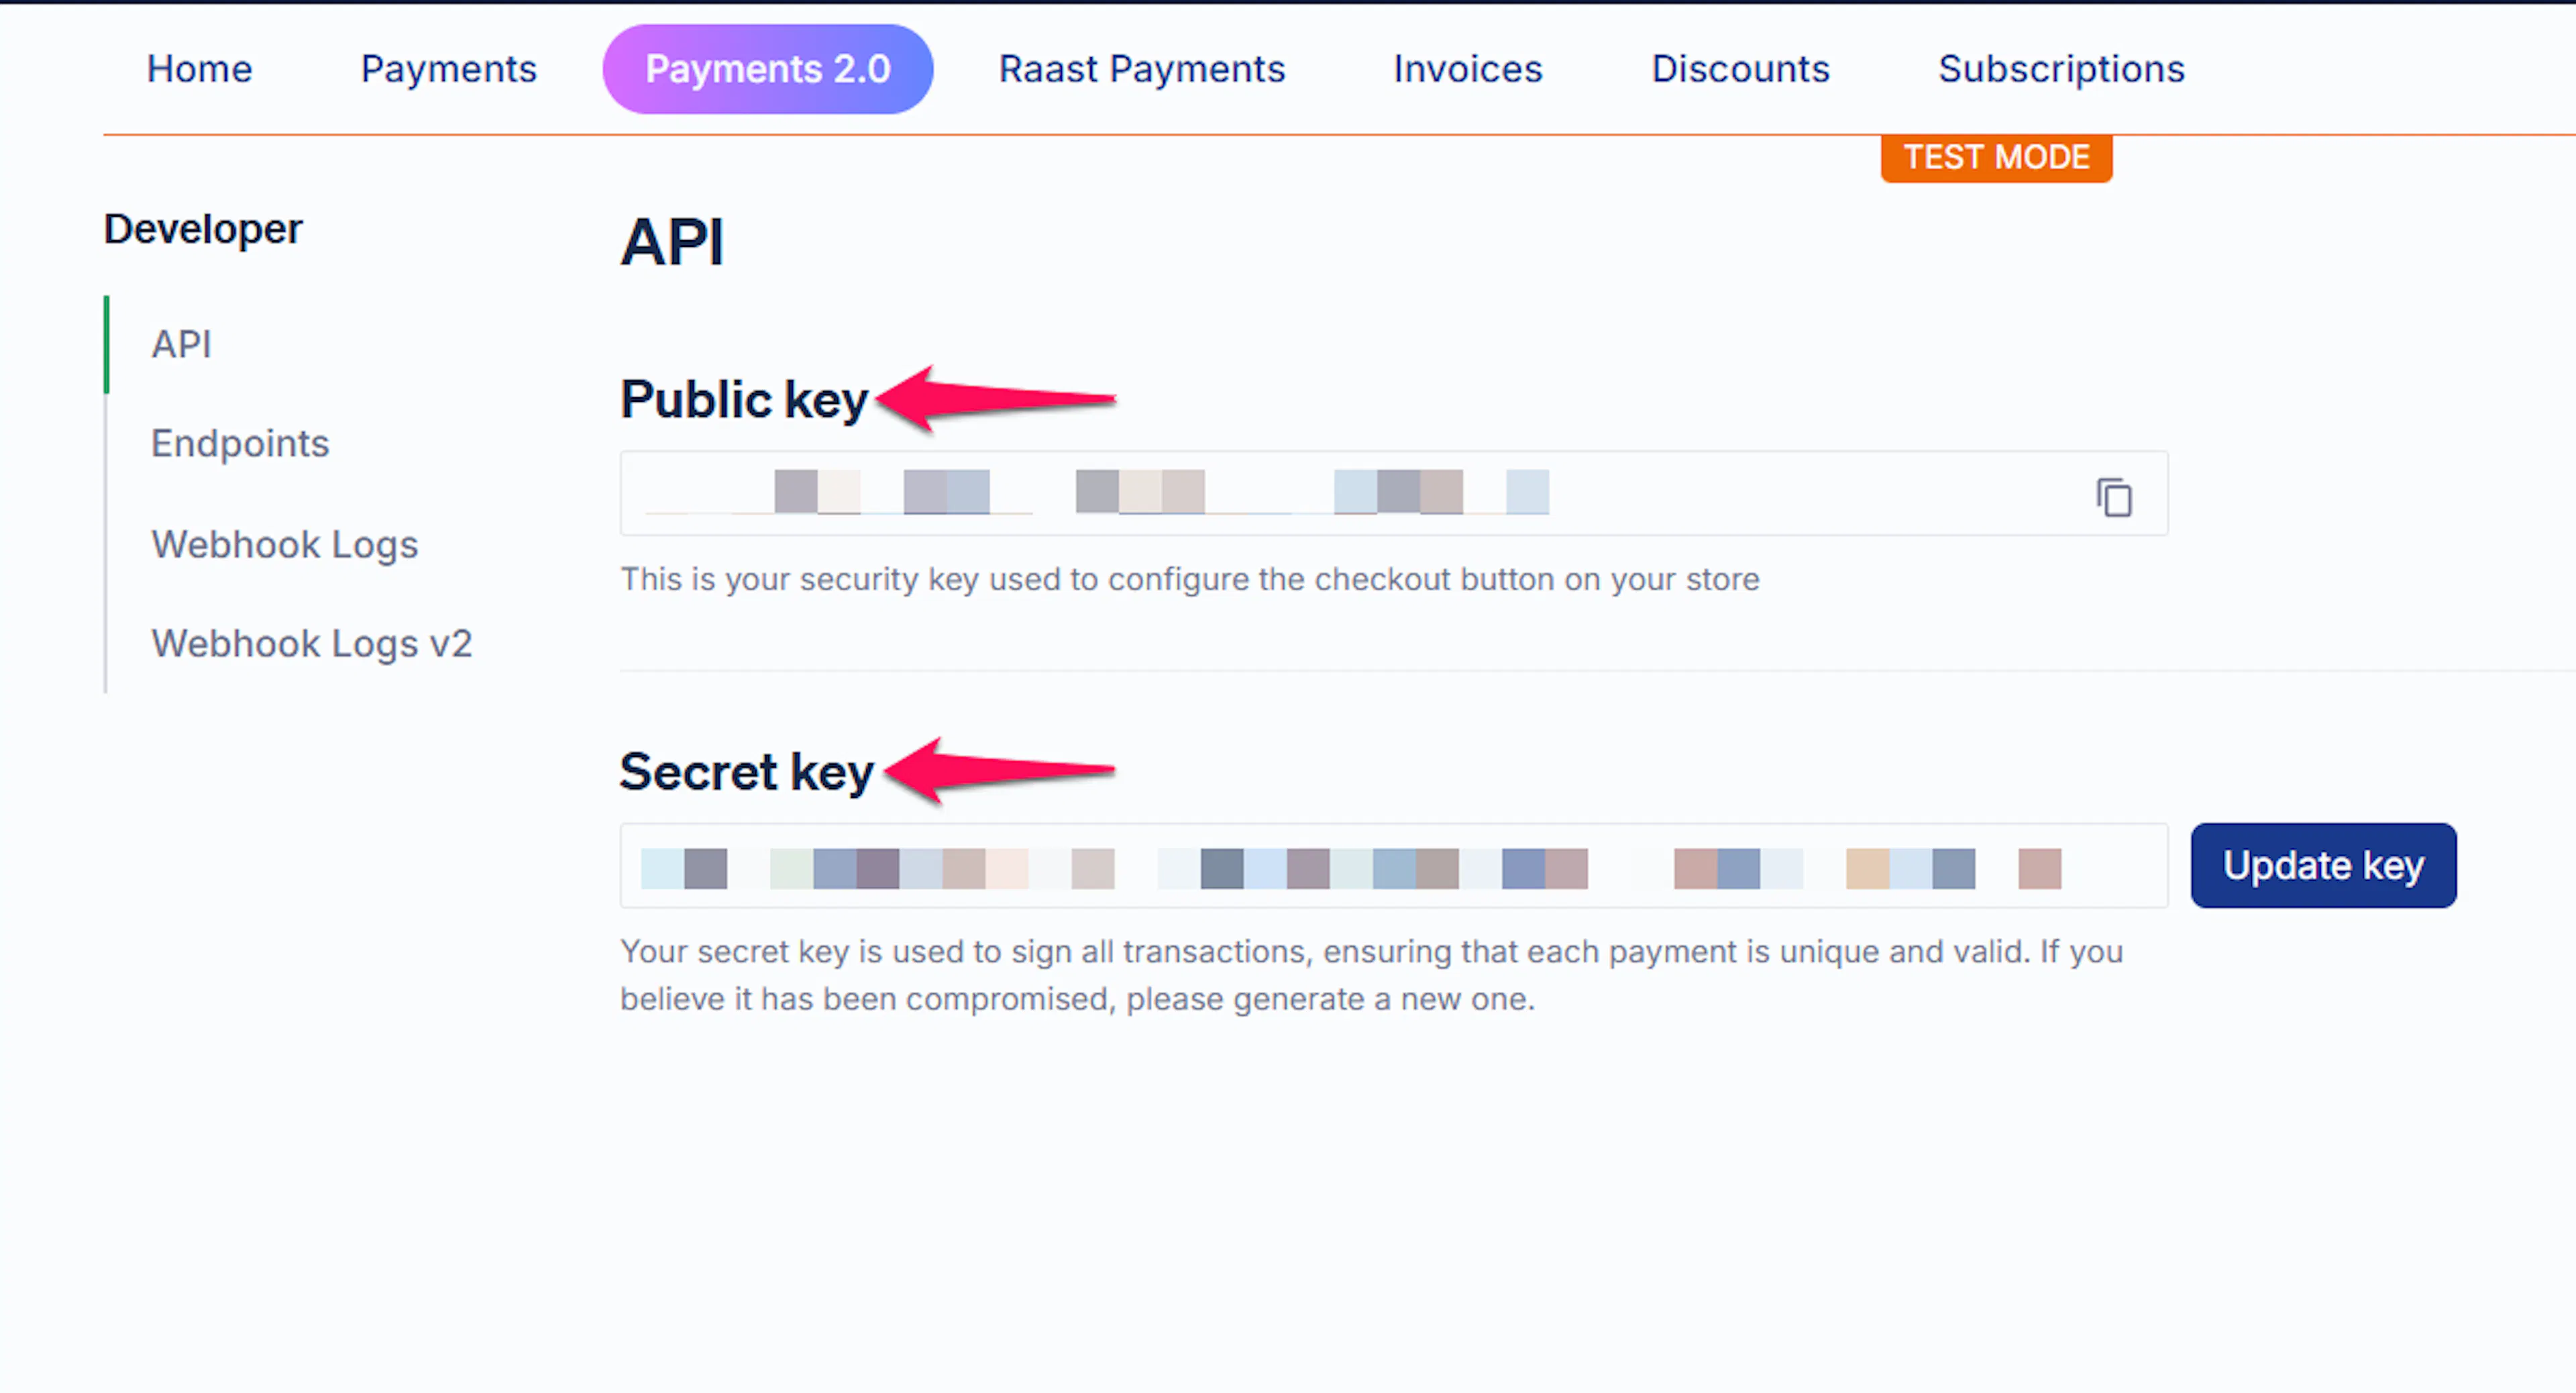
Treat your Secret key like a password. It authenticates every request Safepay receives from PayLexer on your behalf - never share it publicly or commit it to source control.
Adding Credentials to PayLexer
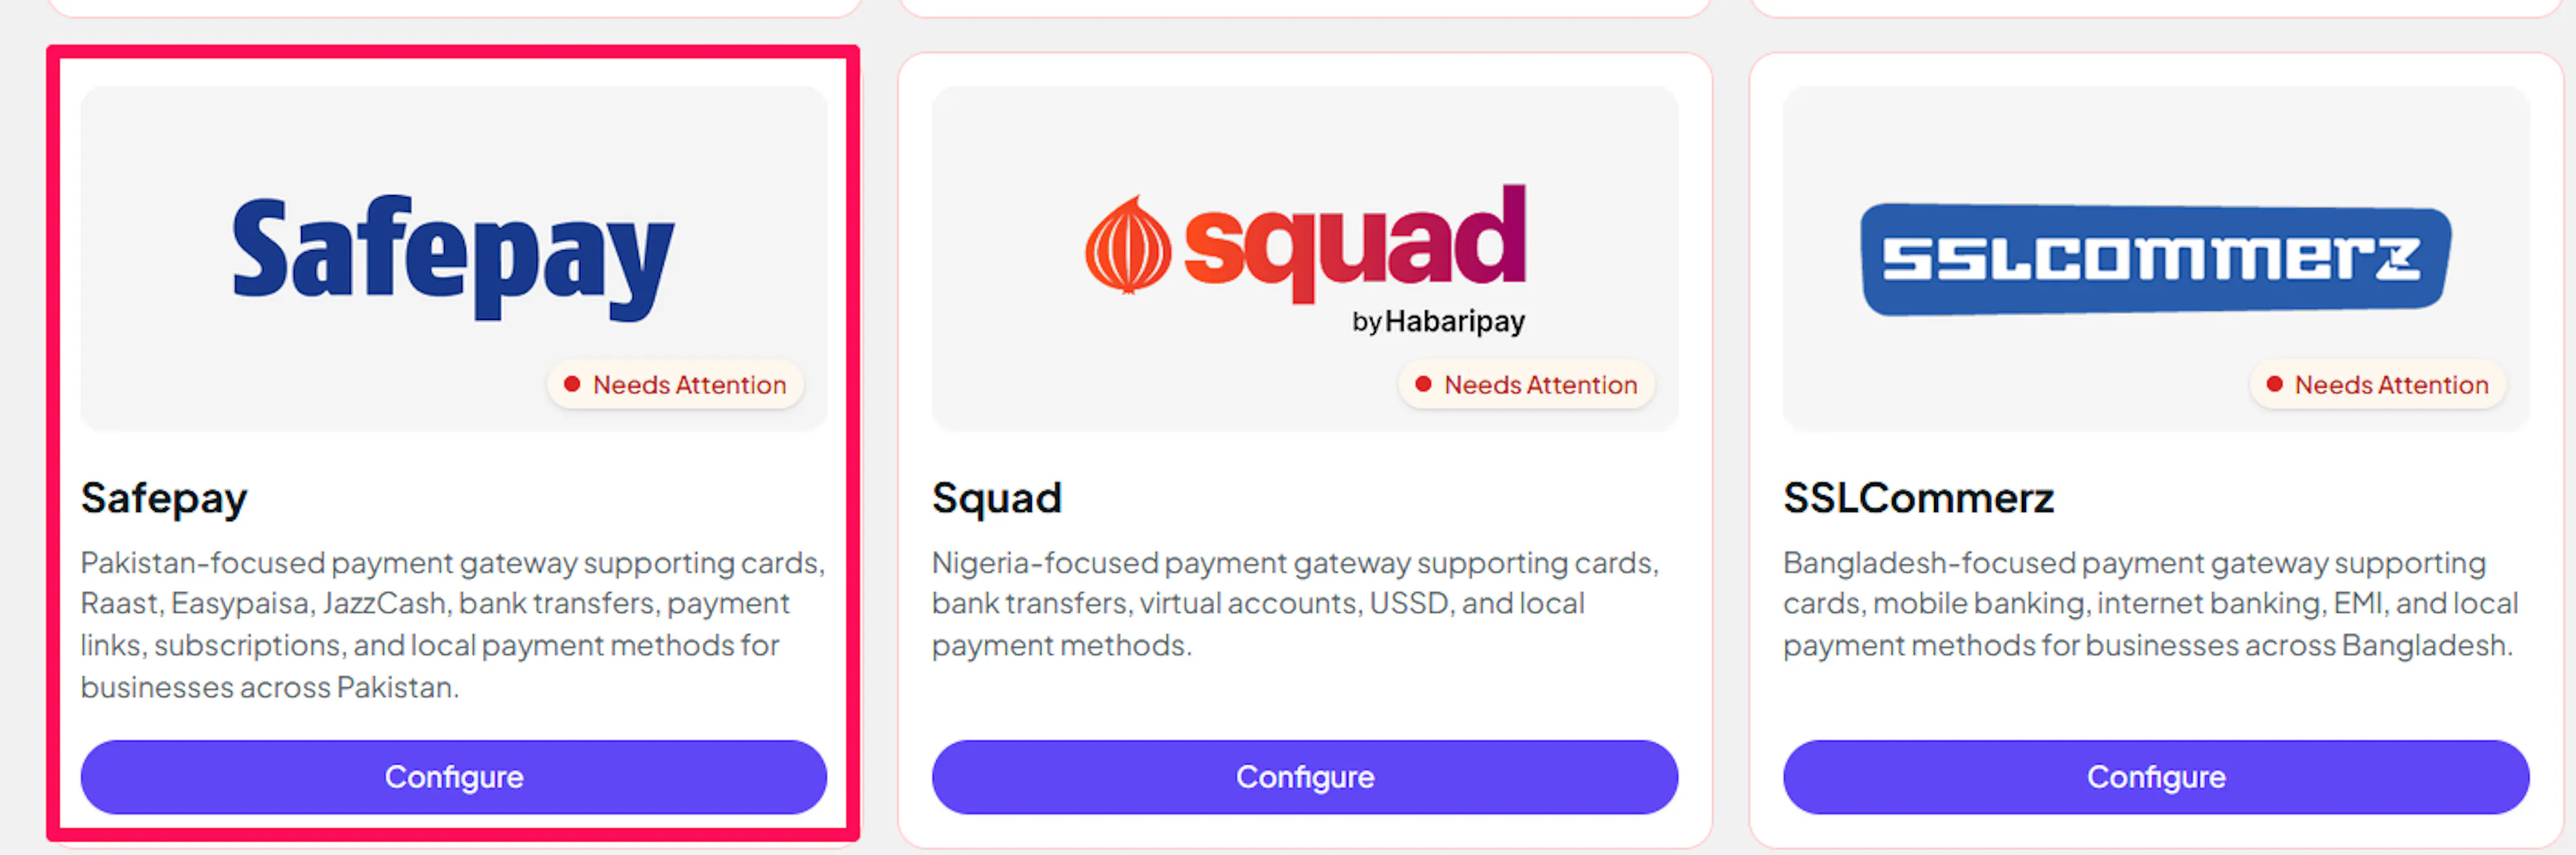
Open PayLexer Dashboard
Log in to your PayLexer dashboard and navigate to Payment Gateways -> Safepay.
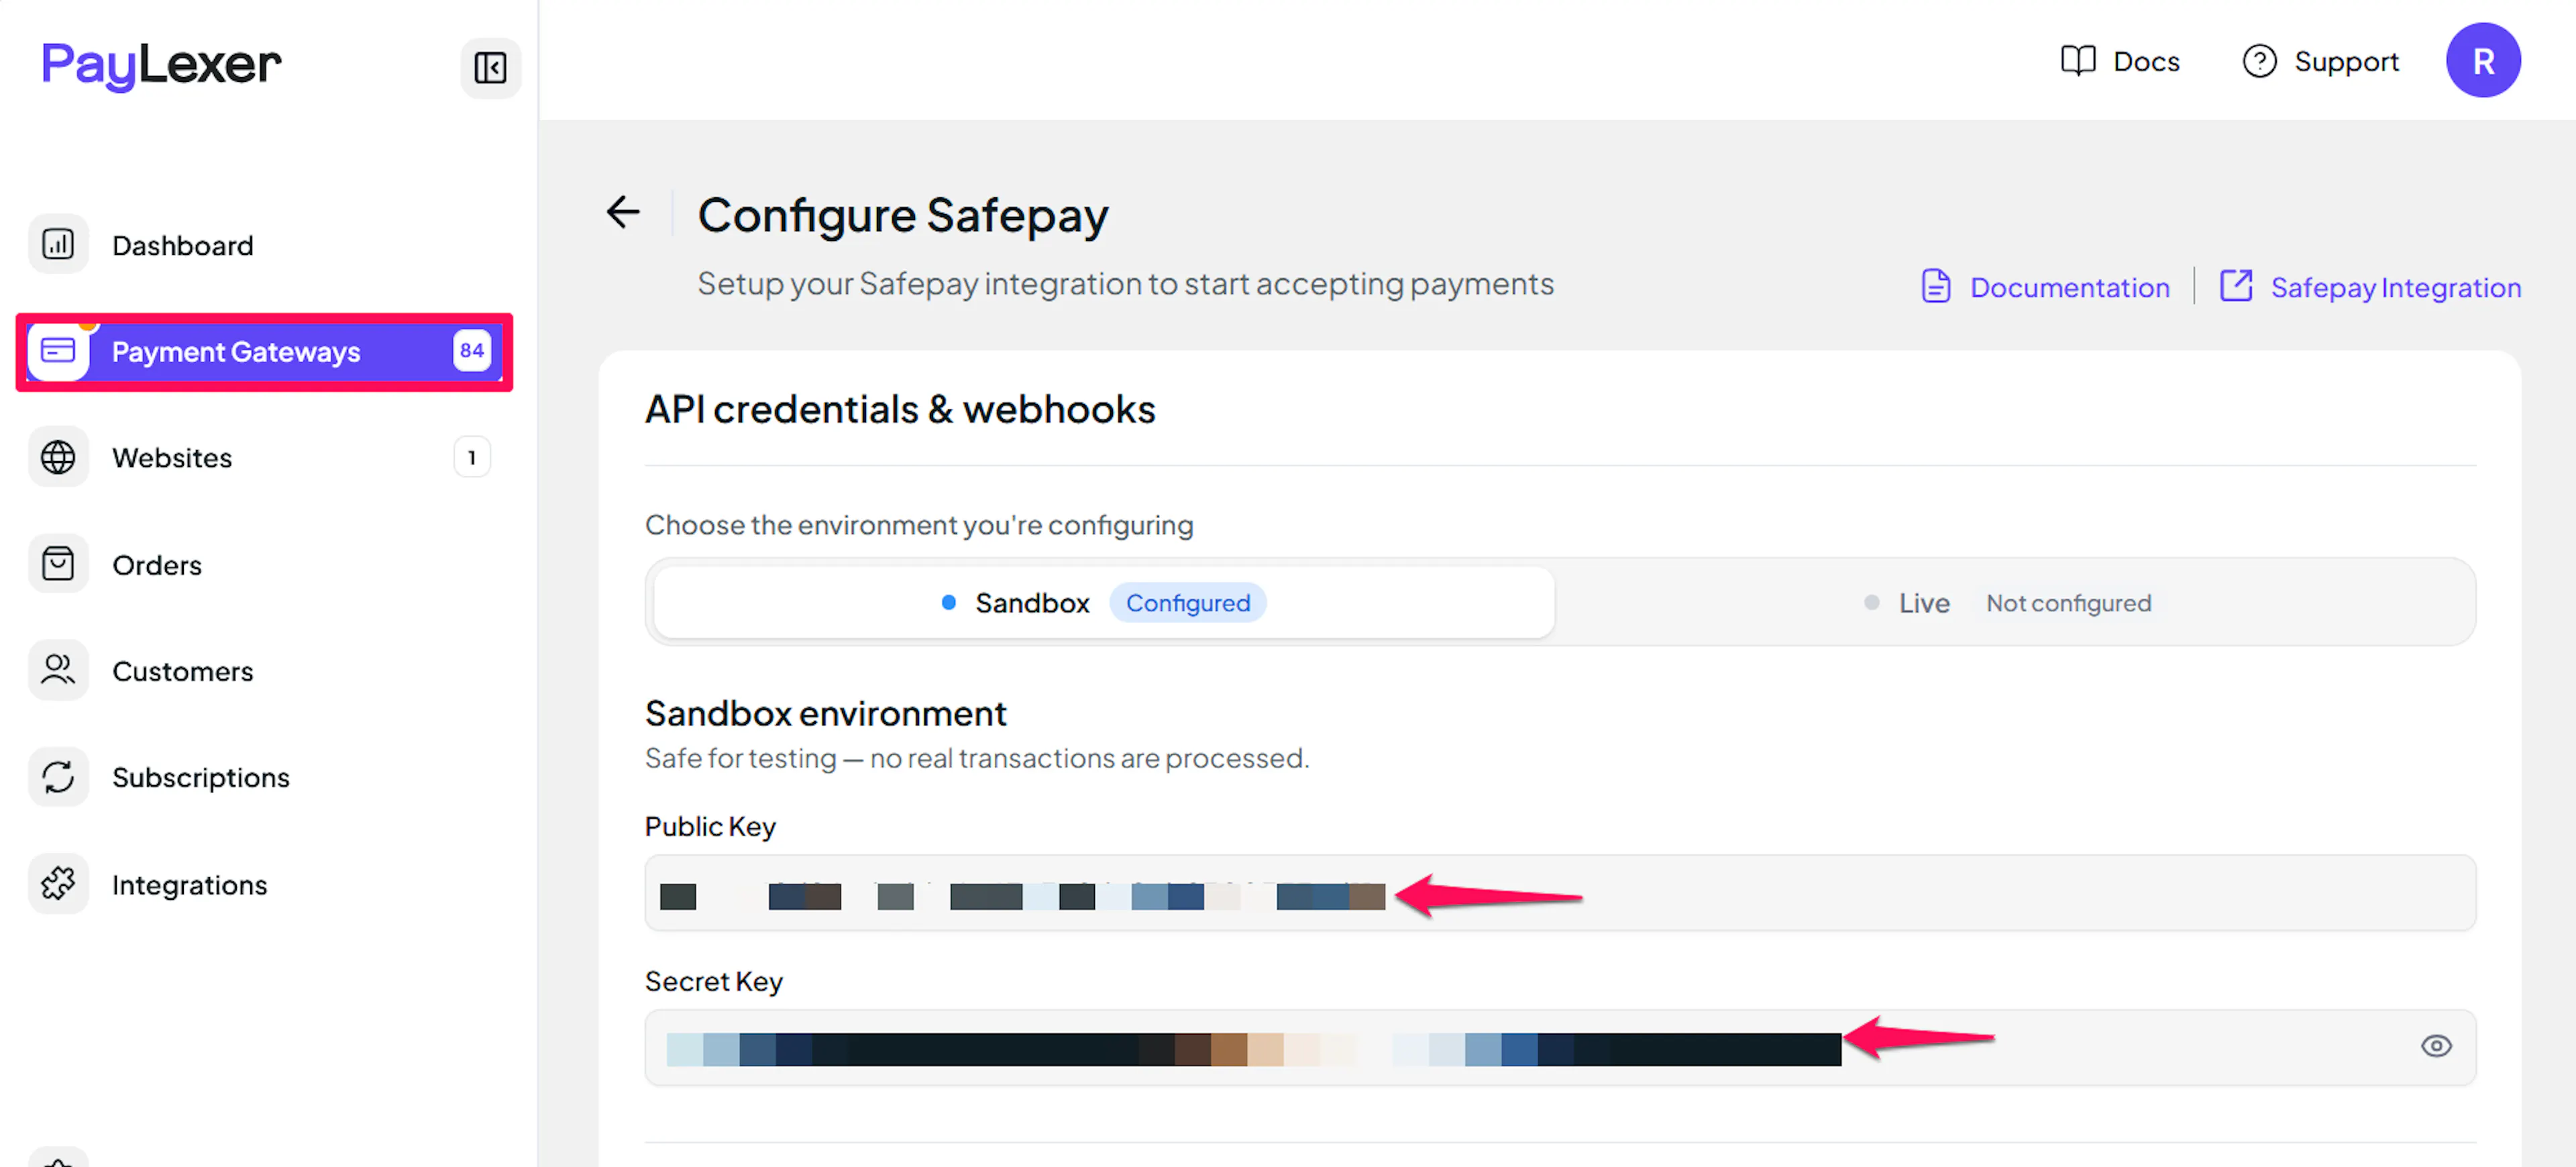
Enter your credentials
Paste the Public Key and Secret Key you copied from Safepay into the corresponding fields.
Understanding Live/Production and Sandbox Settings:
| Environment | Purpose |
|---|---|
| Live / Production | Used for real transactions. |
| Test / Sandbox | Used for testing only. No real money is processed. |
How PayLexer selects credentials:
- Debug/Test mode ON → Test credentials are used
- Debug/Test mode OFF → Live credentials are used
Test and save
Click Save to save your configuration and verify your credentials. Click Verify Connection to test the connection.
Configuring Webhooks (Mandatory)
Webhooks enable real-time payment updates and significantly improve reliability.
Benefits of Webhooks:
- Instant payment status updates
- Subscription lifecycle notifications (activated, renewed, payment failed, cancelled)
Unlike some gateways, Safepay requires you to manually register a webhook endpoint in its own dashboard, then bring the resulting secret back into PayLexer.
Copy the Webhook URL from PayLexer
In the Safepay configuration screen in PayLexer, copy the Webhook URL field.
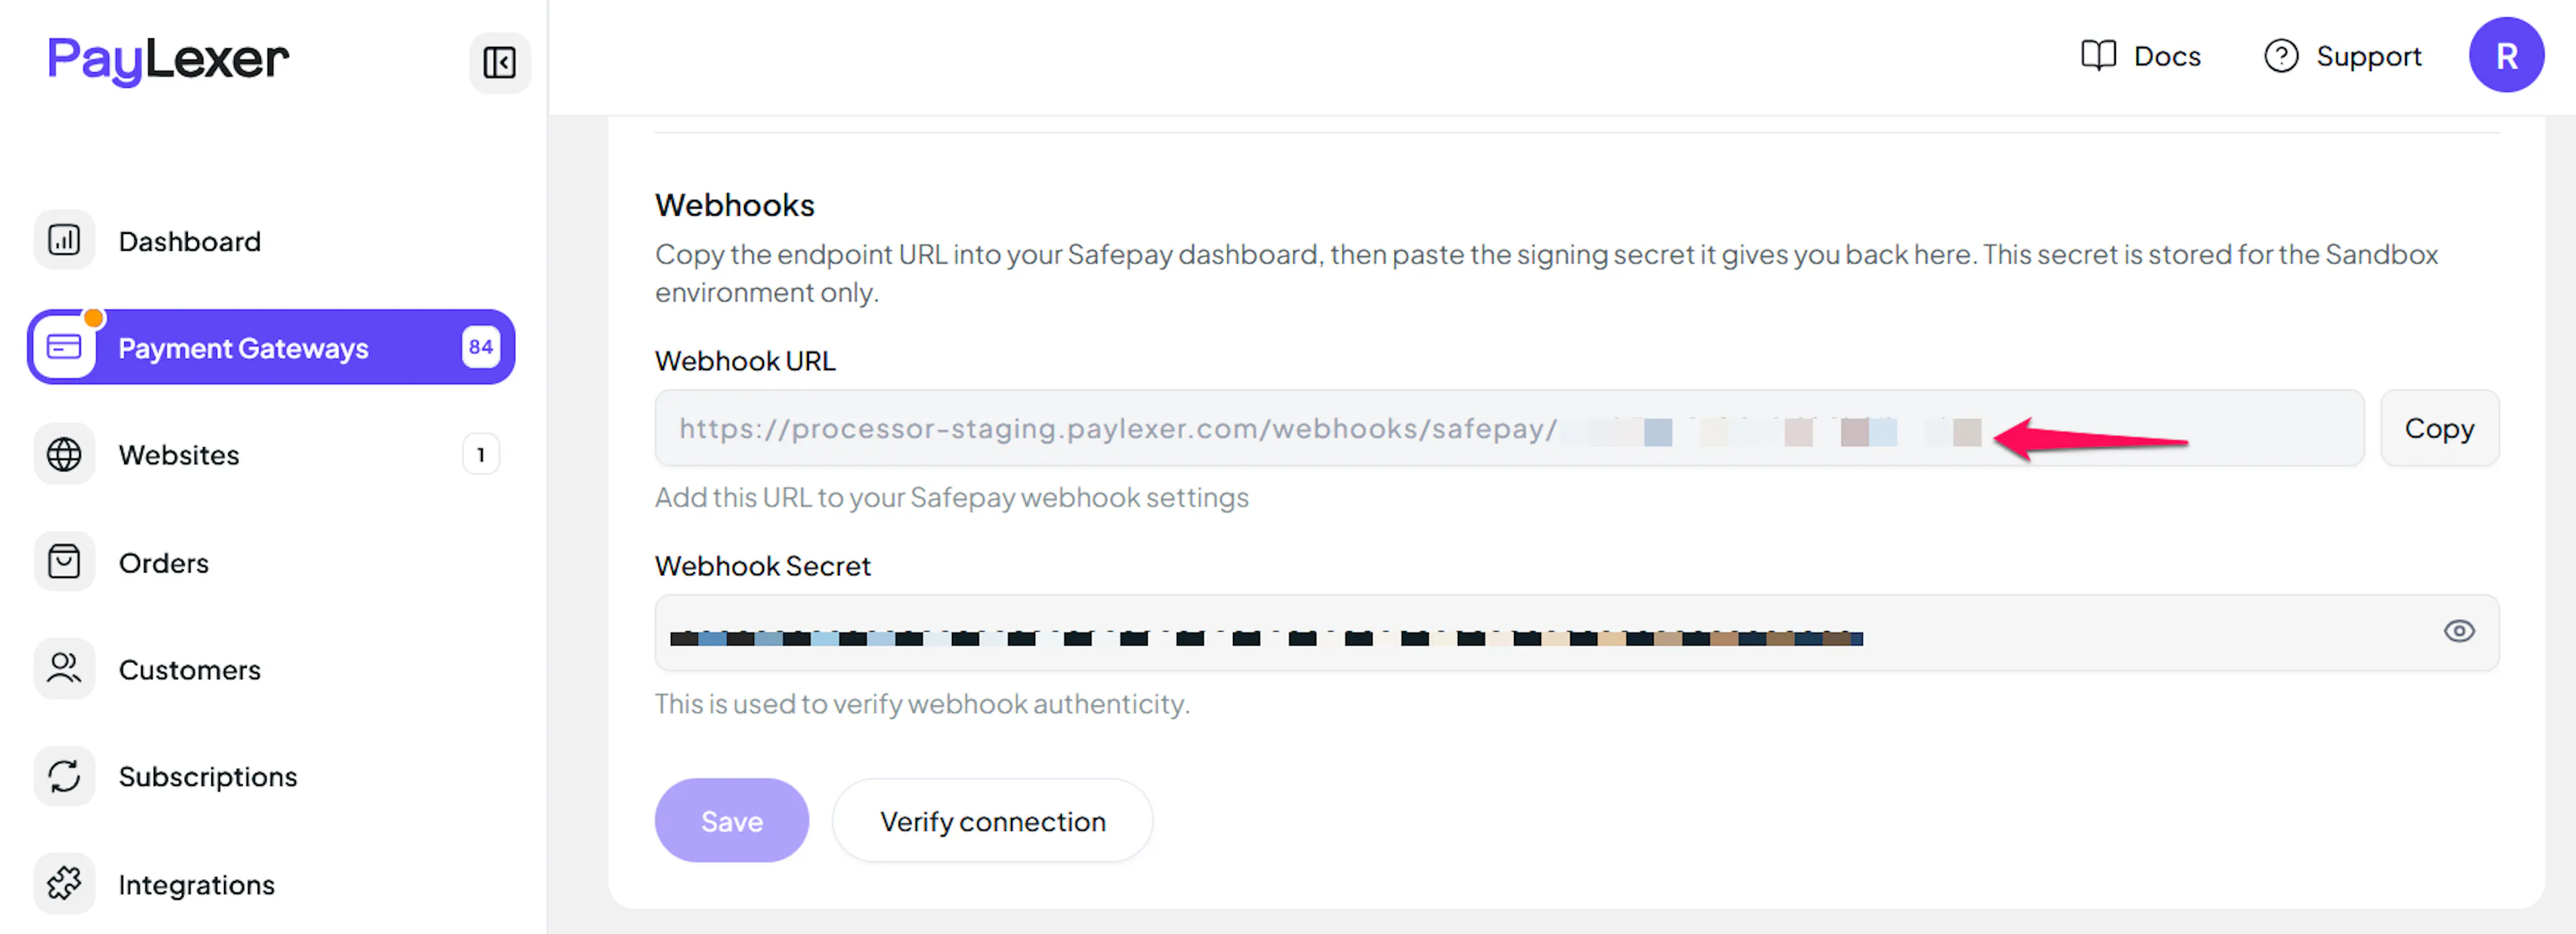
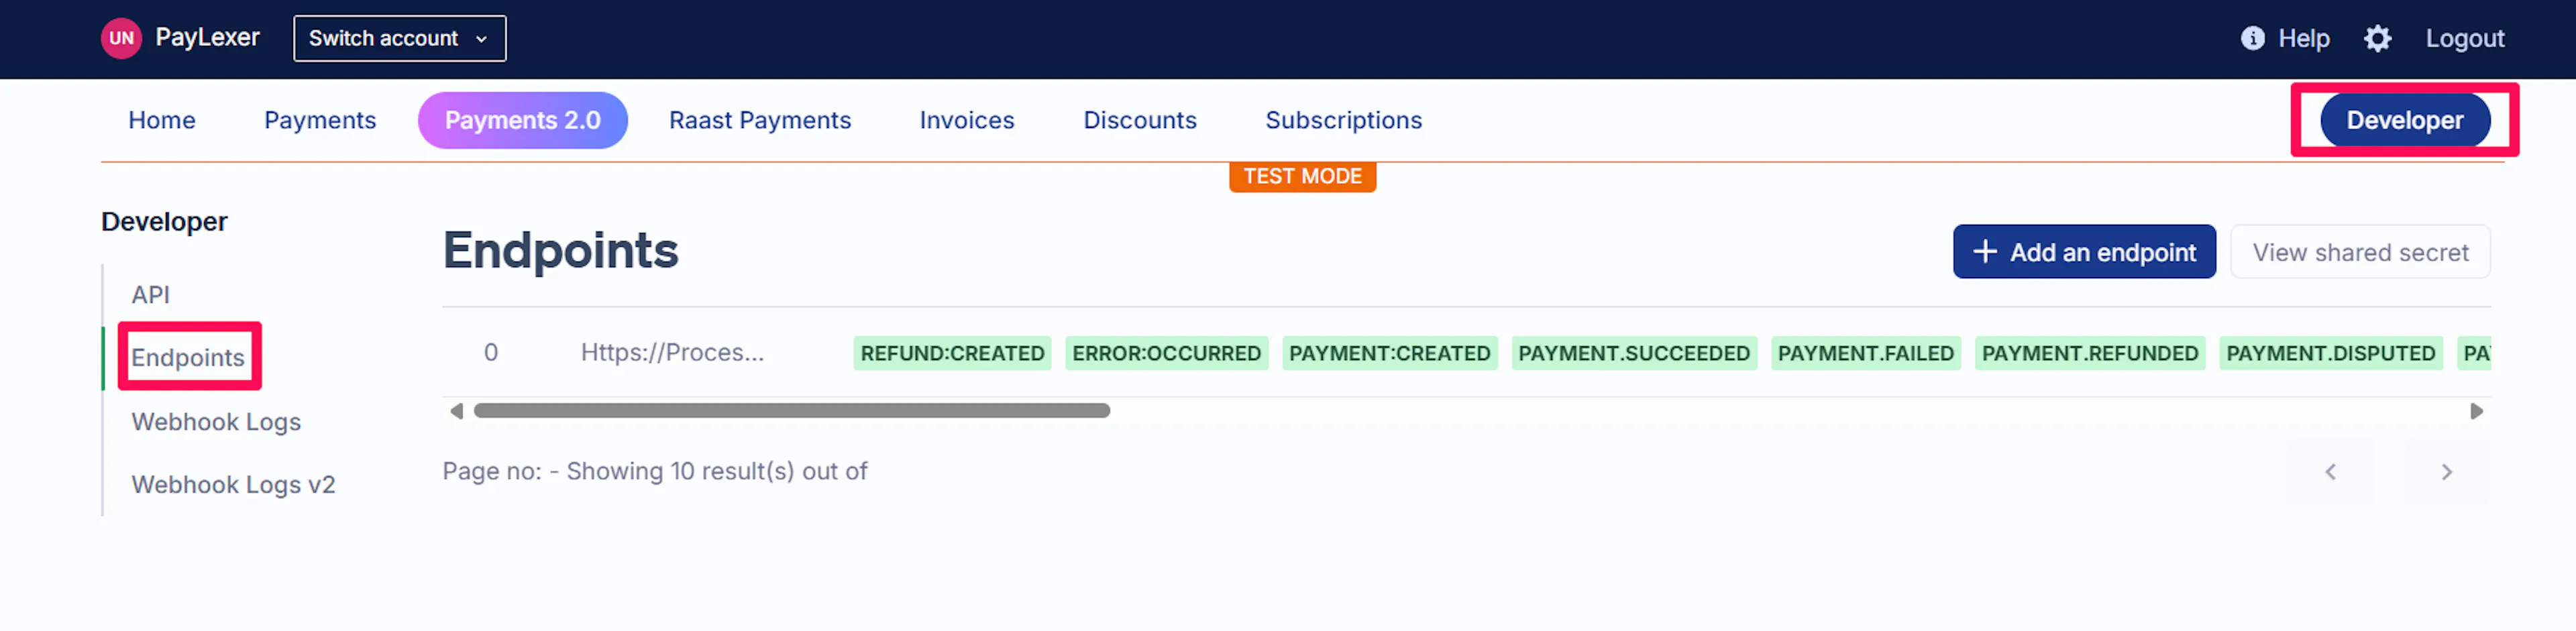
Register the endpoint in Safepay
In your Safepay dashboard, go to Developer -> Endpoints and click on Add an endpoint
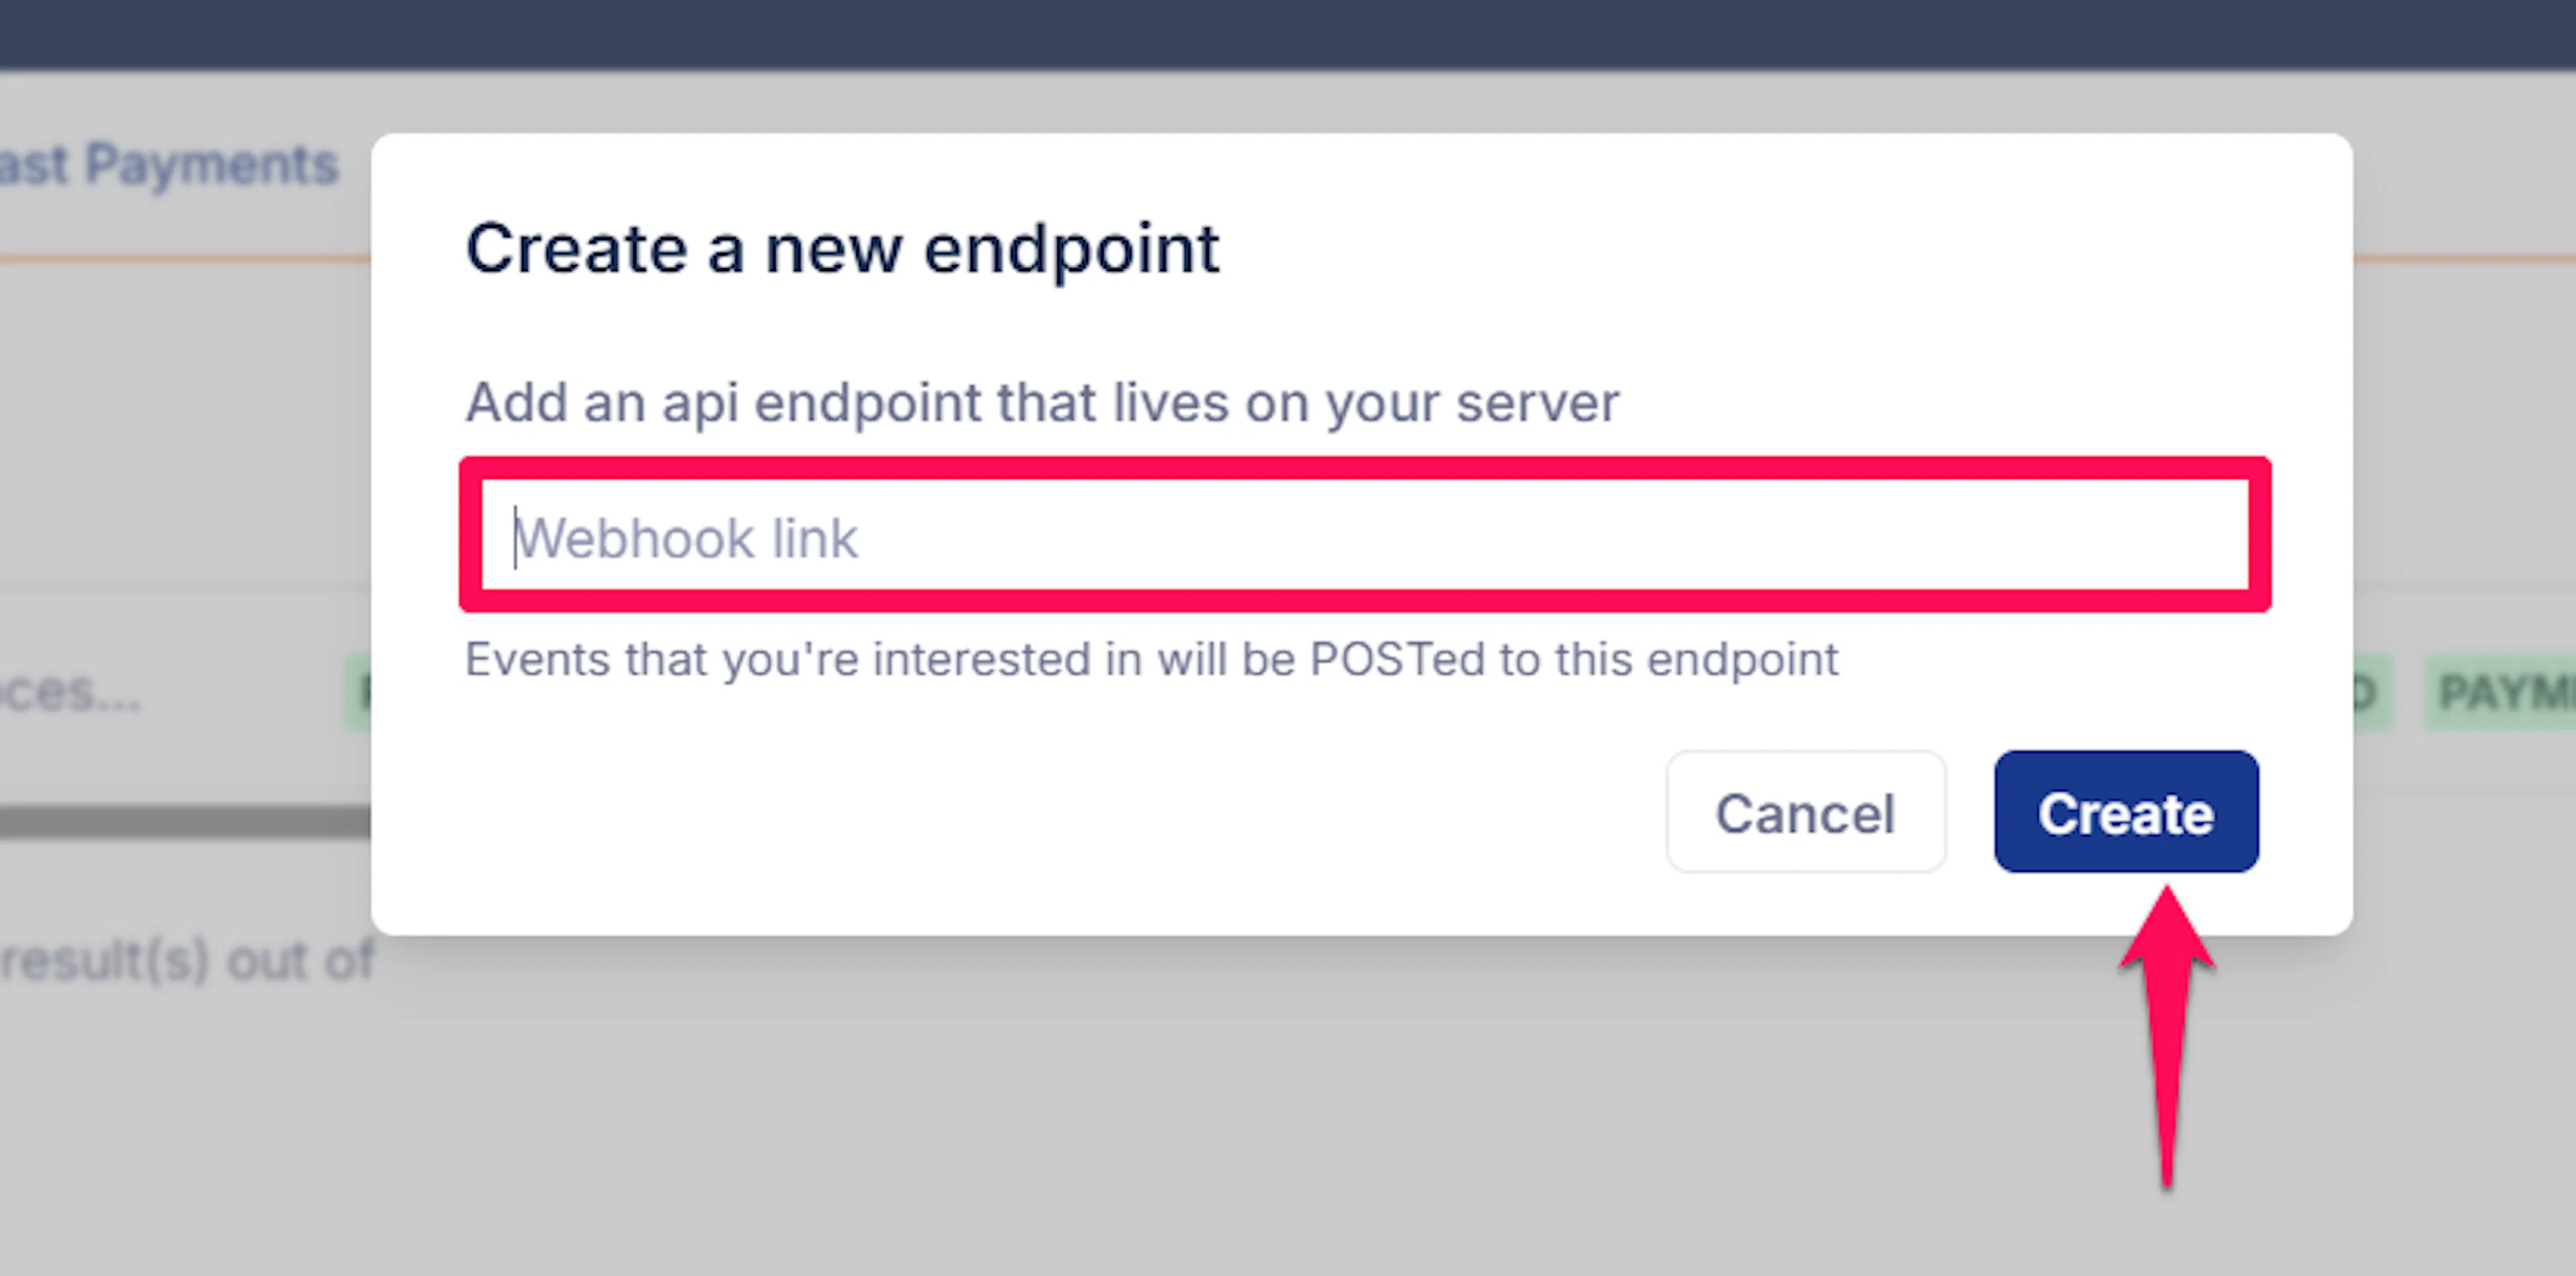
Paste the copied Webhook URL
Paste the copied Webhook URL and click on create.
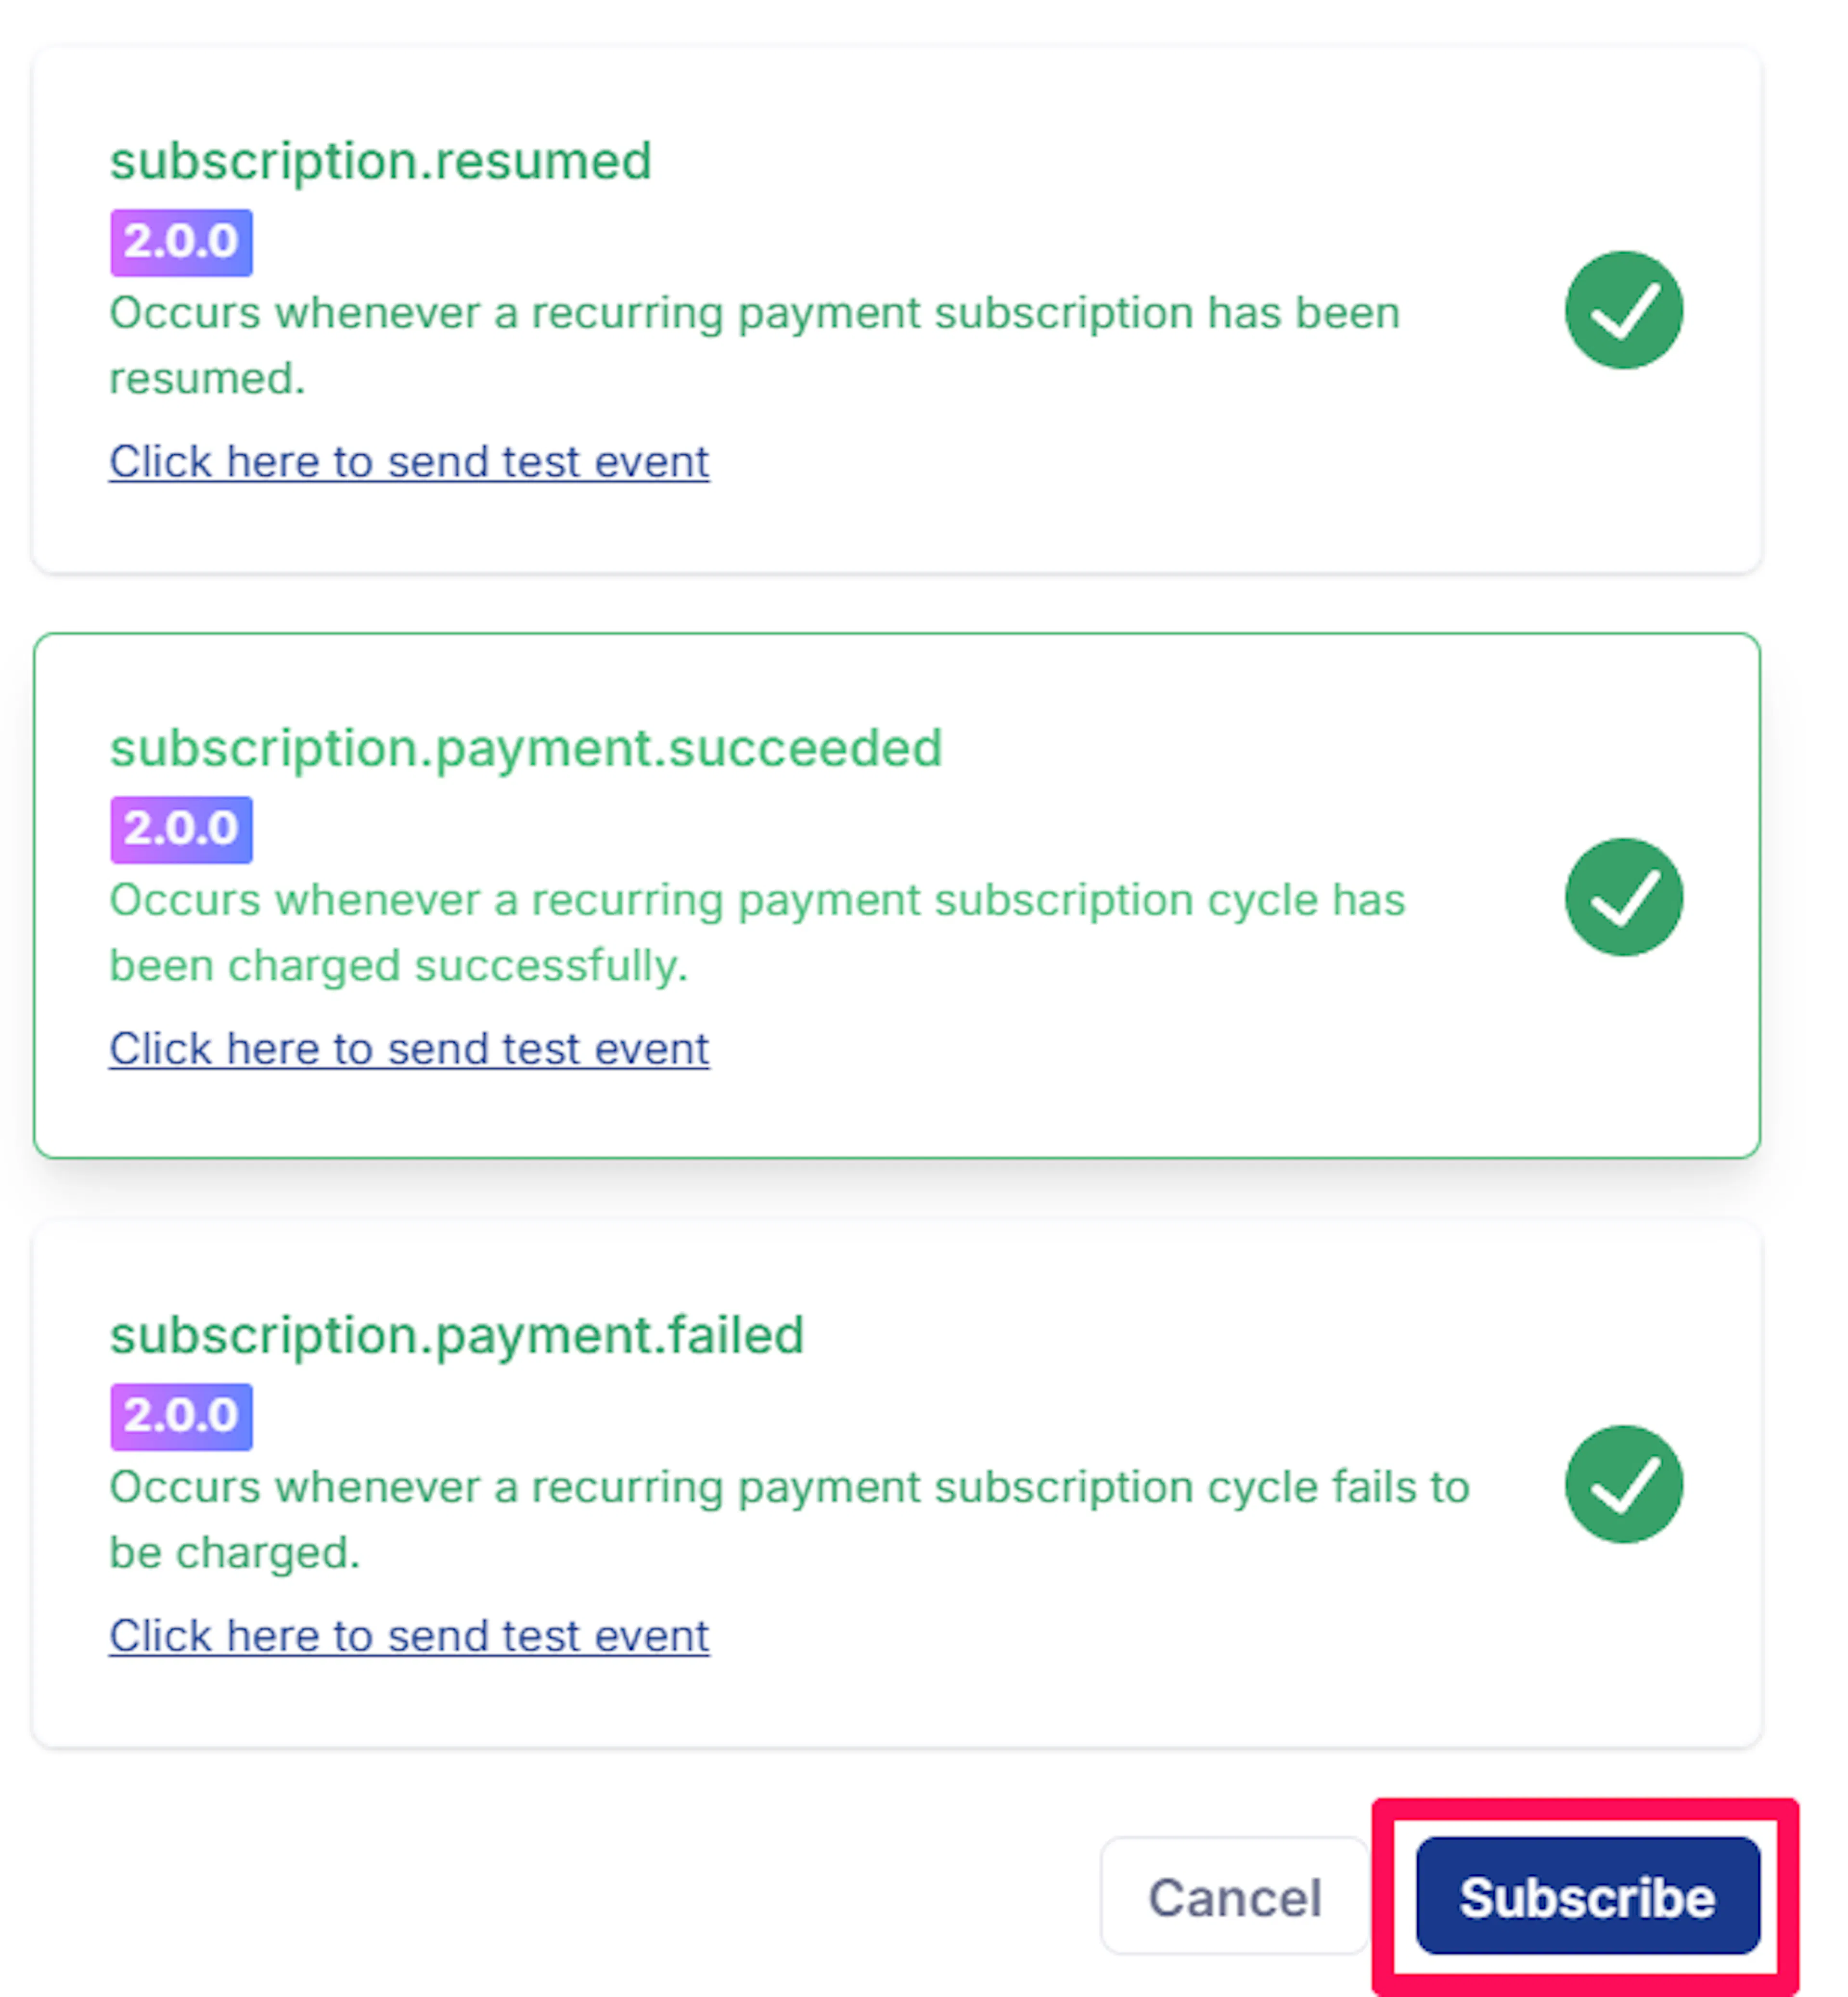
Select the events to subscribe to
With the endpoint added, scroll right on its row, click the three dots menu, and select Details. Mark the events you want to be notified of, then click Subscribe.
Copy the Webhook Secret back into PayLexer
Click View shared secret to reveal the Webhook Secret Safepay generated for the endpoint. Copy it into the Webhook Secret field in PayLexer and save.
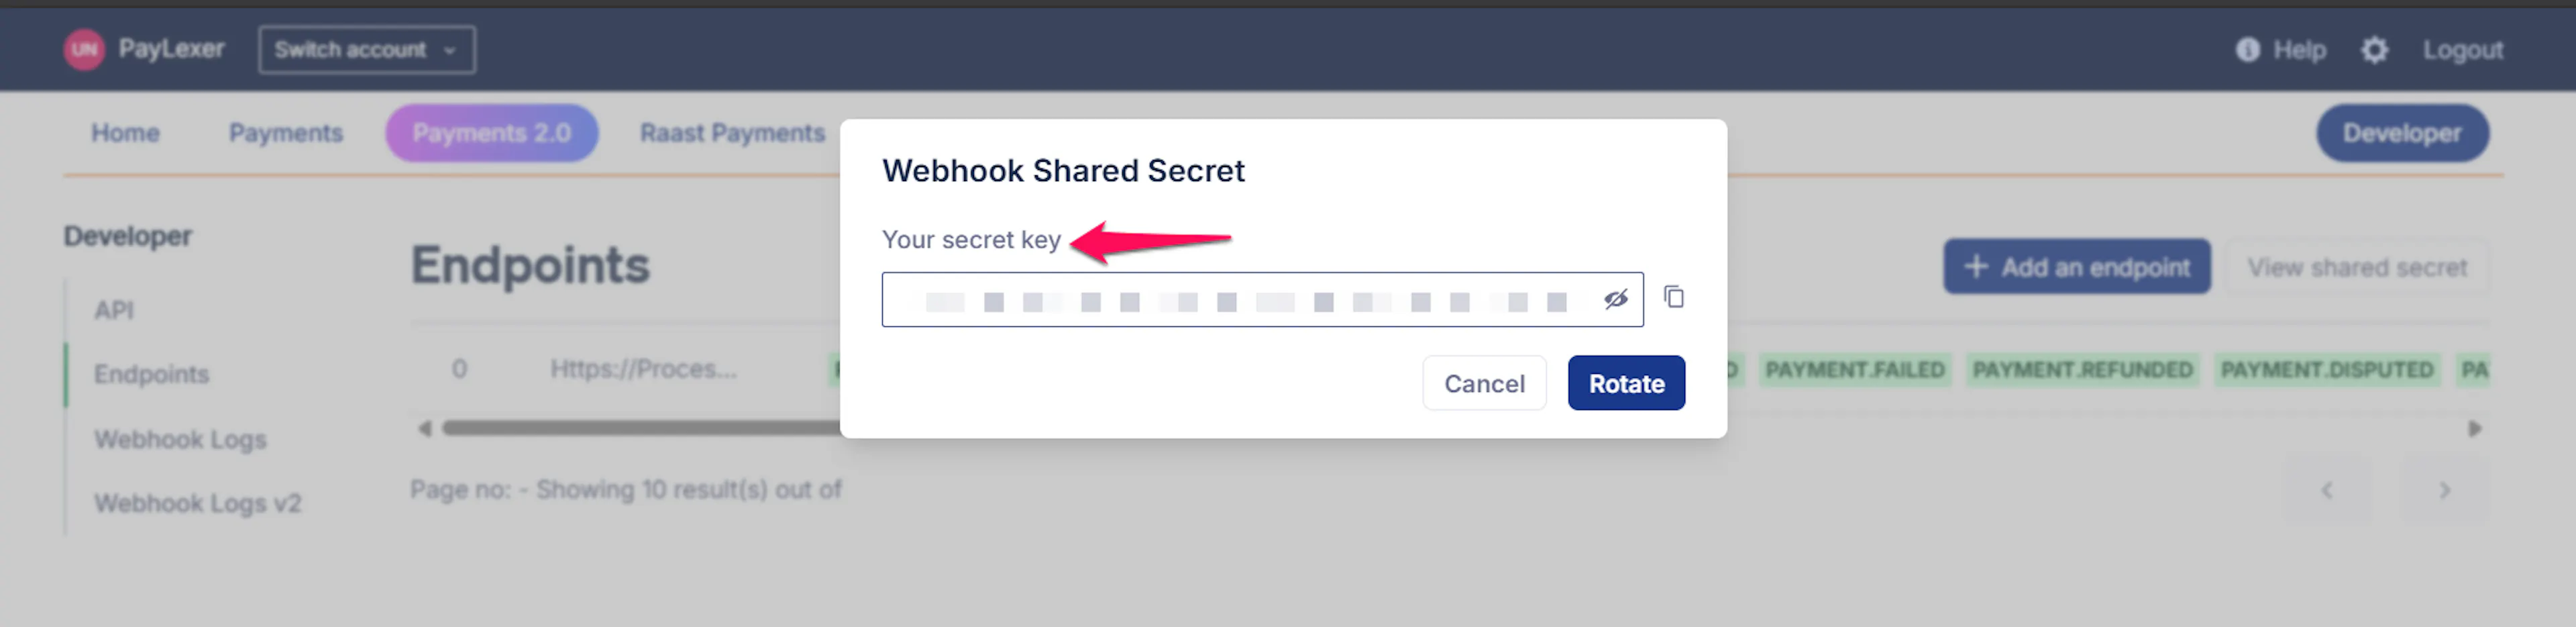
Register the sandbox endpoint using your sandbox dashboard and the live endpoint using your live dashboard - each environment has its own Webhook Secret.
Integrate Safepay to Your Website
If you have already added and configured your site, you can enable Safepay in your existing setup.
Go to Websites
Navigate to Websites in your PayLexer dashboard.
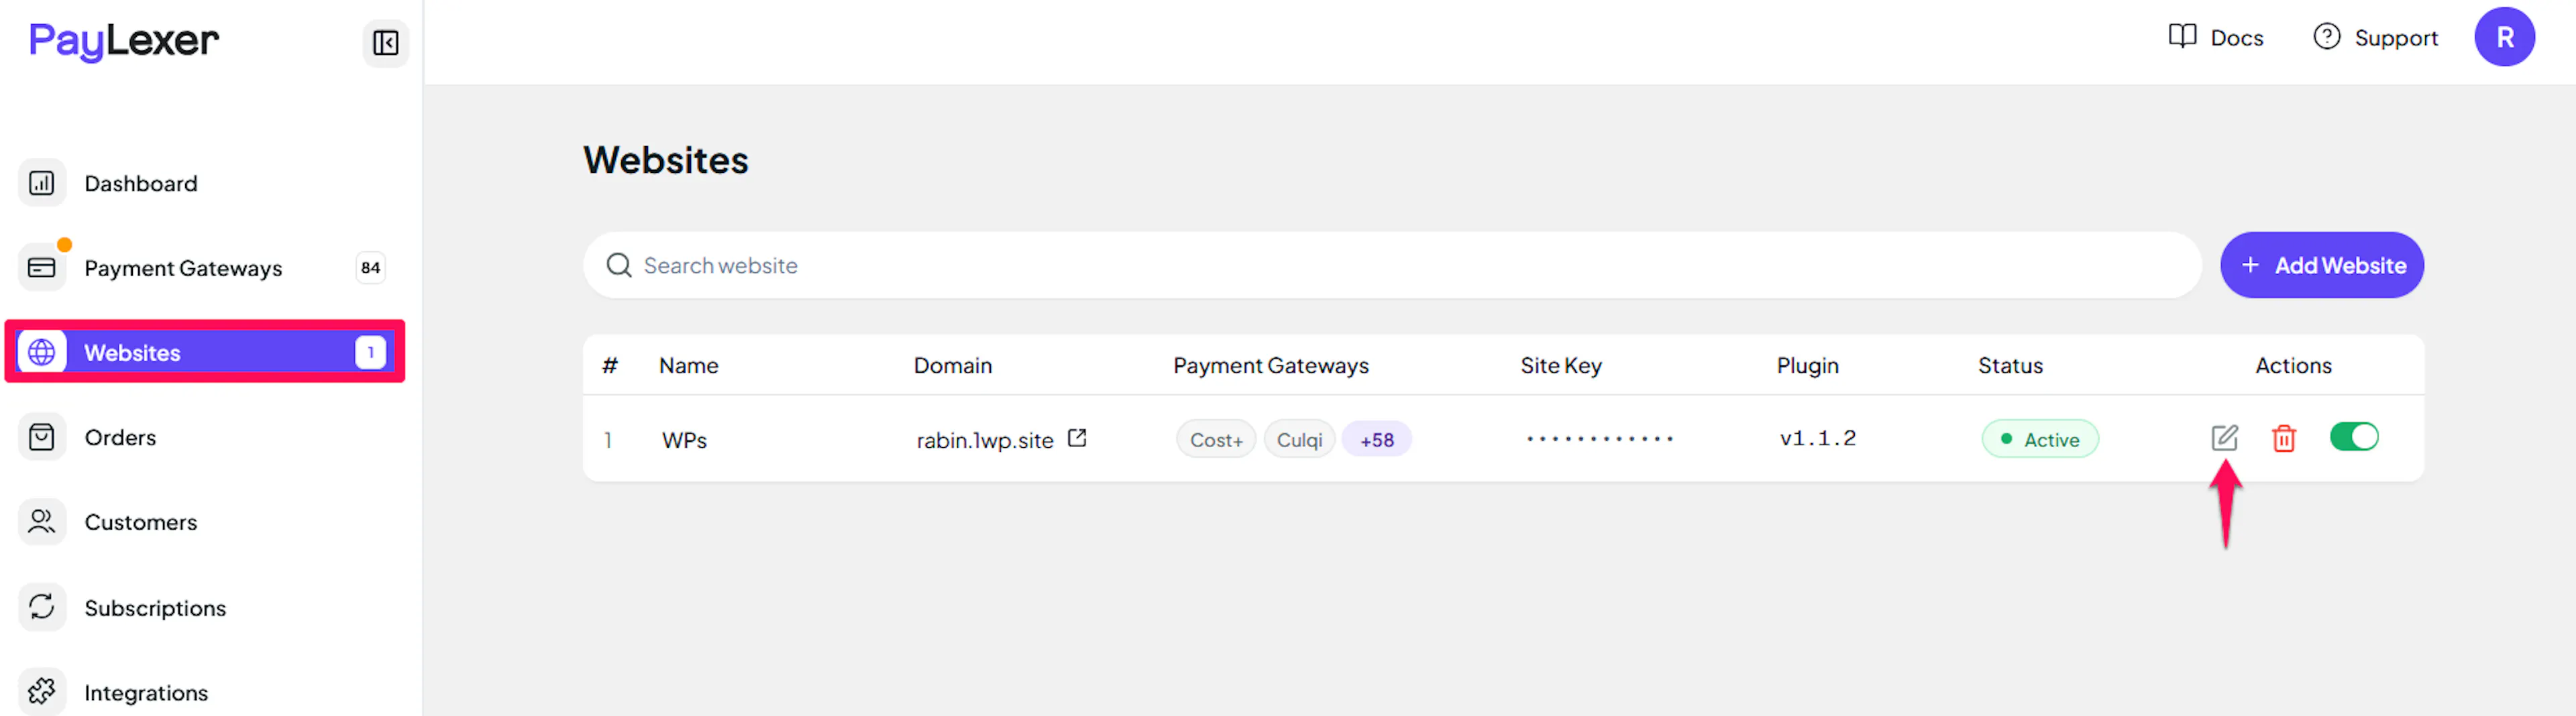
Edit your website
Click the Edit Icon of your added website.
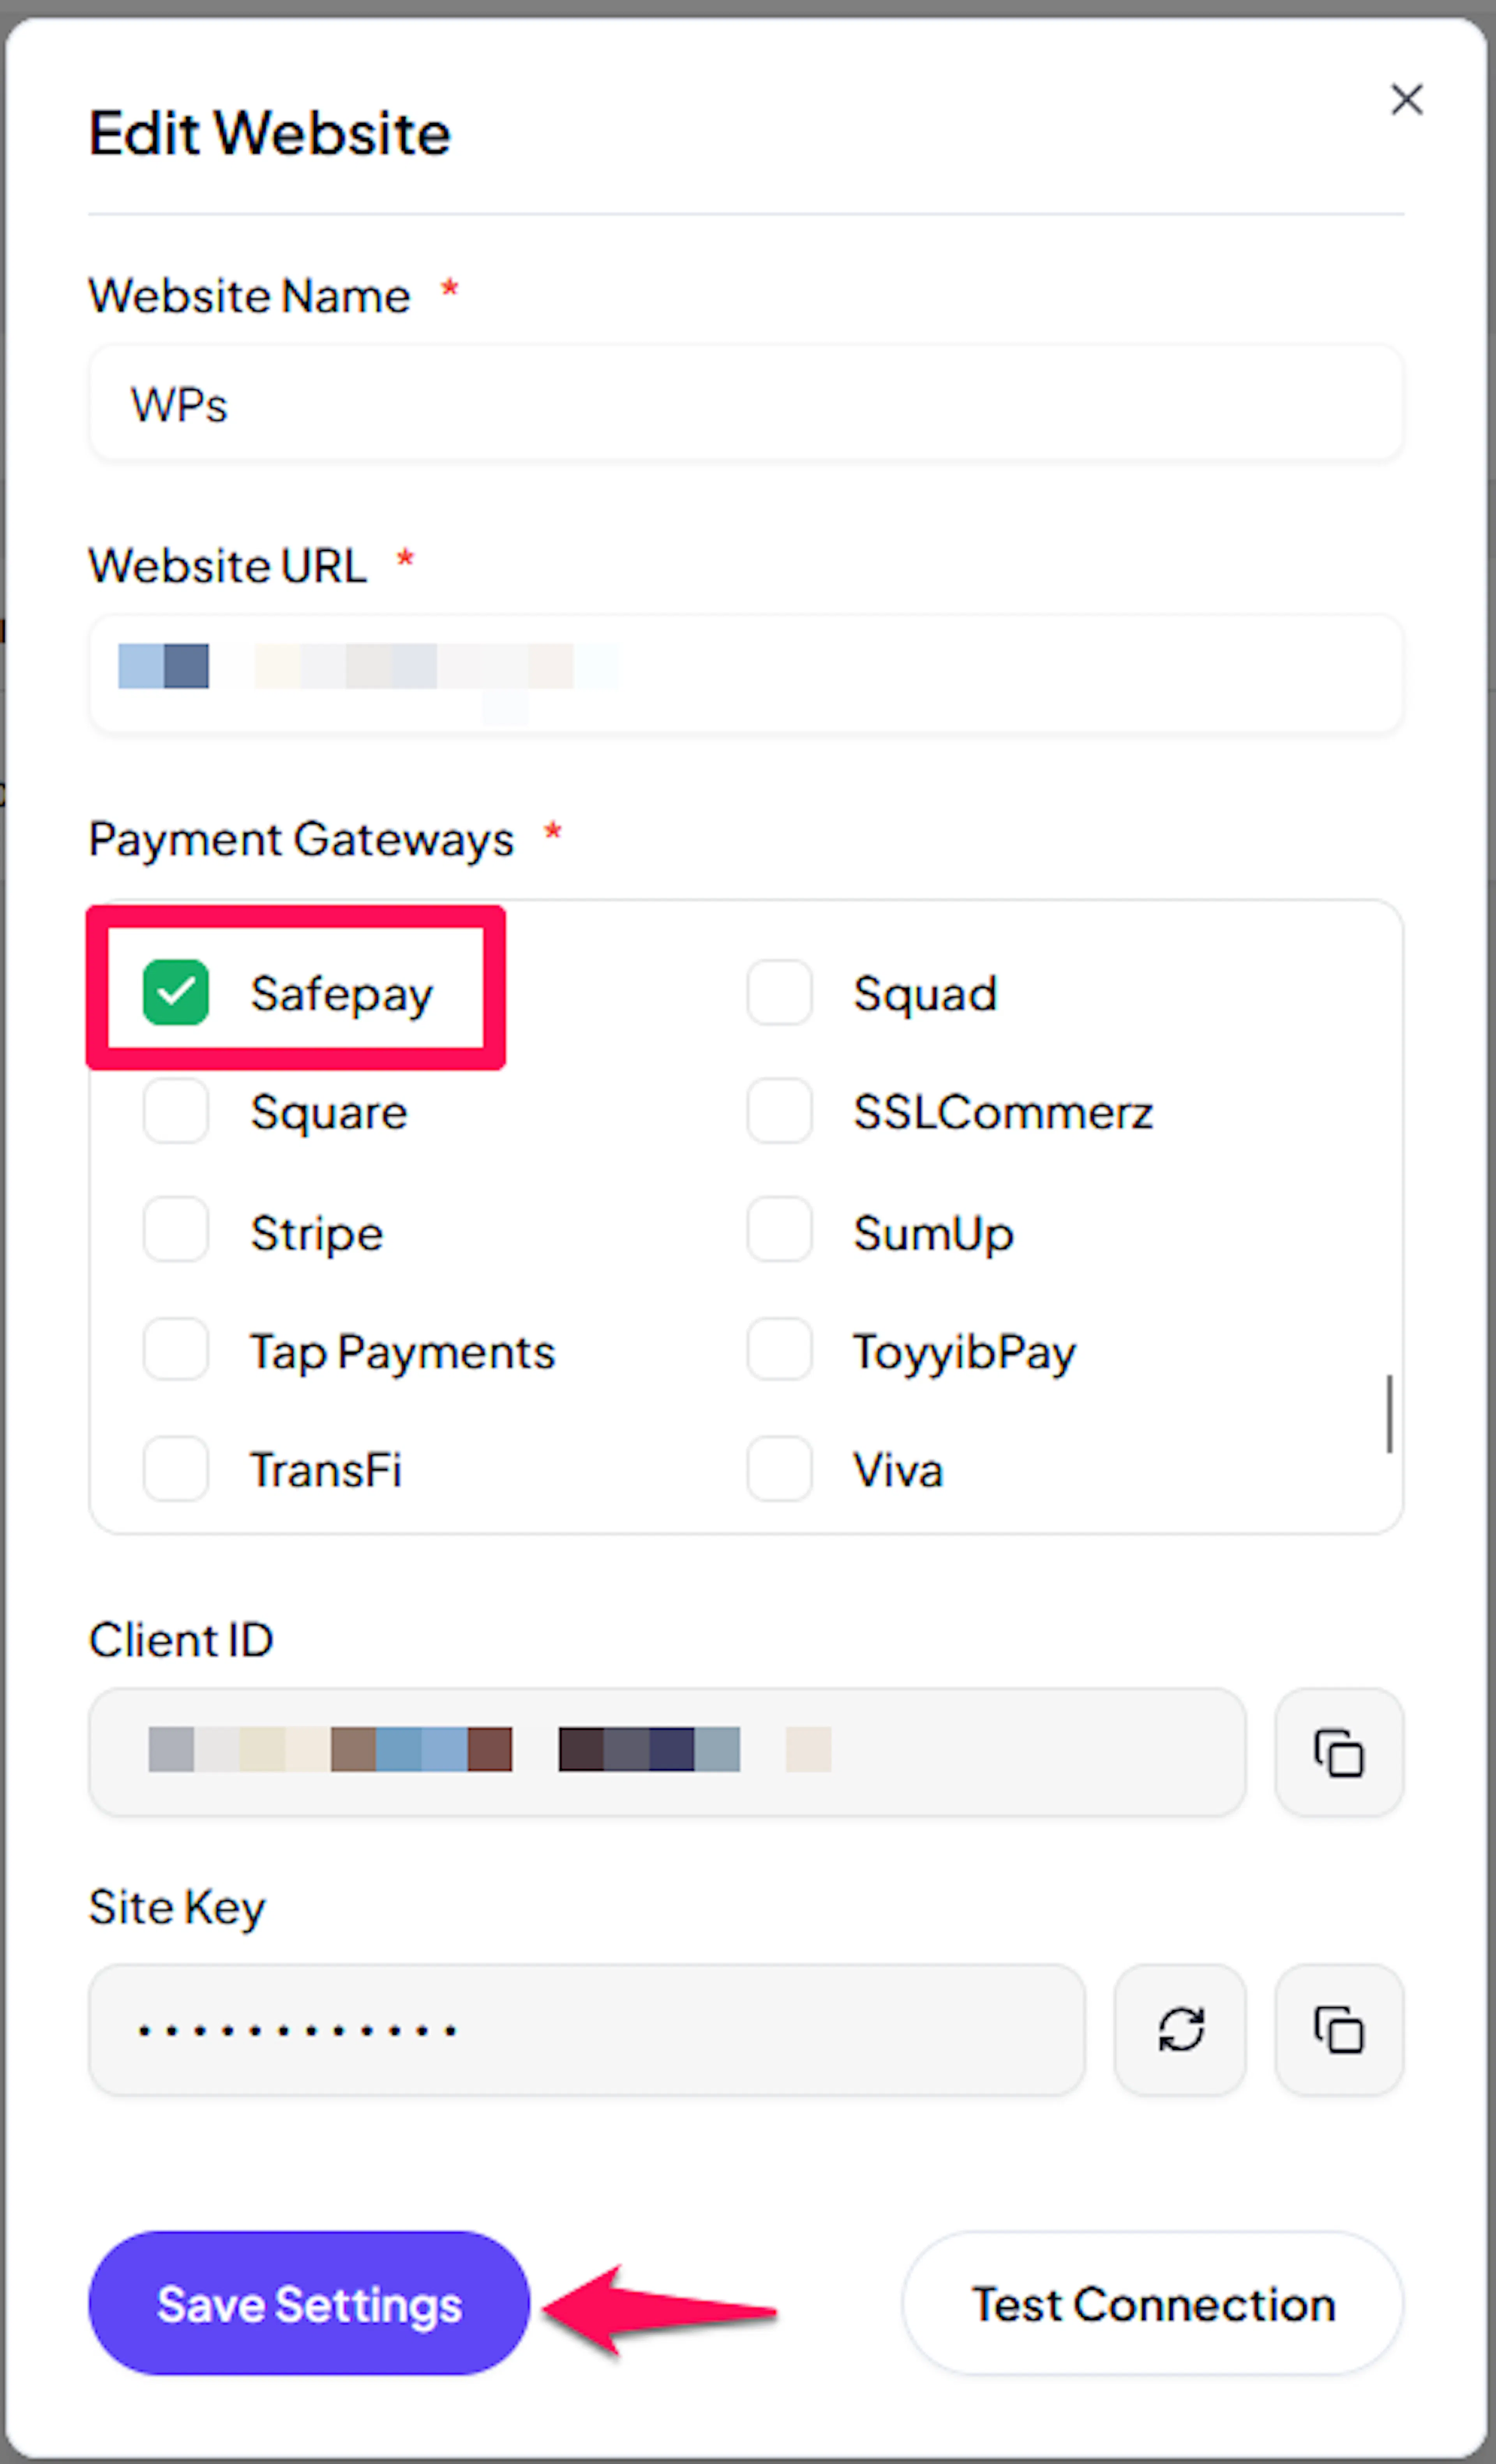
Enable Safepay
Click the checkbox to enable Safepay for the website.
If you haven't added a website yet, Continue to Add Your Website →
Troubleshooting
Best Practices
- Test in the sandbox before enabling production - complete a full payment and, if you use them, a full subscription in Test mode first.
- Keep a valid Webhook Secret saved for each environment so payment and subscription updates keep arriving in real time.
- If you offer subscriptions, don't rely on a "cancel at period end" option - communicate to customers that cancelling ends access immediately.
- Don't configure a sign-up fee on Safepay subscriptions expecting it to be charged - Safepay's plan model does not support it.
- Store your Merchant Secret and Webhook Secret securely and rotate them in both Safepay and PayLexer if you suspect they were exposed.
FAQs
Still Have Questions?
- Safepay Support: Safepay Help Center
- PayLexer Support: Contact Support