

Paymentwall
Connect Paymentwall to PayLexer to accept cards, bank transfers and 100+ local payment methods through Paymentwall's hosted payment page.
Paymentwall is a global payment platform whose hosted payment page lets shoppers pay by card, bank transfer or one of 100+ local payment methods across Southeast Asia, Latin America and the Middle East. Shoppers pay on Paymentwall's own page, so your website never handles card data, and PayLexer brings the result back to your store automatically.
- Supported Regions (Merchant Accounts): Global
- Supported Currencies: USD, EUR, GBP, AUD, CAD, BRL, MXN, THB, VND, IDR, PHP, MYR, TRY, AED, SAR - view full list
Supported Features
- Hosted payment page for one-time payments by card, bank transfer or local payment method
- Signed payment and refund notifications, verified with your Secret Key
- Refunds made in your Paymentwall dashboard update the order in PayLexer automatically
- Test Payment Method for trying checkout without real money
Before You Start
Make sure you have:
- Paymentwall Account with a project – Don't have one? Sign up for Paymentwall →
- PayLexer Account – Required to configure the integration. Create your account →
- A website where you want to integrate
Looking for a different payment processor? View all supported gateways →
Configuring Paymentwall
You need a Project Key and a Secret Key from your Paymentwall project.
Getting API Credentials
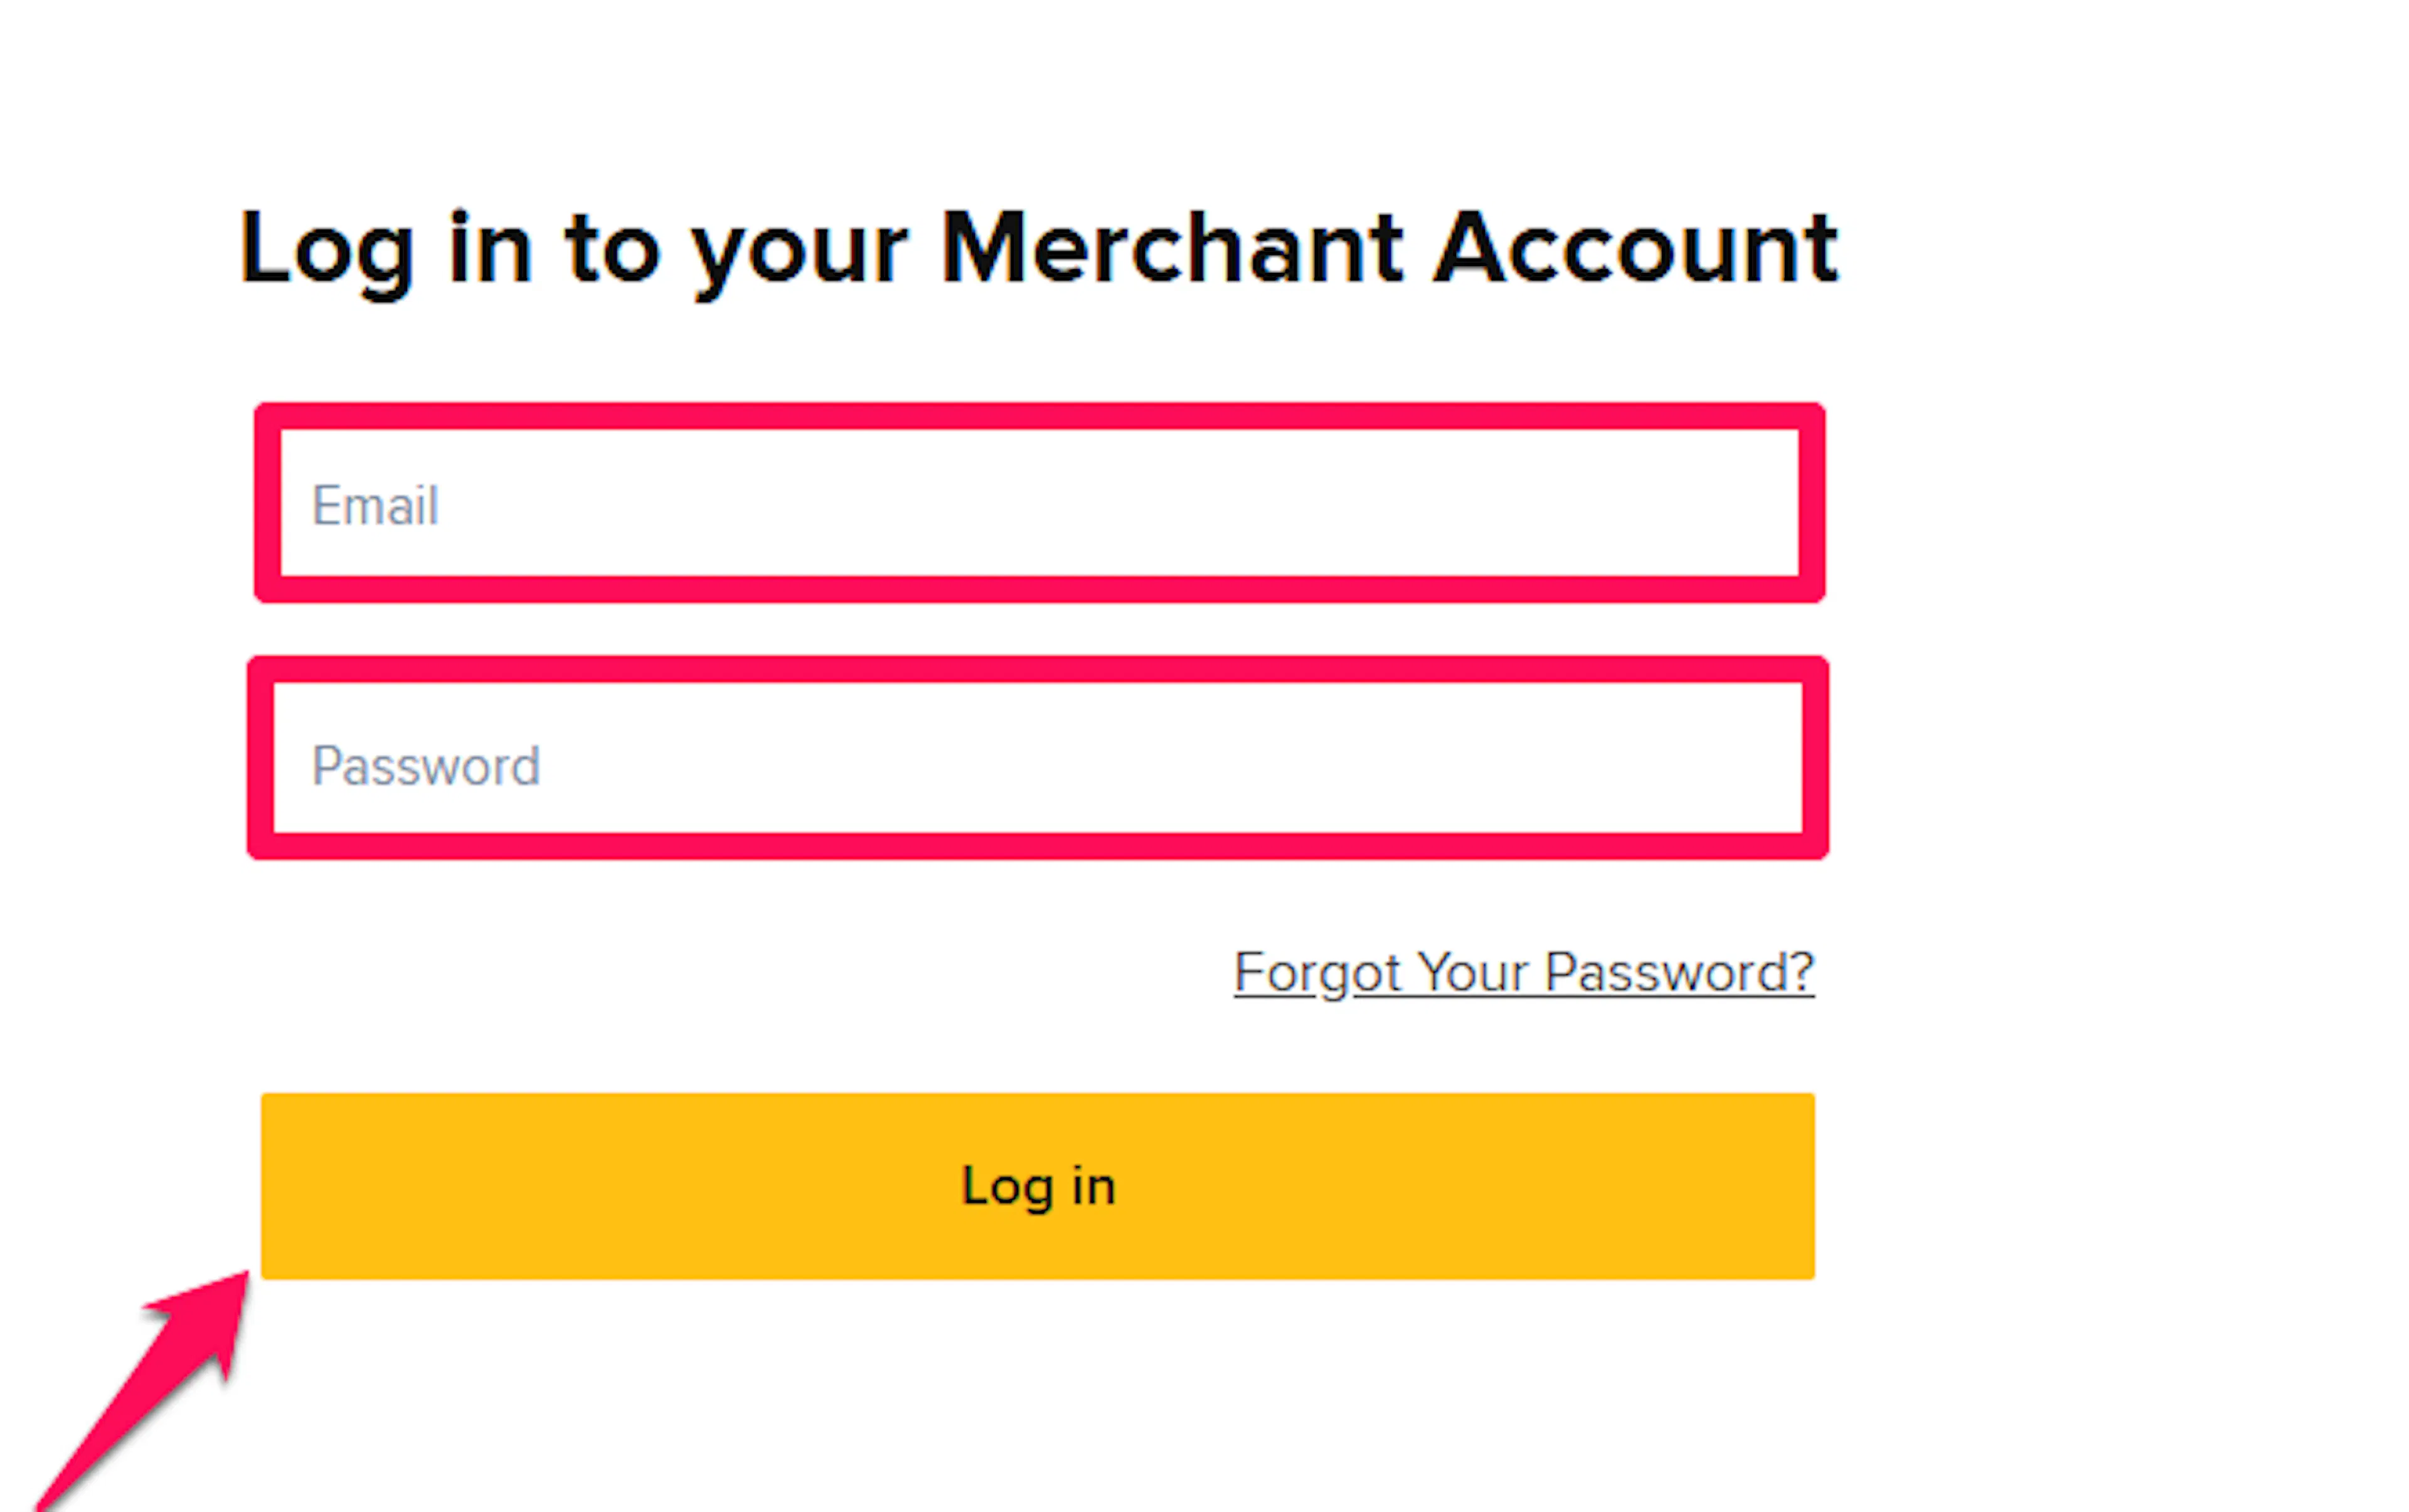
Log in to Paymentwall
Sign in to your Paymentwall merchant area and open My Projects.
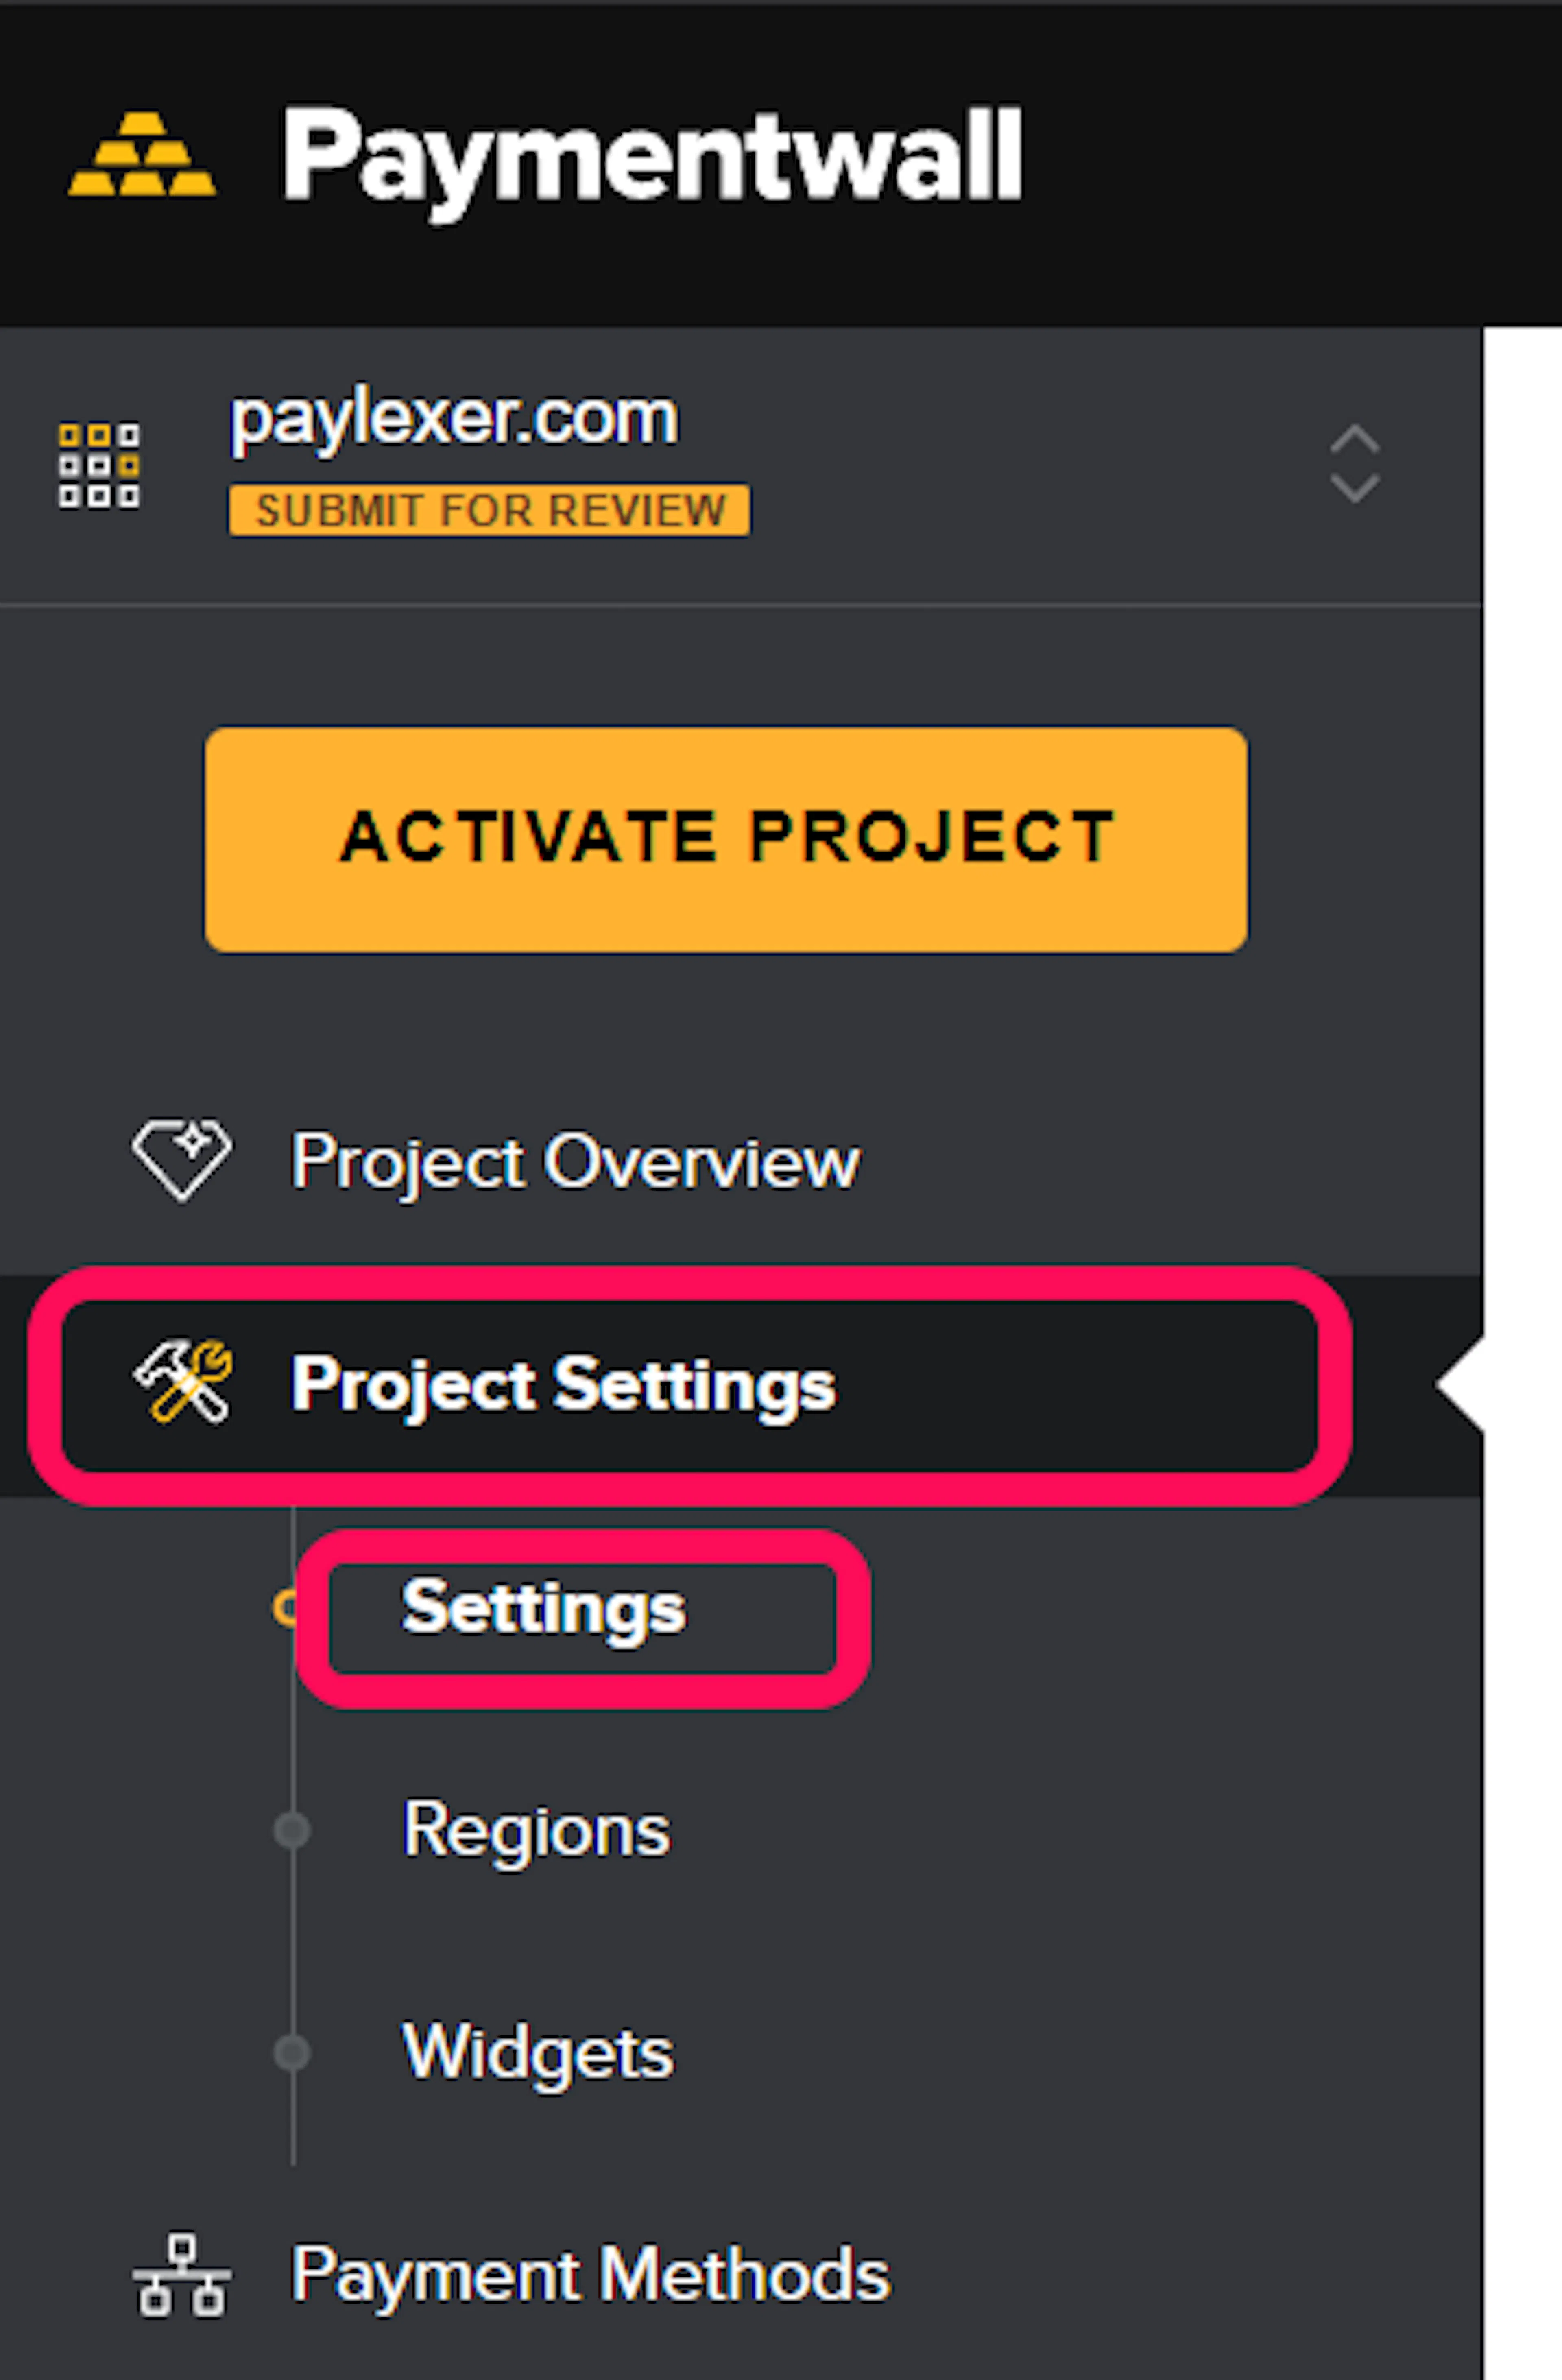
Open your project settings
Pick the project you want to use with PayLexer and open its settings.
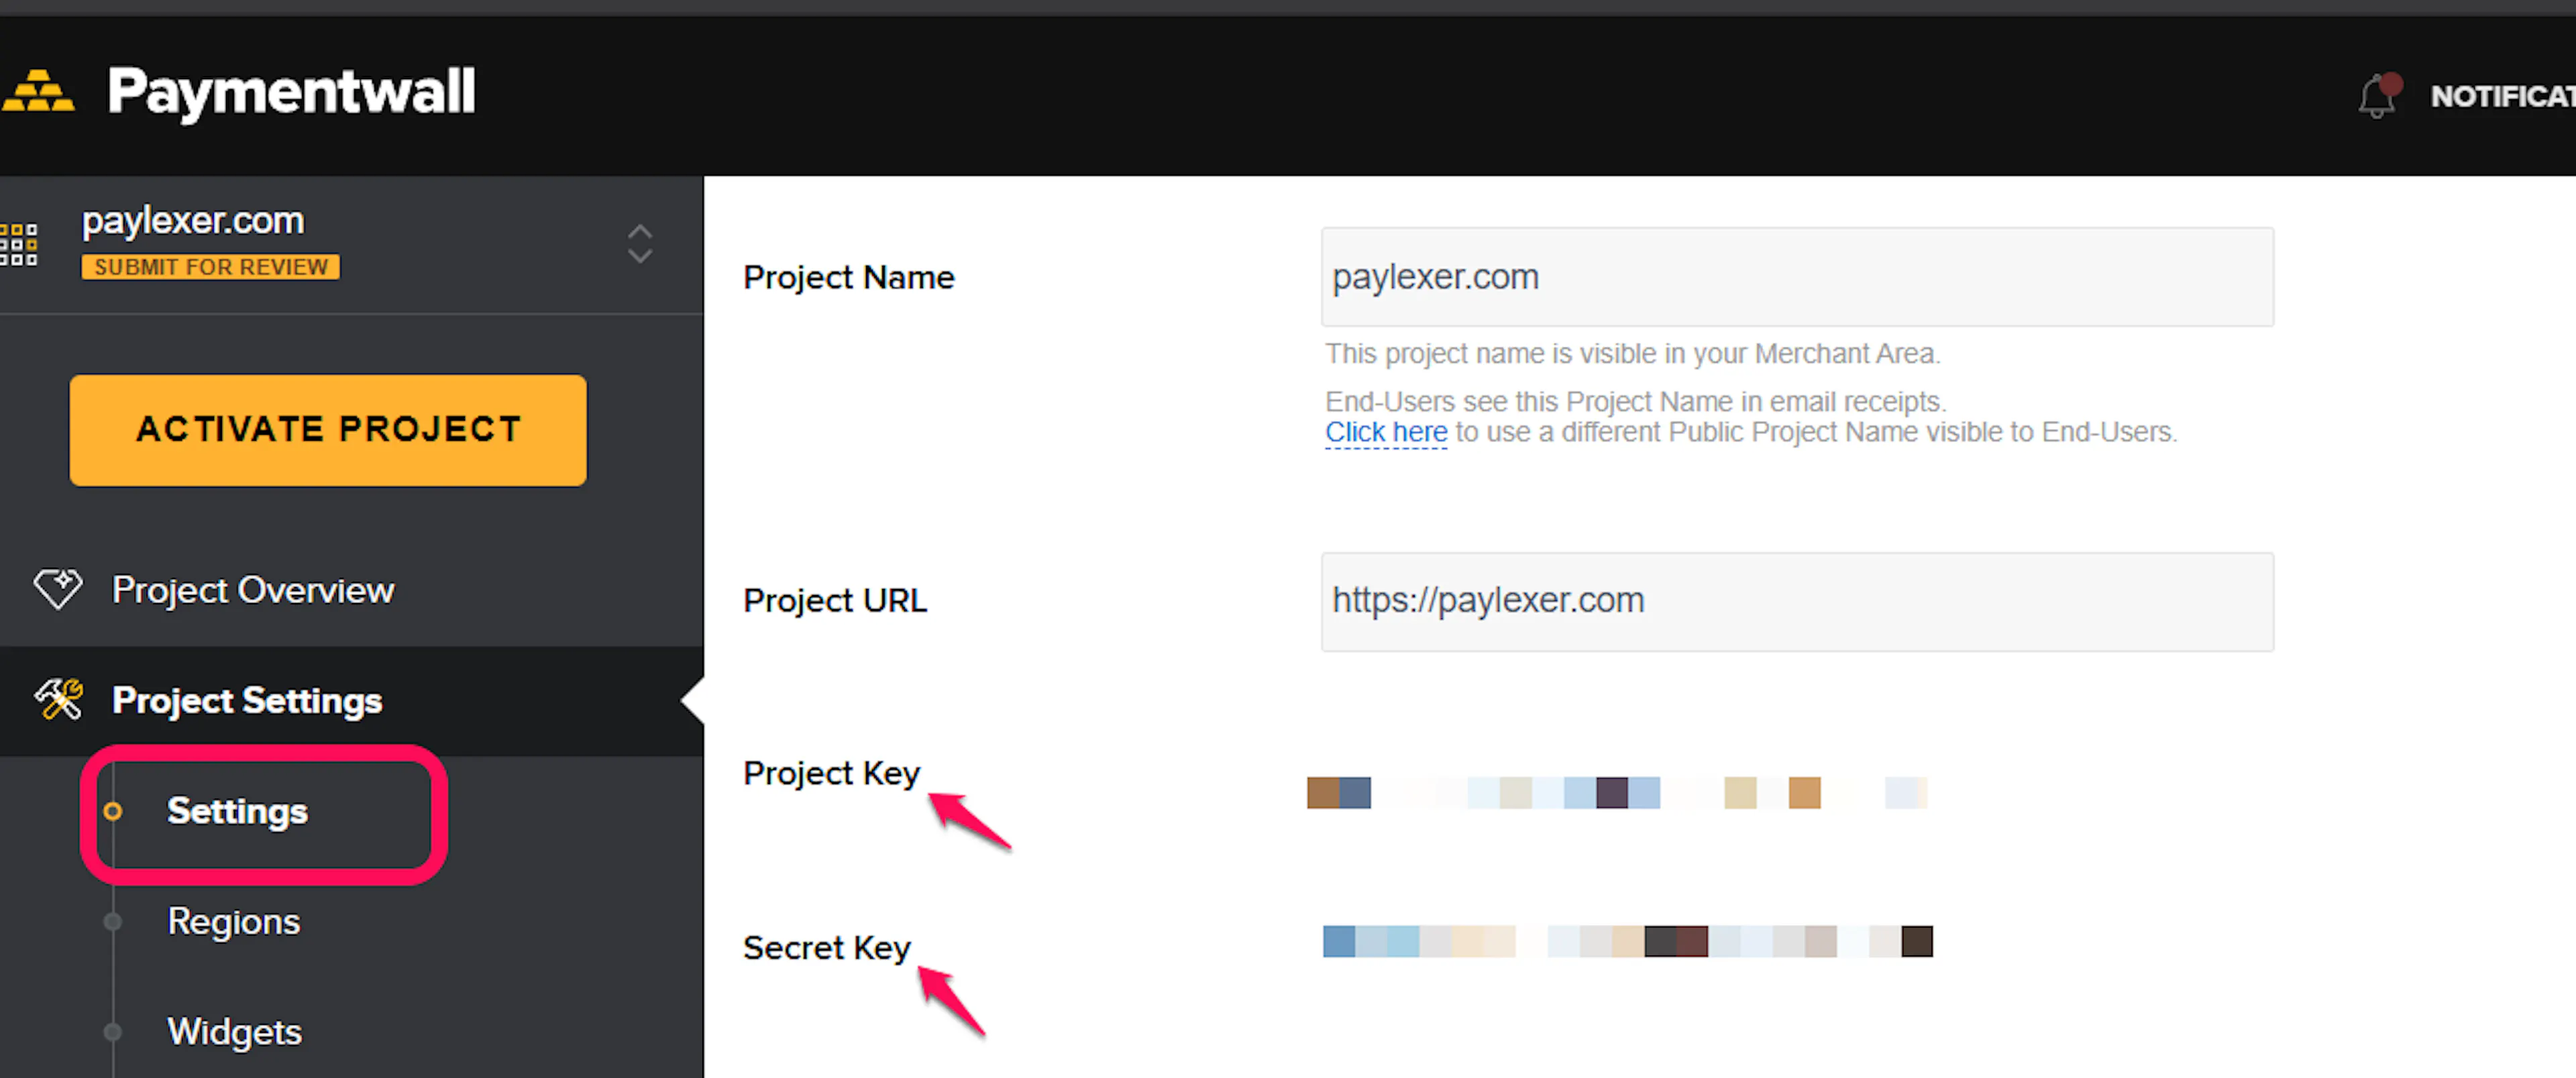
Copy your keys
Copy the Project Key and Secret Key. Keep the Secret Key private - it signs every checkout PayLexer opens and verifies every notification Paymentwall sends back.
Adding Credentials to PayLexer
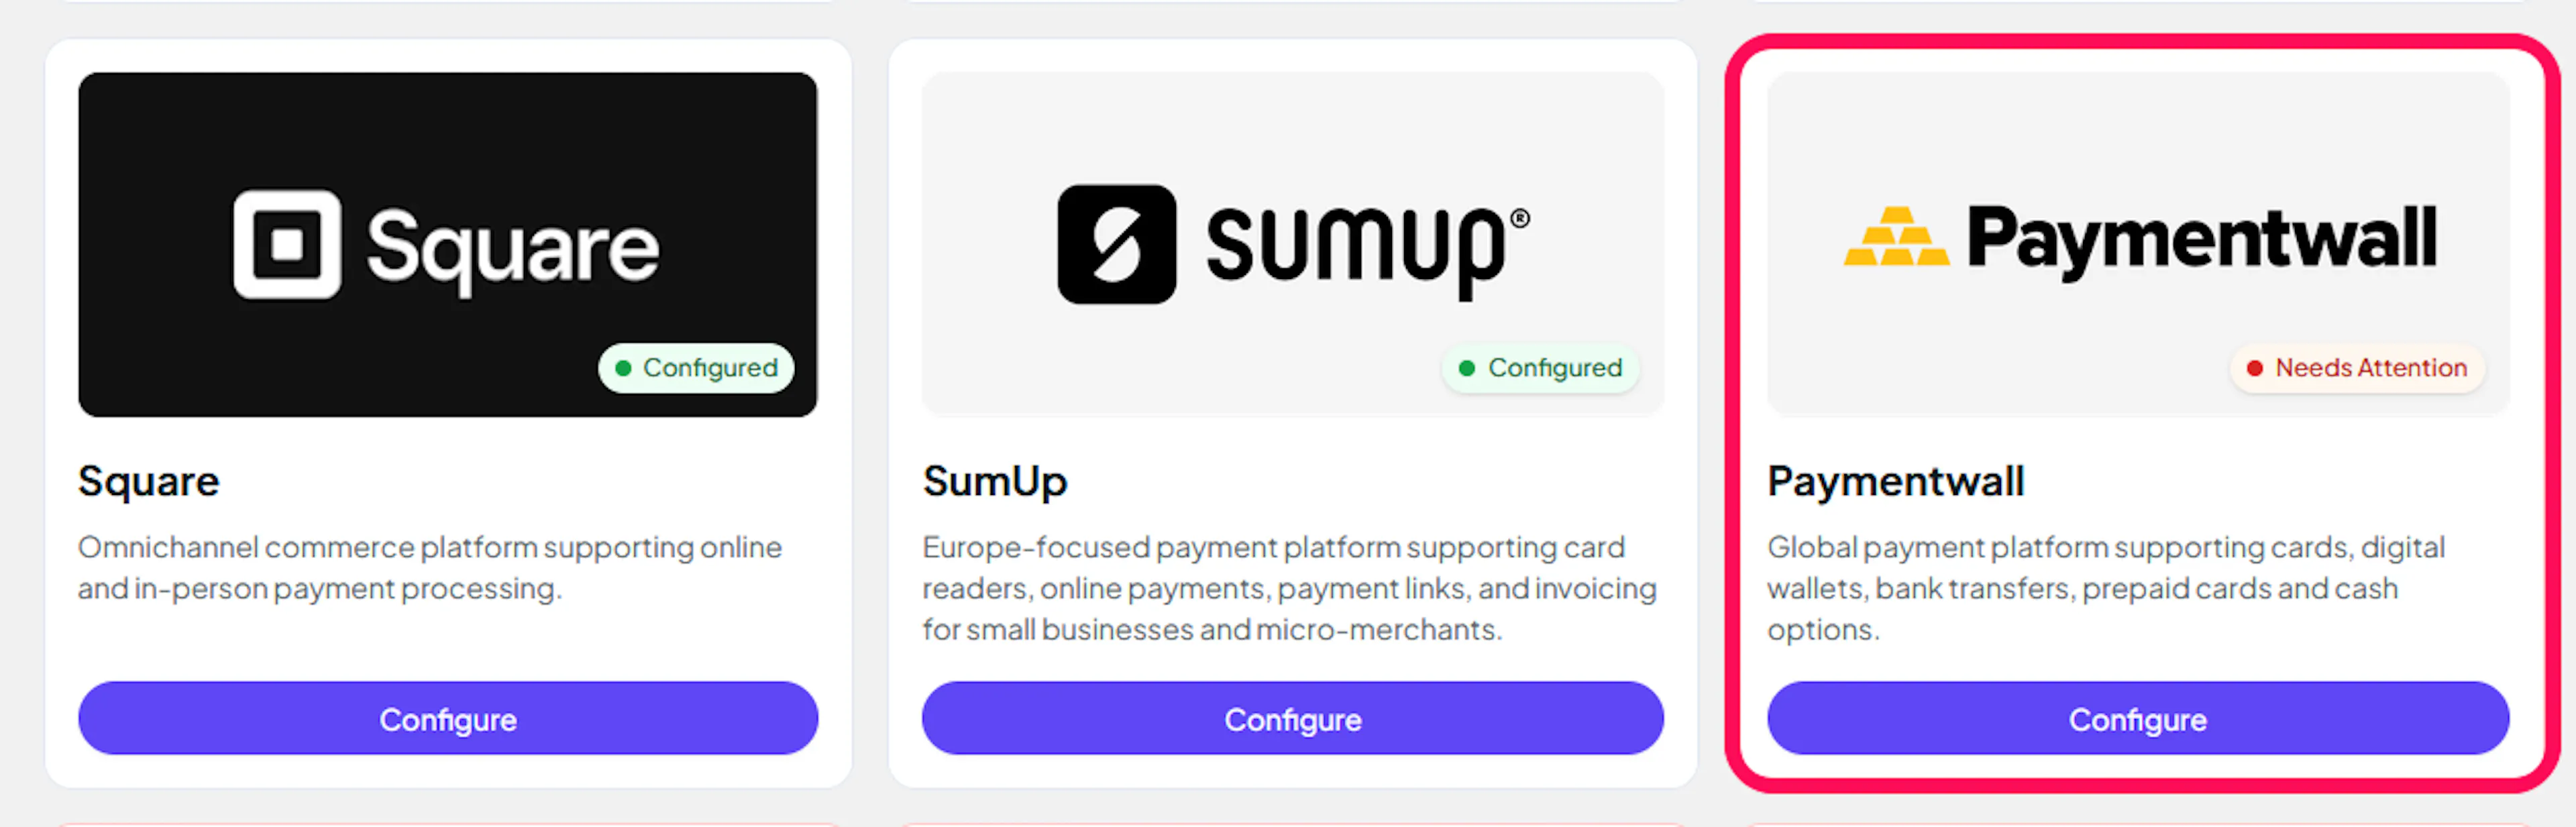
Open PayLexer Dashboard
Log in to your PayLexer dashboard and click Payment Gateways in the left menu. Find the Paymentwall card (use the search box if the list is long) and click Configure.
Enter your credentials
Paste the Project Key and Secret Key into the corresponding fields. Use the Sandbox tab for testing and the Live tab for real payments.
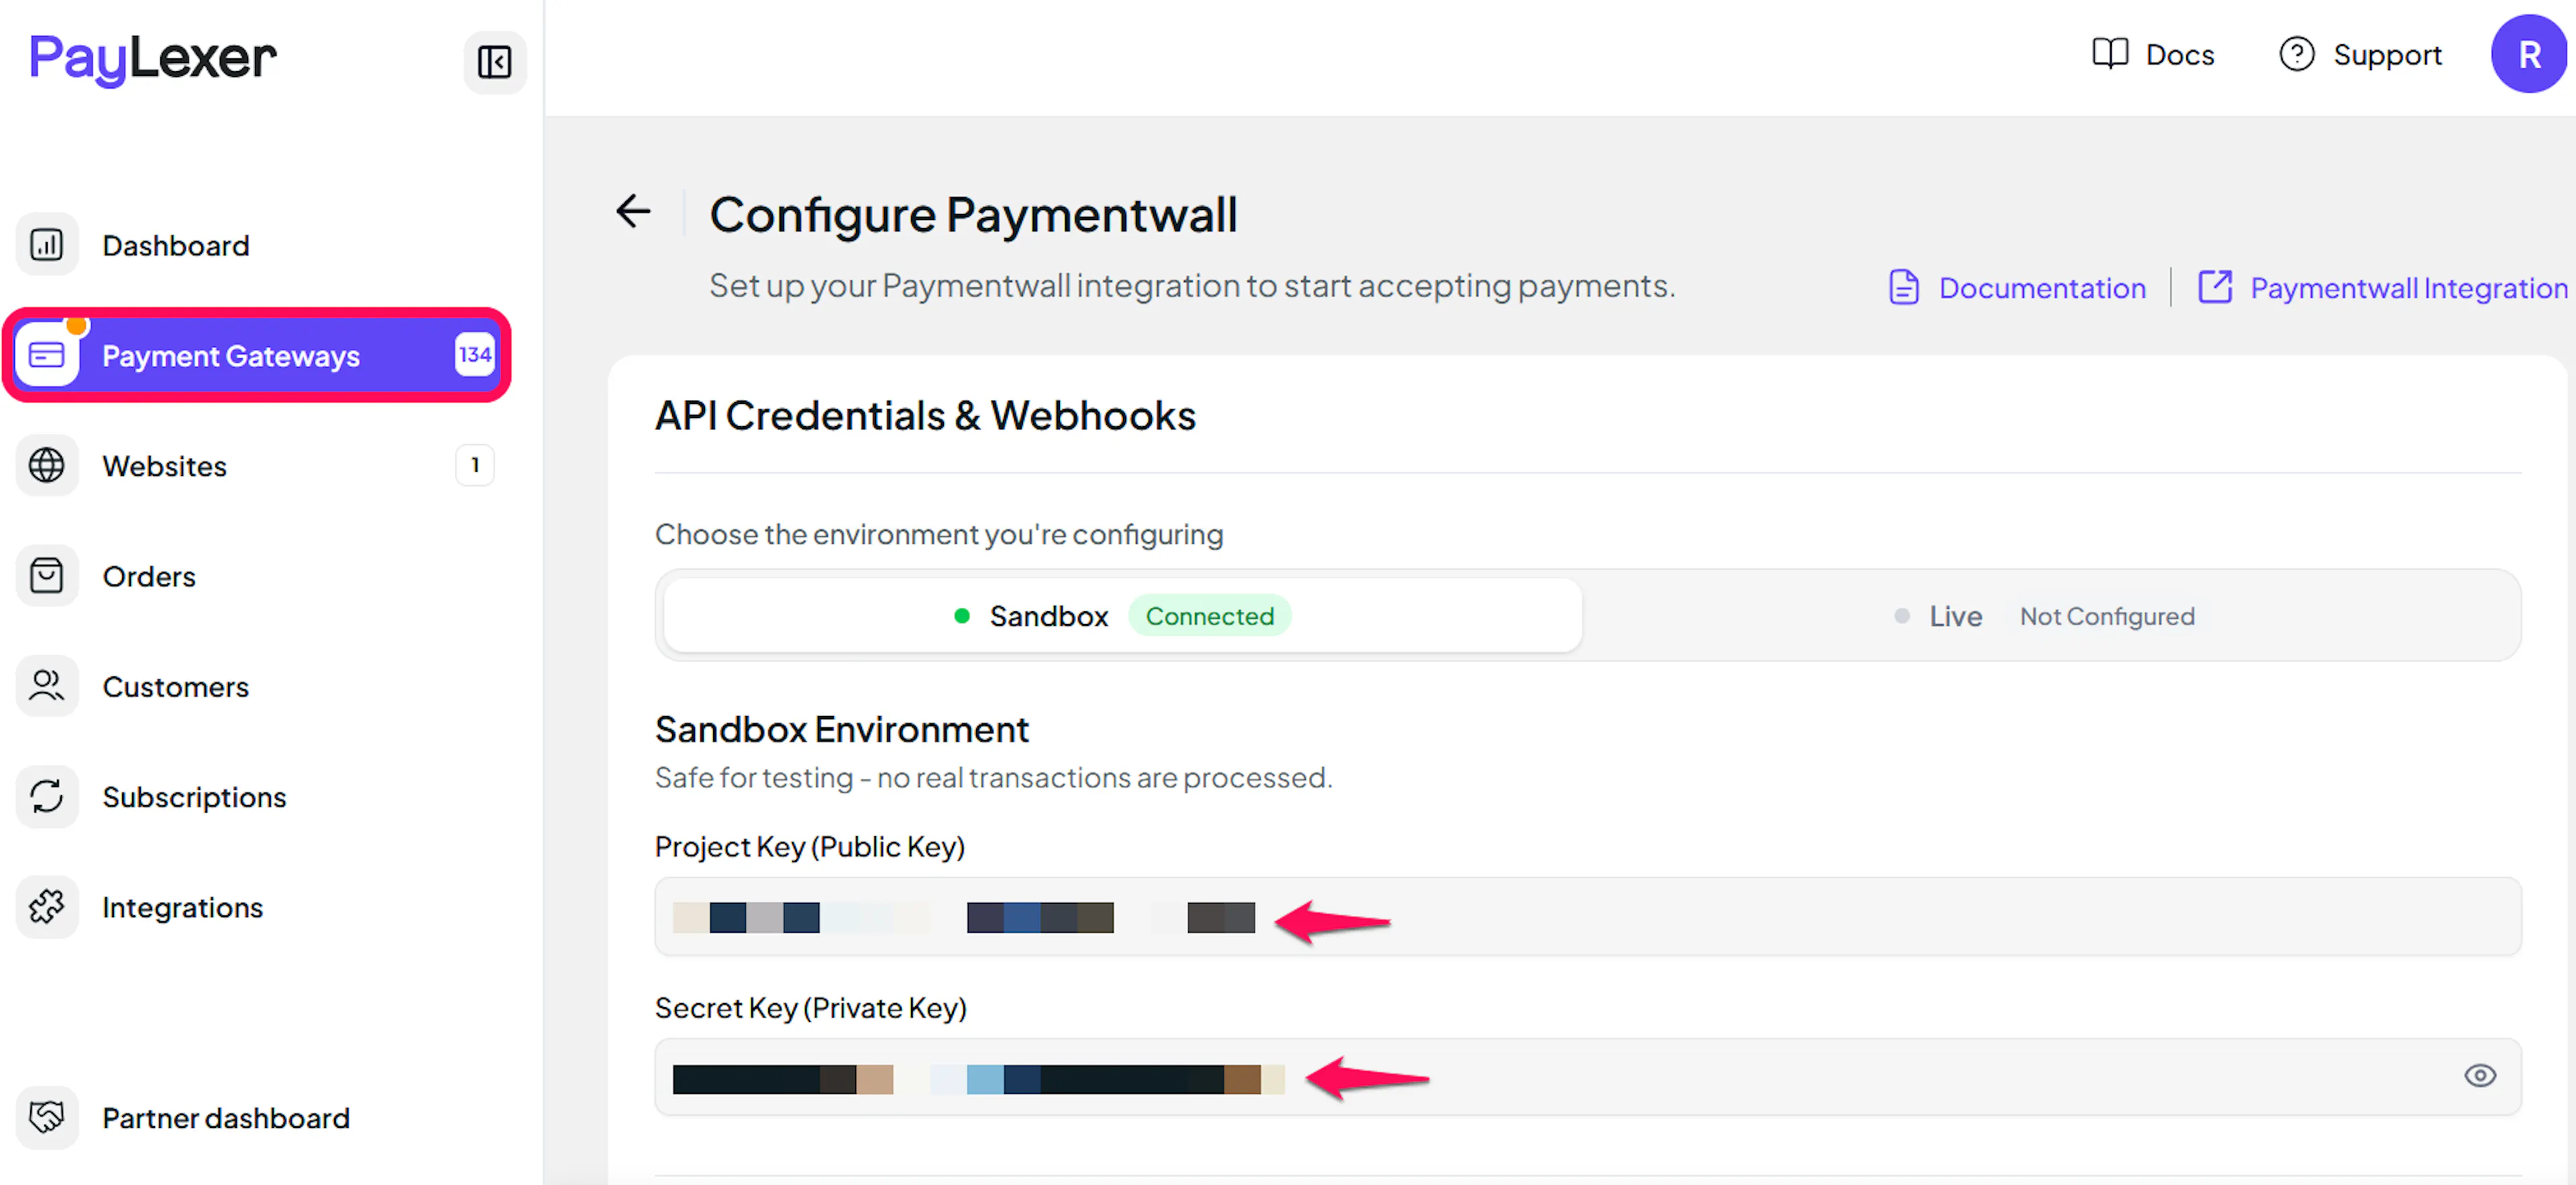
Understanding Live/Production and Sandbox Settings:
| Environment | Purpose |
|---|---|
| Live / Production | Used for real transactions. |
| Sandbox | Used for testing only. No real money is processed. |
How PayLexer selects credentials:
- Debug/Test mode ON → Test credentials are used
- Debug/Test mode OFF → Live credentials are used
Verify and save
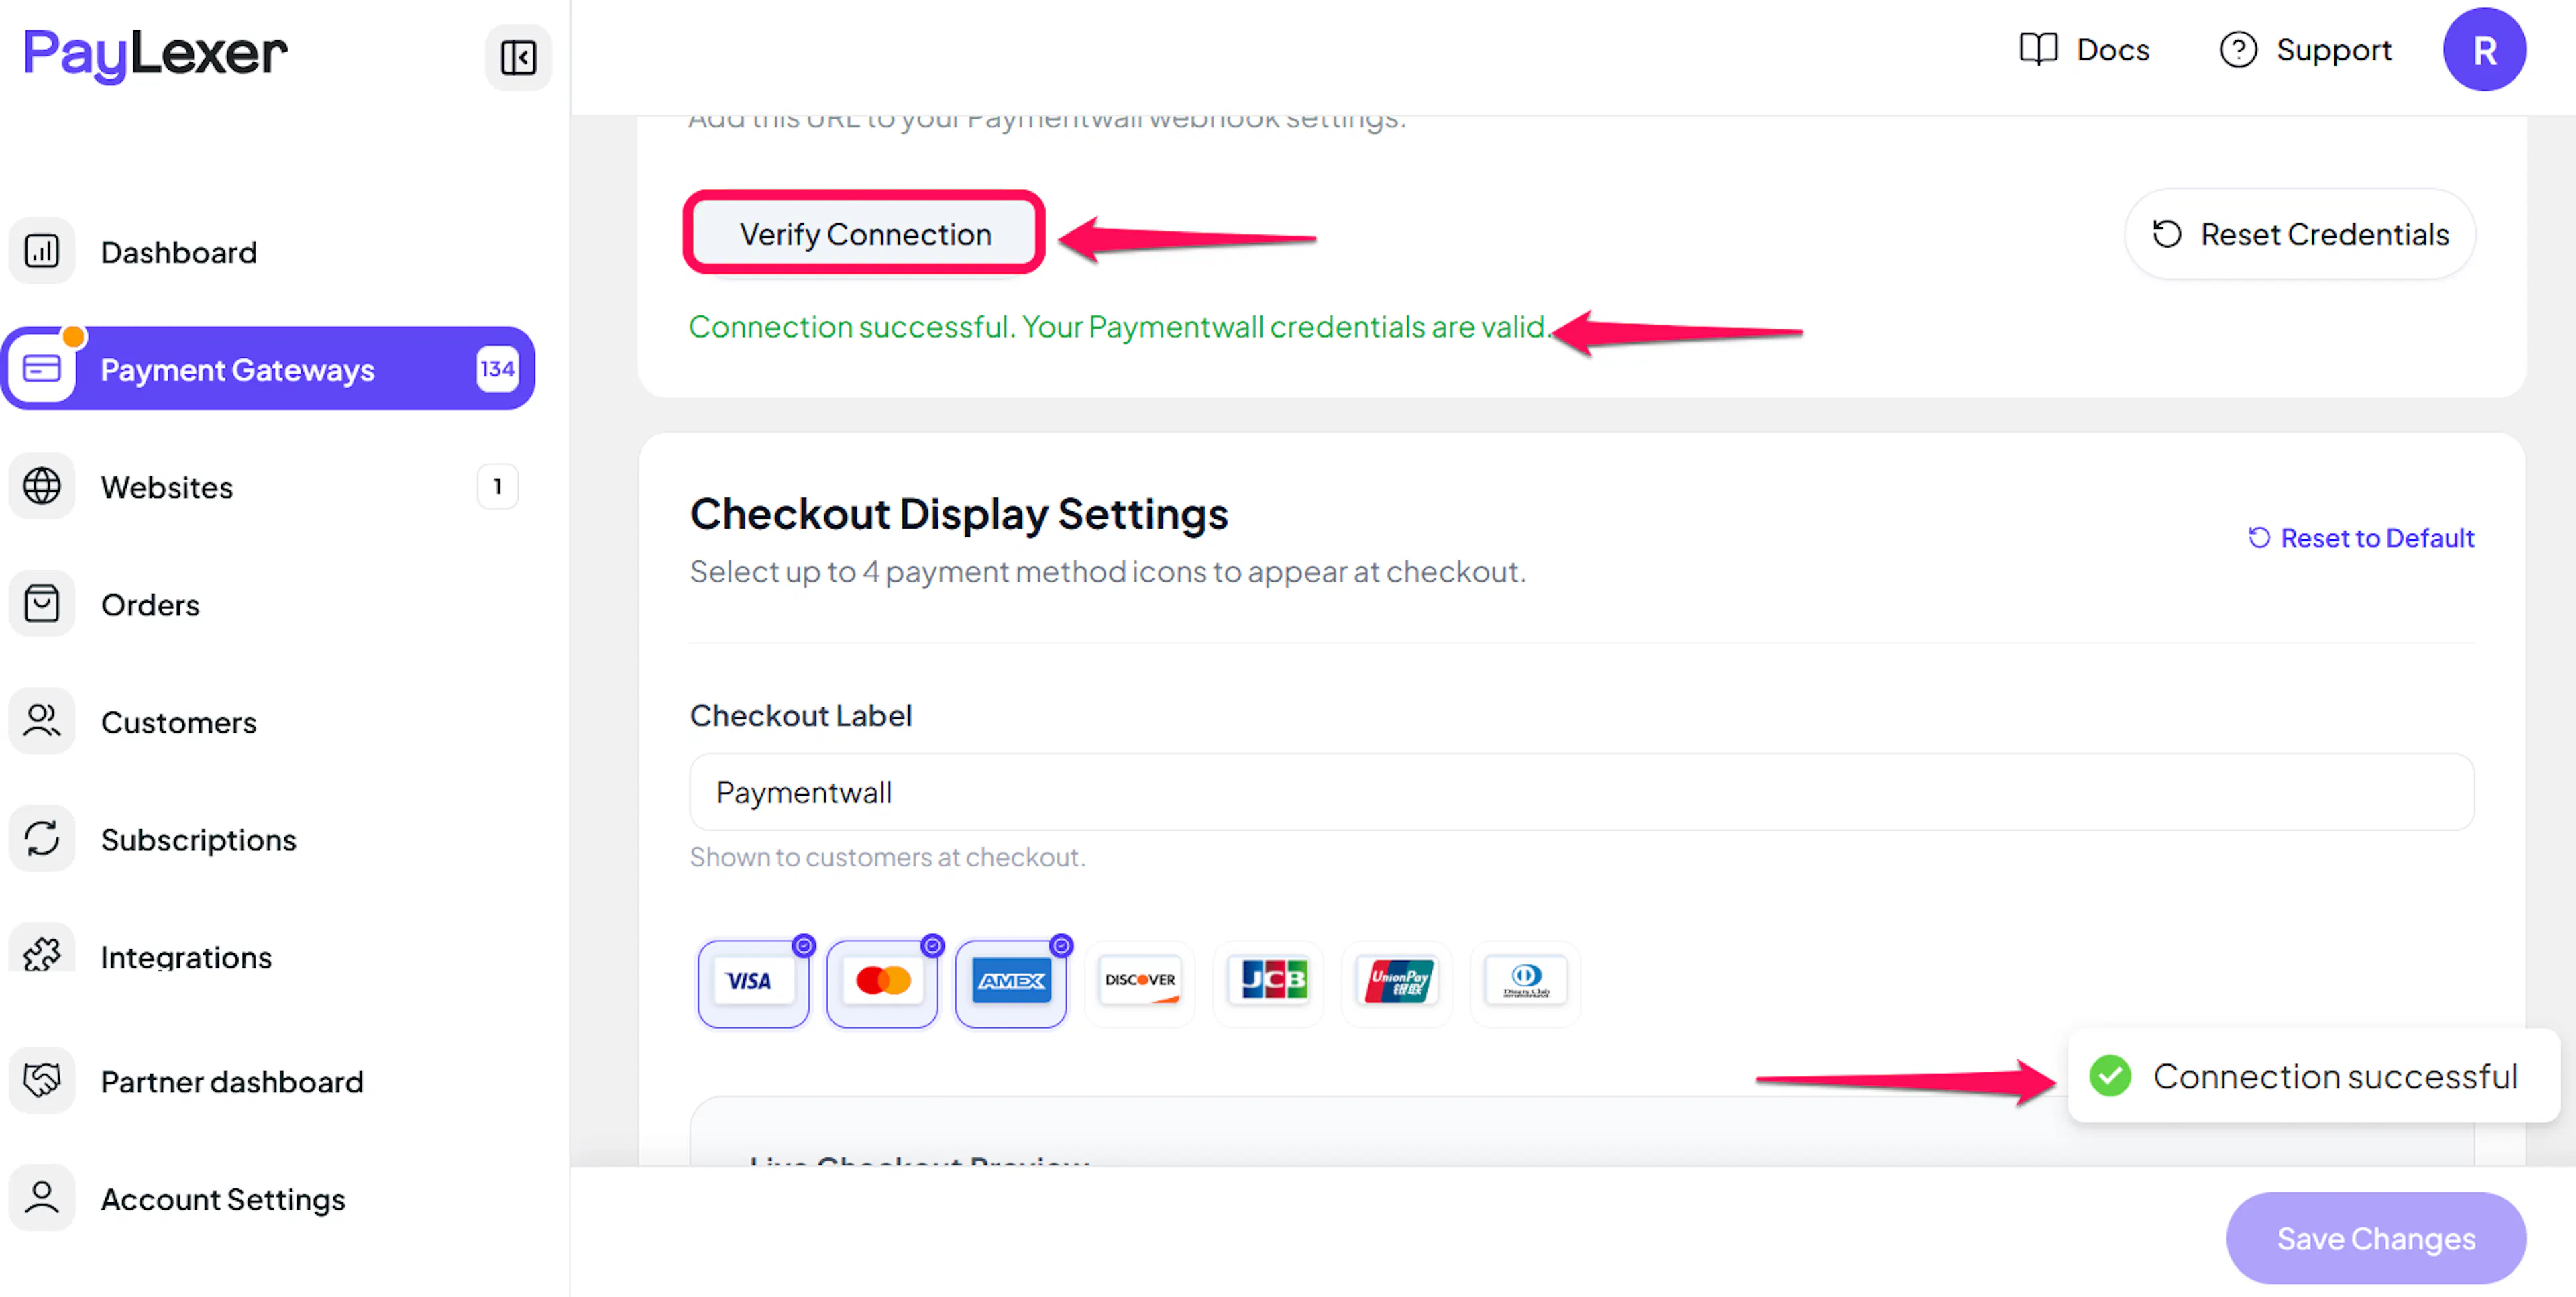
Click Verify Connection to check the keys you entered (it works before you save). Then click Save Changes at the bottom of the page. Repeat for the other tab if you use both environments.
Configuring Webhooks (Mandatory)
Webhooks enable real-time payment updates and significantly improve reliability.
Benefits of Webhooks:
- Instant payment status updates
- Automatic refund processing
Paymentwall calls its webhook notifications "pingbacks" and sends them to the Pingback URL in your project settings, so you need to add it once.
Copy your Webhook URL
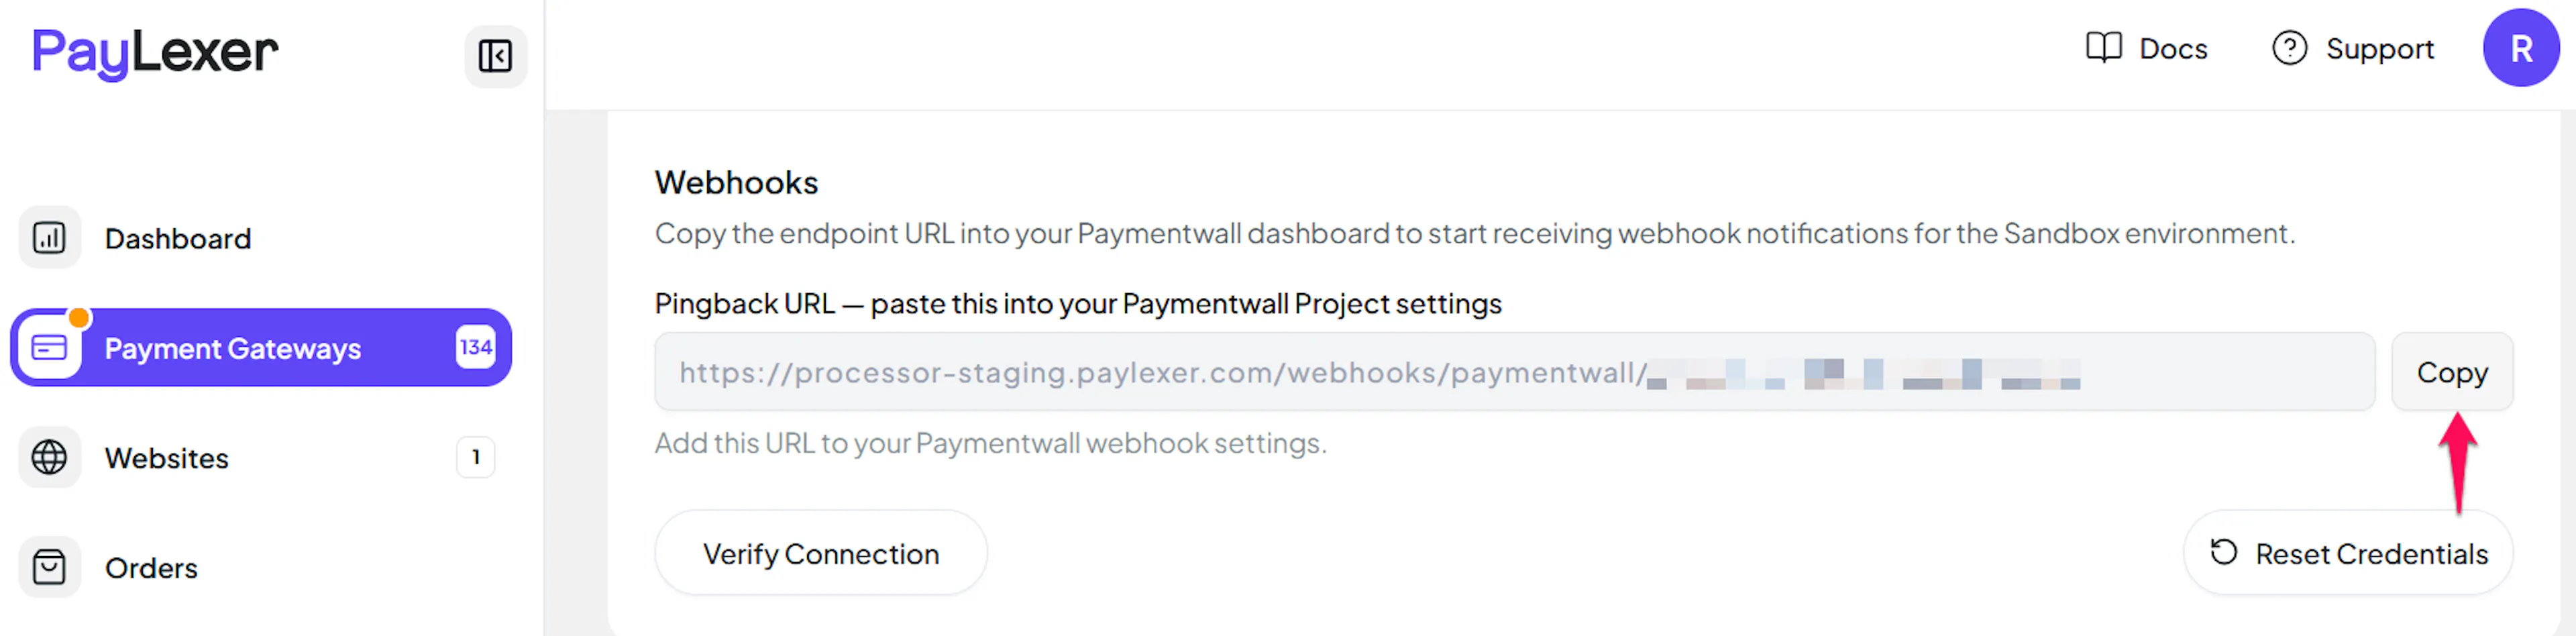
On the same Paymentwall page in PayLexer, copy the read-only Webhook URL using its Copy button. It is the same for Sandbox and Live.
Paste it into Paymentwall
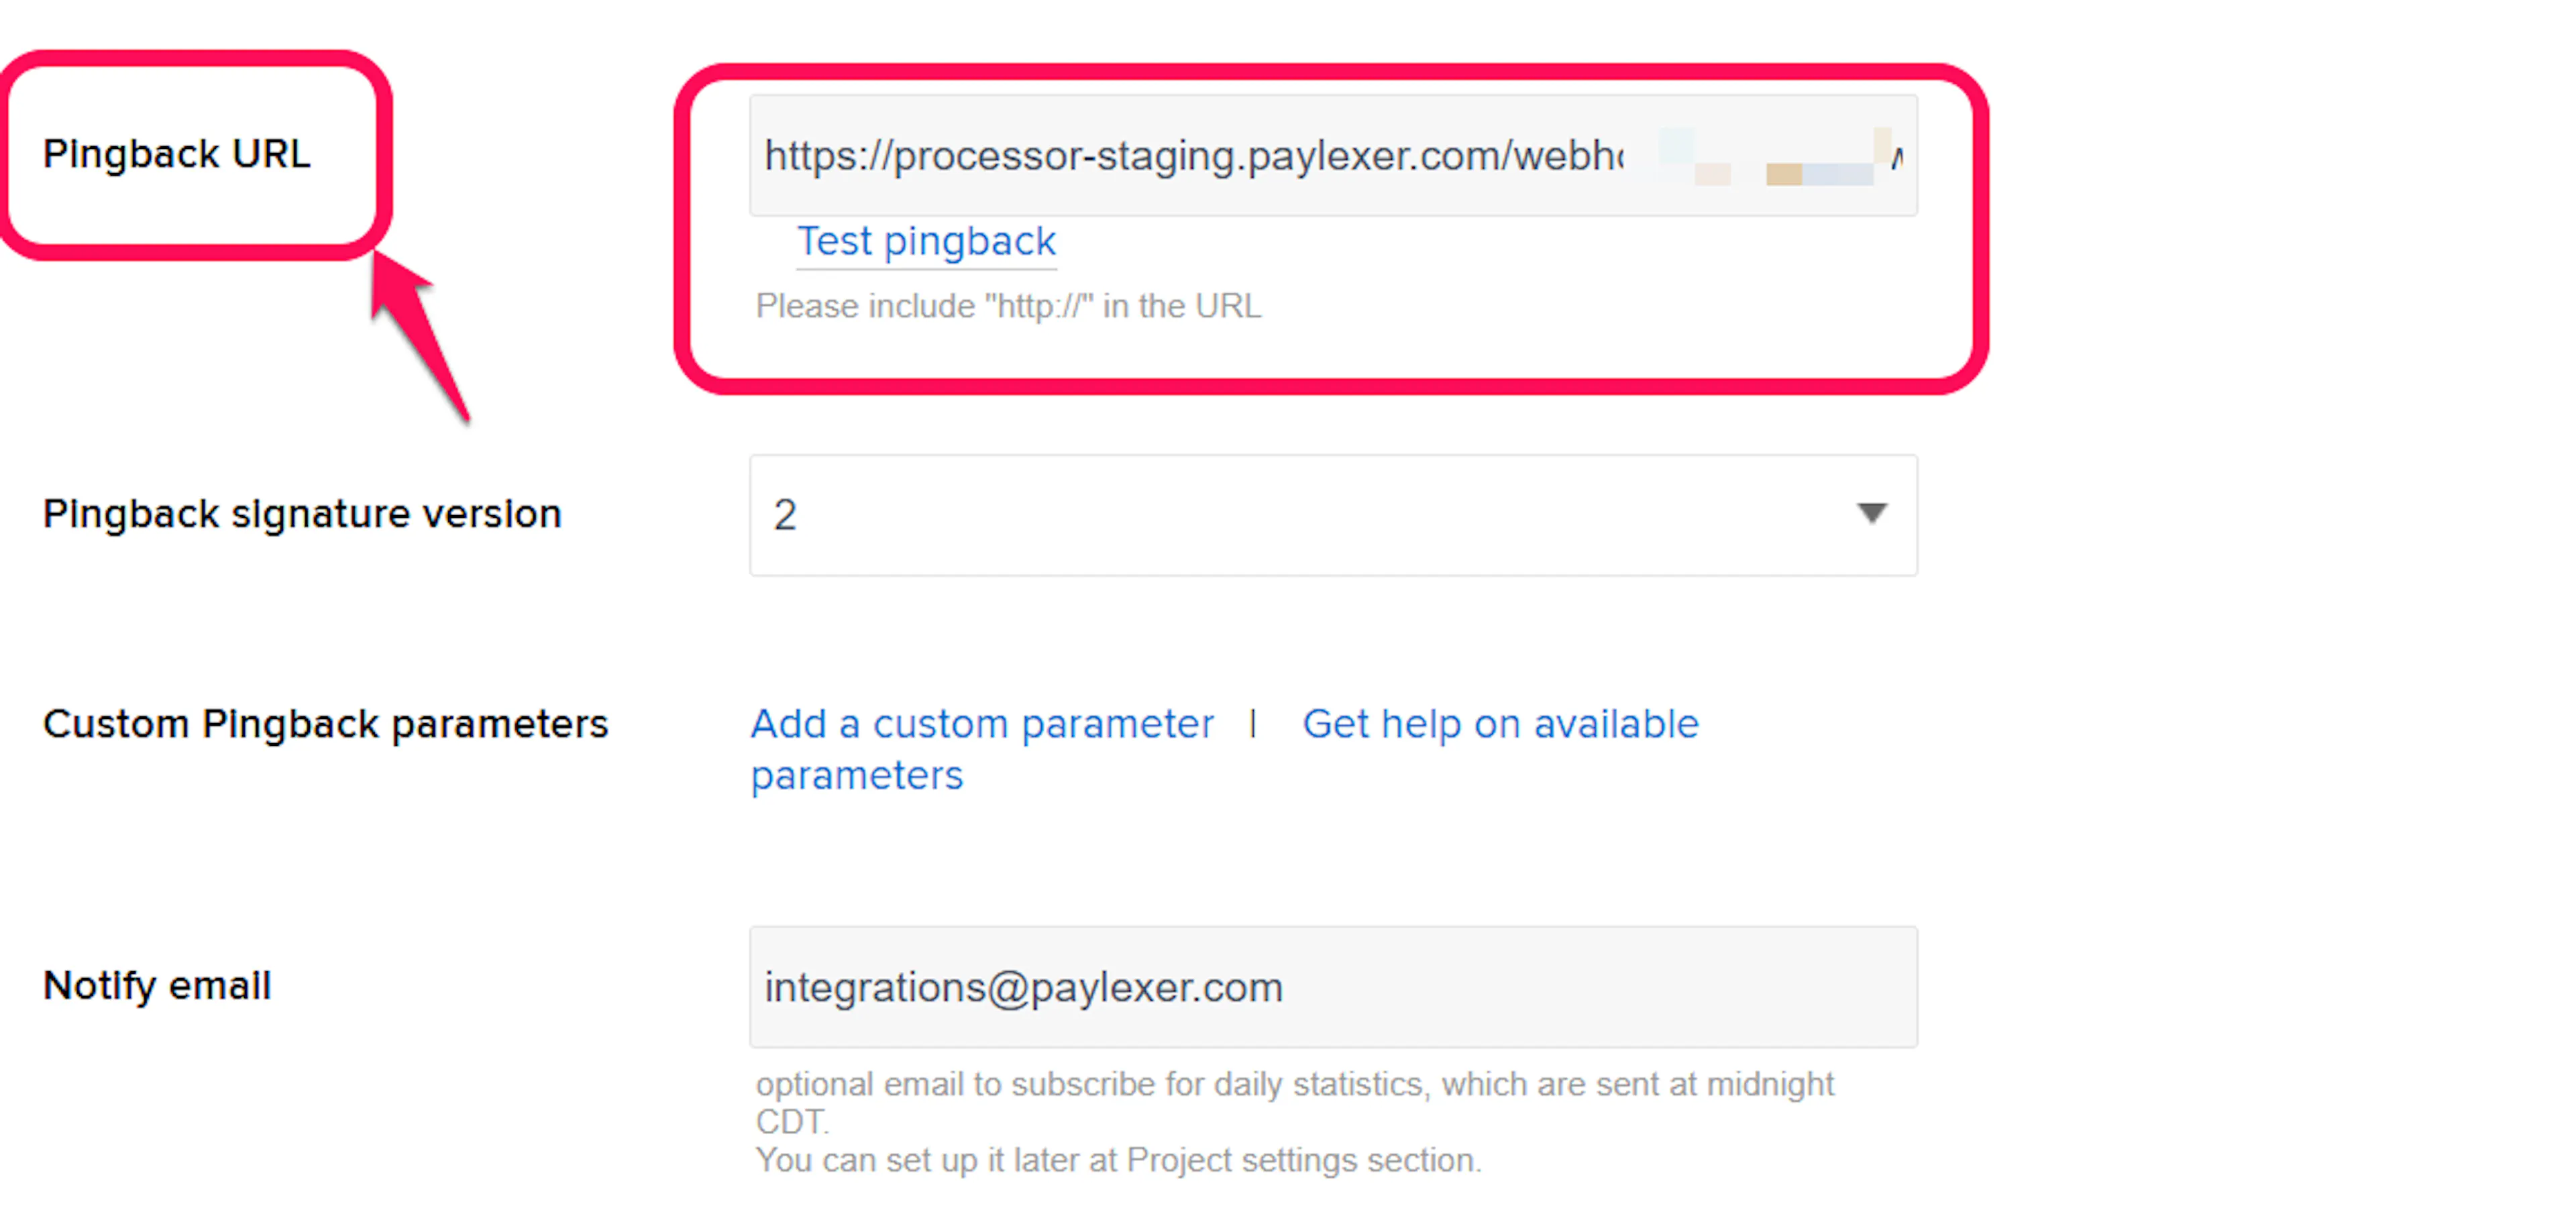
In your Paymentwall project settings, paste the Webhook URL into Pingback URL and save.
Set the signature version
In the project's pingback settings, set Signature version to 3.
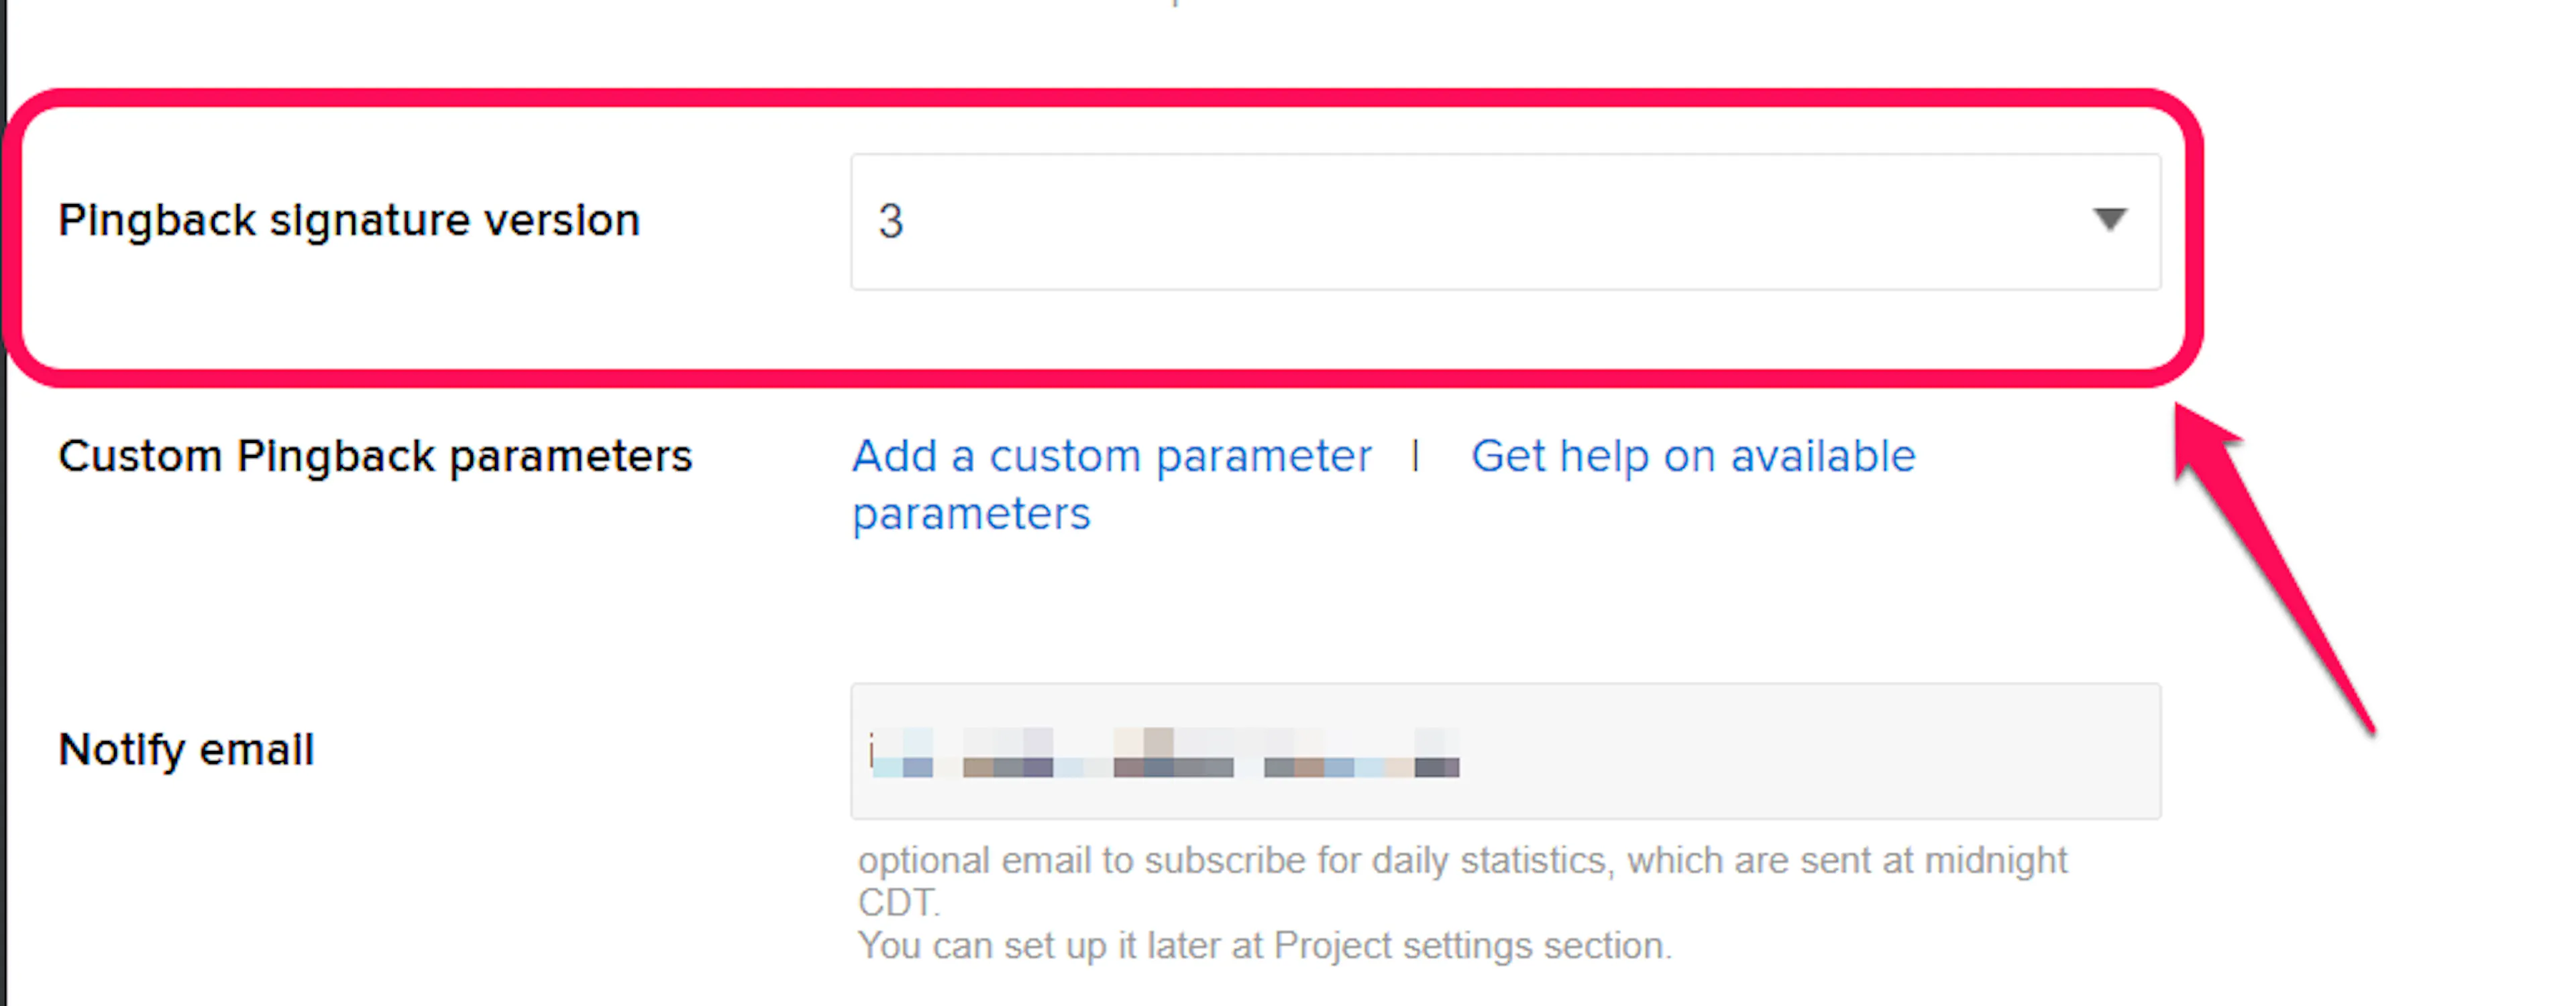
PayLexer rejects notifications if signed with version 1.
No separate signing secret is needed. PayLexer verifies each pingback with the Secret Key you already entered.
Integrate Paymentwall to Your Website
If you have already added and configured your site, you can enable Paymentwall in your existing setup.
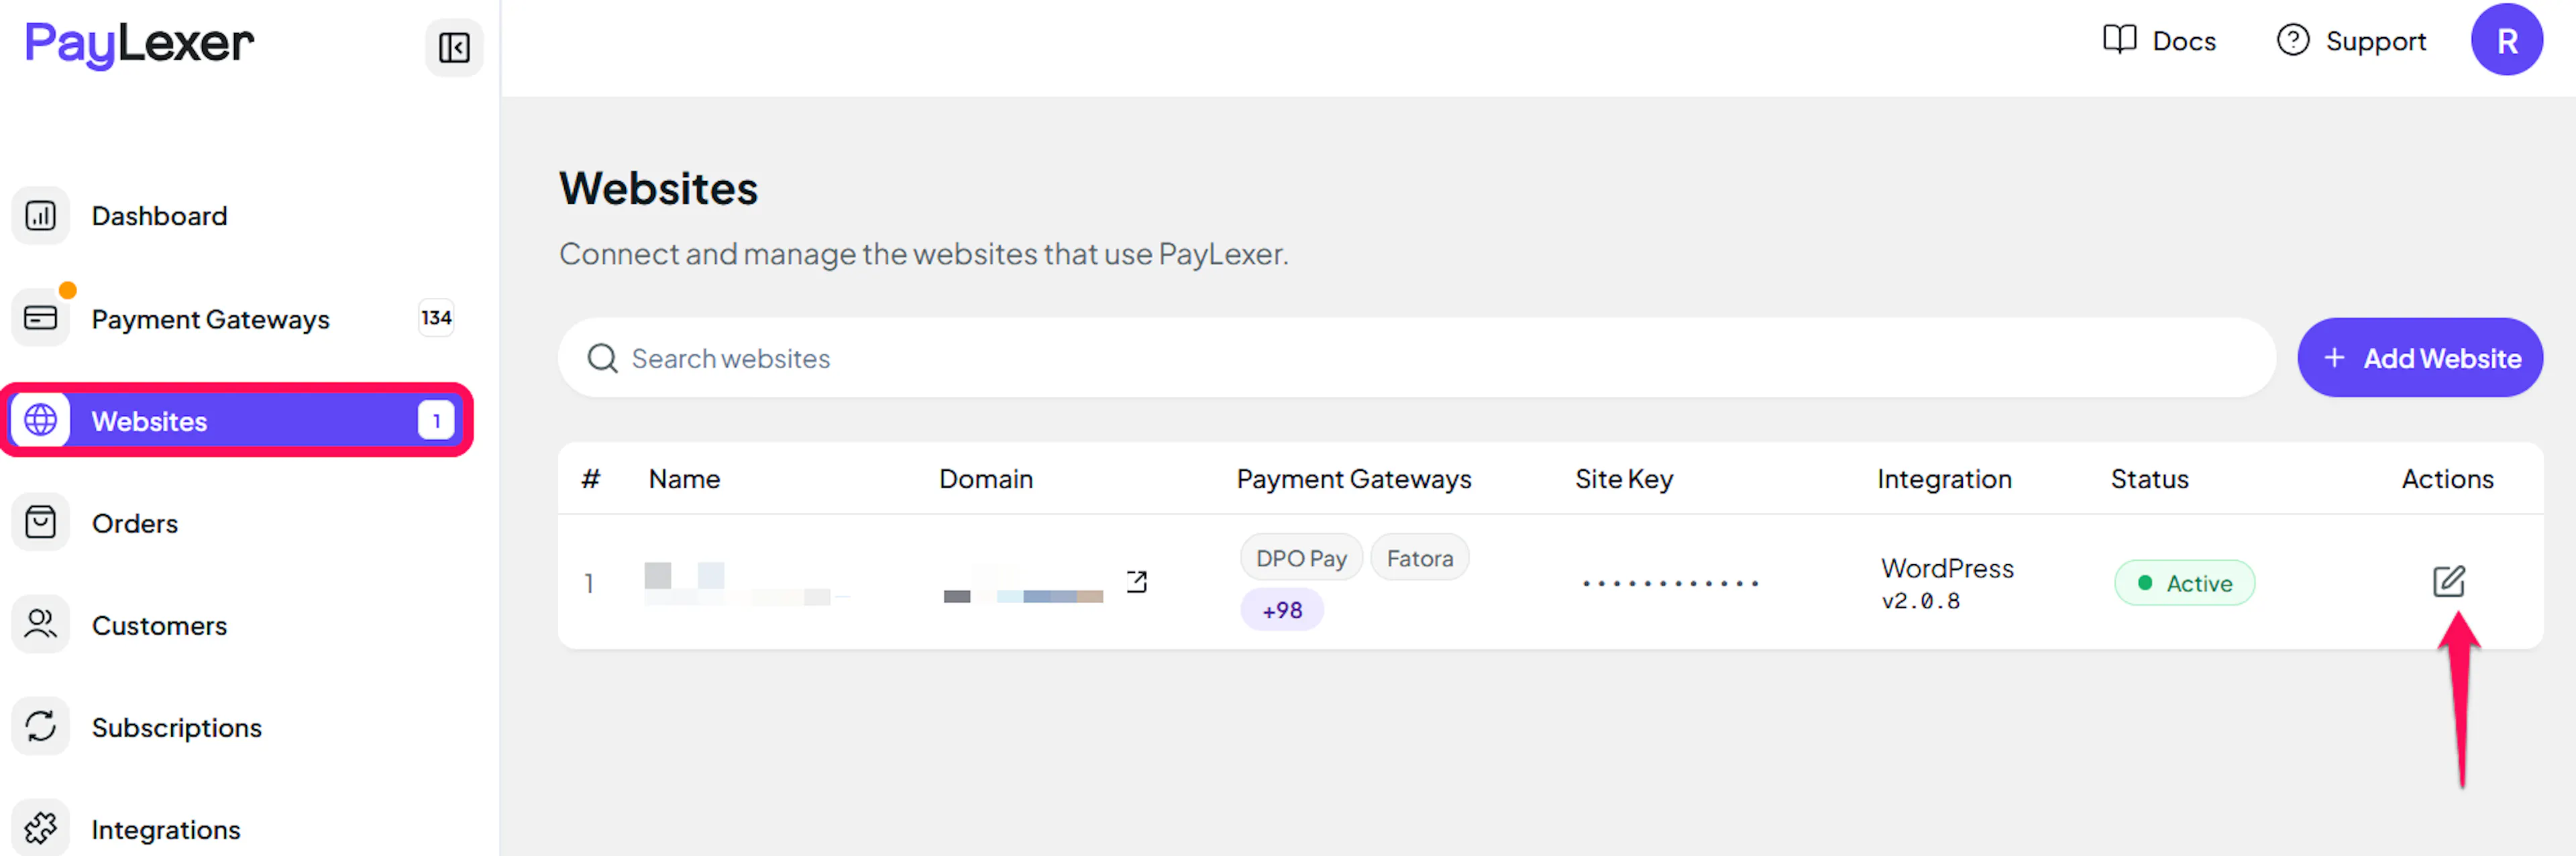
Go to Websites
Click Websites in the left menu of your PayLexer dashboard.
Open your website
Click the Edit (pencil) icon on your website's row. Its page opens with the tabs Overview, Payment gateways, Webhooks and Settings.
Enable Paymentwall
Open the Payment gateways tab, tick Paymentwall, and click Save gateways. If Paymentwall isn't listed, finish configuring it first (the tab links to Payment Gateways).

If you haven't added a website yet, Continue to Add Your Website →
Troubleshooting
Best Practices
- Test with Paymentwall's Test Payment Method before enabling live mode
- Keep your Secret Key private and never share it outside PayLexer
- Refund in your Paymentwall dashboard; PayLexer updates the order when Paymentwall confirms it
FAQs
Still Have Questions?
- Paymentwall Support: Contact Support
- Paymentwall Documentation: Paymentwall Documentation
- PayLexer Support: Contact Support